Introduction
Spark.E Chat enables learners to interact directly with their study materials and receive instant, AI-powered explanations and guidance. By analyzing uploaded content such as lecture slides and notes, it provides context-aware support tailored to each learner’s coursework. Empowering learners to deepen their understanding, study more efficiently, and build confidence in their learning.Accessing Spark.E Chat
The Spark.E Chat can be accessed at any time from the left side panel and is also available within other features throughout the platform, allowing users to engage with it in whichever way is most convenient.Accessing Spark.E Chat from the Left Panel
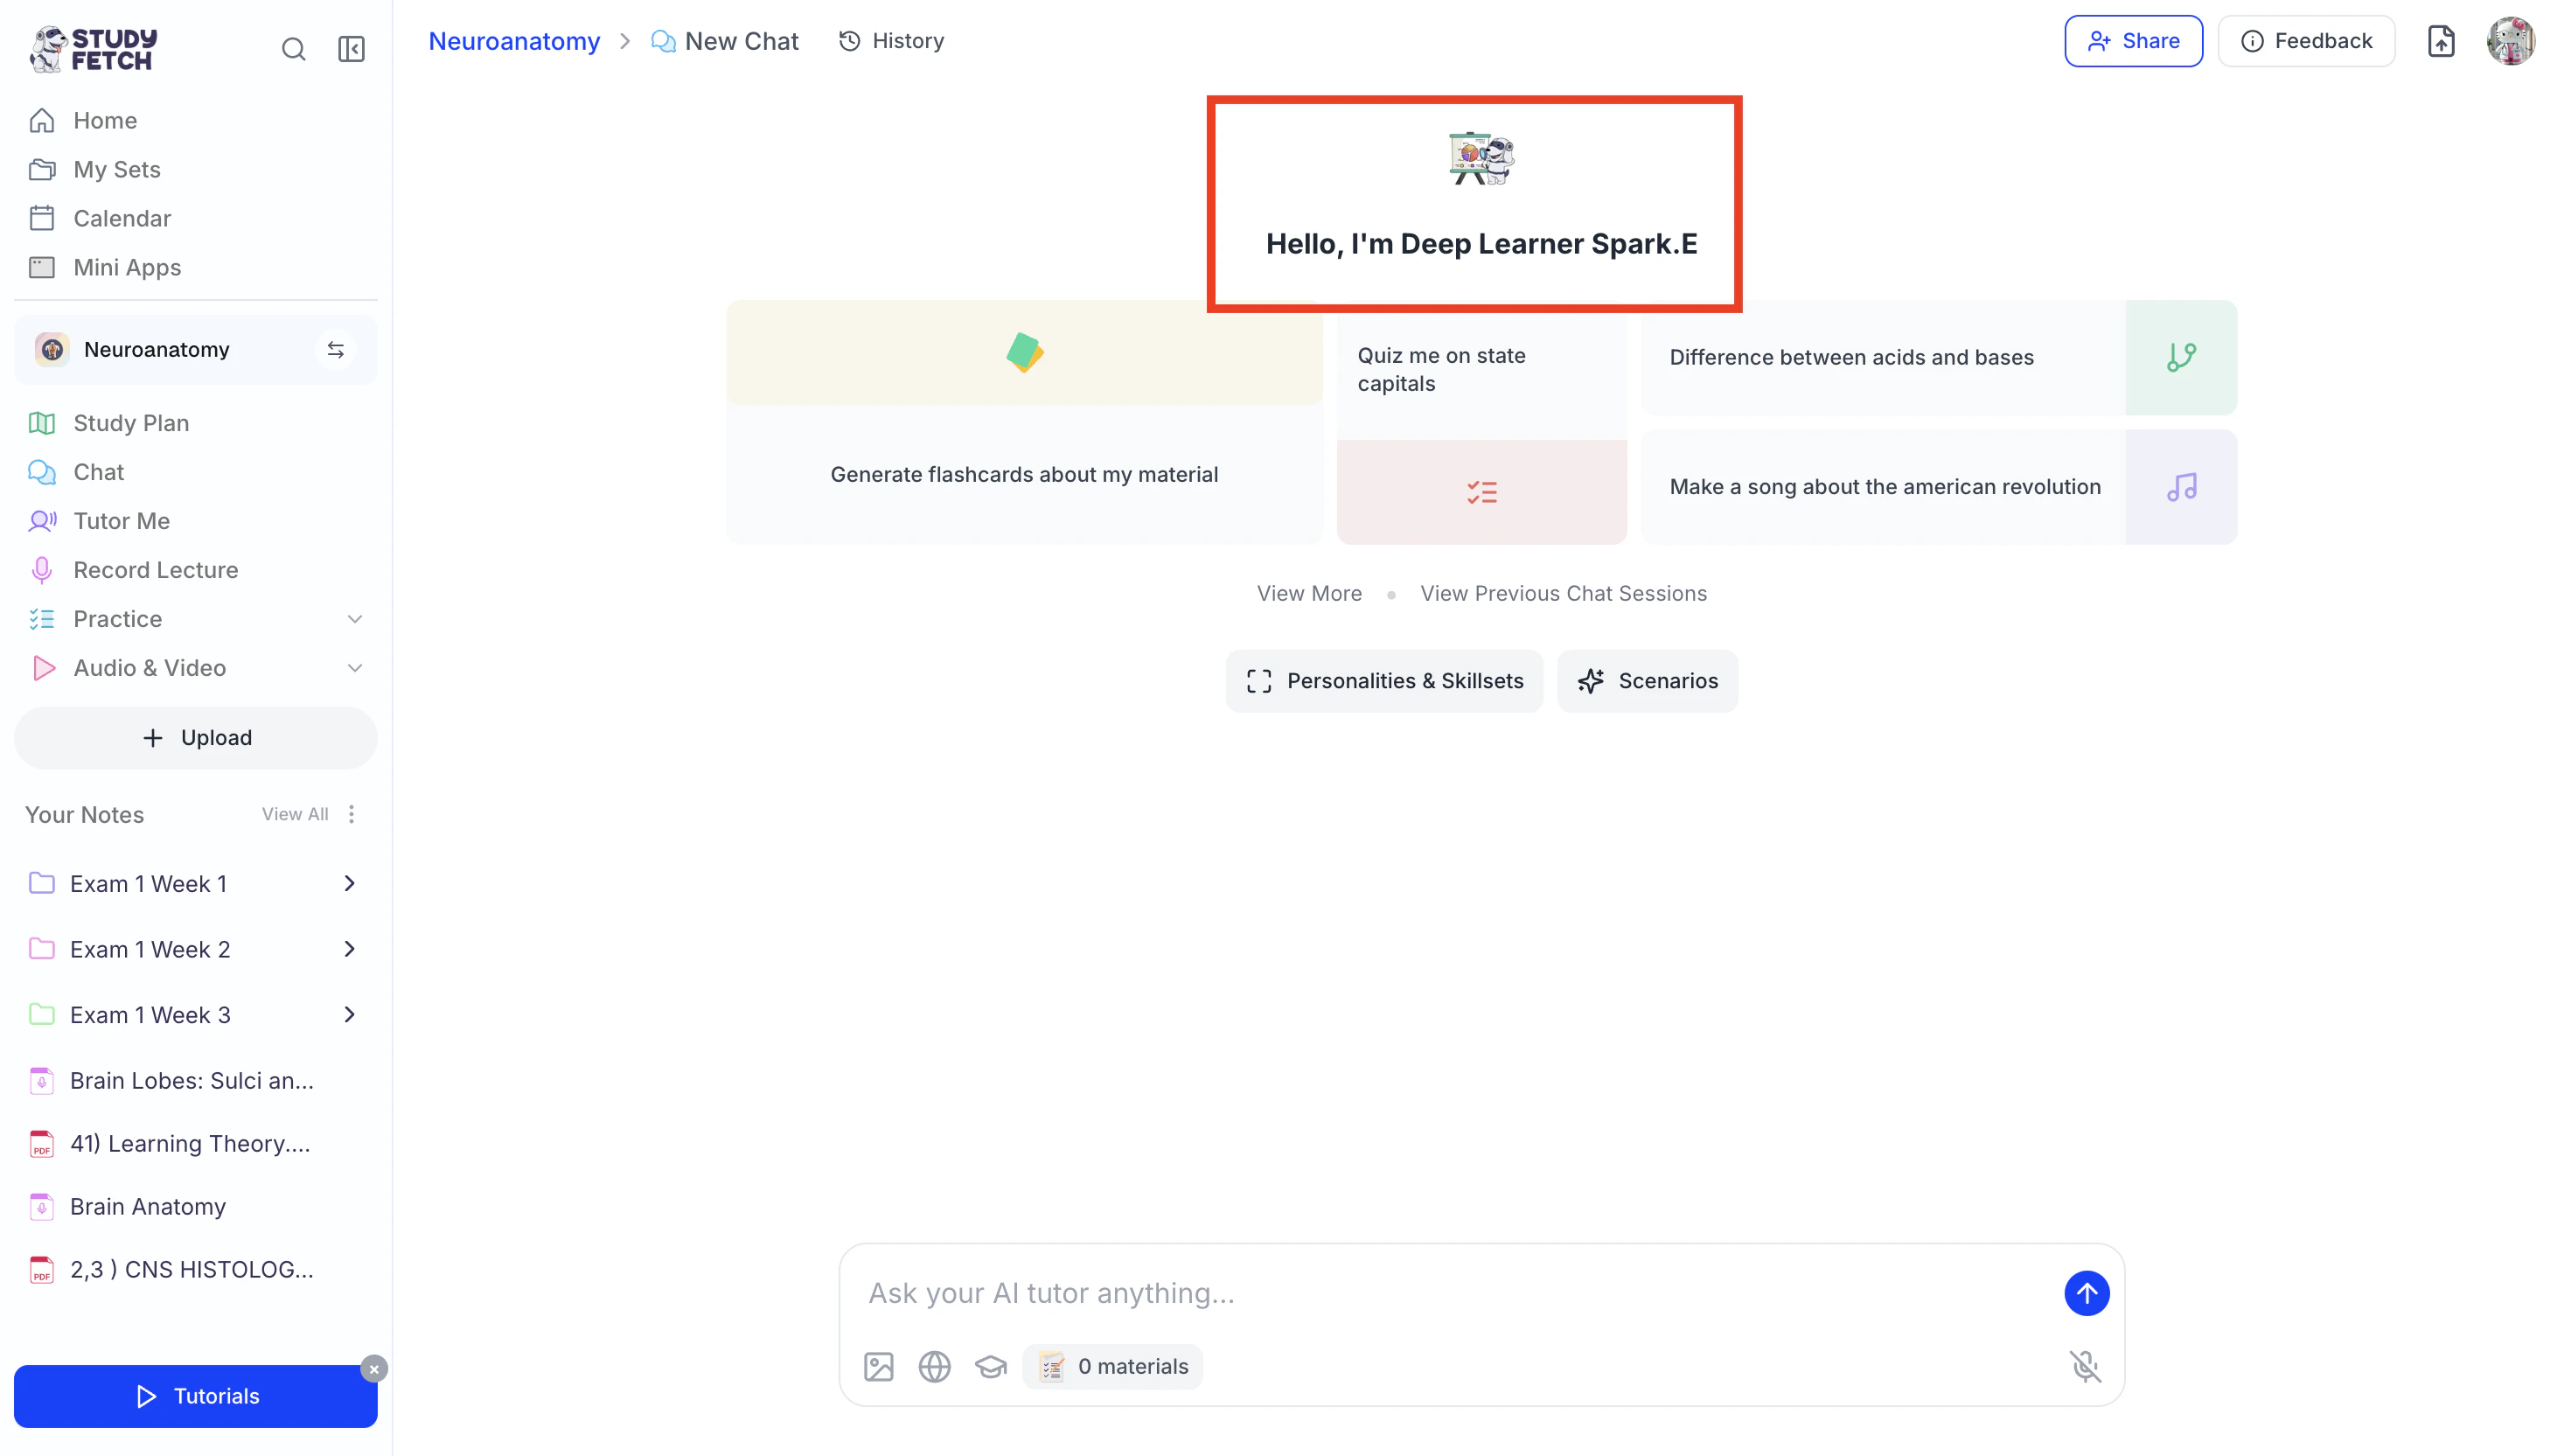
- On the left-hand side of your dashboard click Chat .
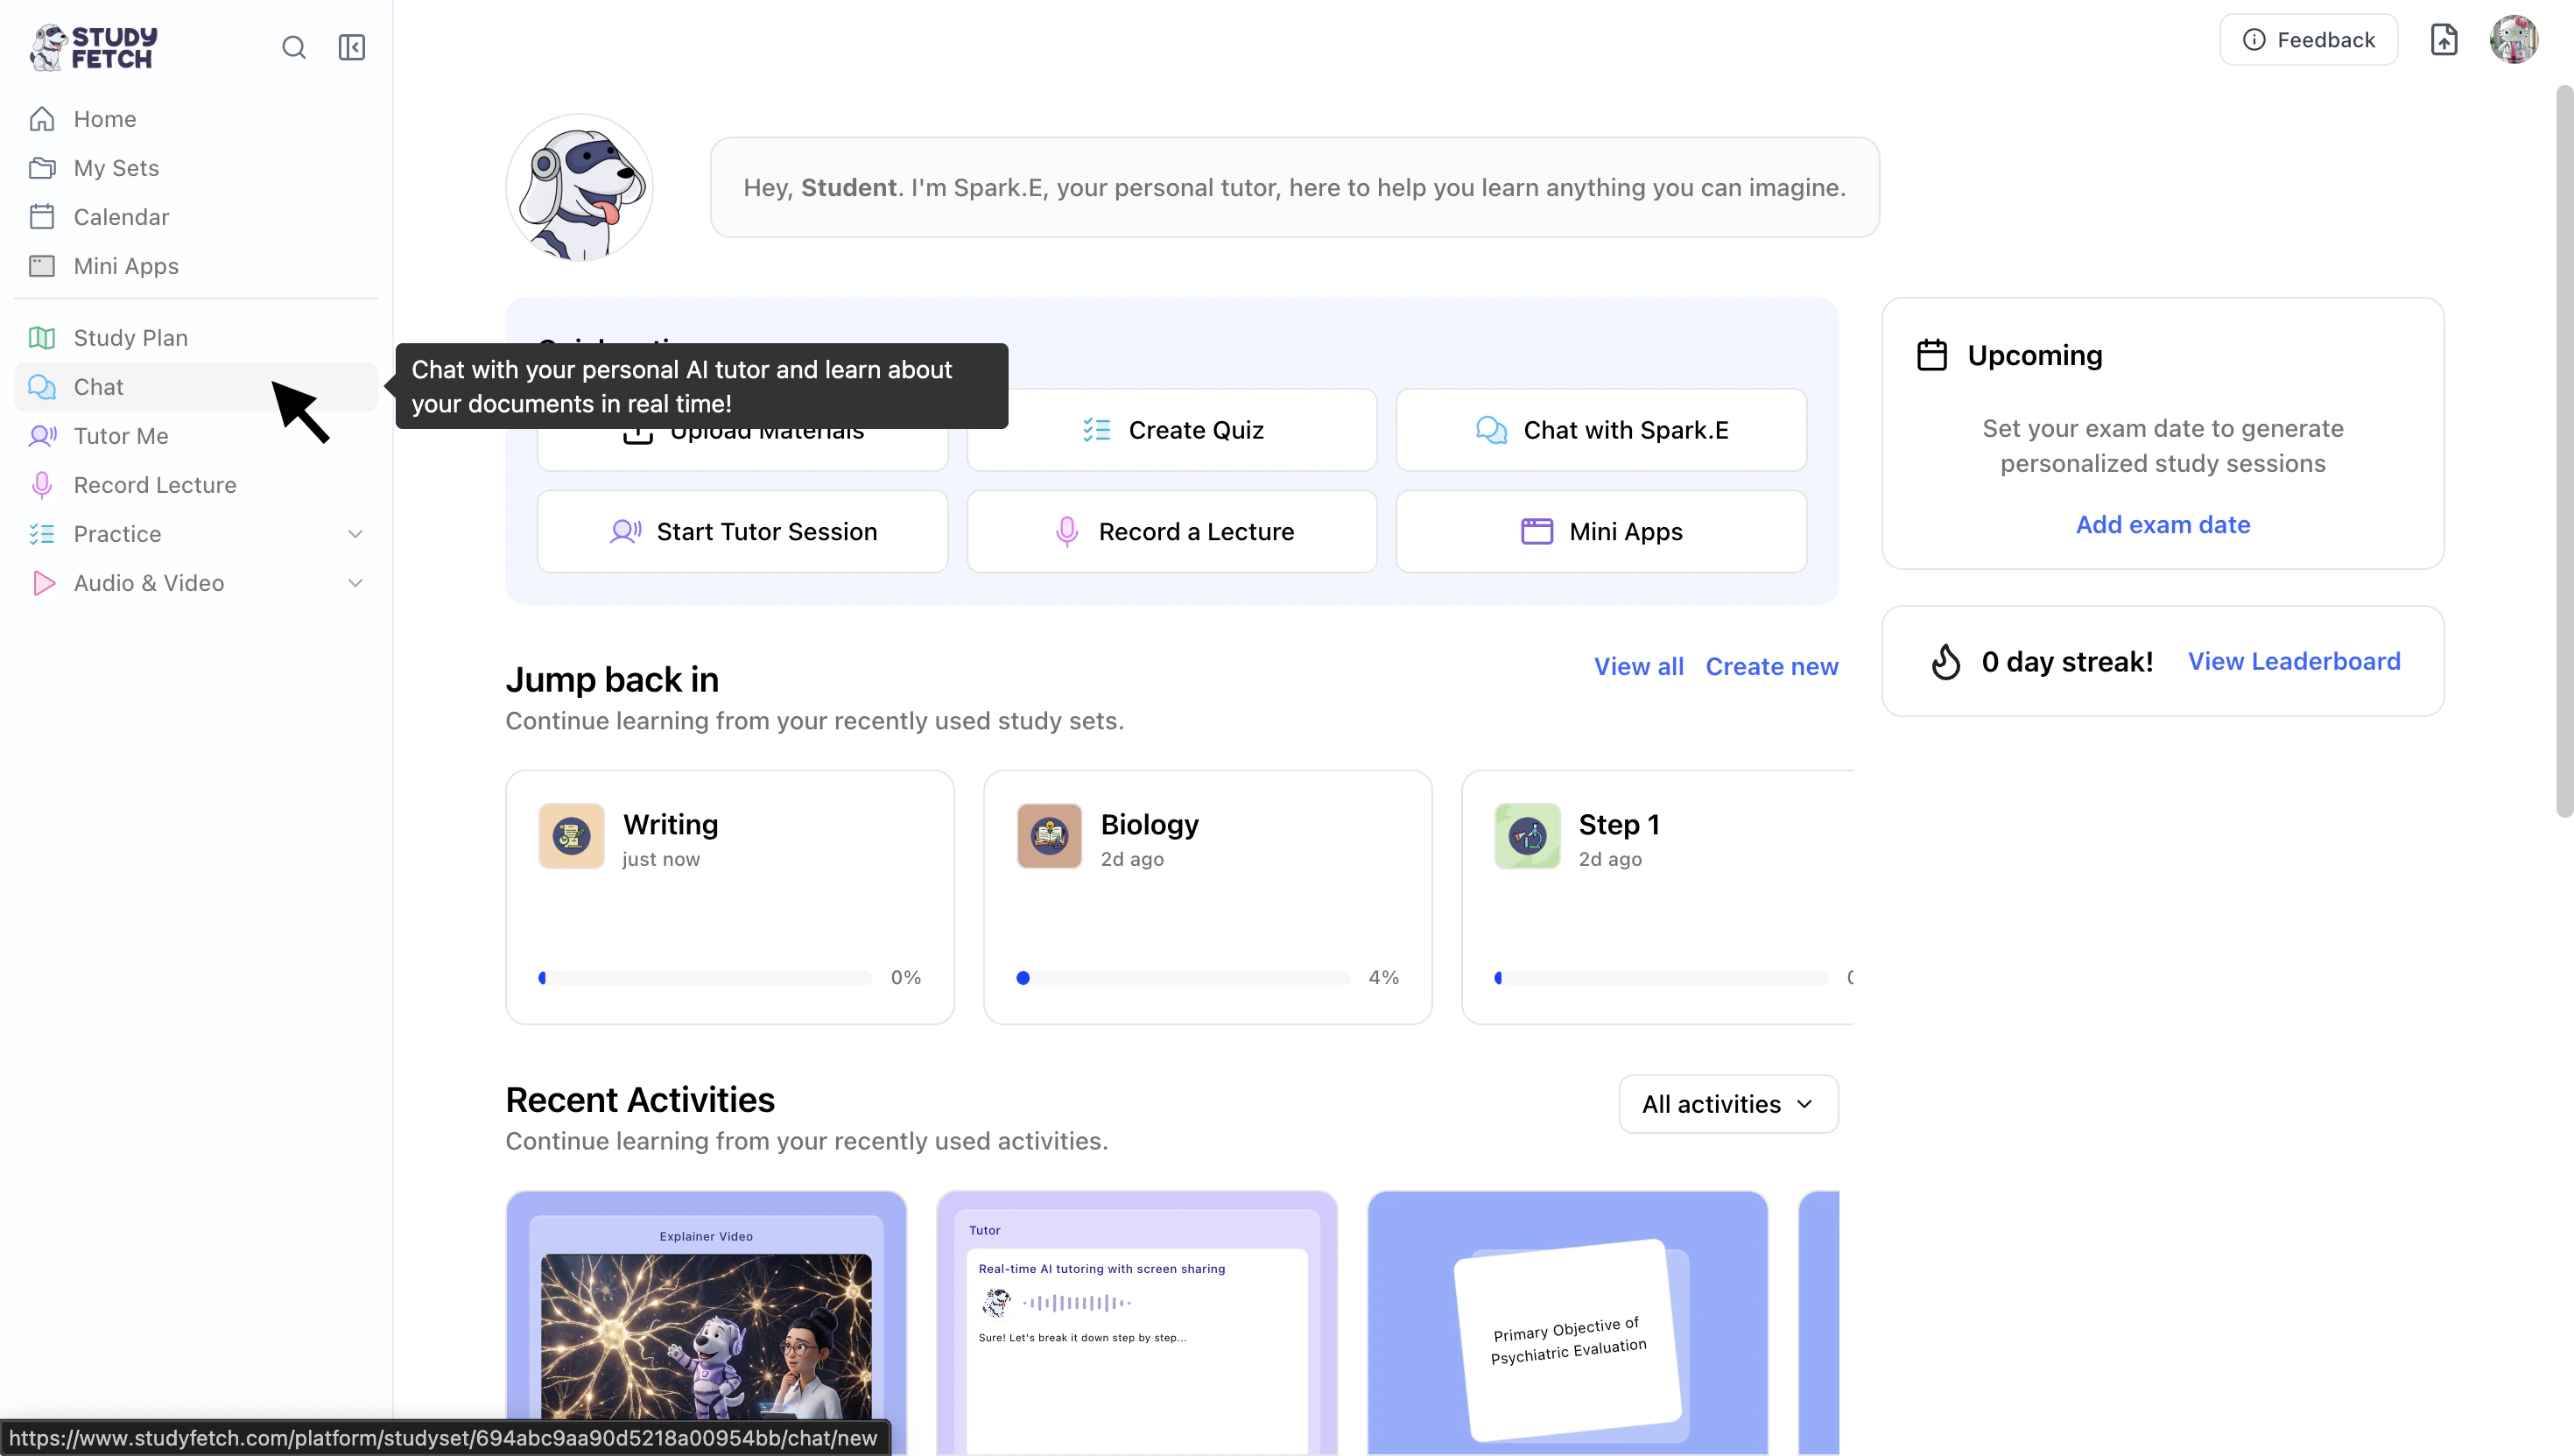
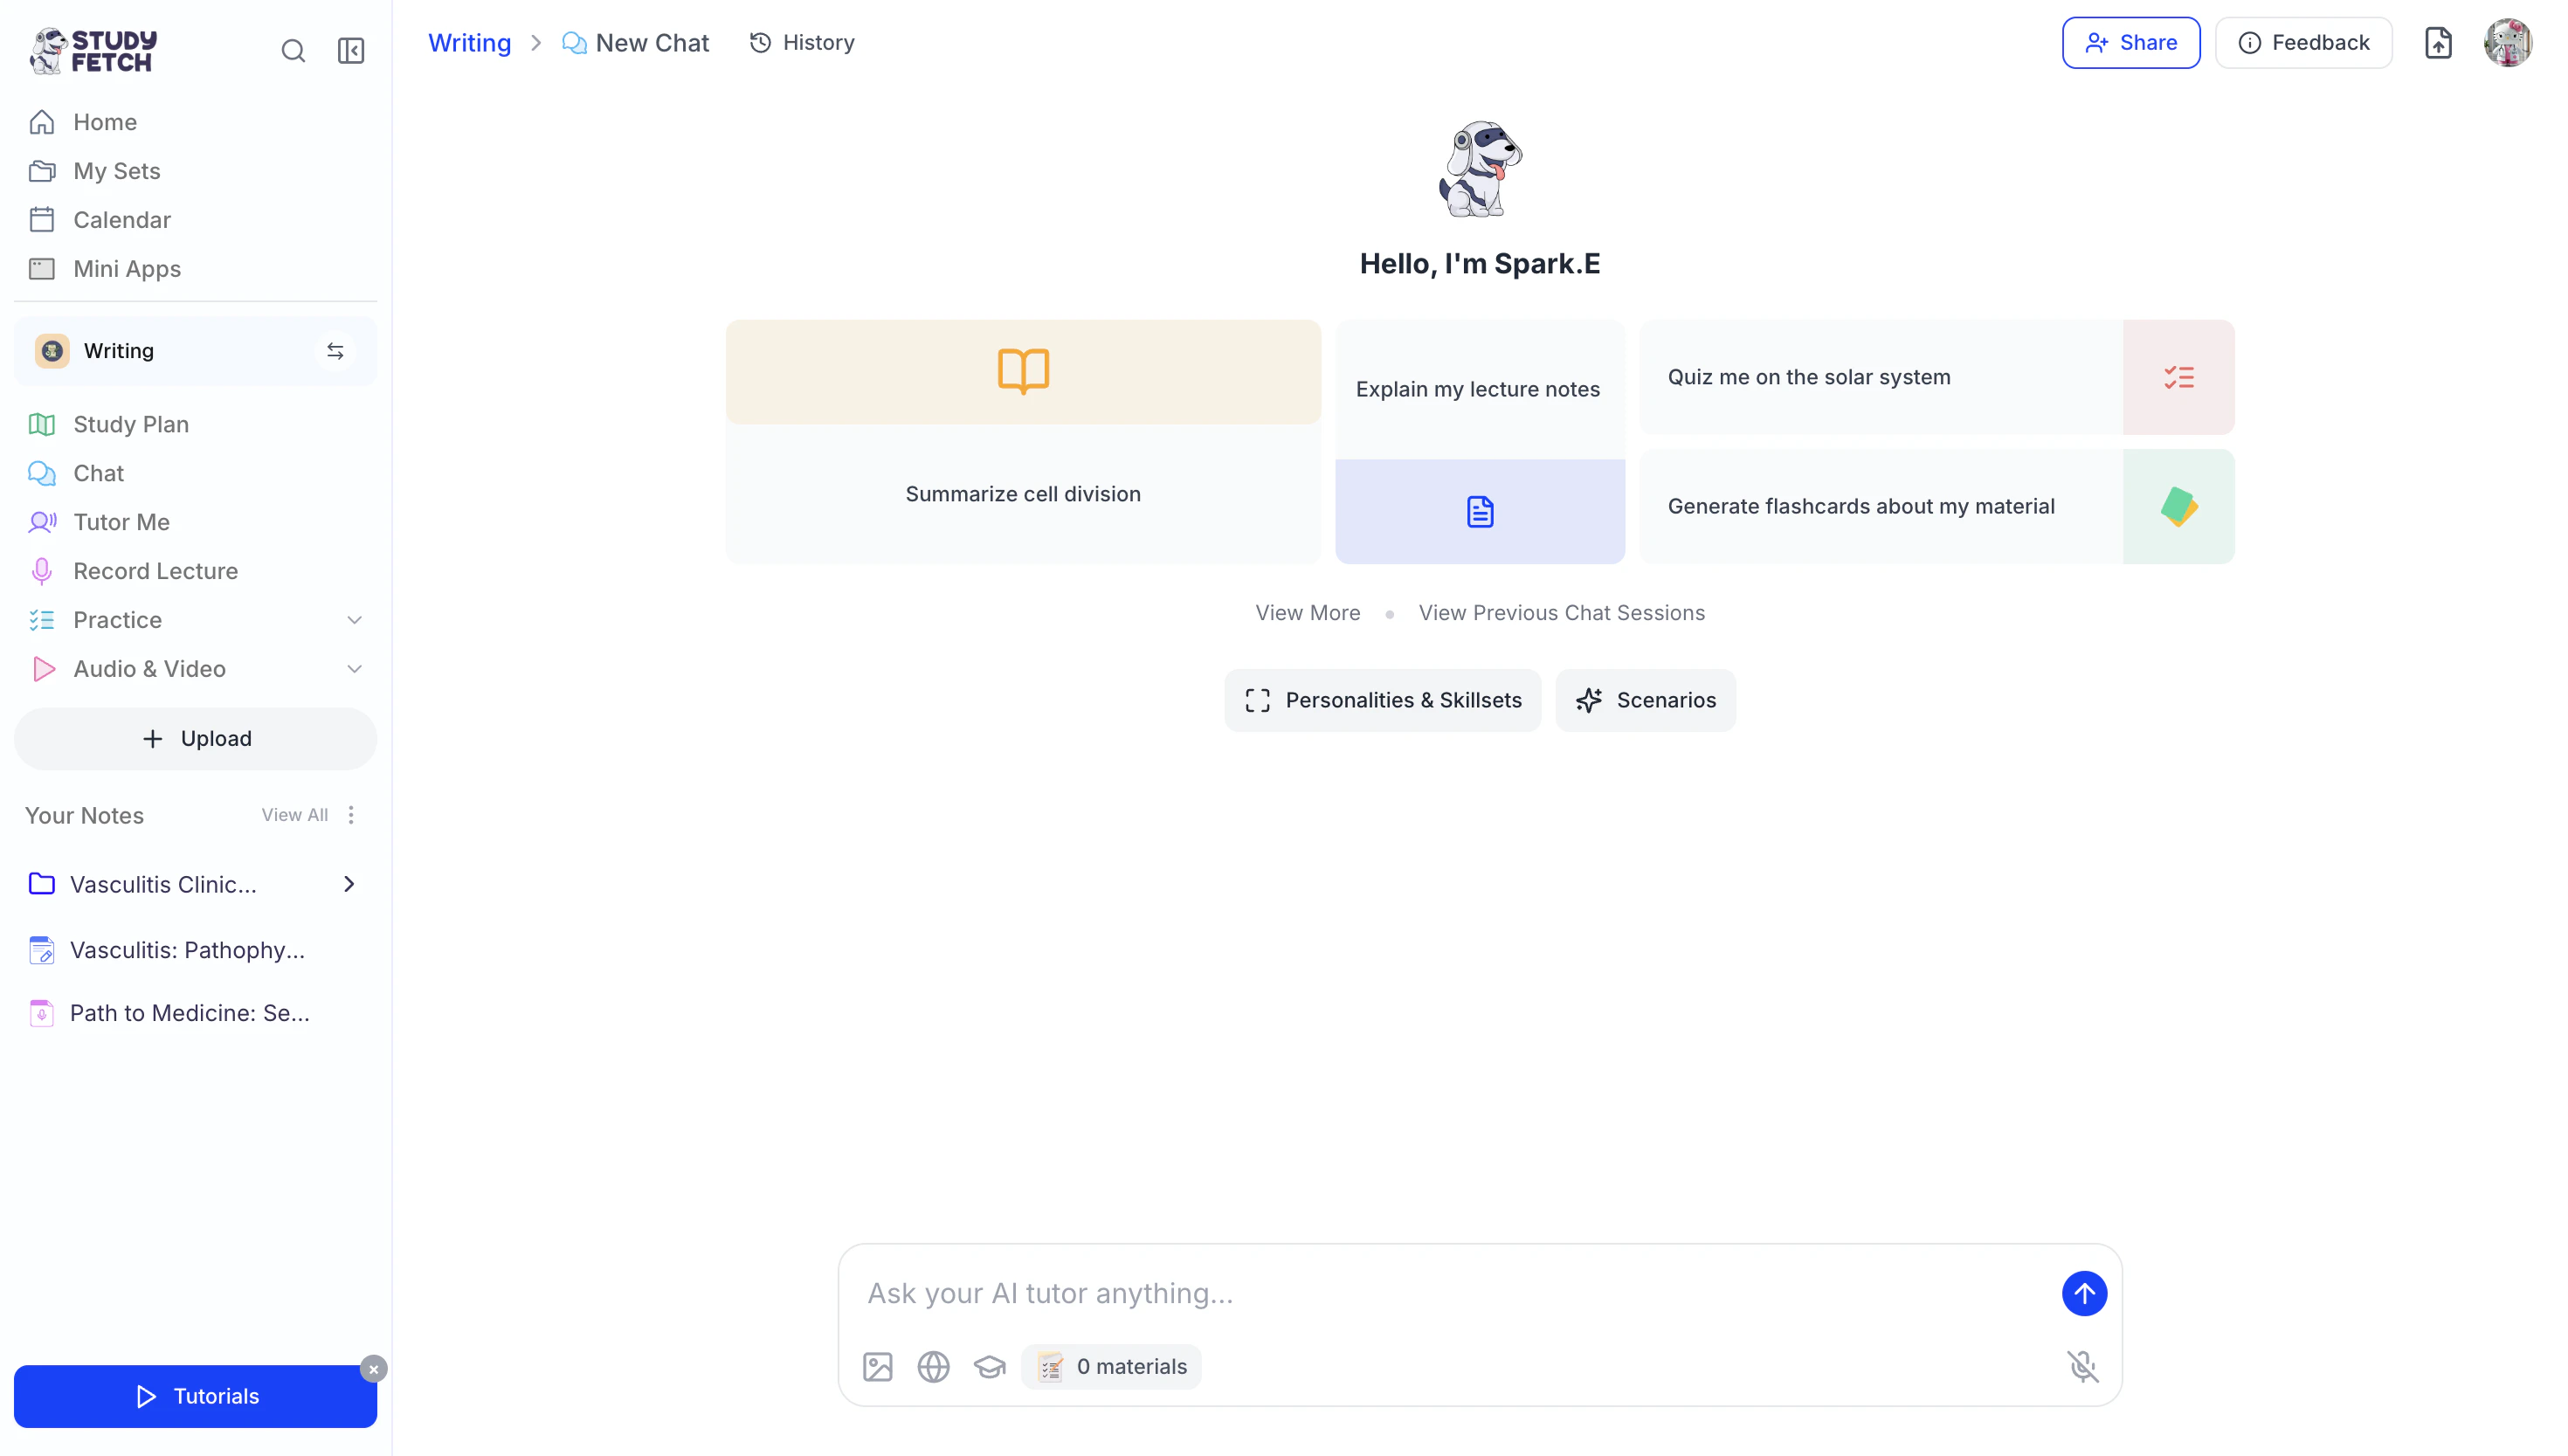
- The Spark.E Chat interface will open and be ready for you to use immediately.
Accessing Spark.E Chat Within Platform Features
The Spark.E Chat feature is also accessible within select platform features. Refer to the sections below for instructions on how to access Spark.E Chat within each specific feature.Notes & Materials
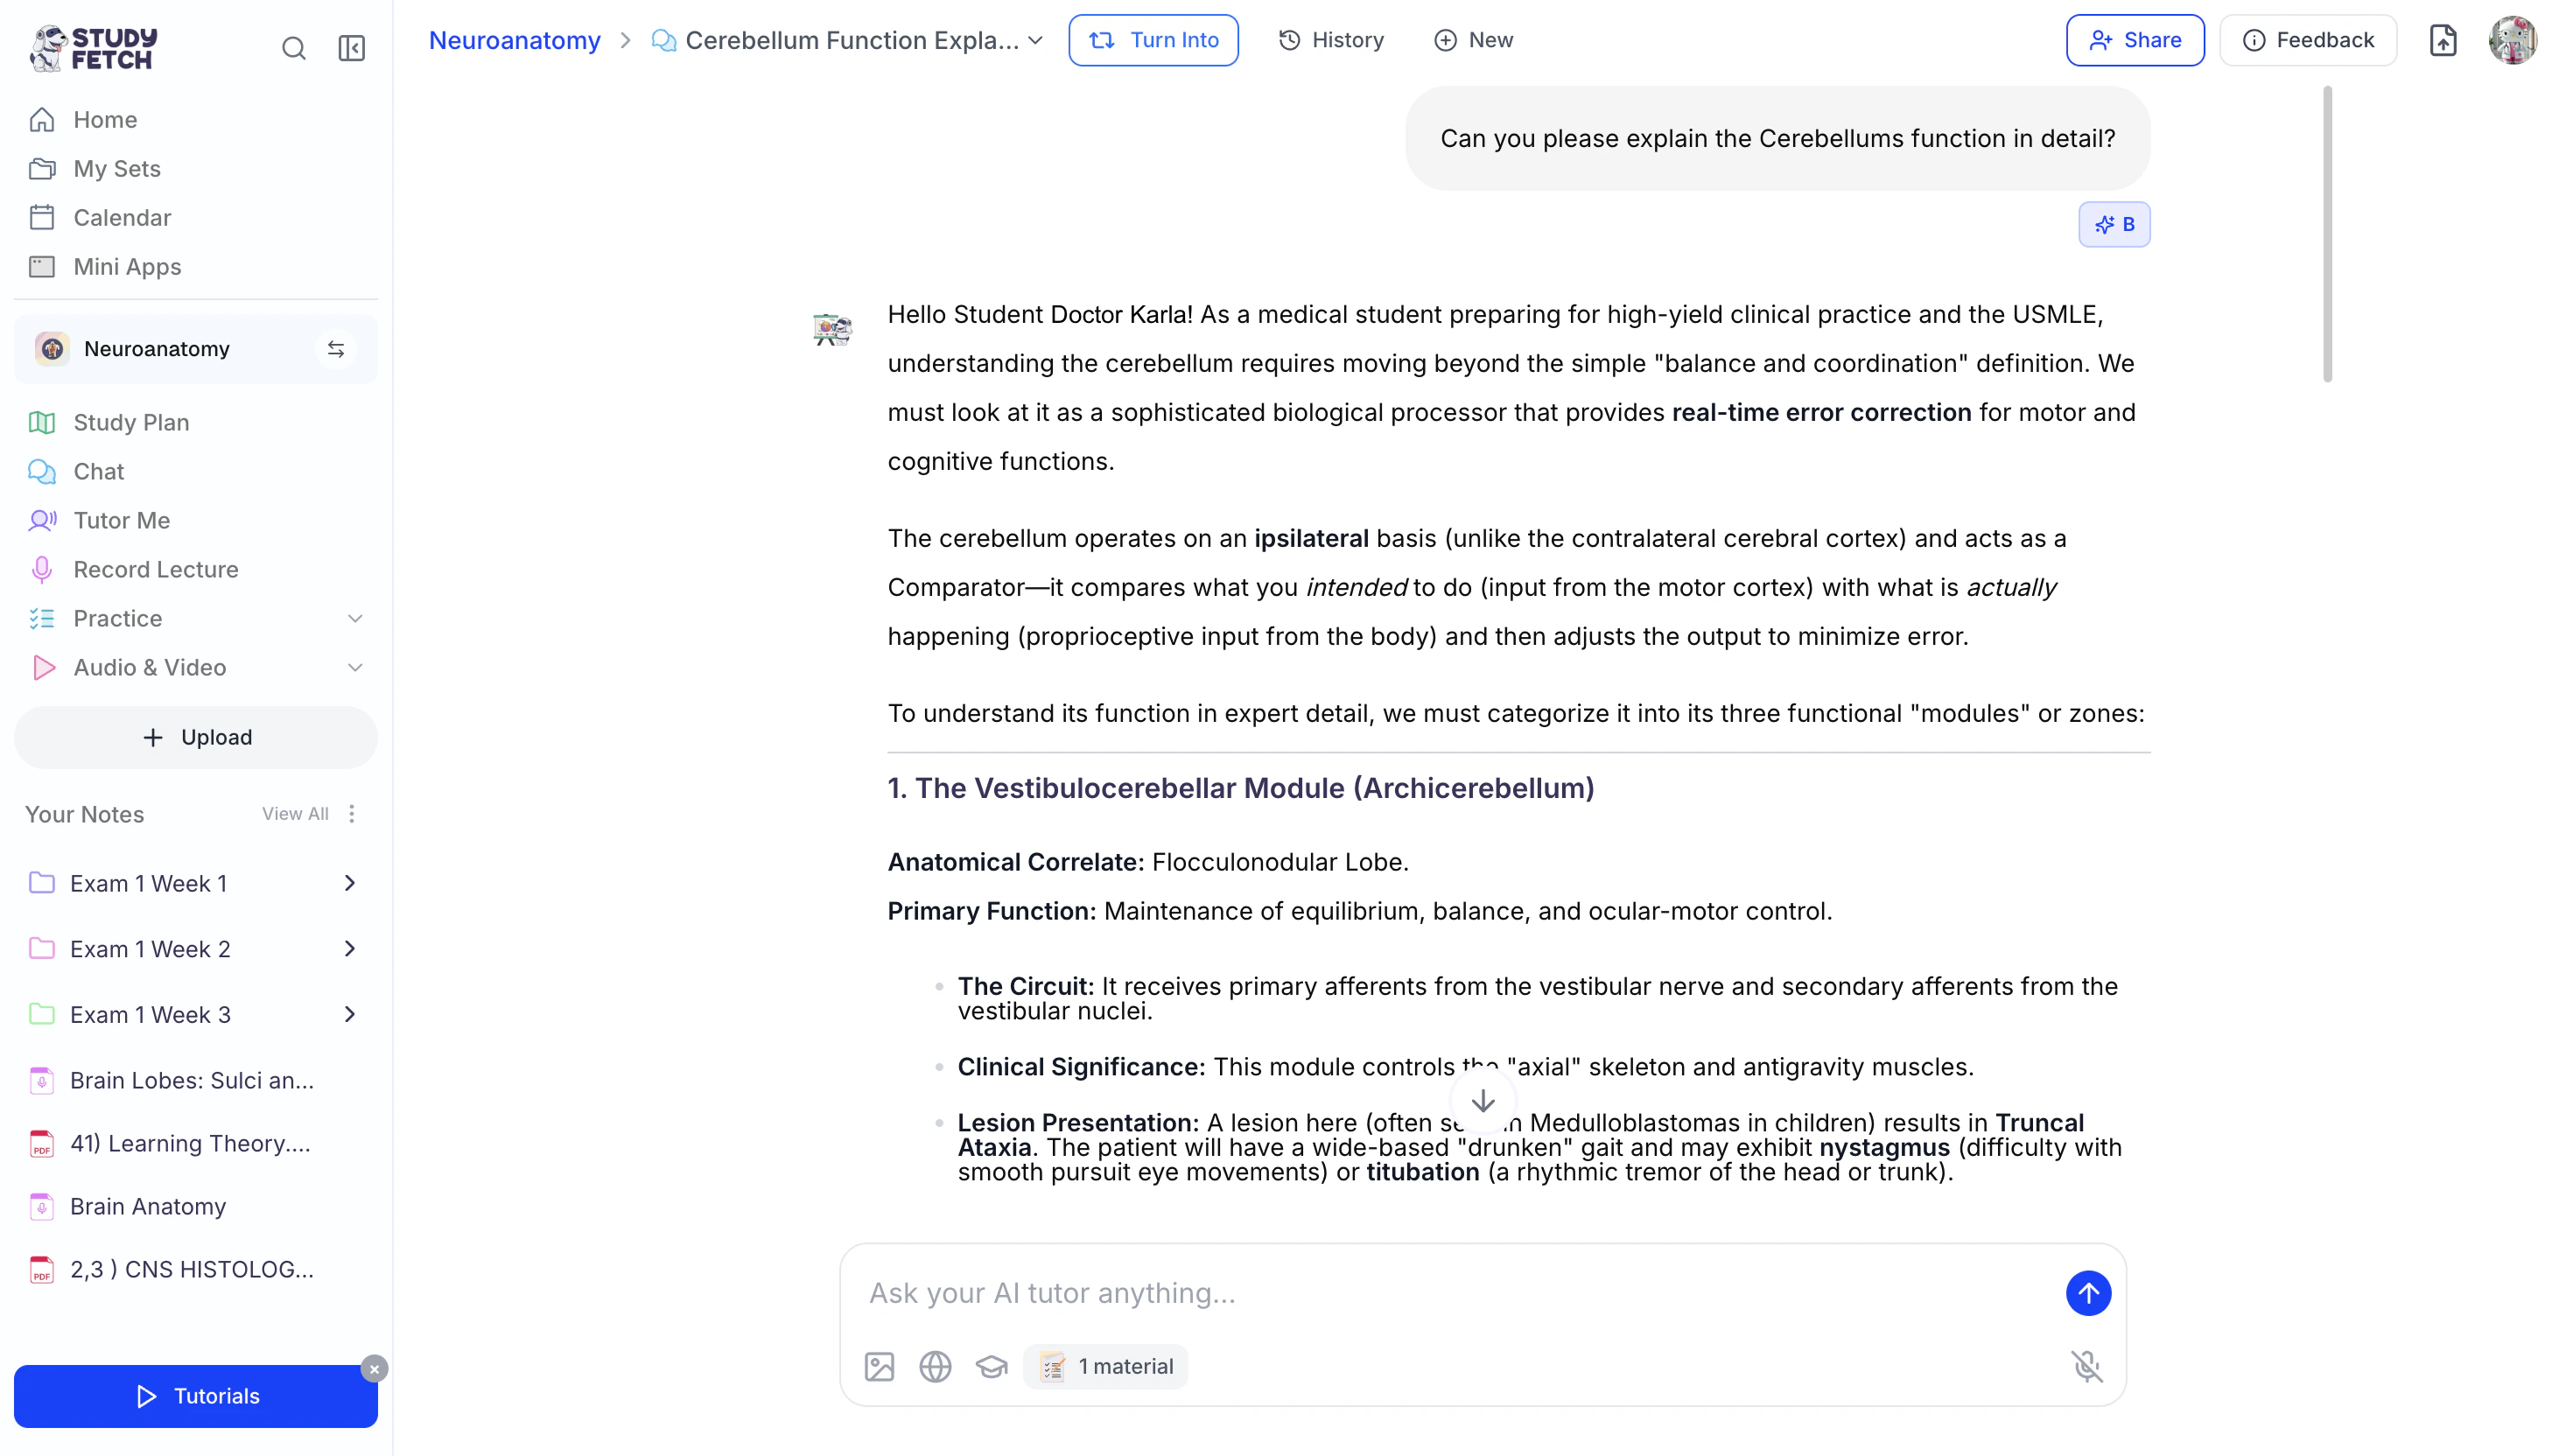
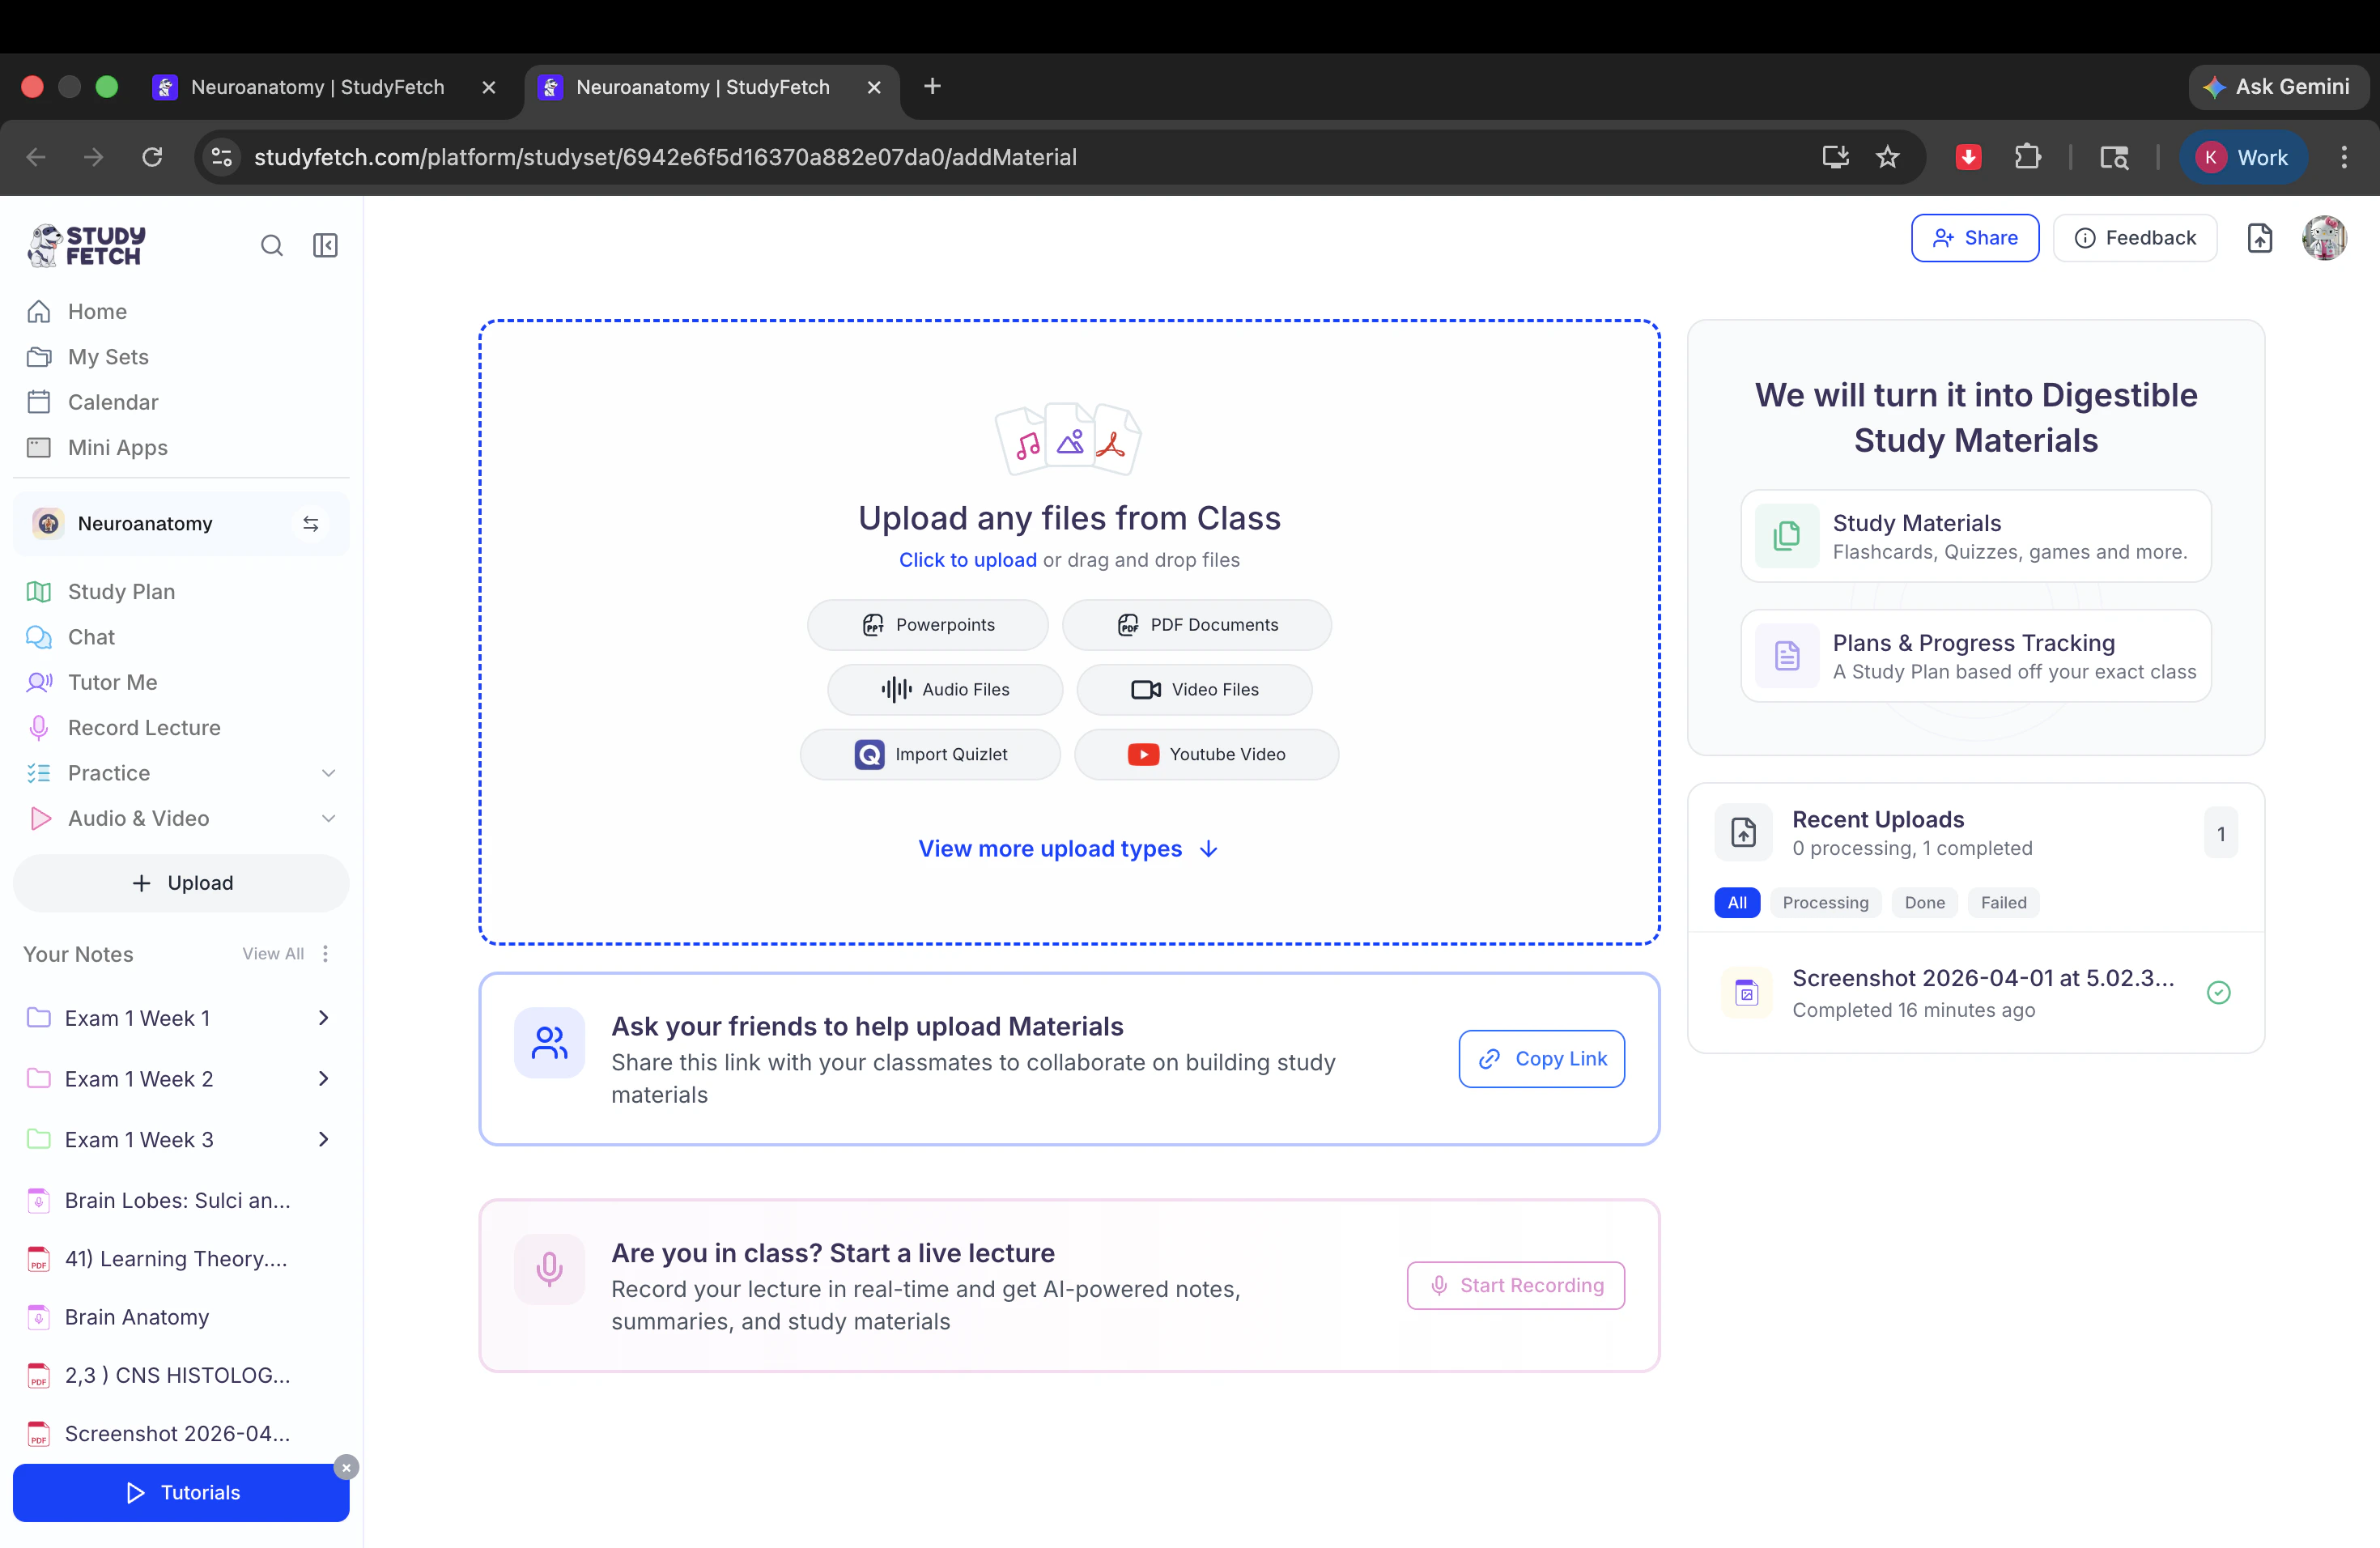
- After opening your desired Study Set, navigate to the left-hand side of your dashboard and select the note file or material you want to open, located under the Your Notes section.
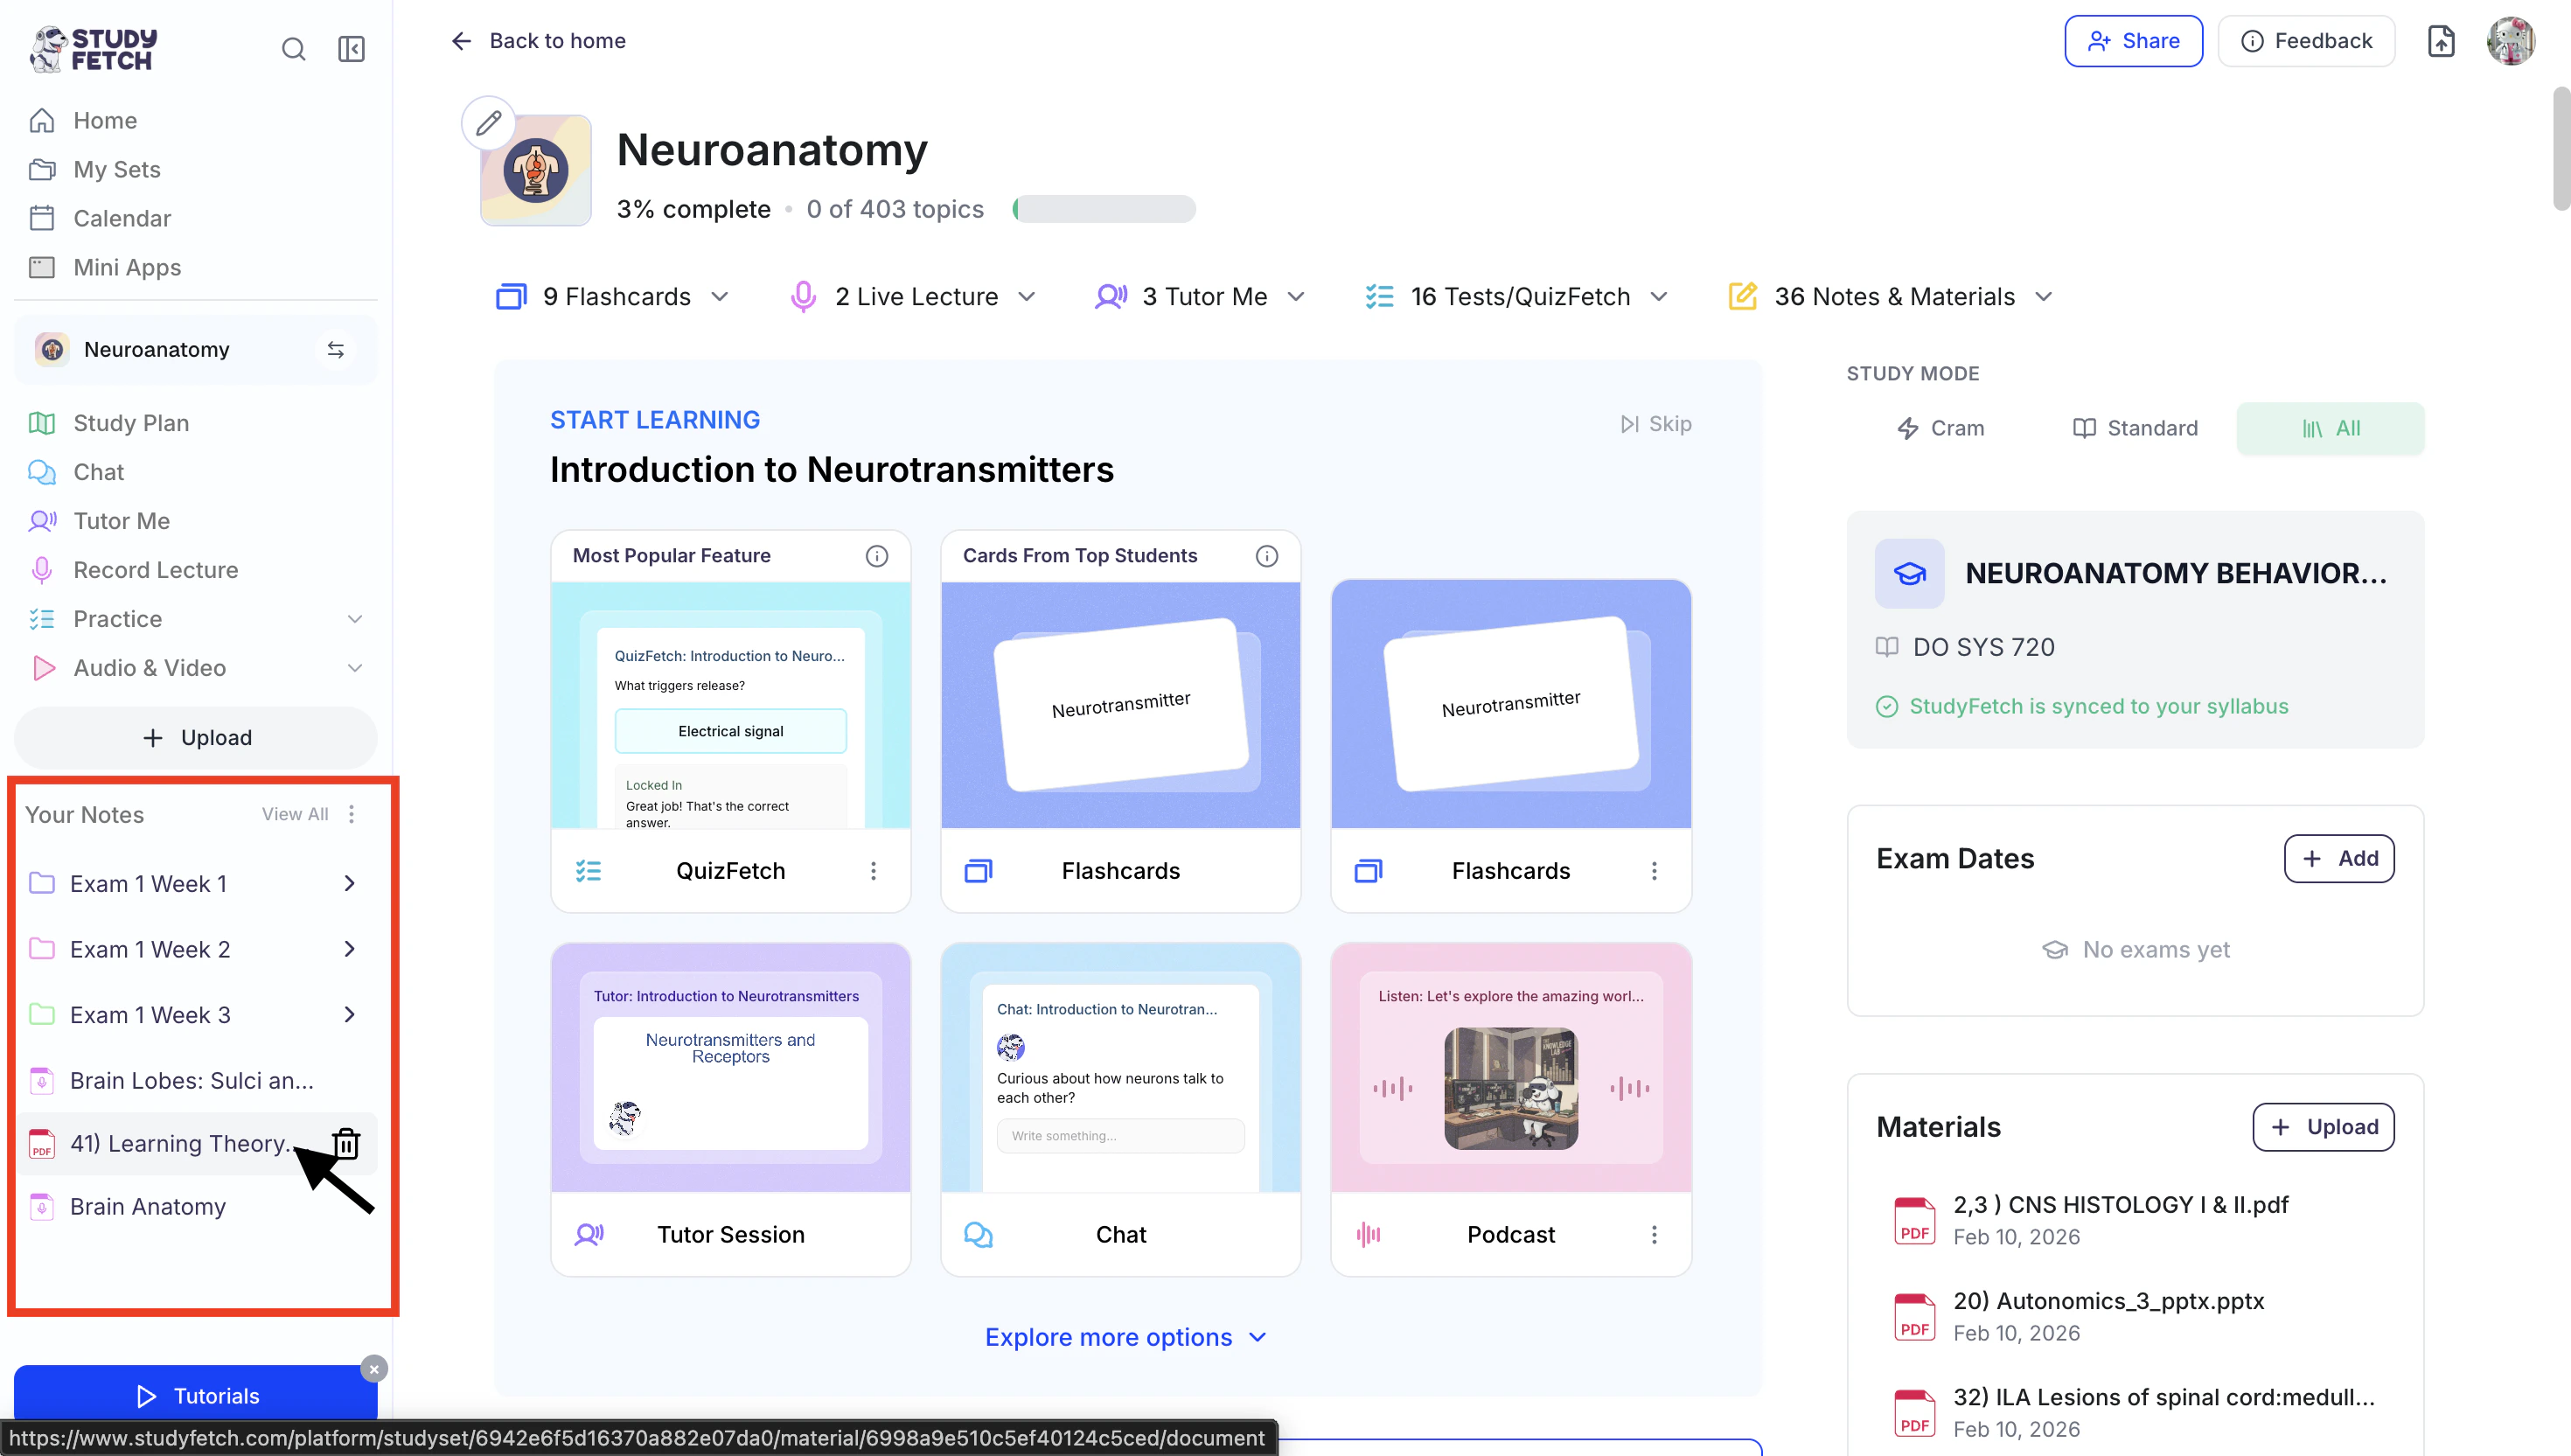
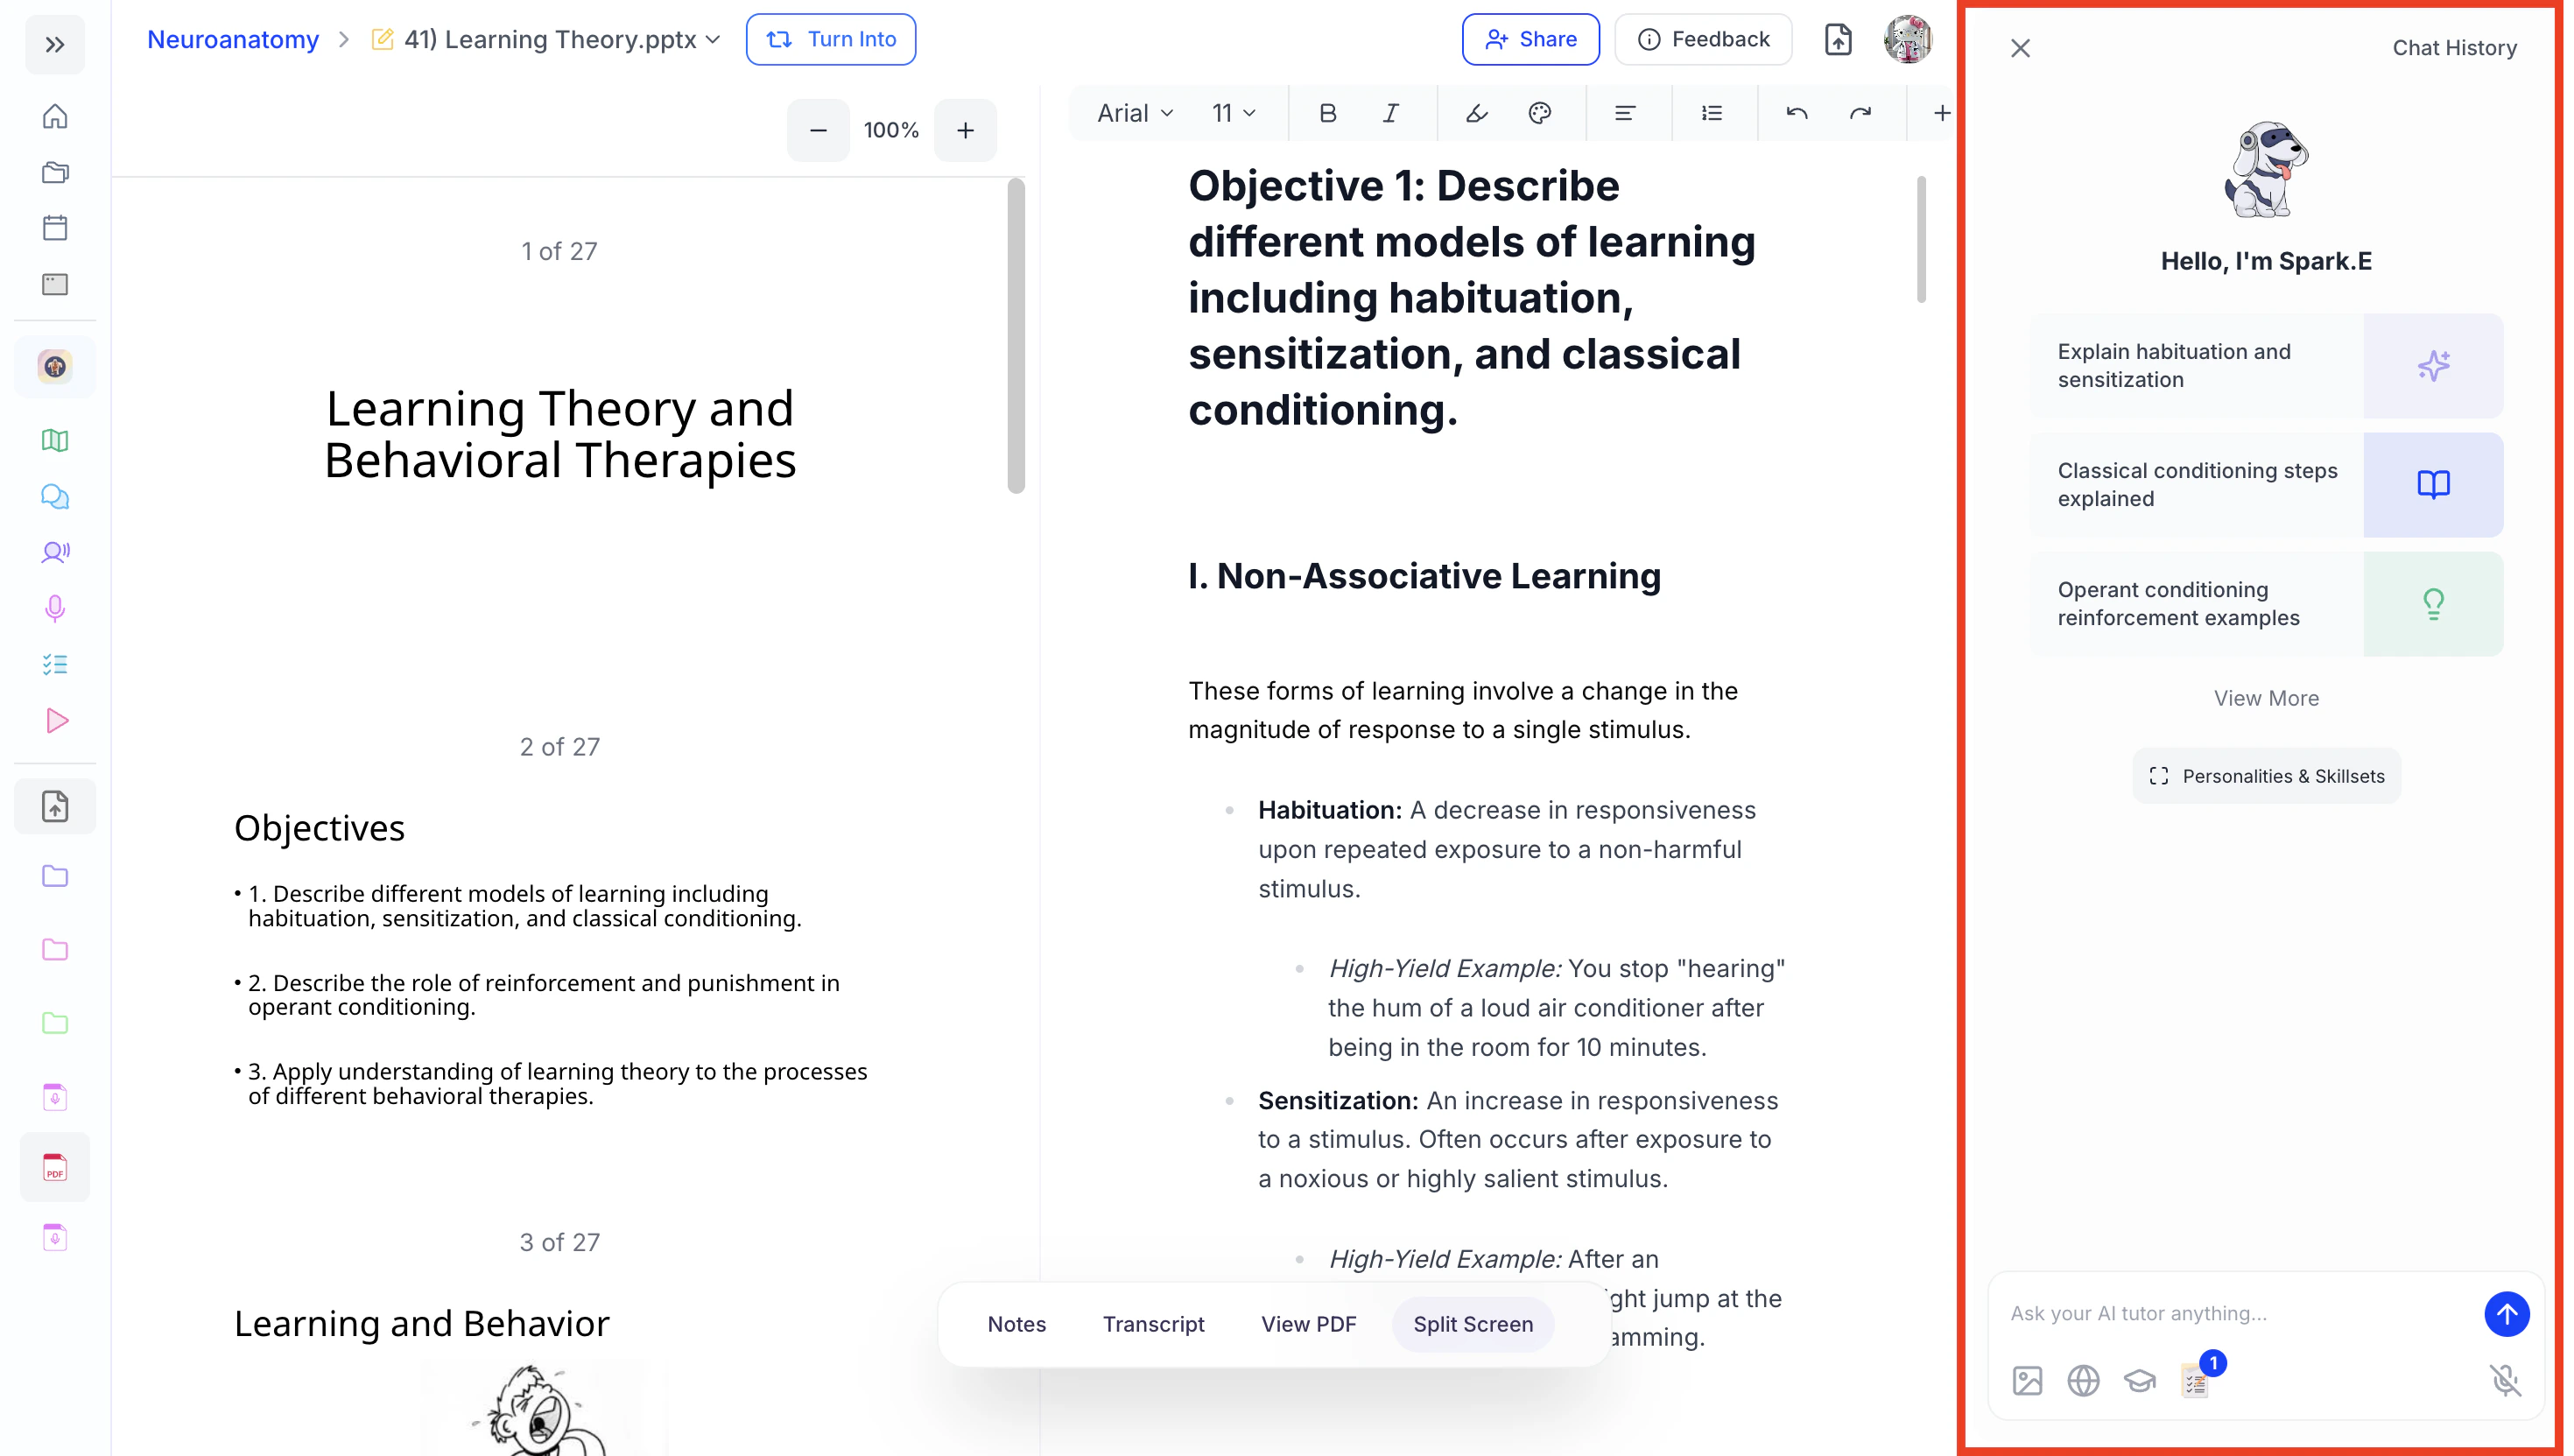
- The Spark.E Chat side panel will automatically open on the right-hand side of your note.
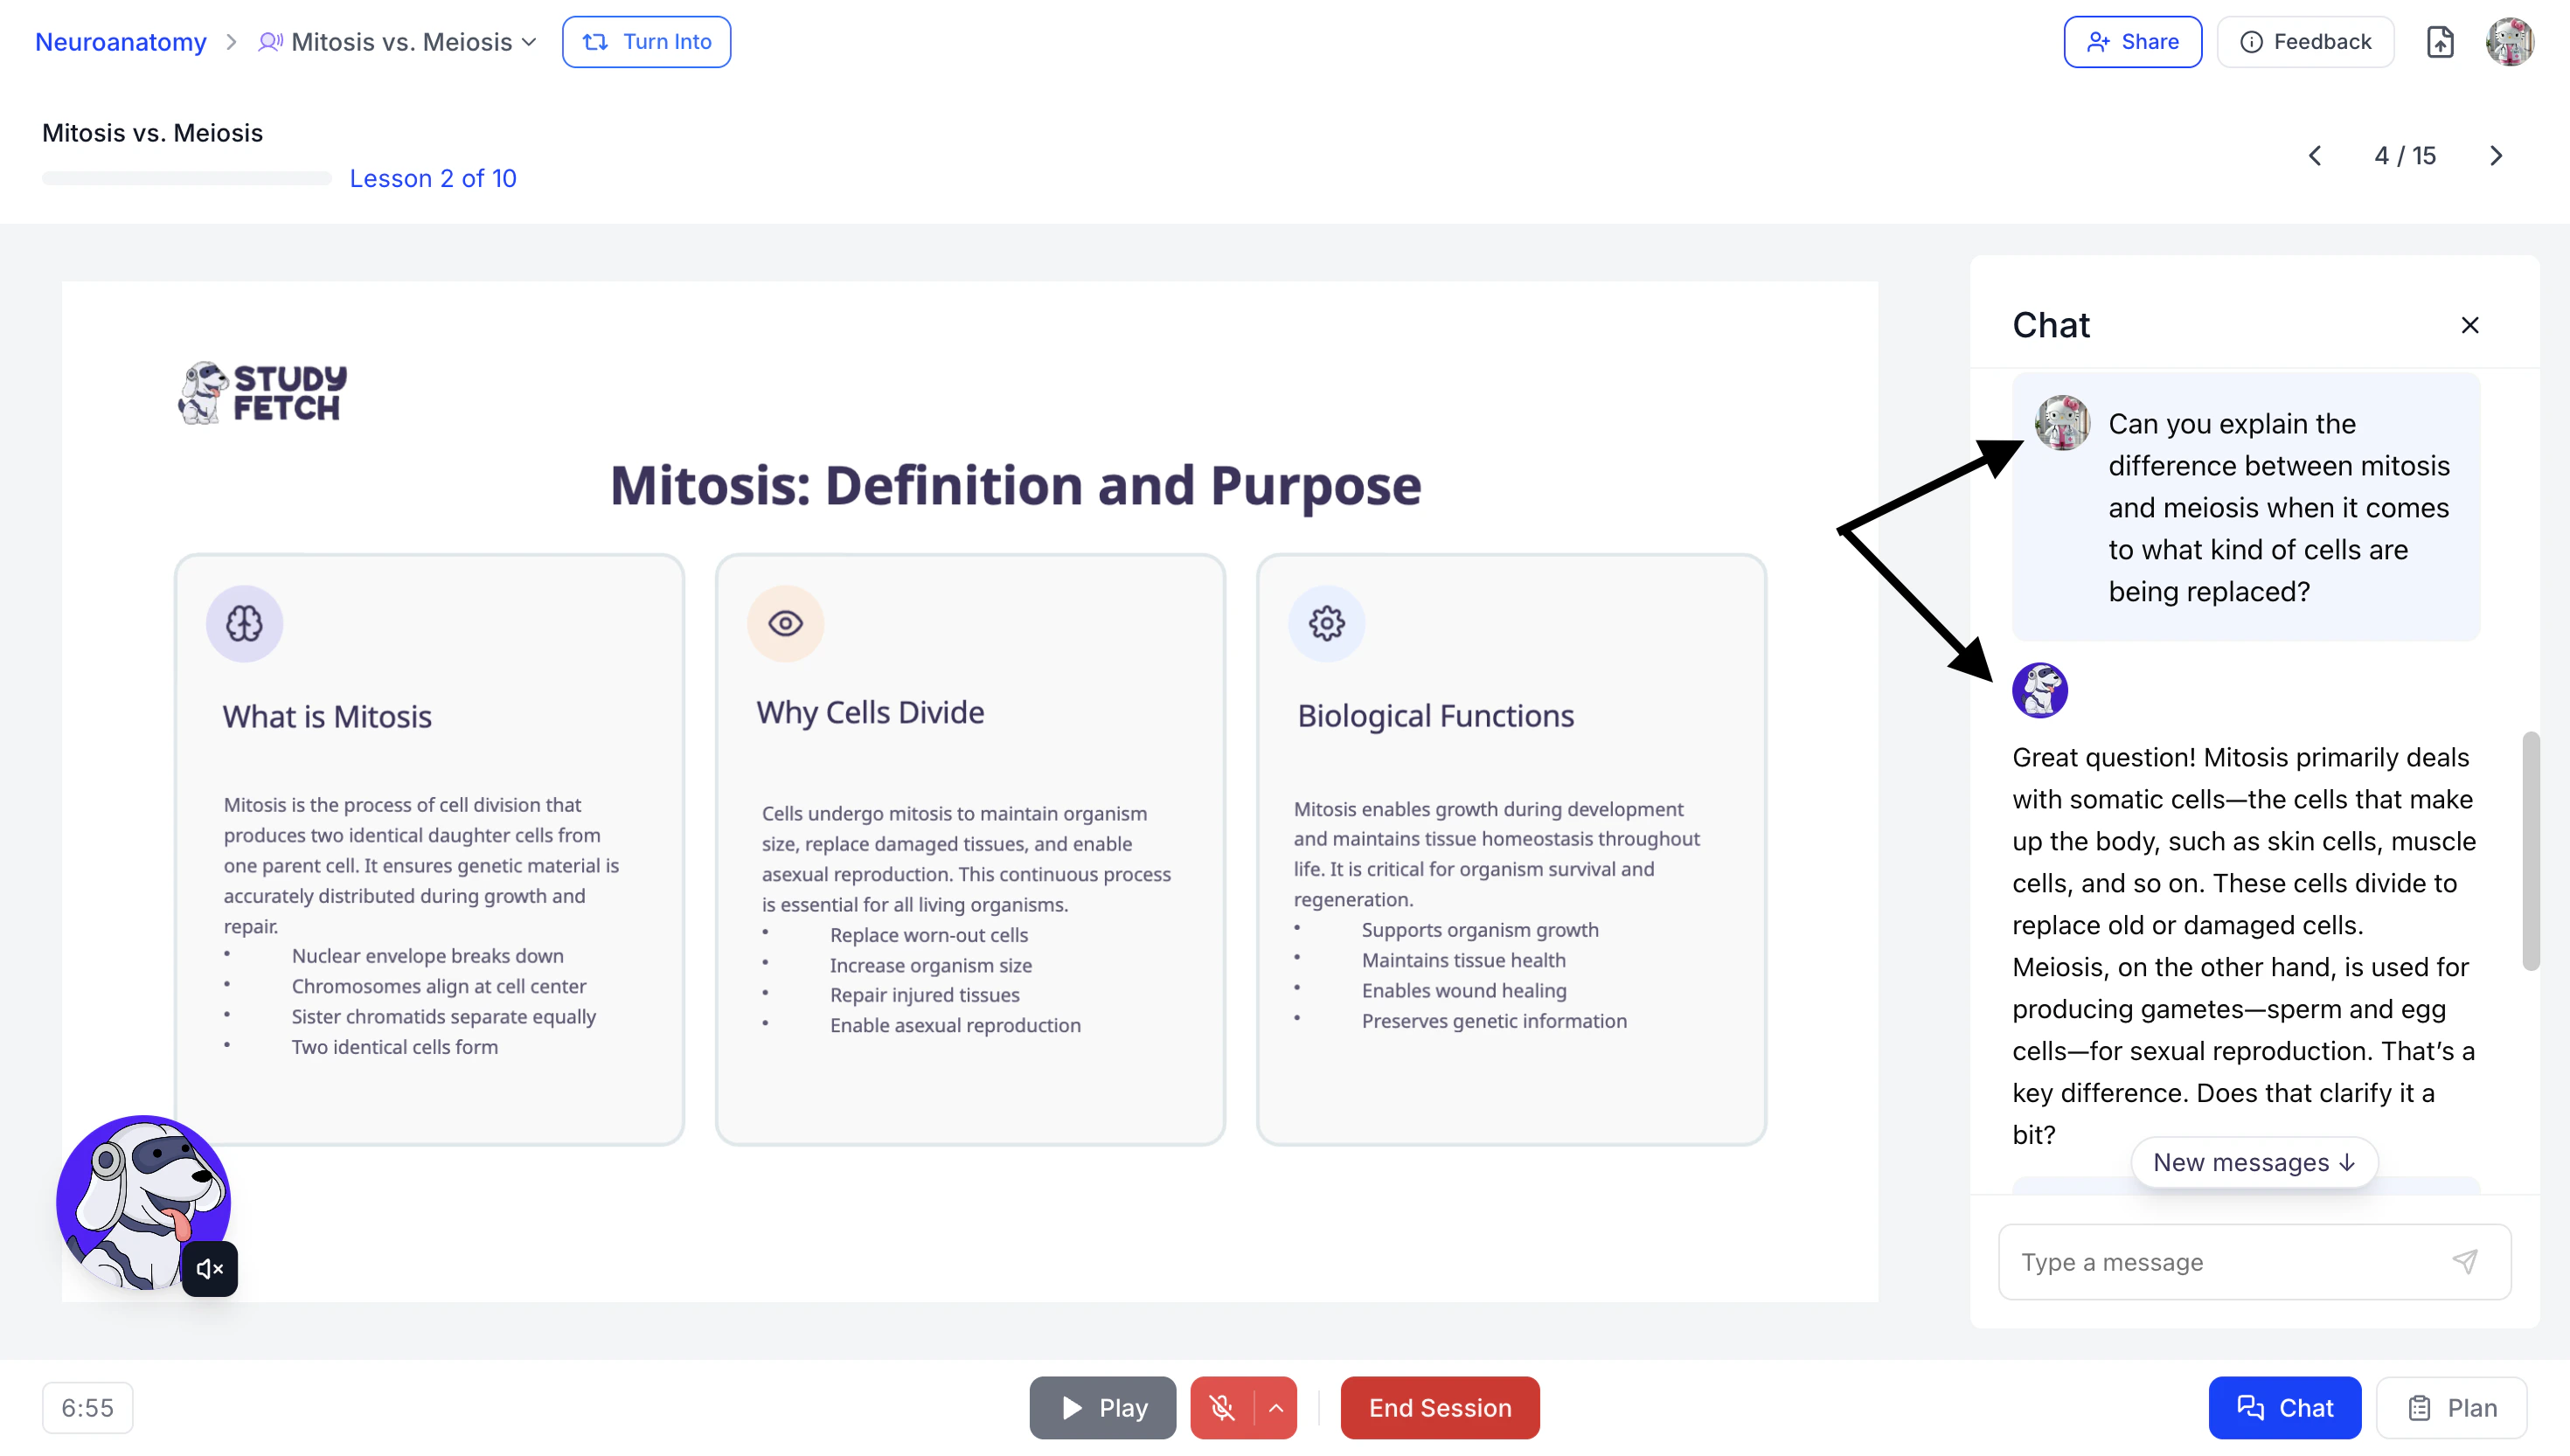
Tutor Me
- After starting your Tutor Me session, the Chat side panel will automatically appear on the right-hand side of the screen.
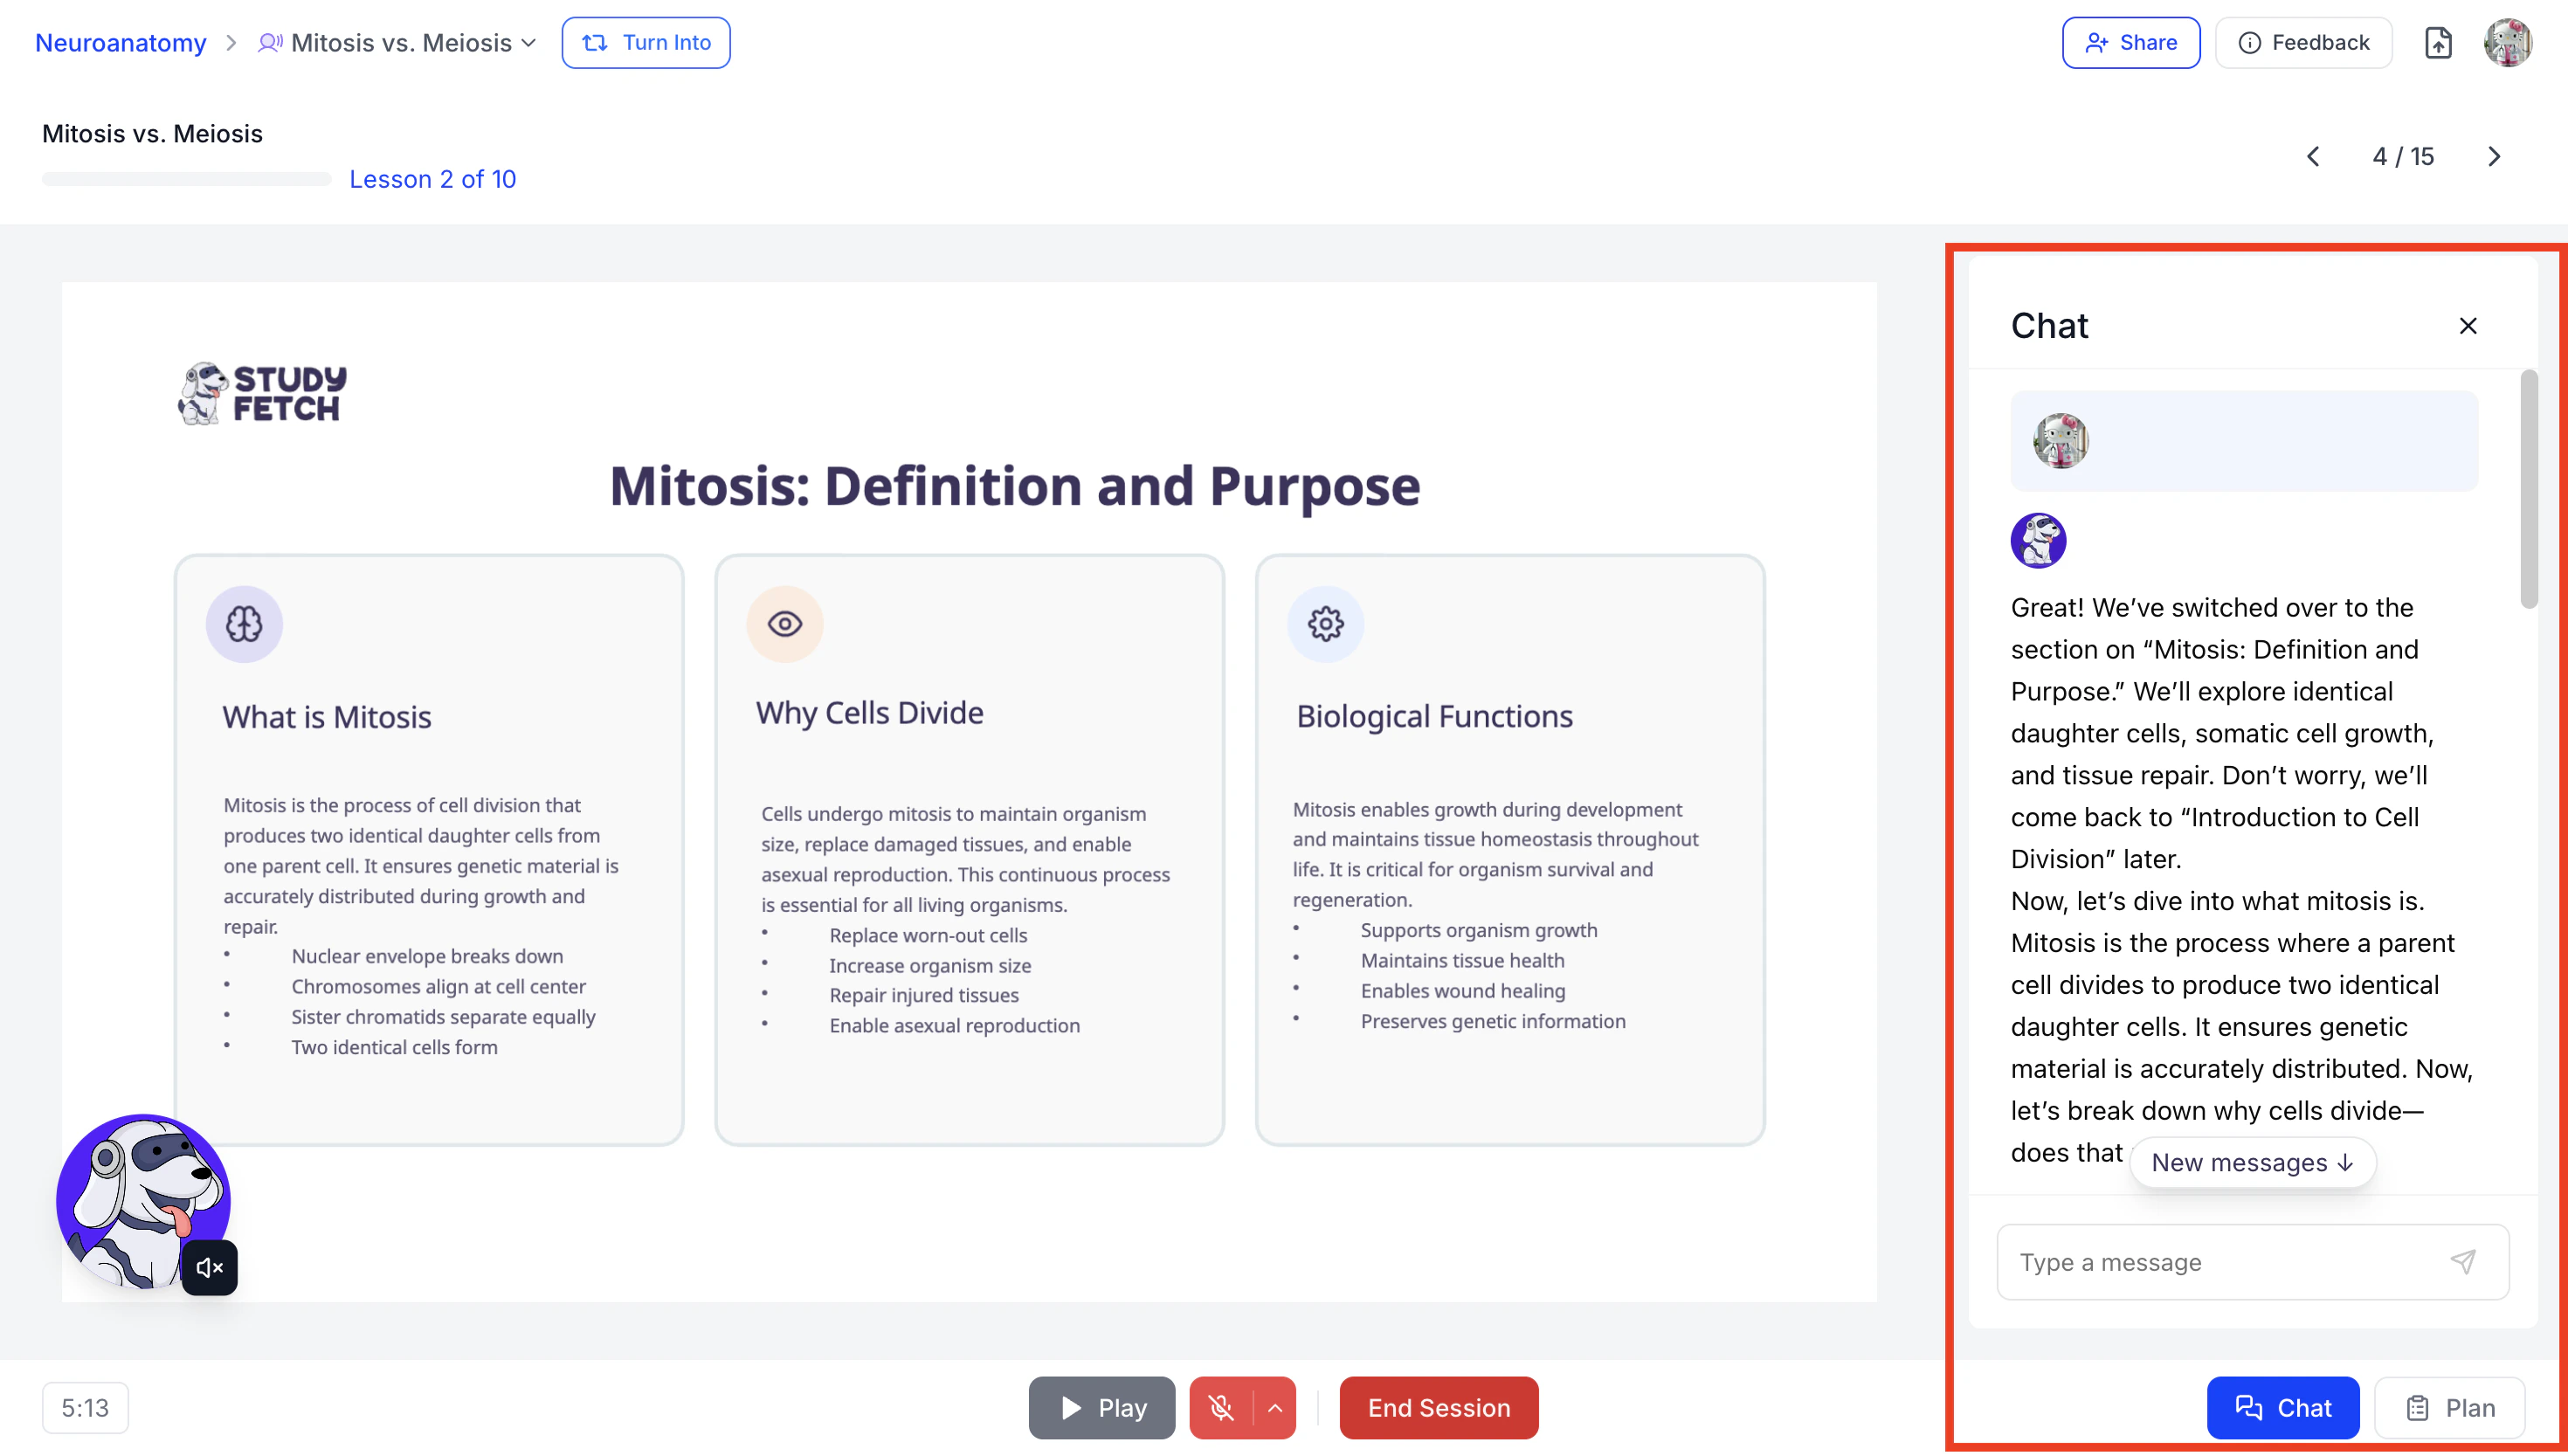
- Within Tutor Me, users can interact with Spark.E by typing messages in the chat box or by speaking directly using the microphone.
- The Chat side panel also serves as a real-time transcript, capturing your conversation throughout the session.
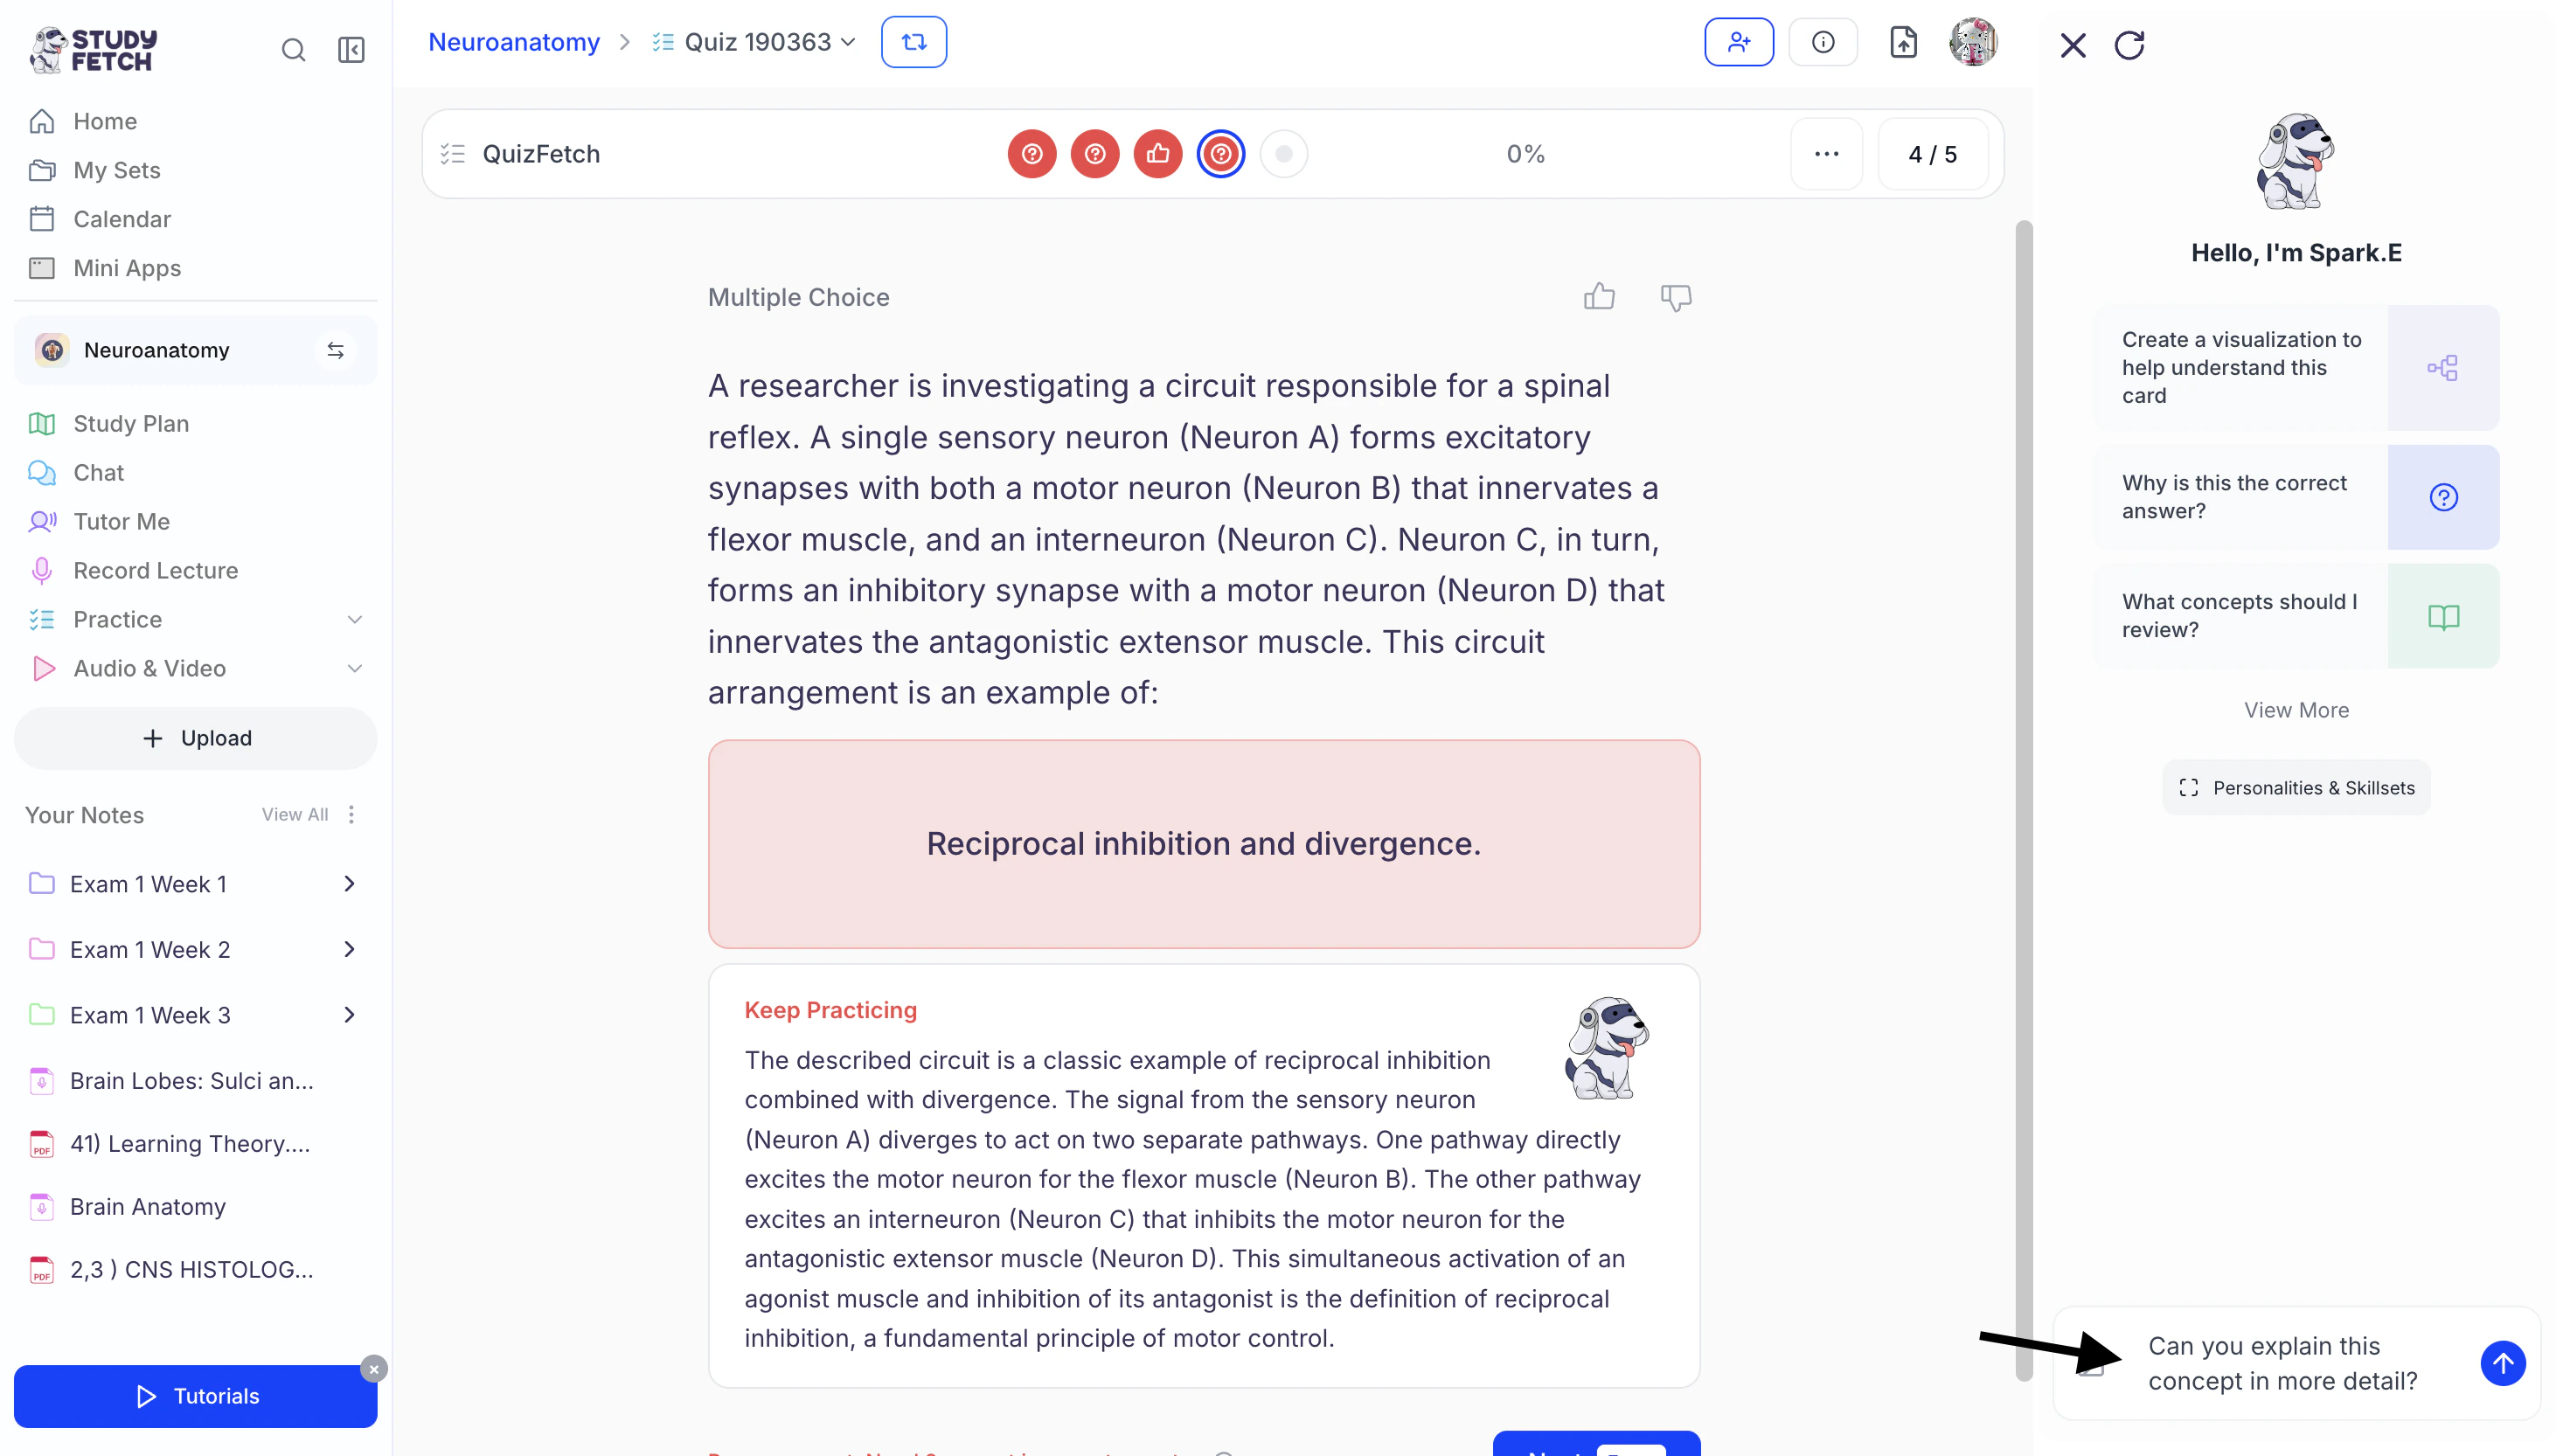
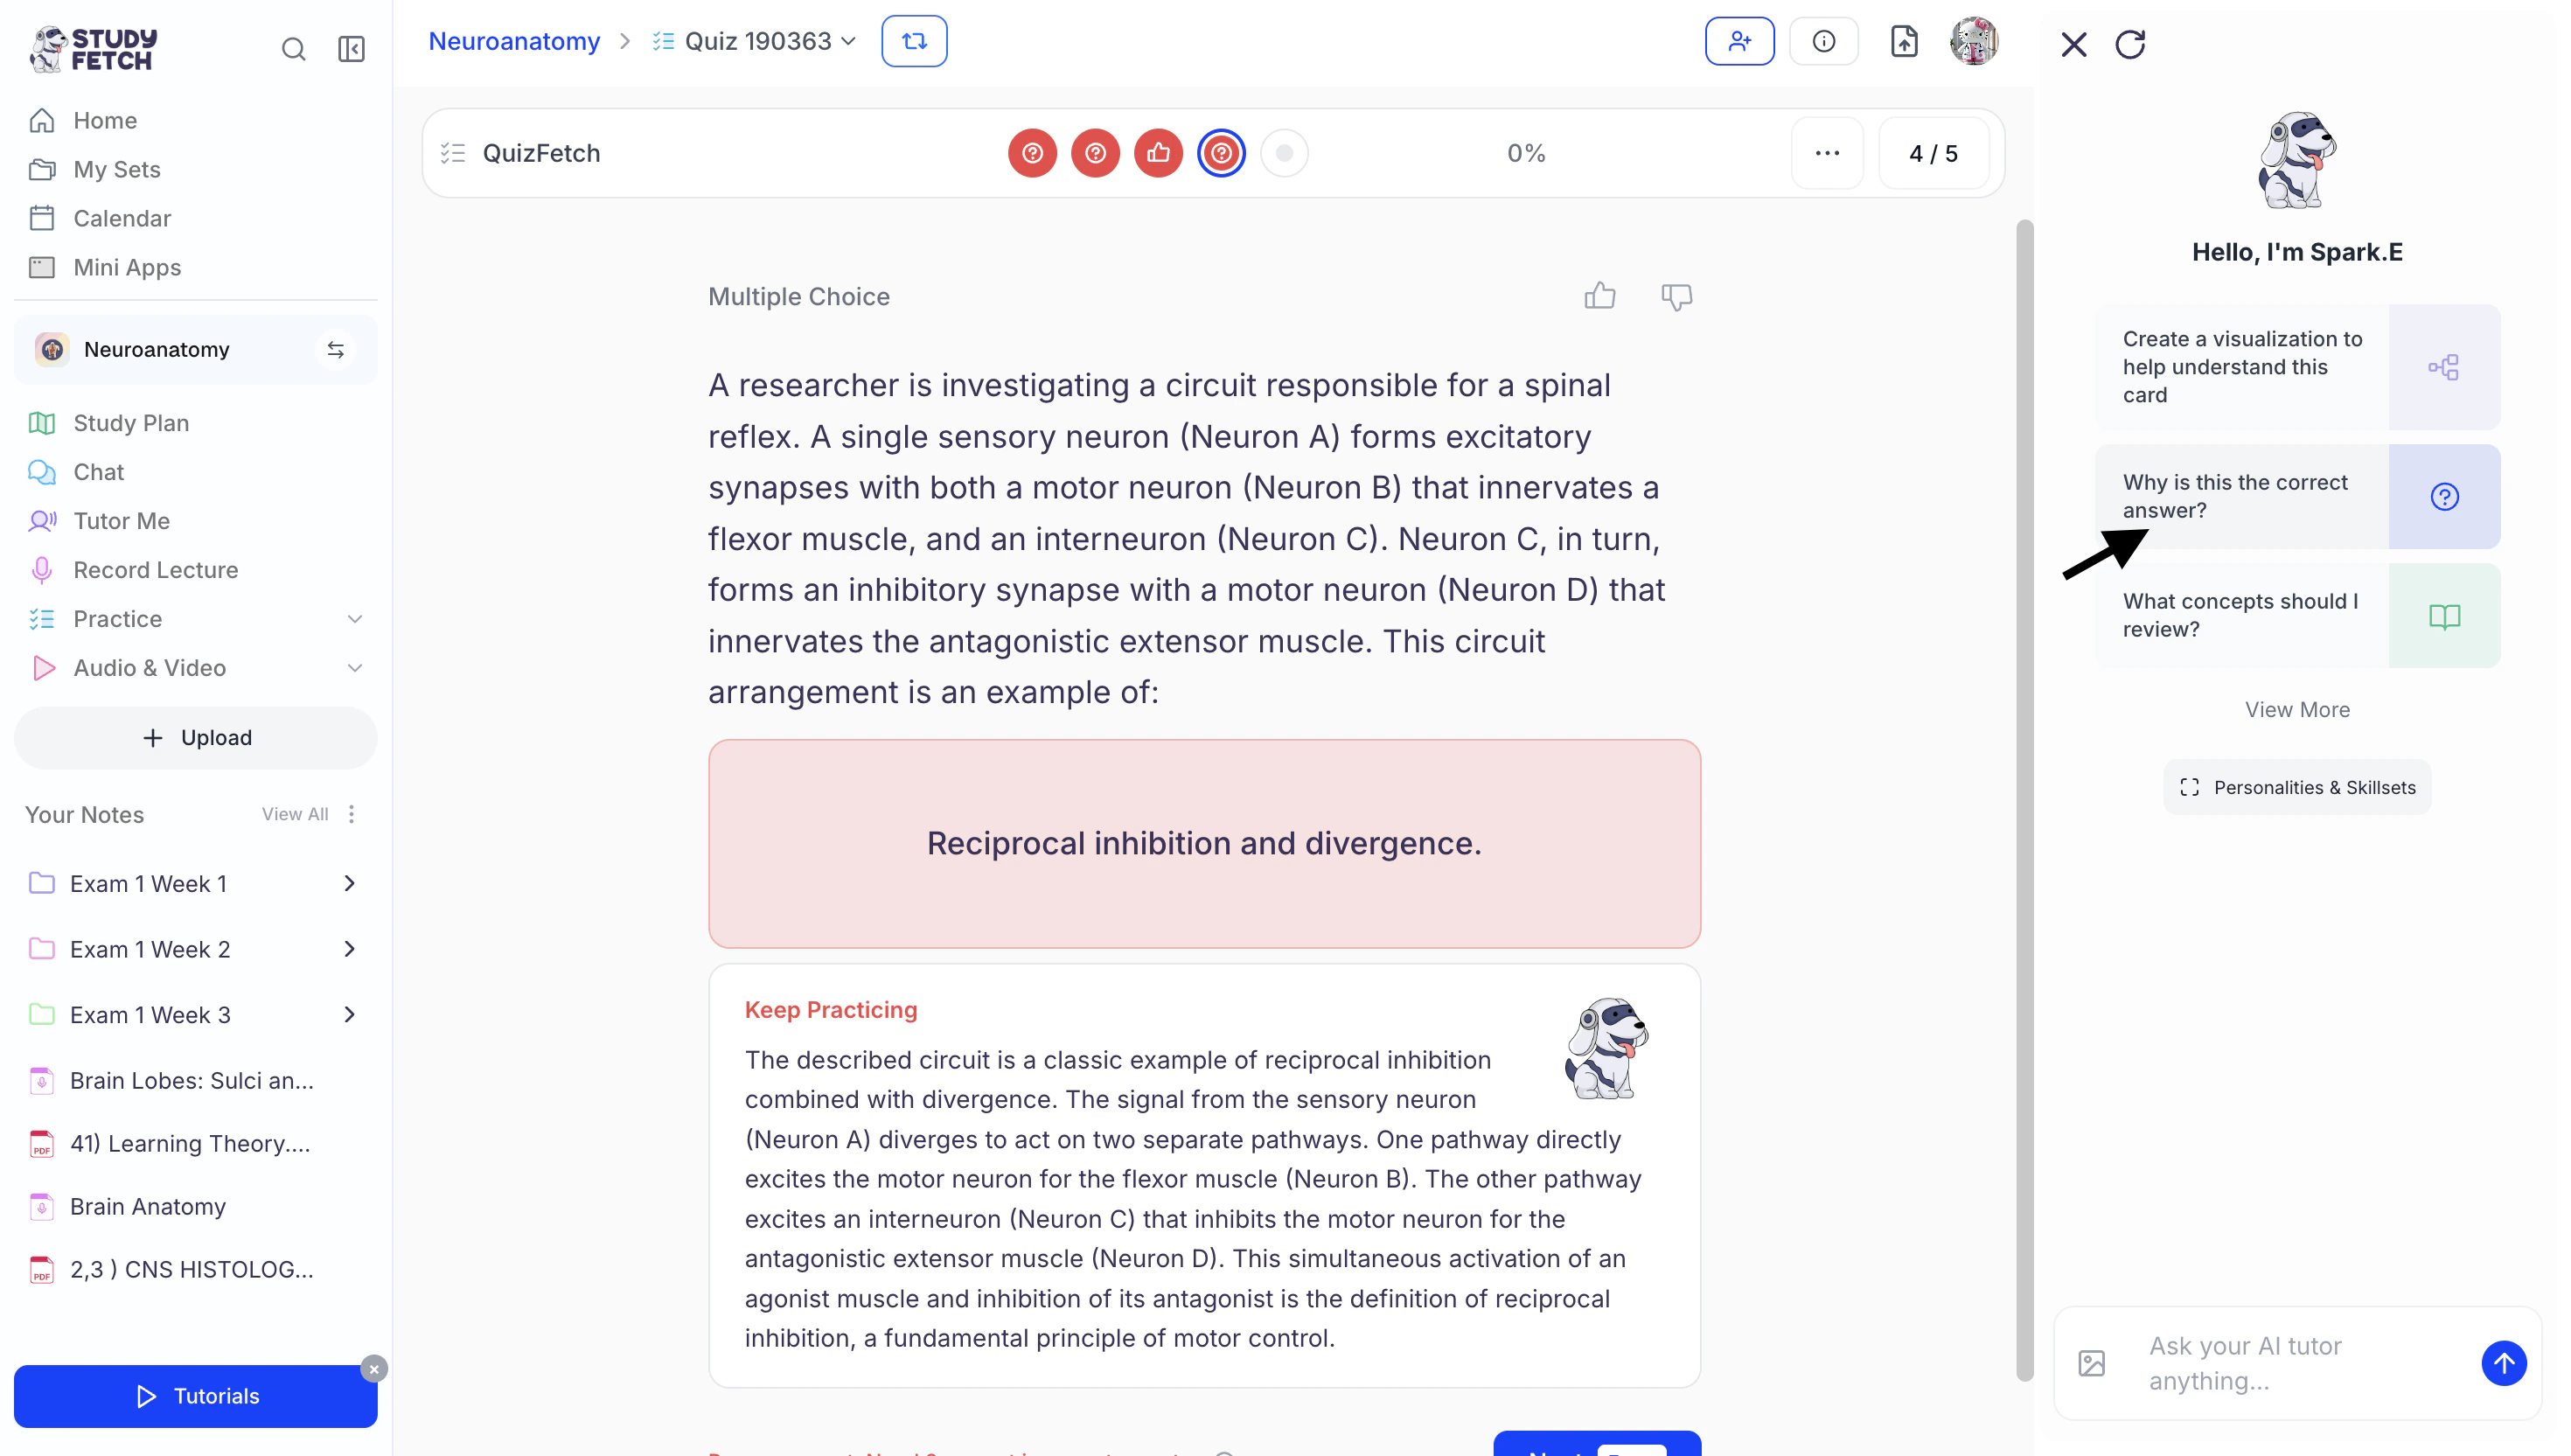
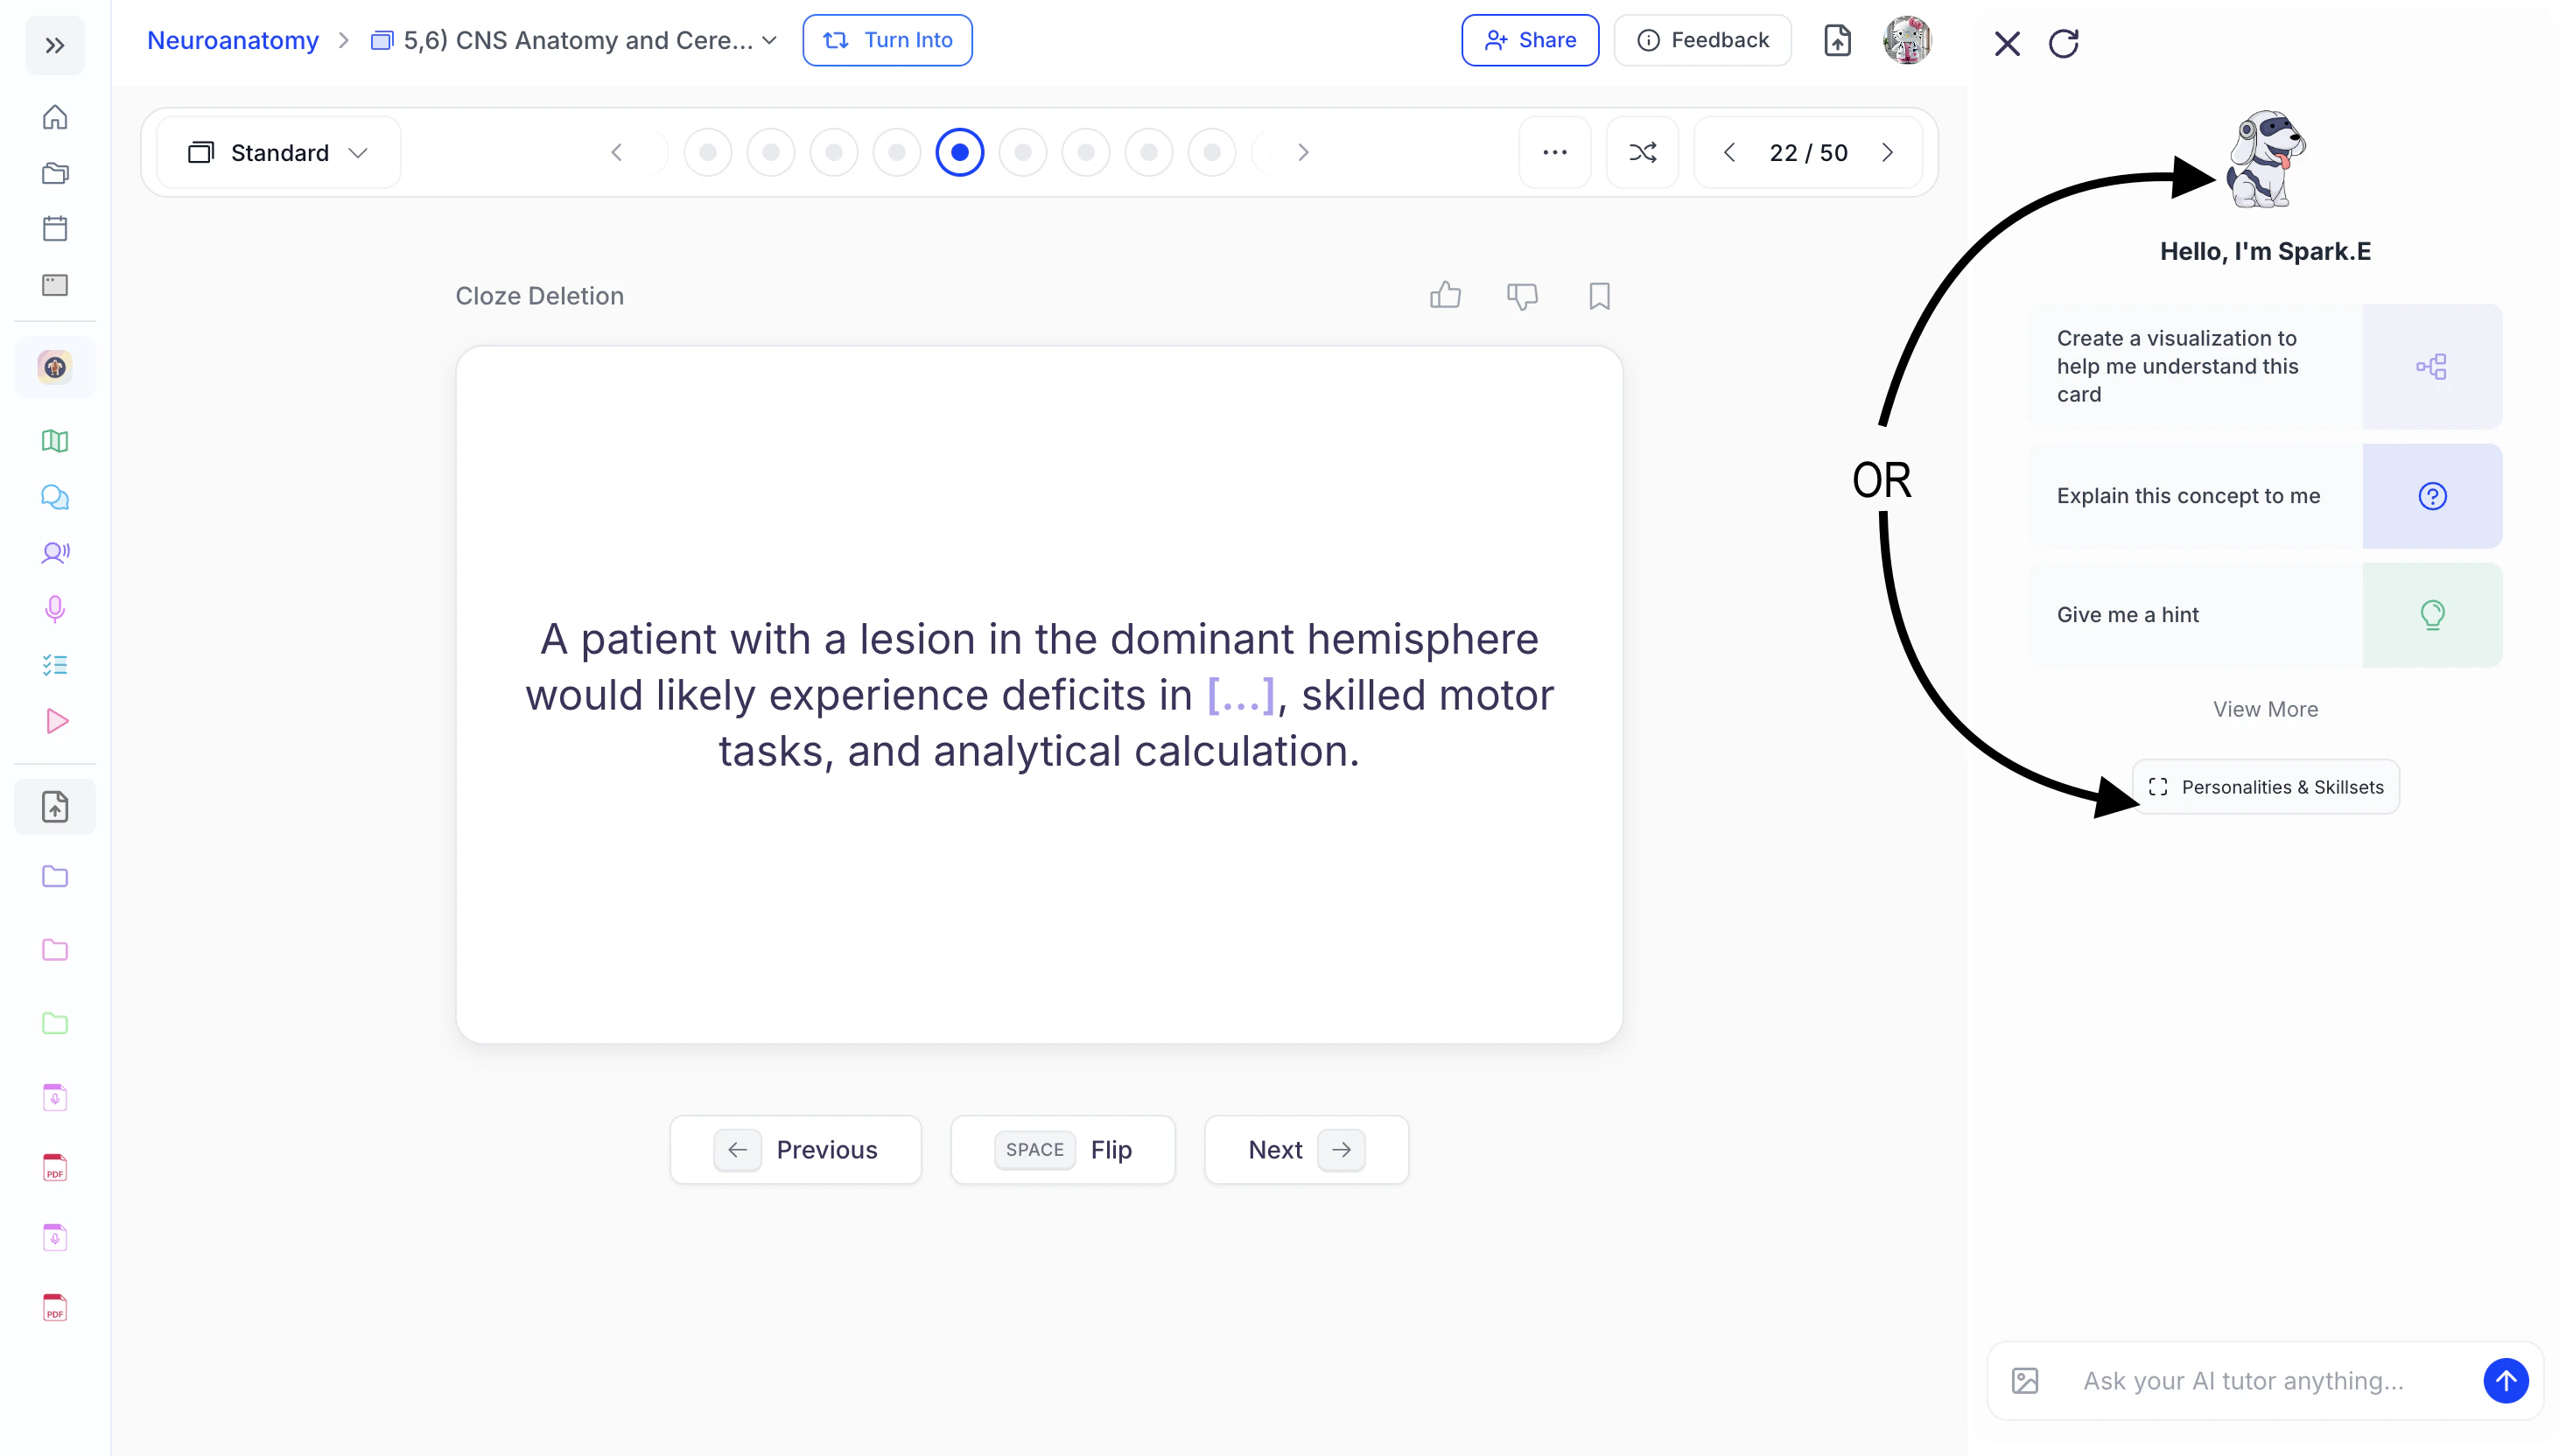
QuizFetch
- After starting your Quiz, the Spark.E Chat side panel will automatically appear on the right-hand side of the screen.
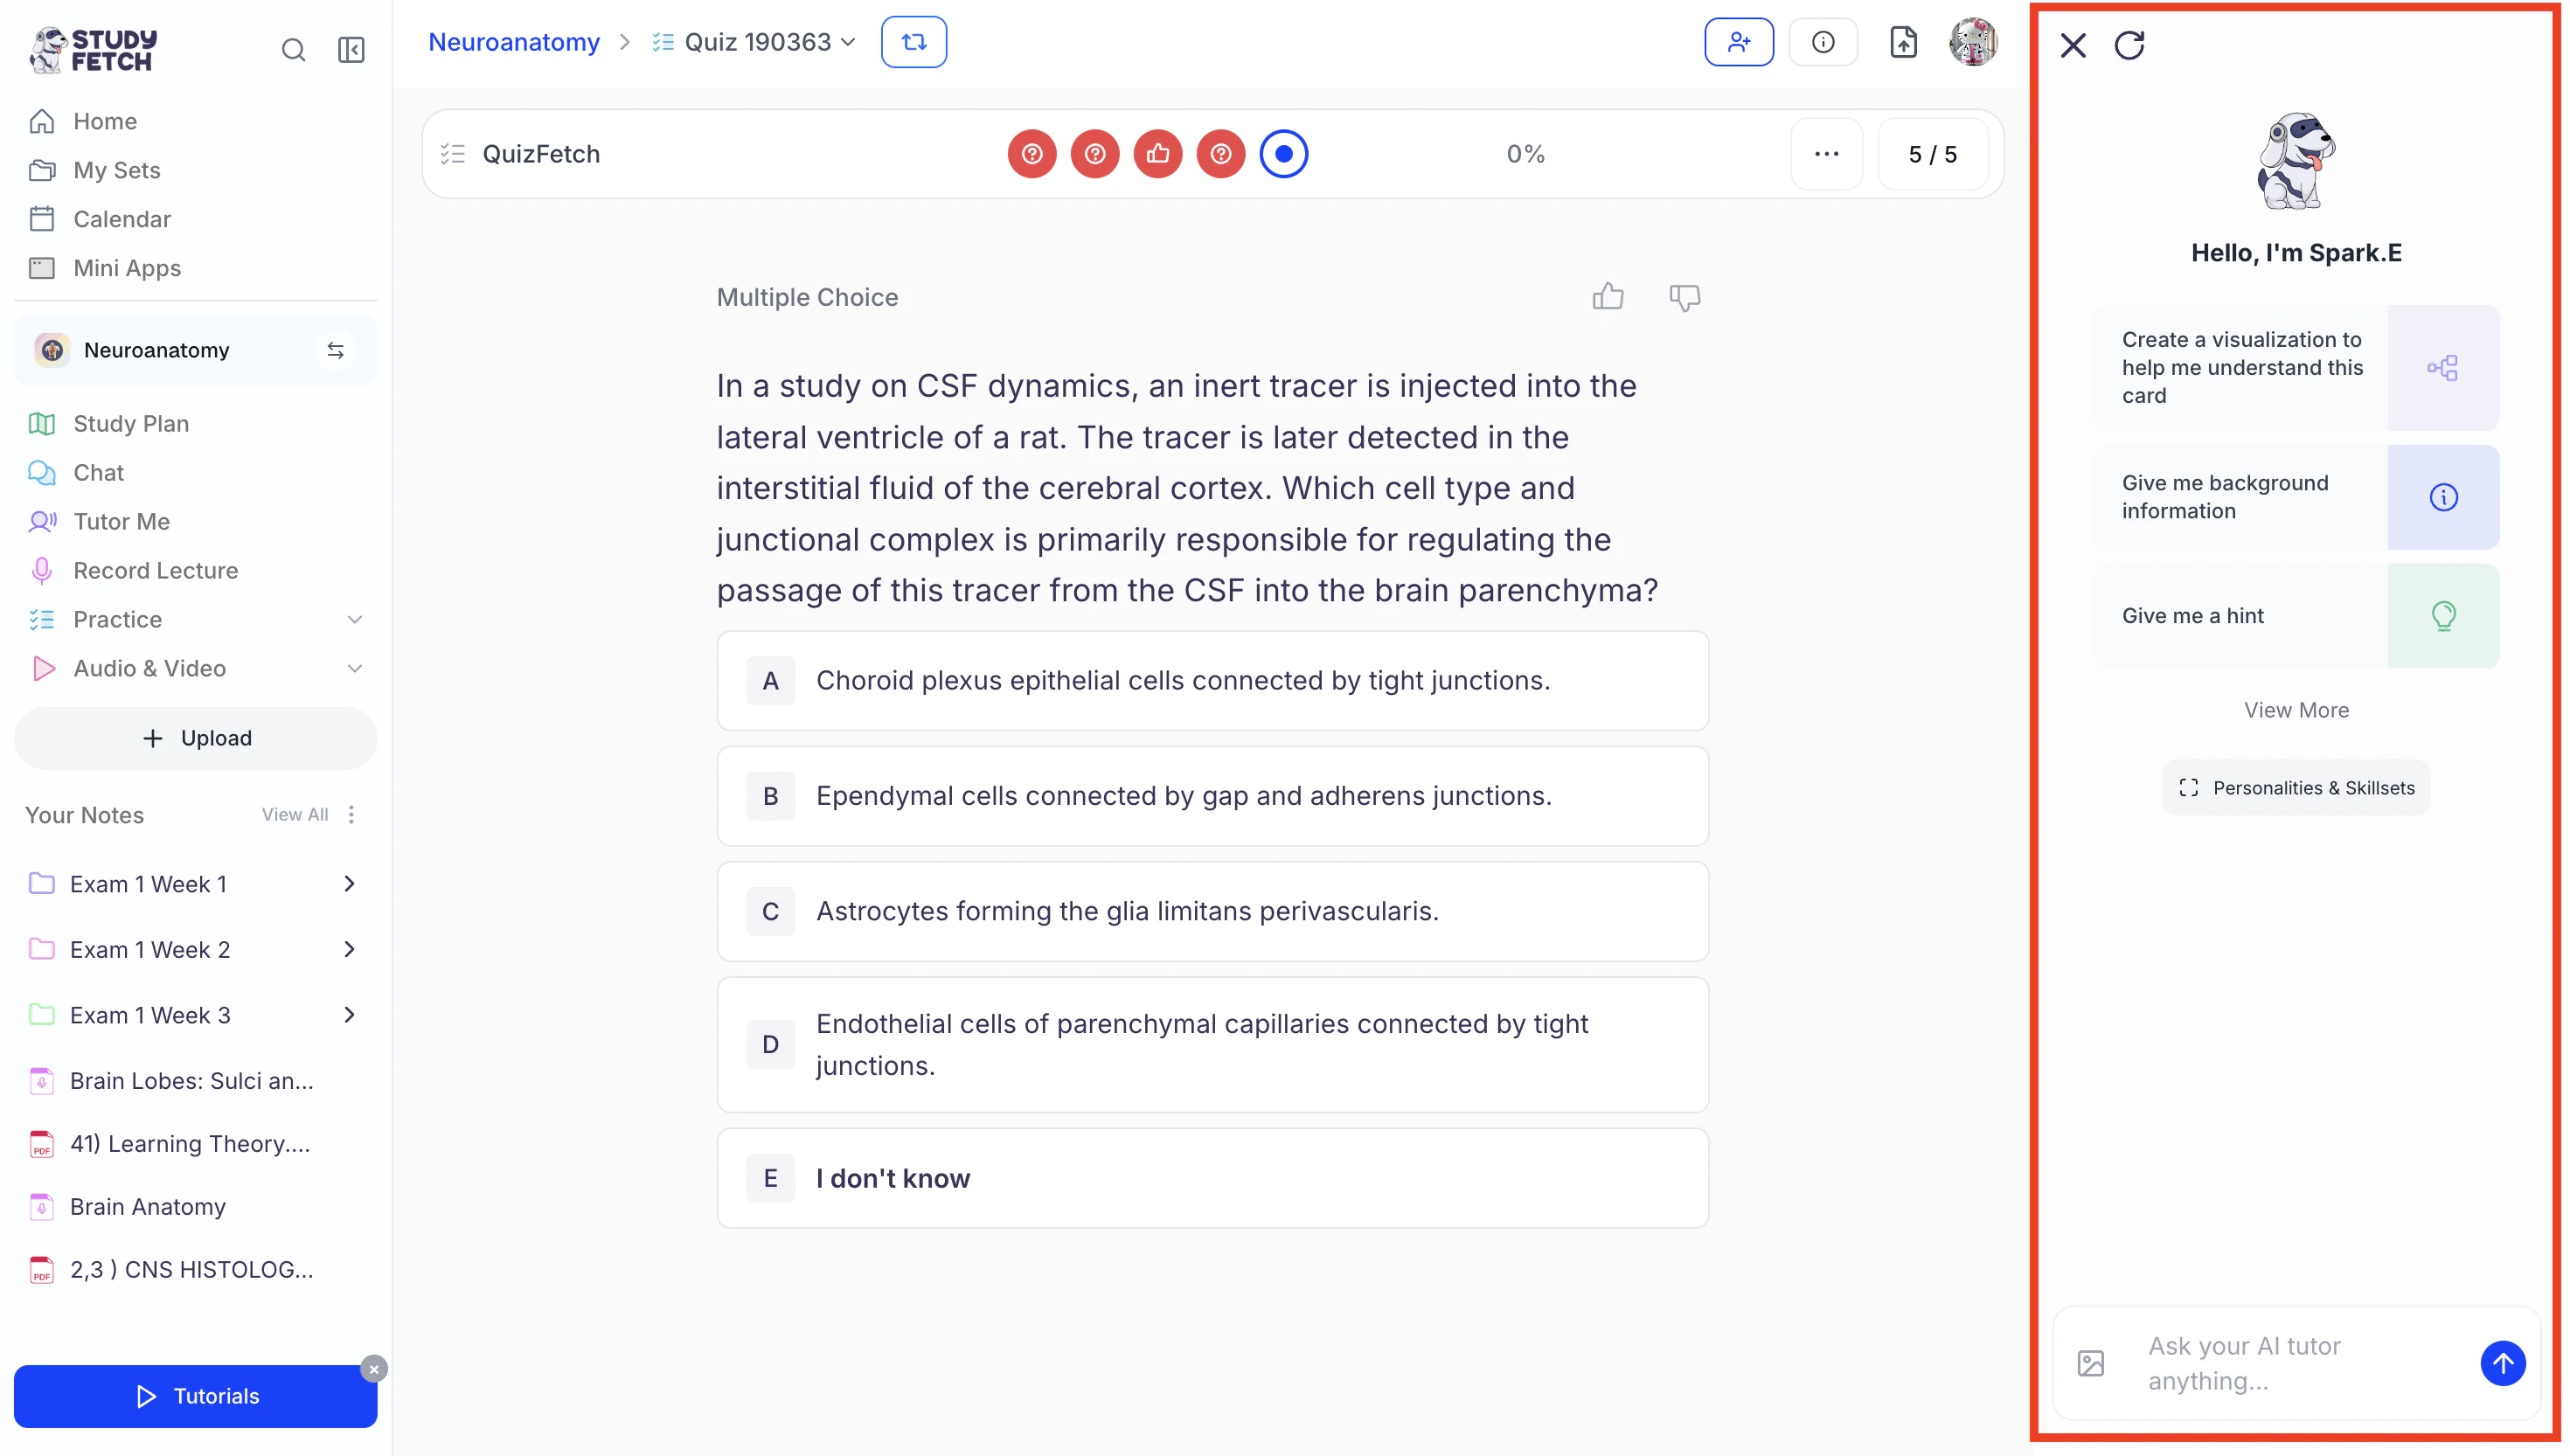
- Within QuizFetch, users can interact with Spark.E by typing messages in the chat box
or select from the suggested prompts listed under Hello, I’m Spark.E.
Test
- After completing a Practice Test, select View Answers.
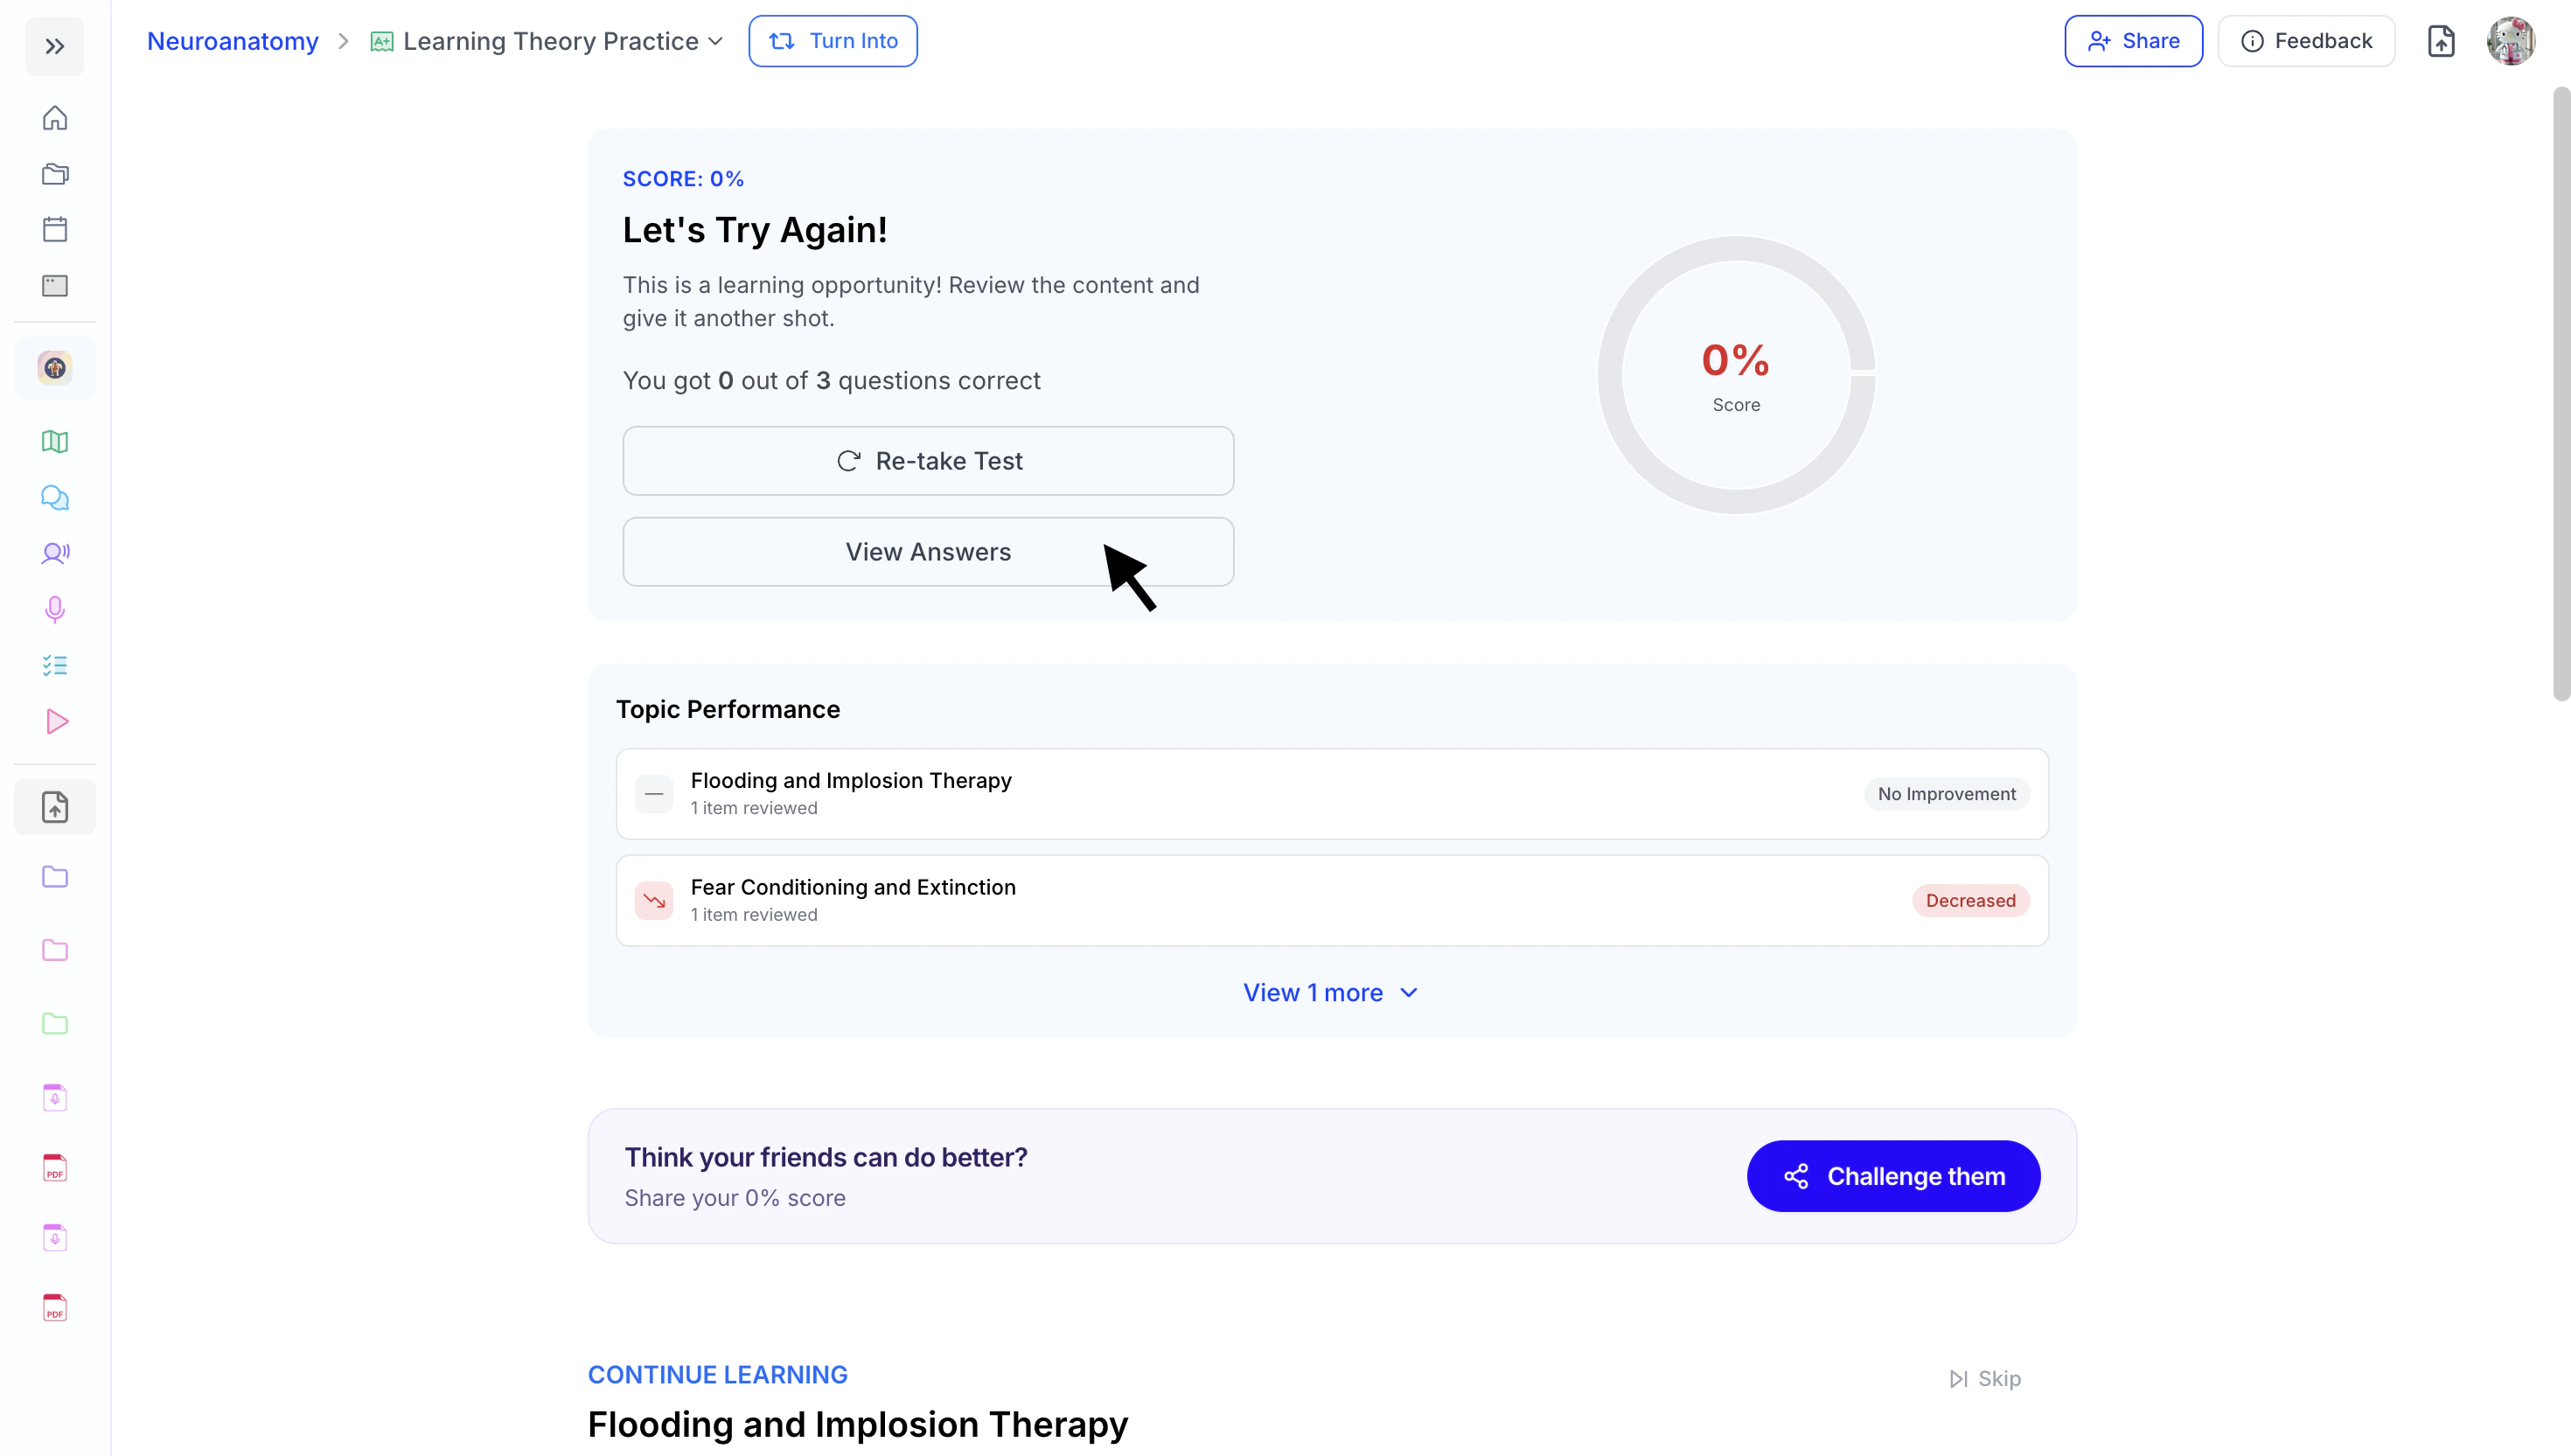
- You will then be able to review your graded Practice Test. The Spark.E Chat side panel will automatically appear on the right-hand side of the screen.
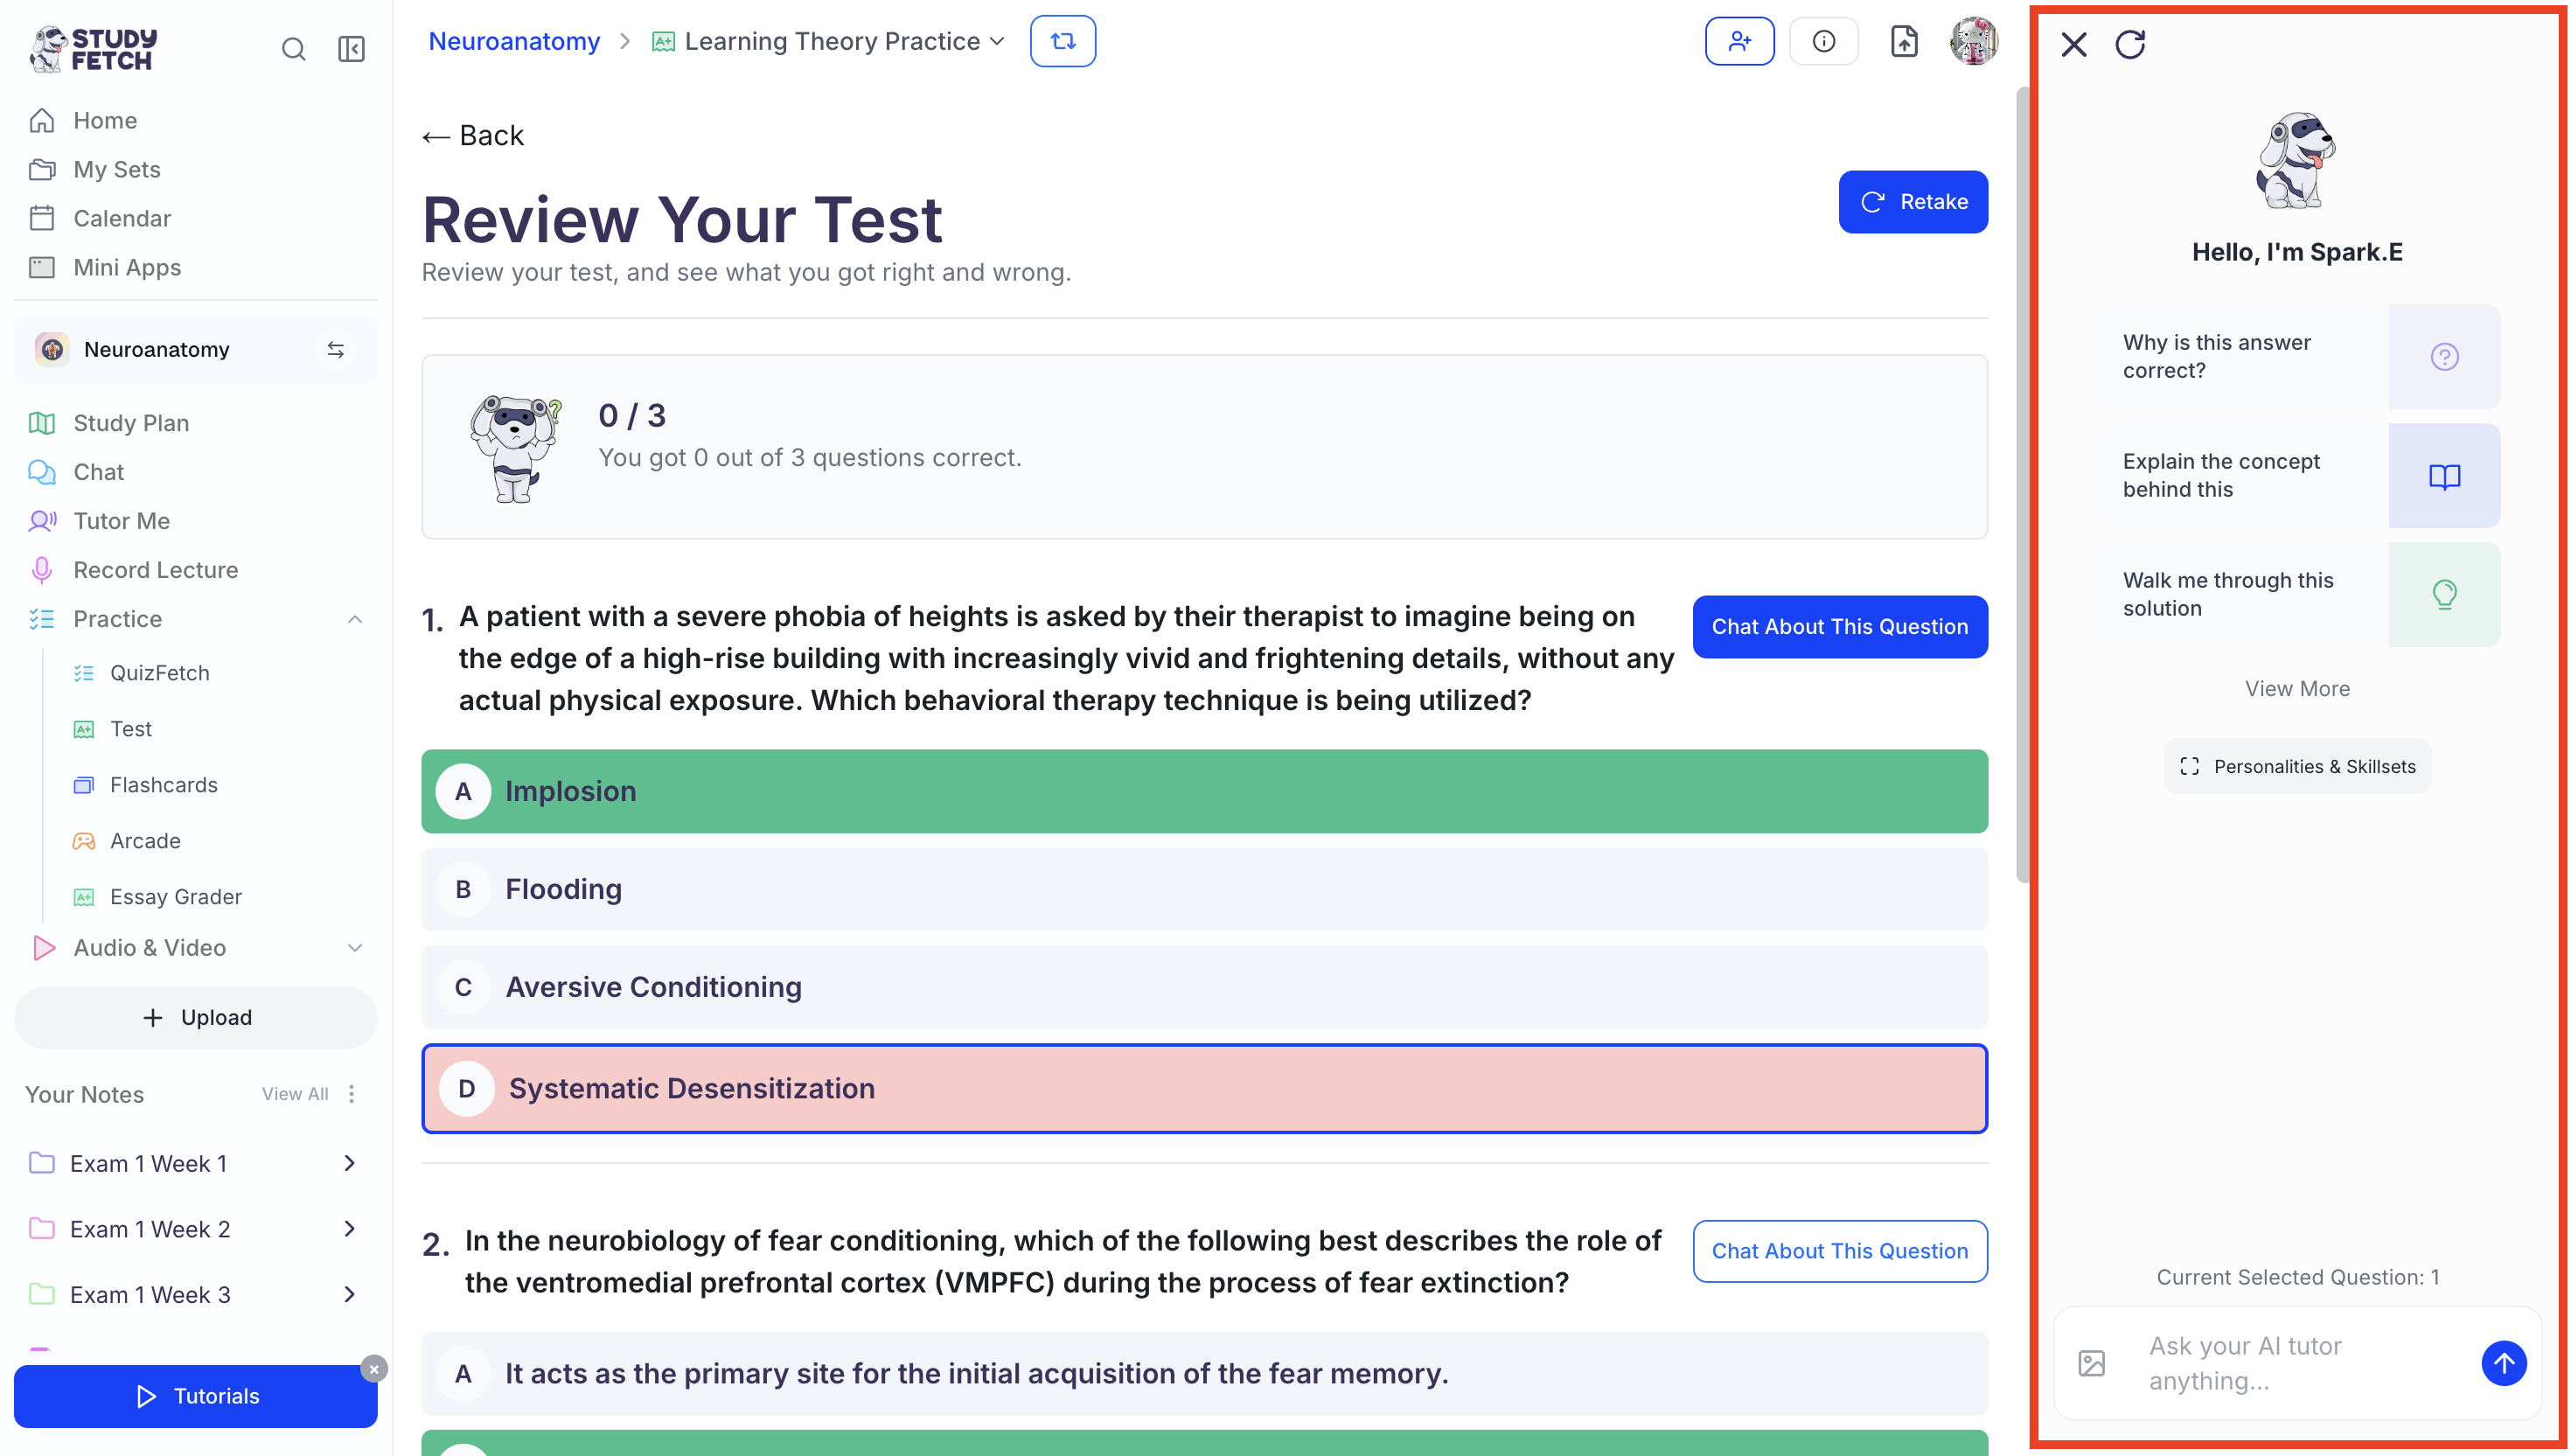
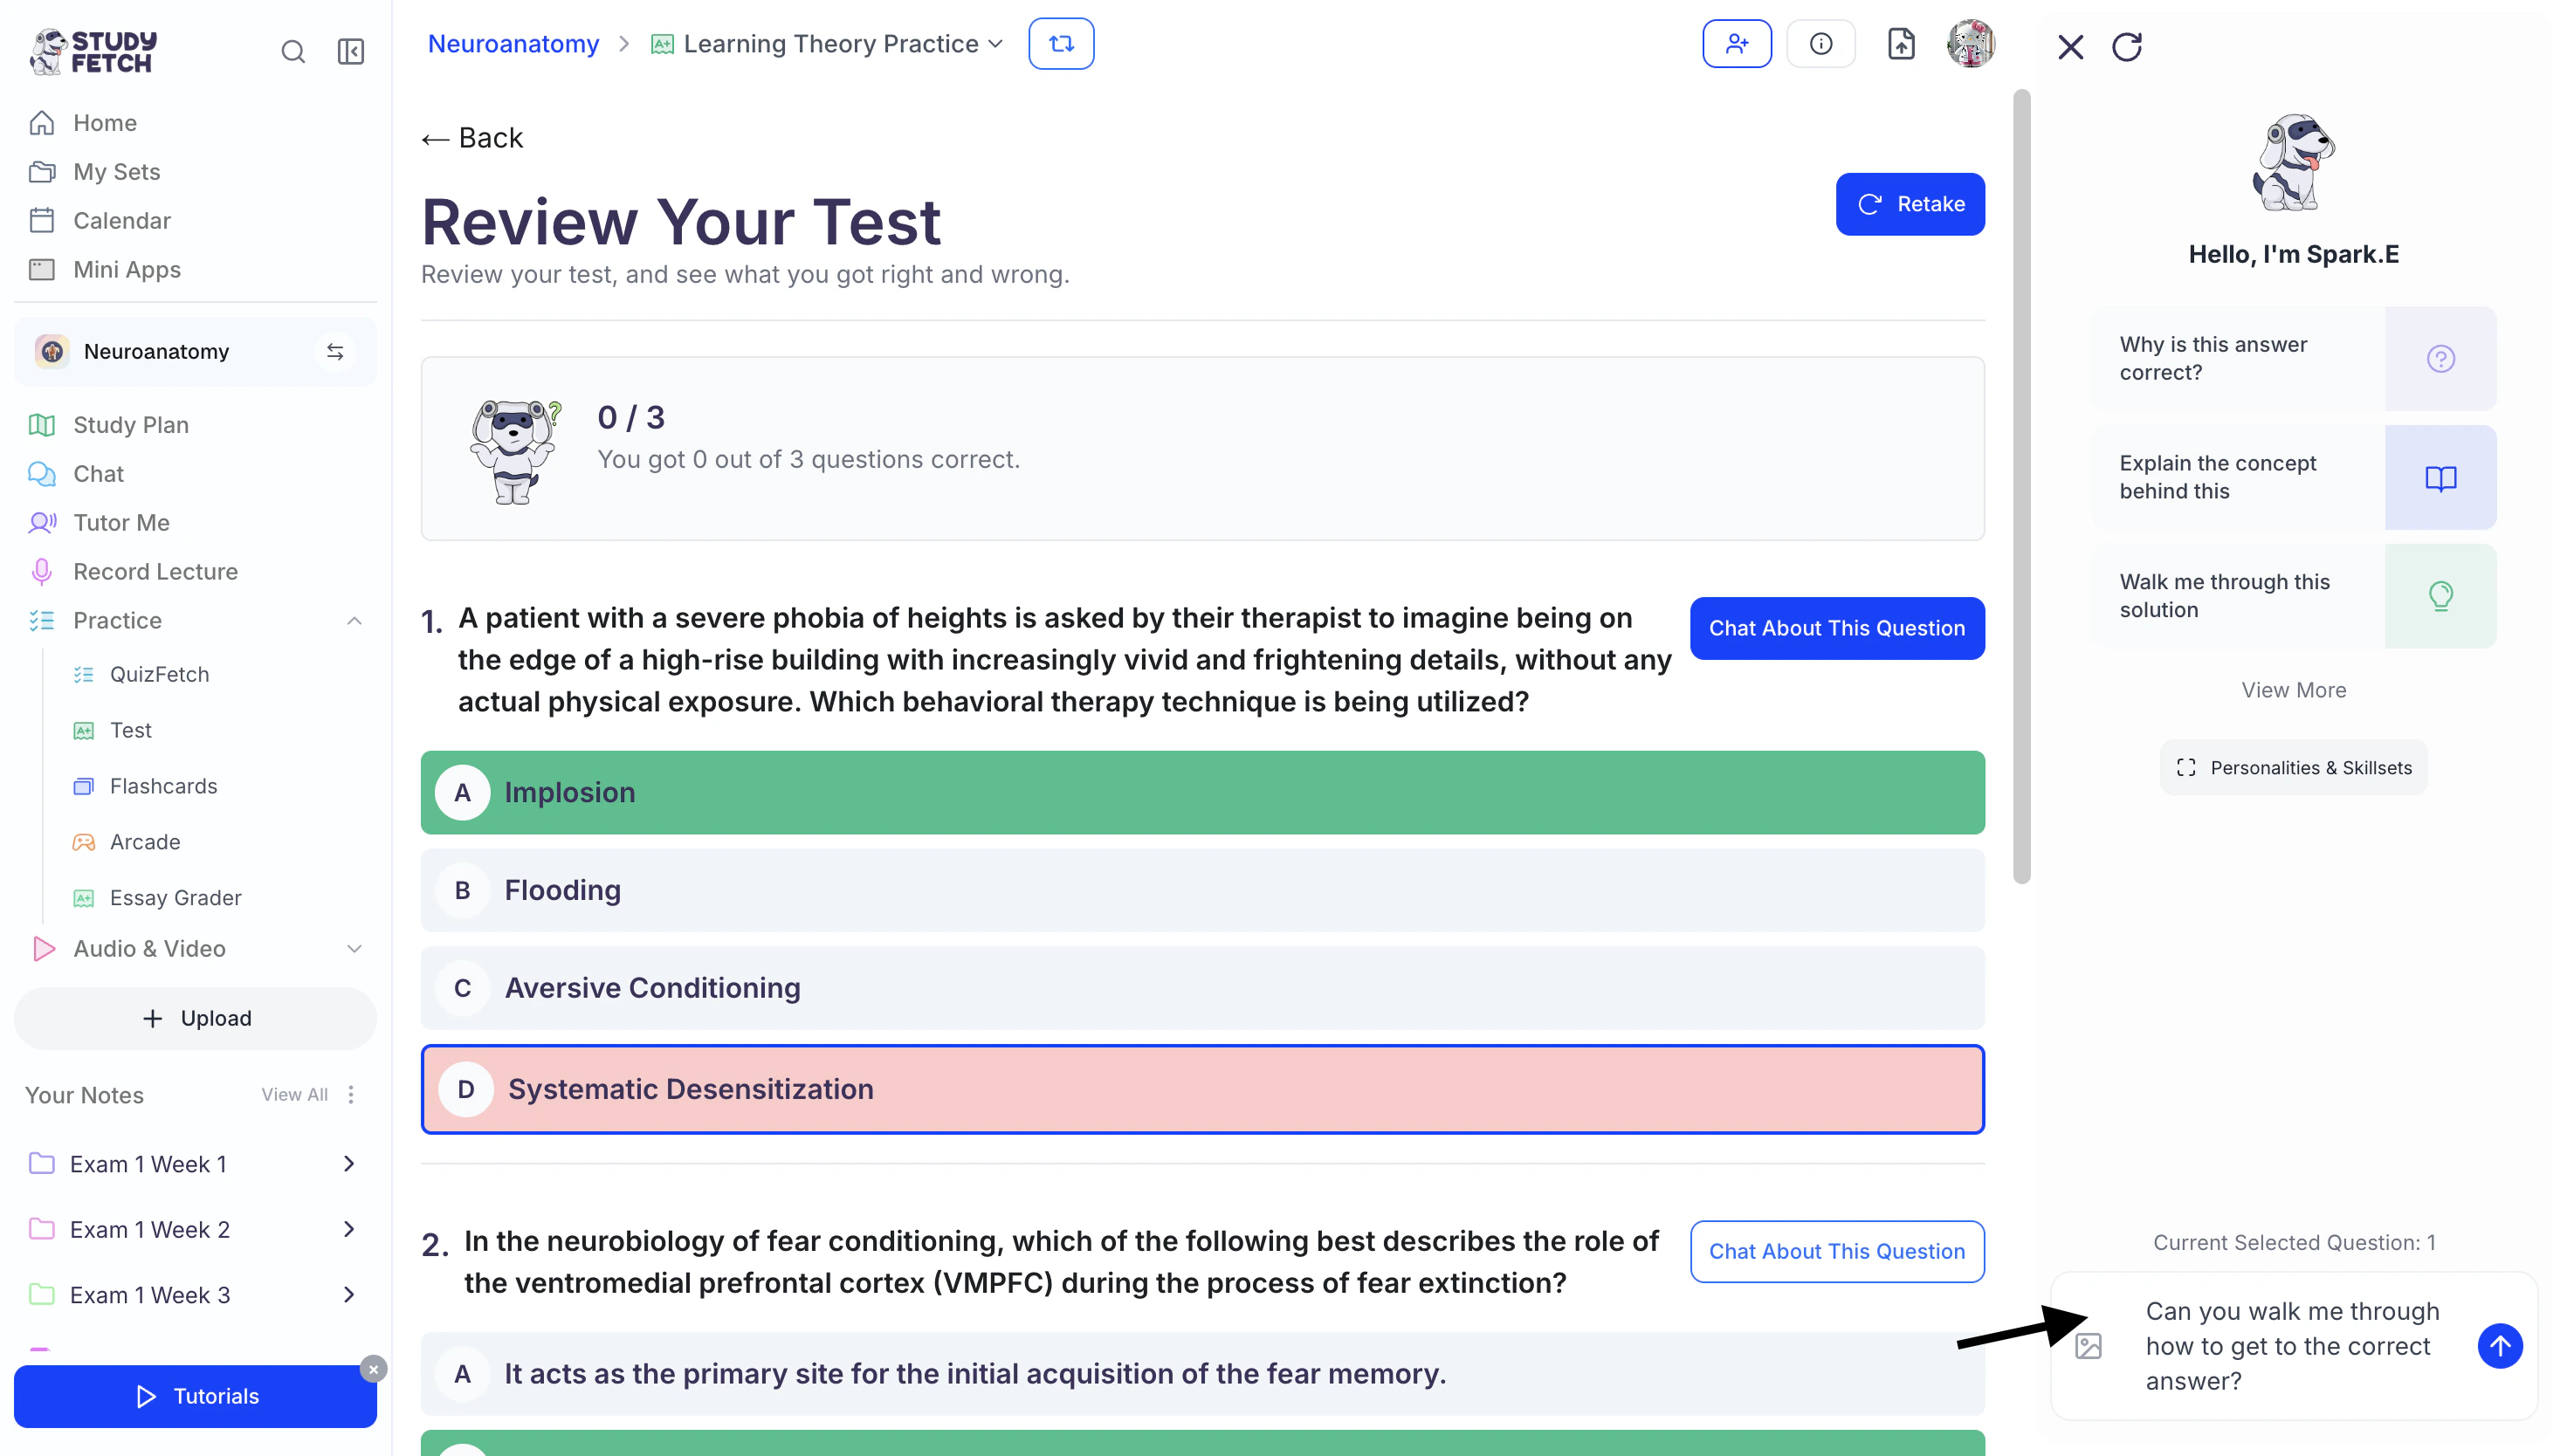
- Use the Spark.E Chat to ask questions or explore topics in more depth. To discuss a specific question, select Chat About This Question next to the item you want to review.

- You can then type your question in the chat box
or choose from the suggested prompts listed under Hello, I’m Spark.E.

Flashcards
- When studying flashcards, the Spark.E Chat side panel will automatically appear on the right-hand side of the screen.
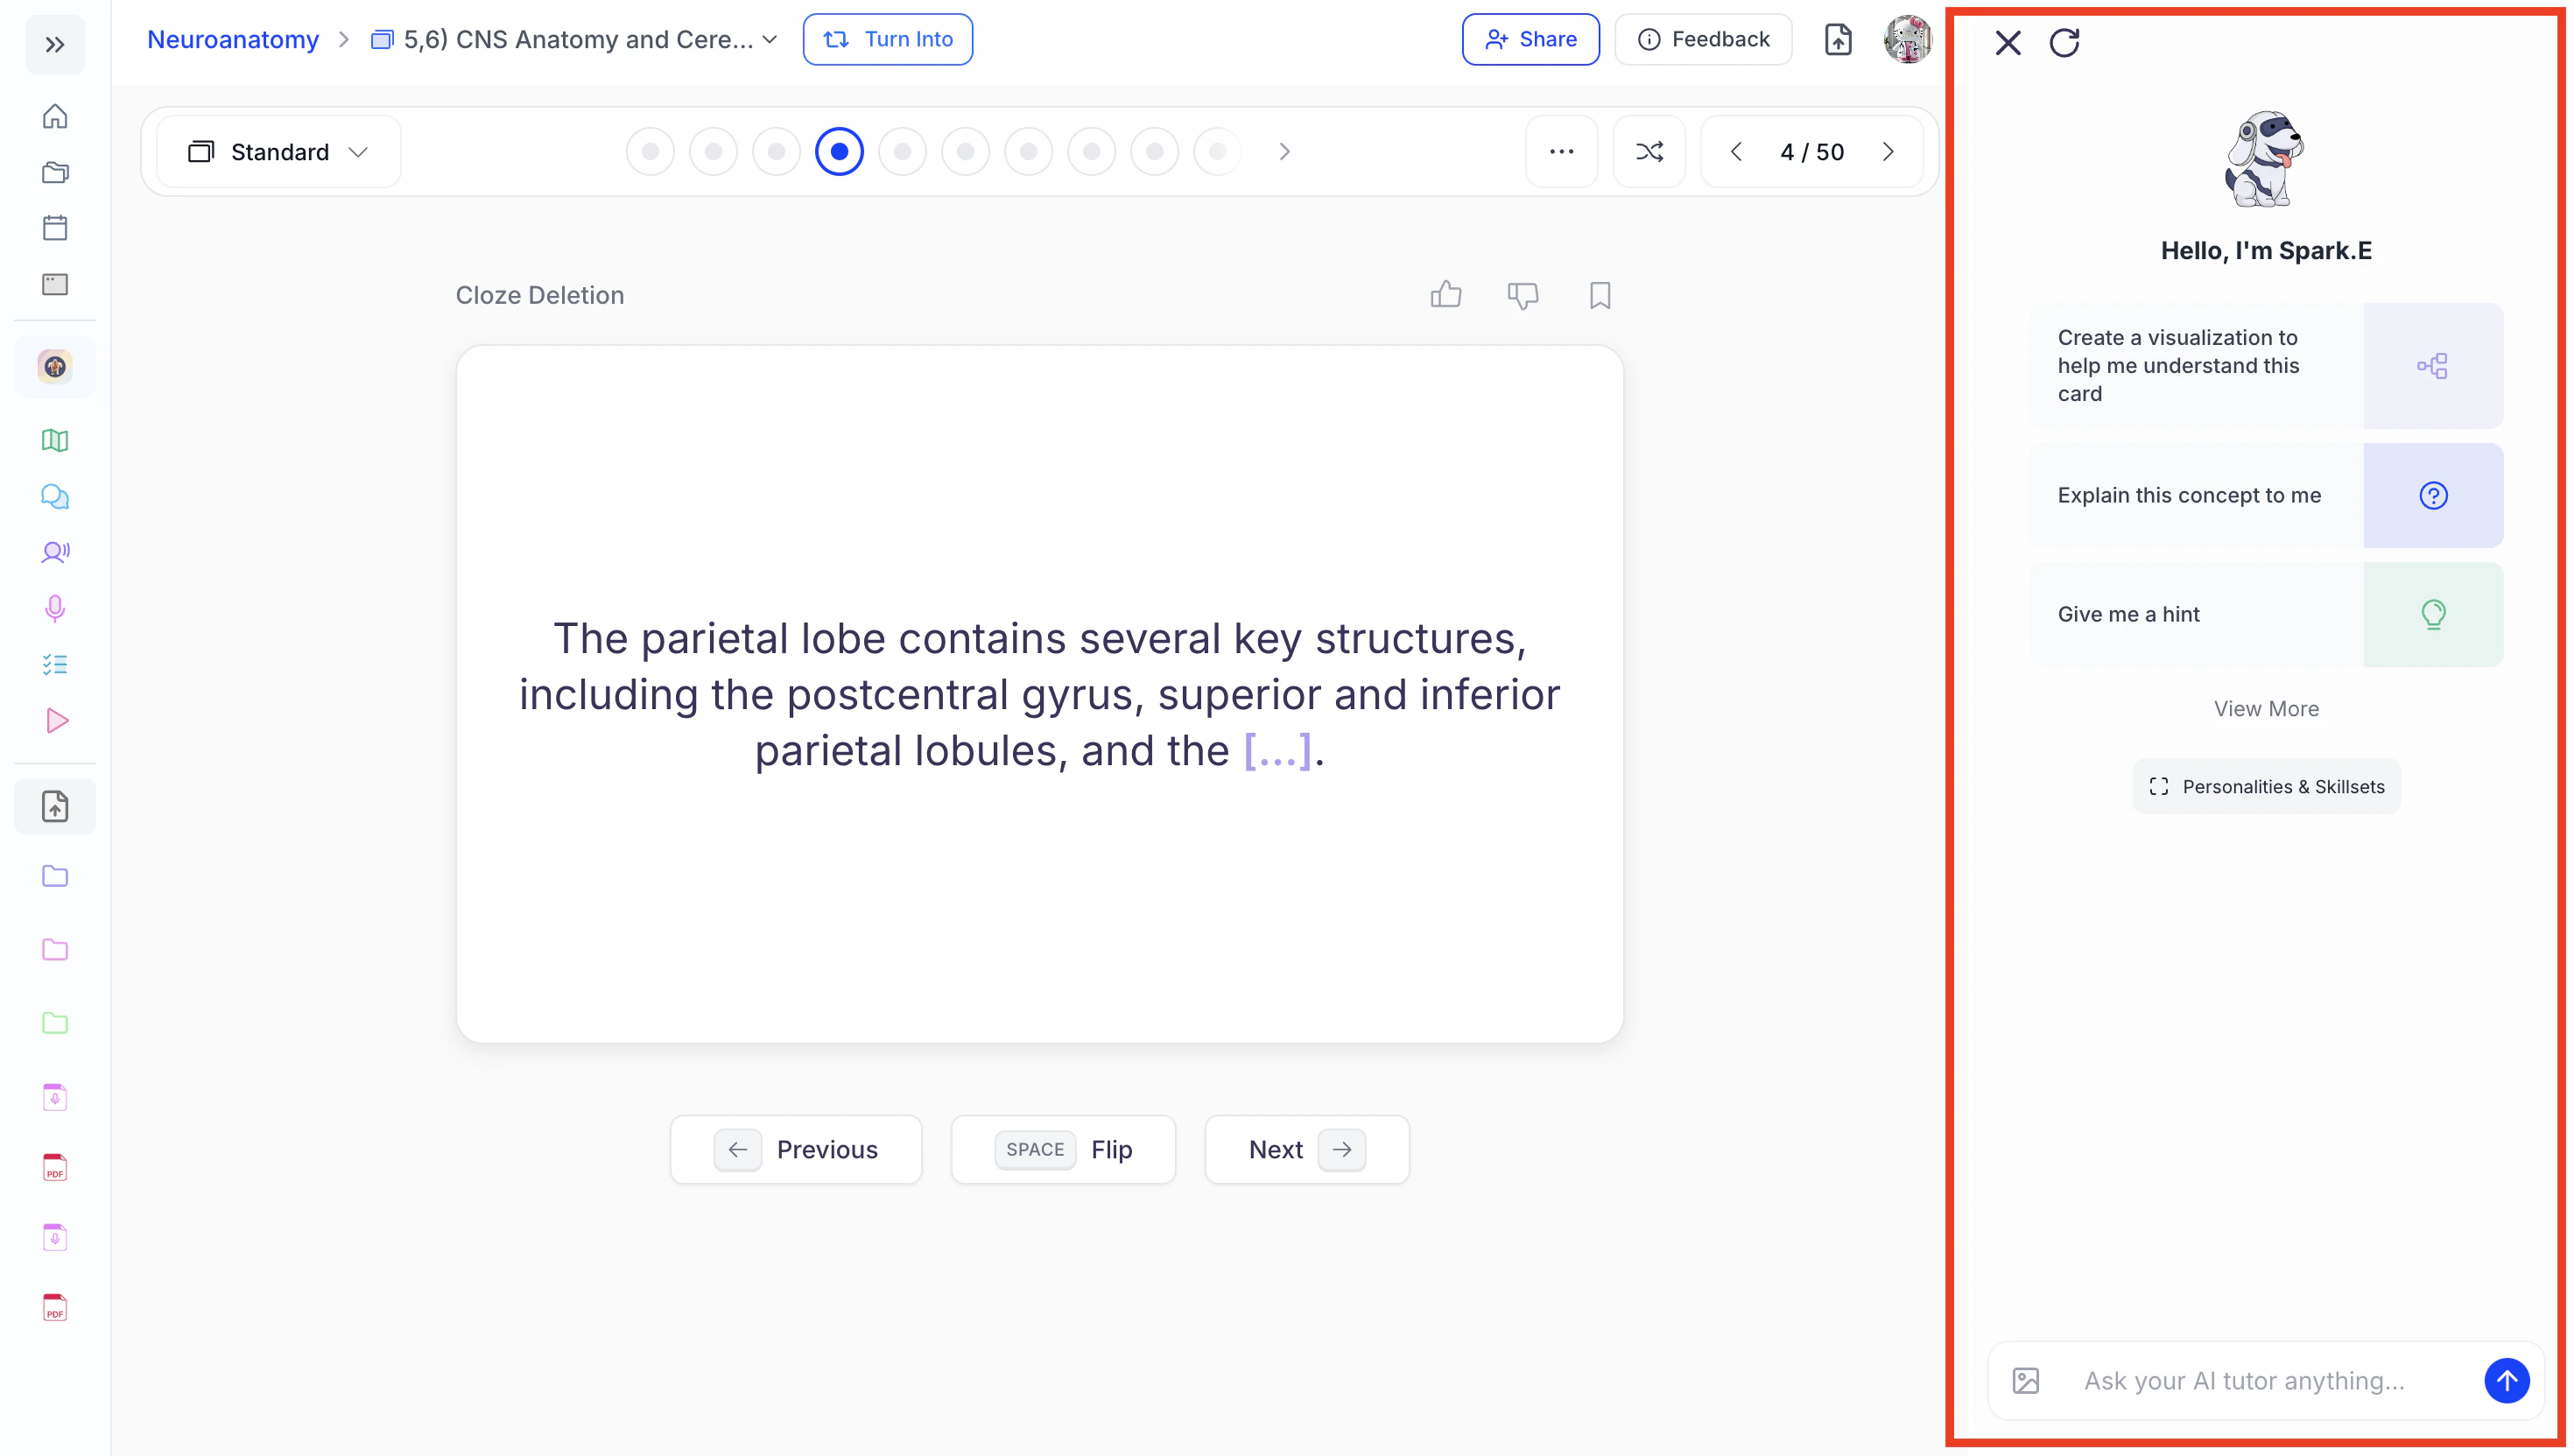
- You can then type your question in the chat box
or choose from the suggested prompts listed under Hello, I’m Spark.E.
Customize Your Chat Experience
Customize how you chat with Spark.E, your AI tutor, using powerful tools like plugins, dynamic personalities, and tailored scenarios.Personalities and Skillsets
- Within the chat feature, click on Spark.E’s icon or the Personalities and Skillsets button.
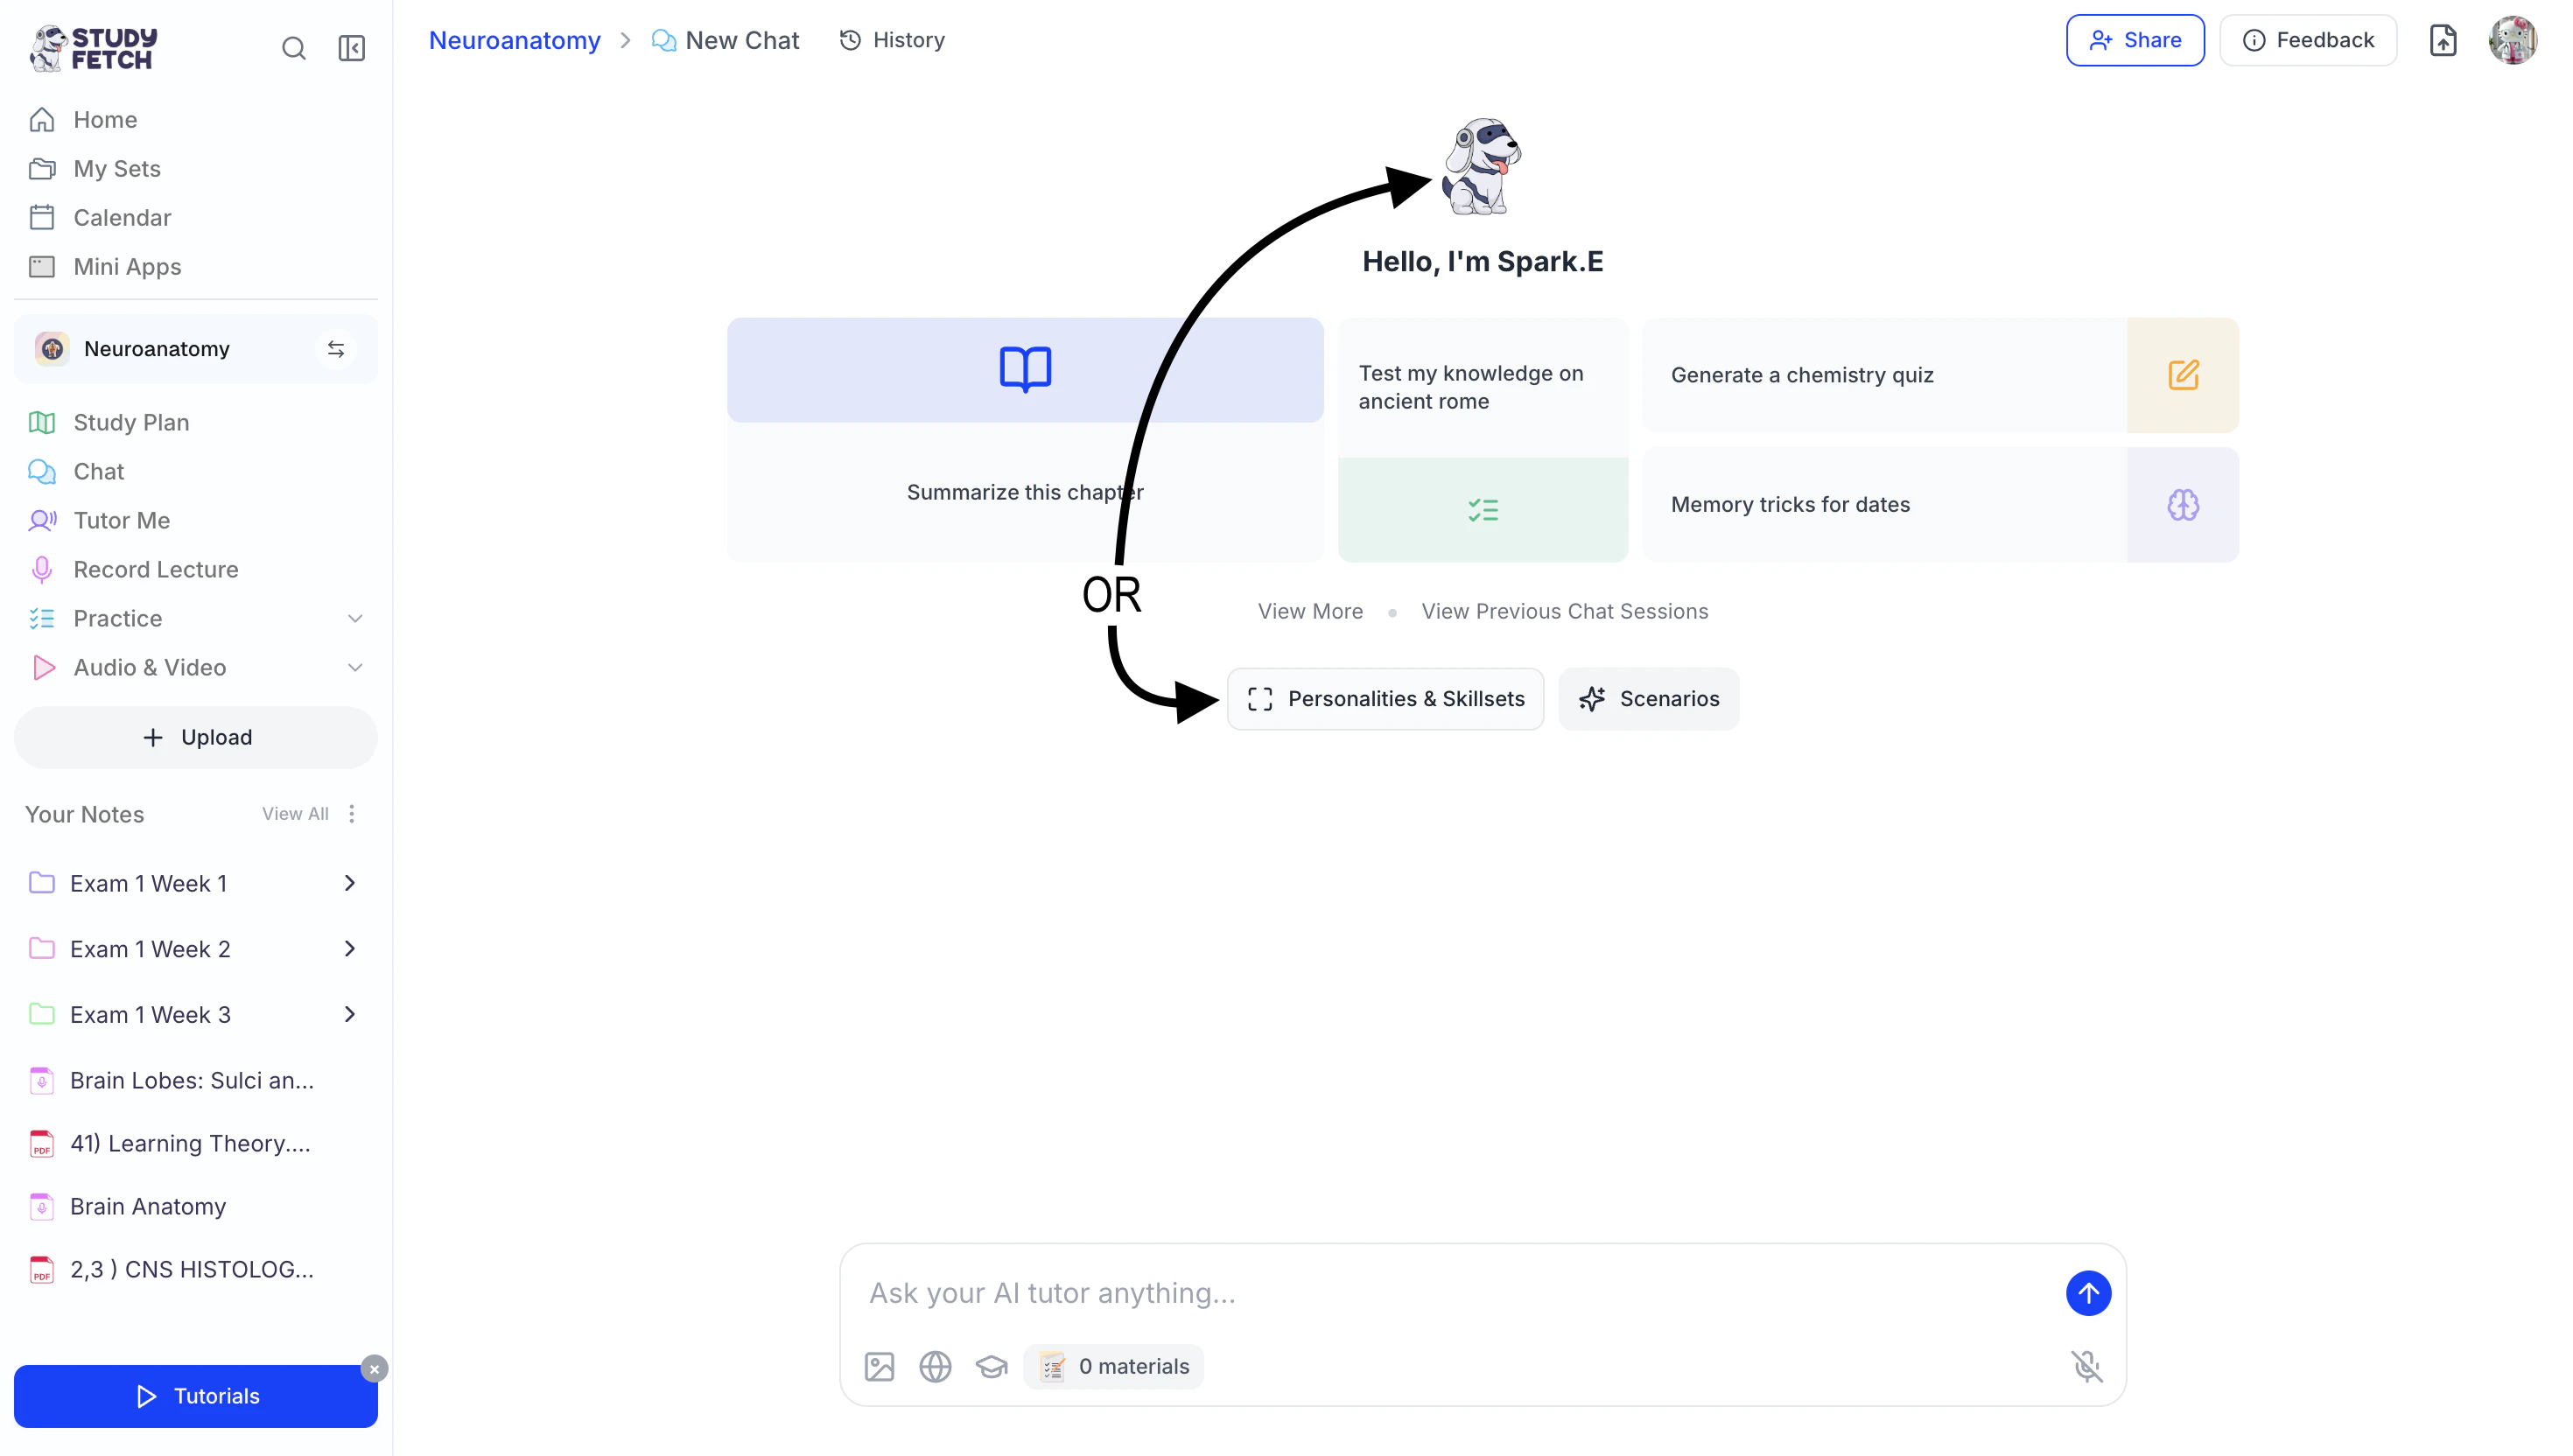
- From there, you can choose from a variety of AI Tutor Persona Presets—each designed with a distinct teaching style to match your learning preferences.

- Proceed to the next section for step-by-step instructions on how to select or create a plugin.
Selecting Plugins for Chat
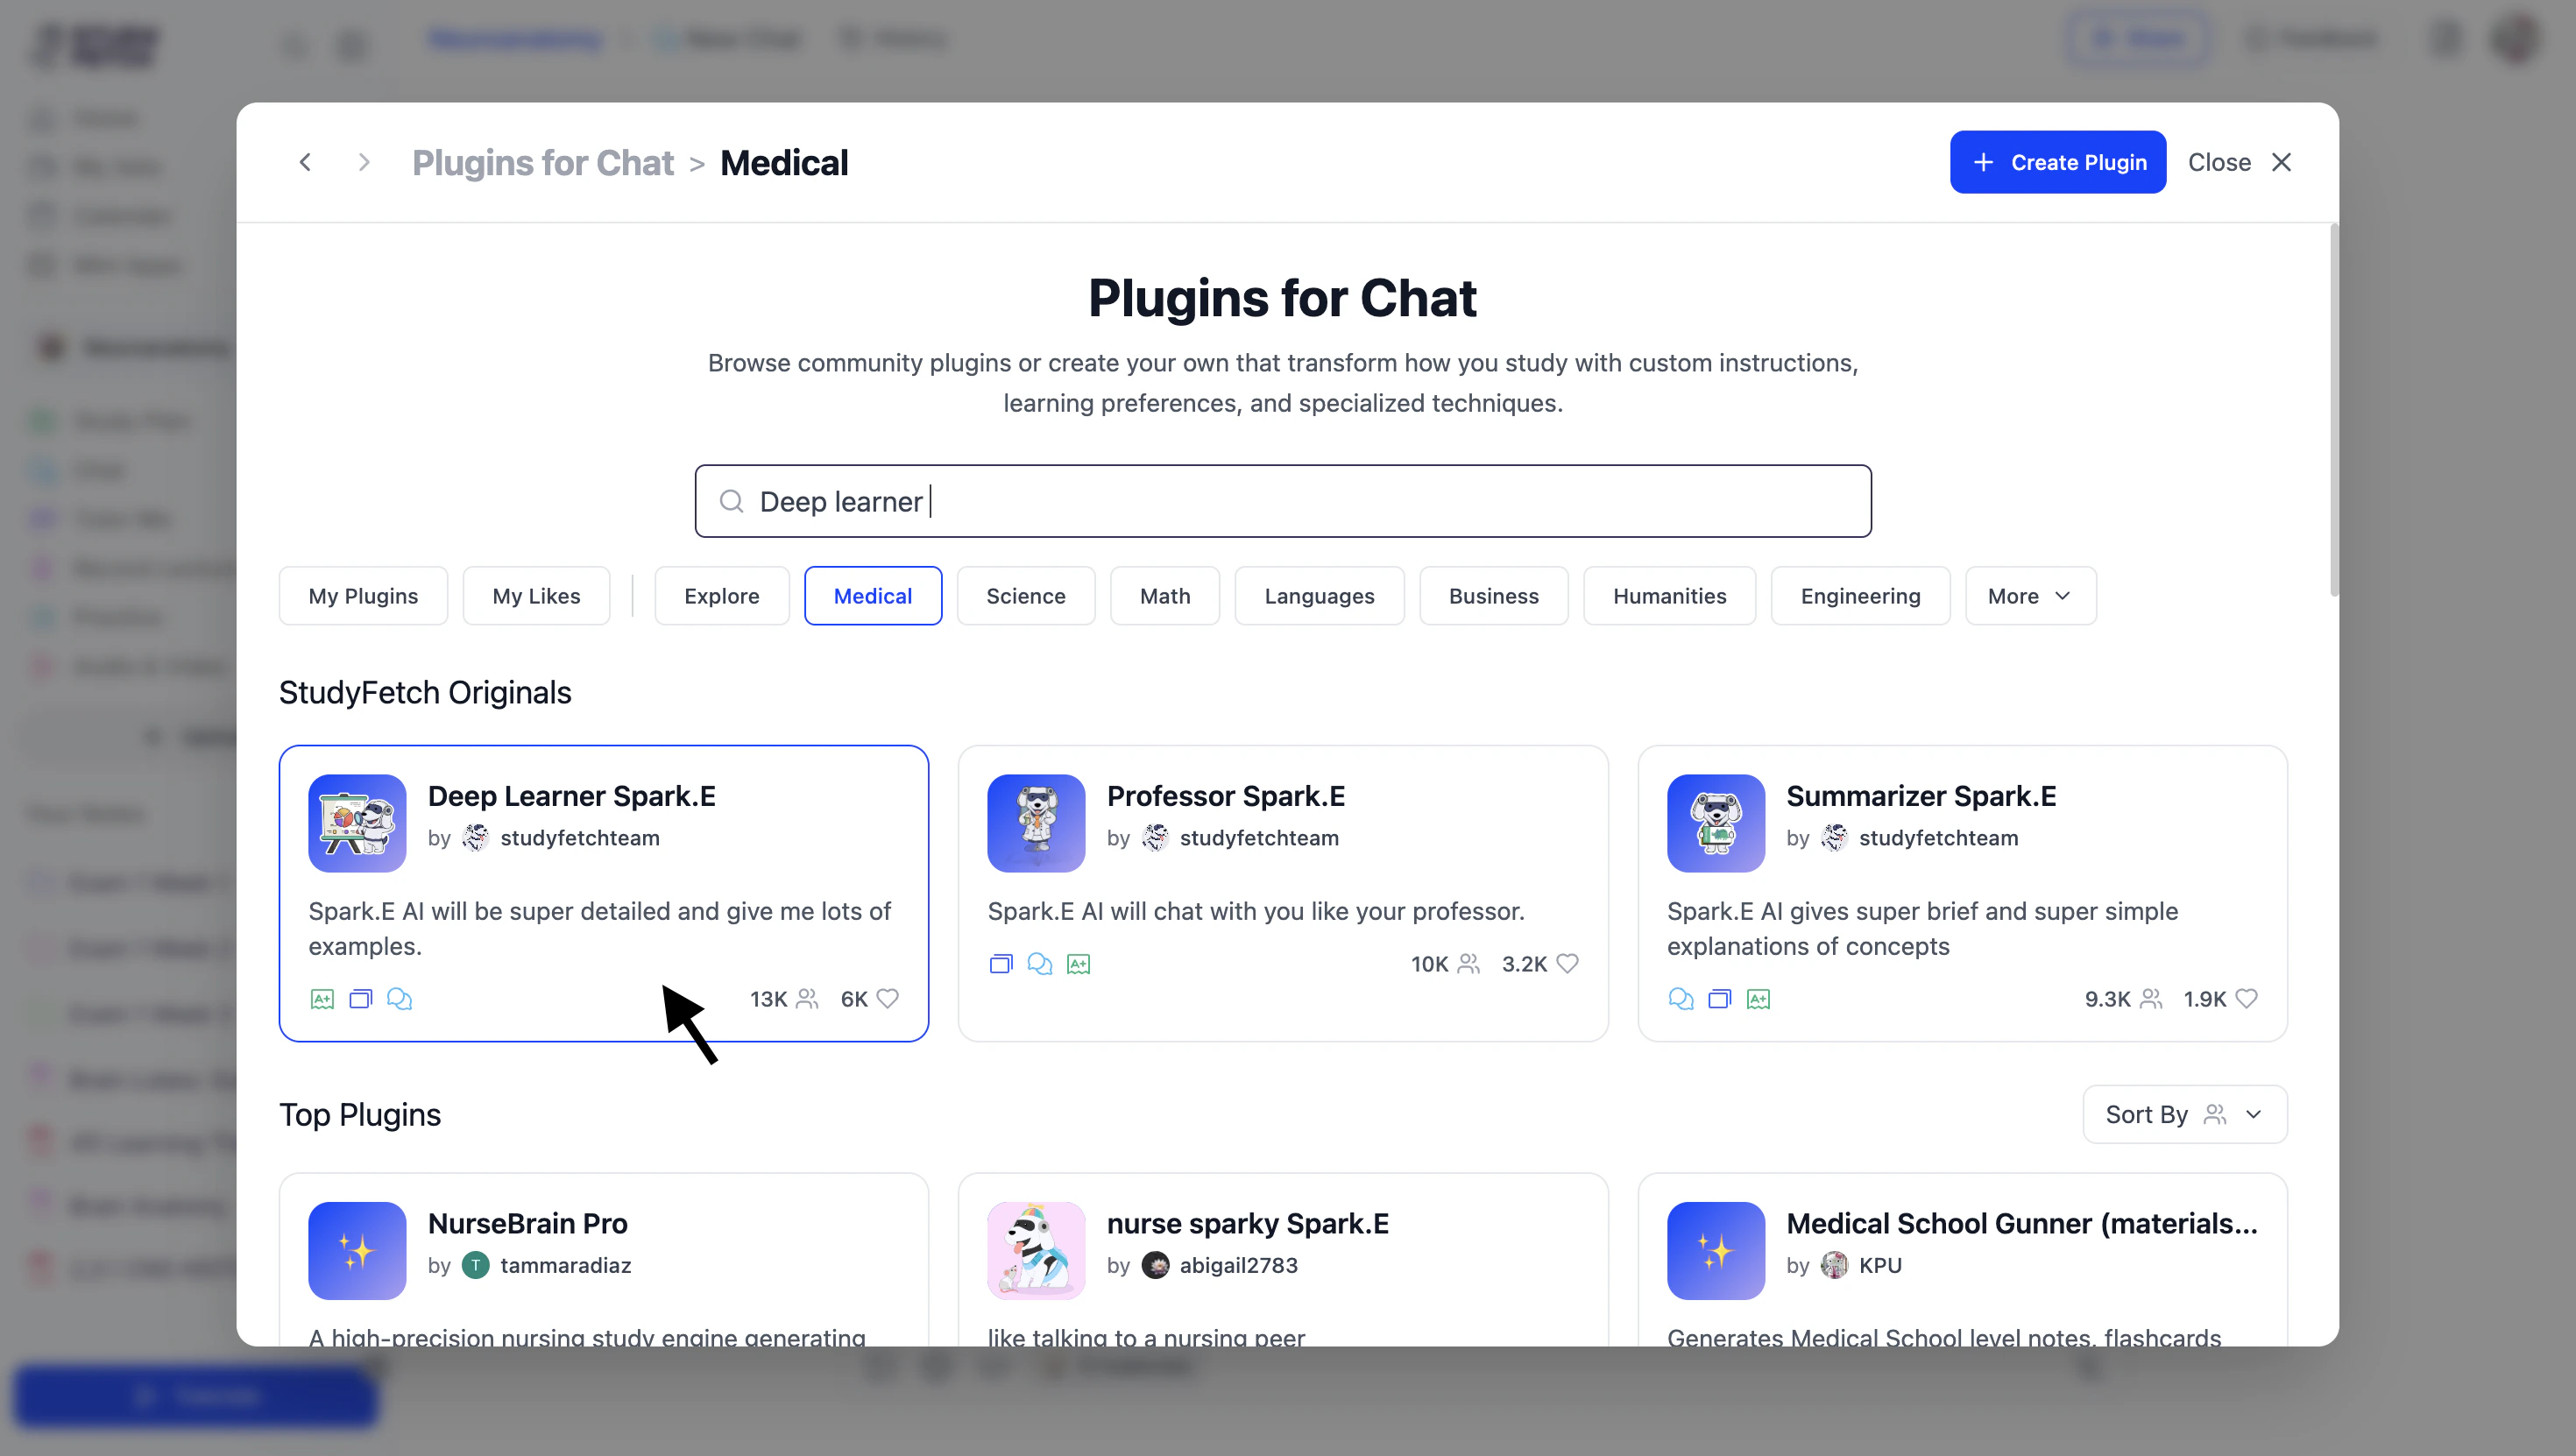
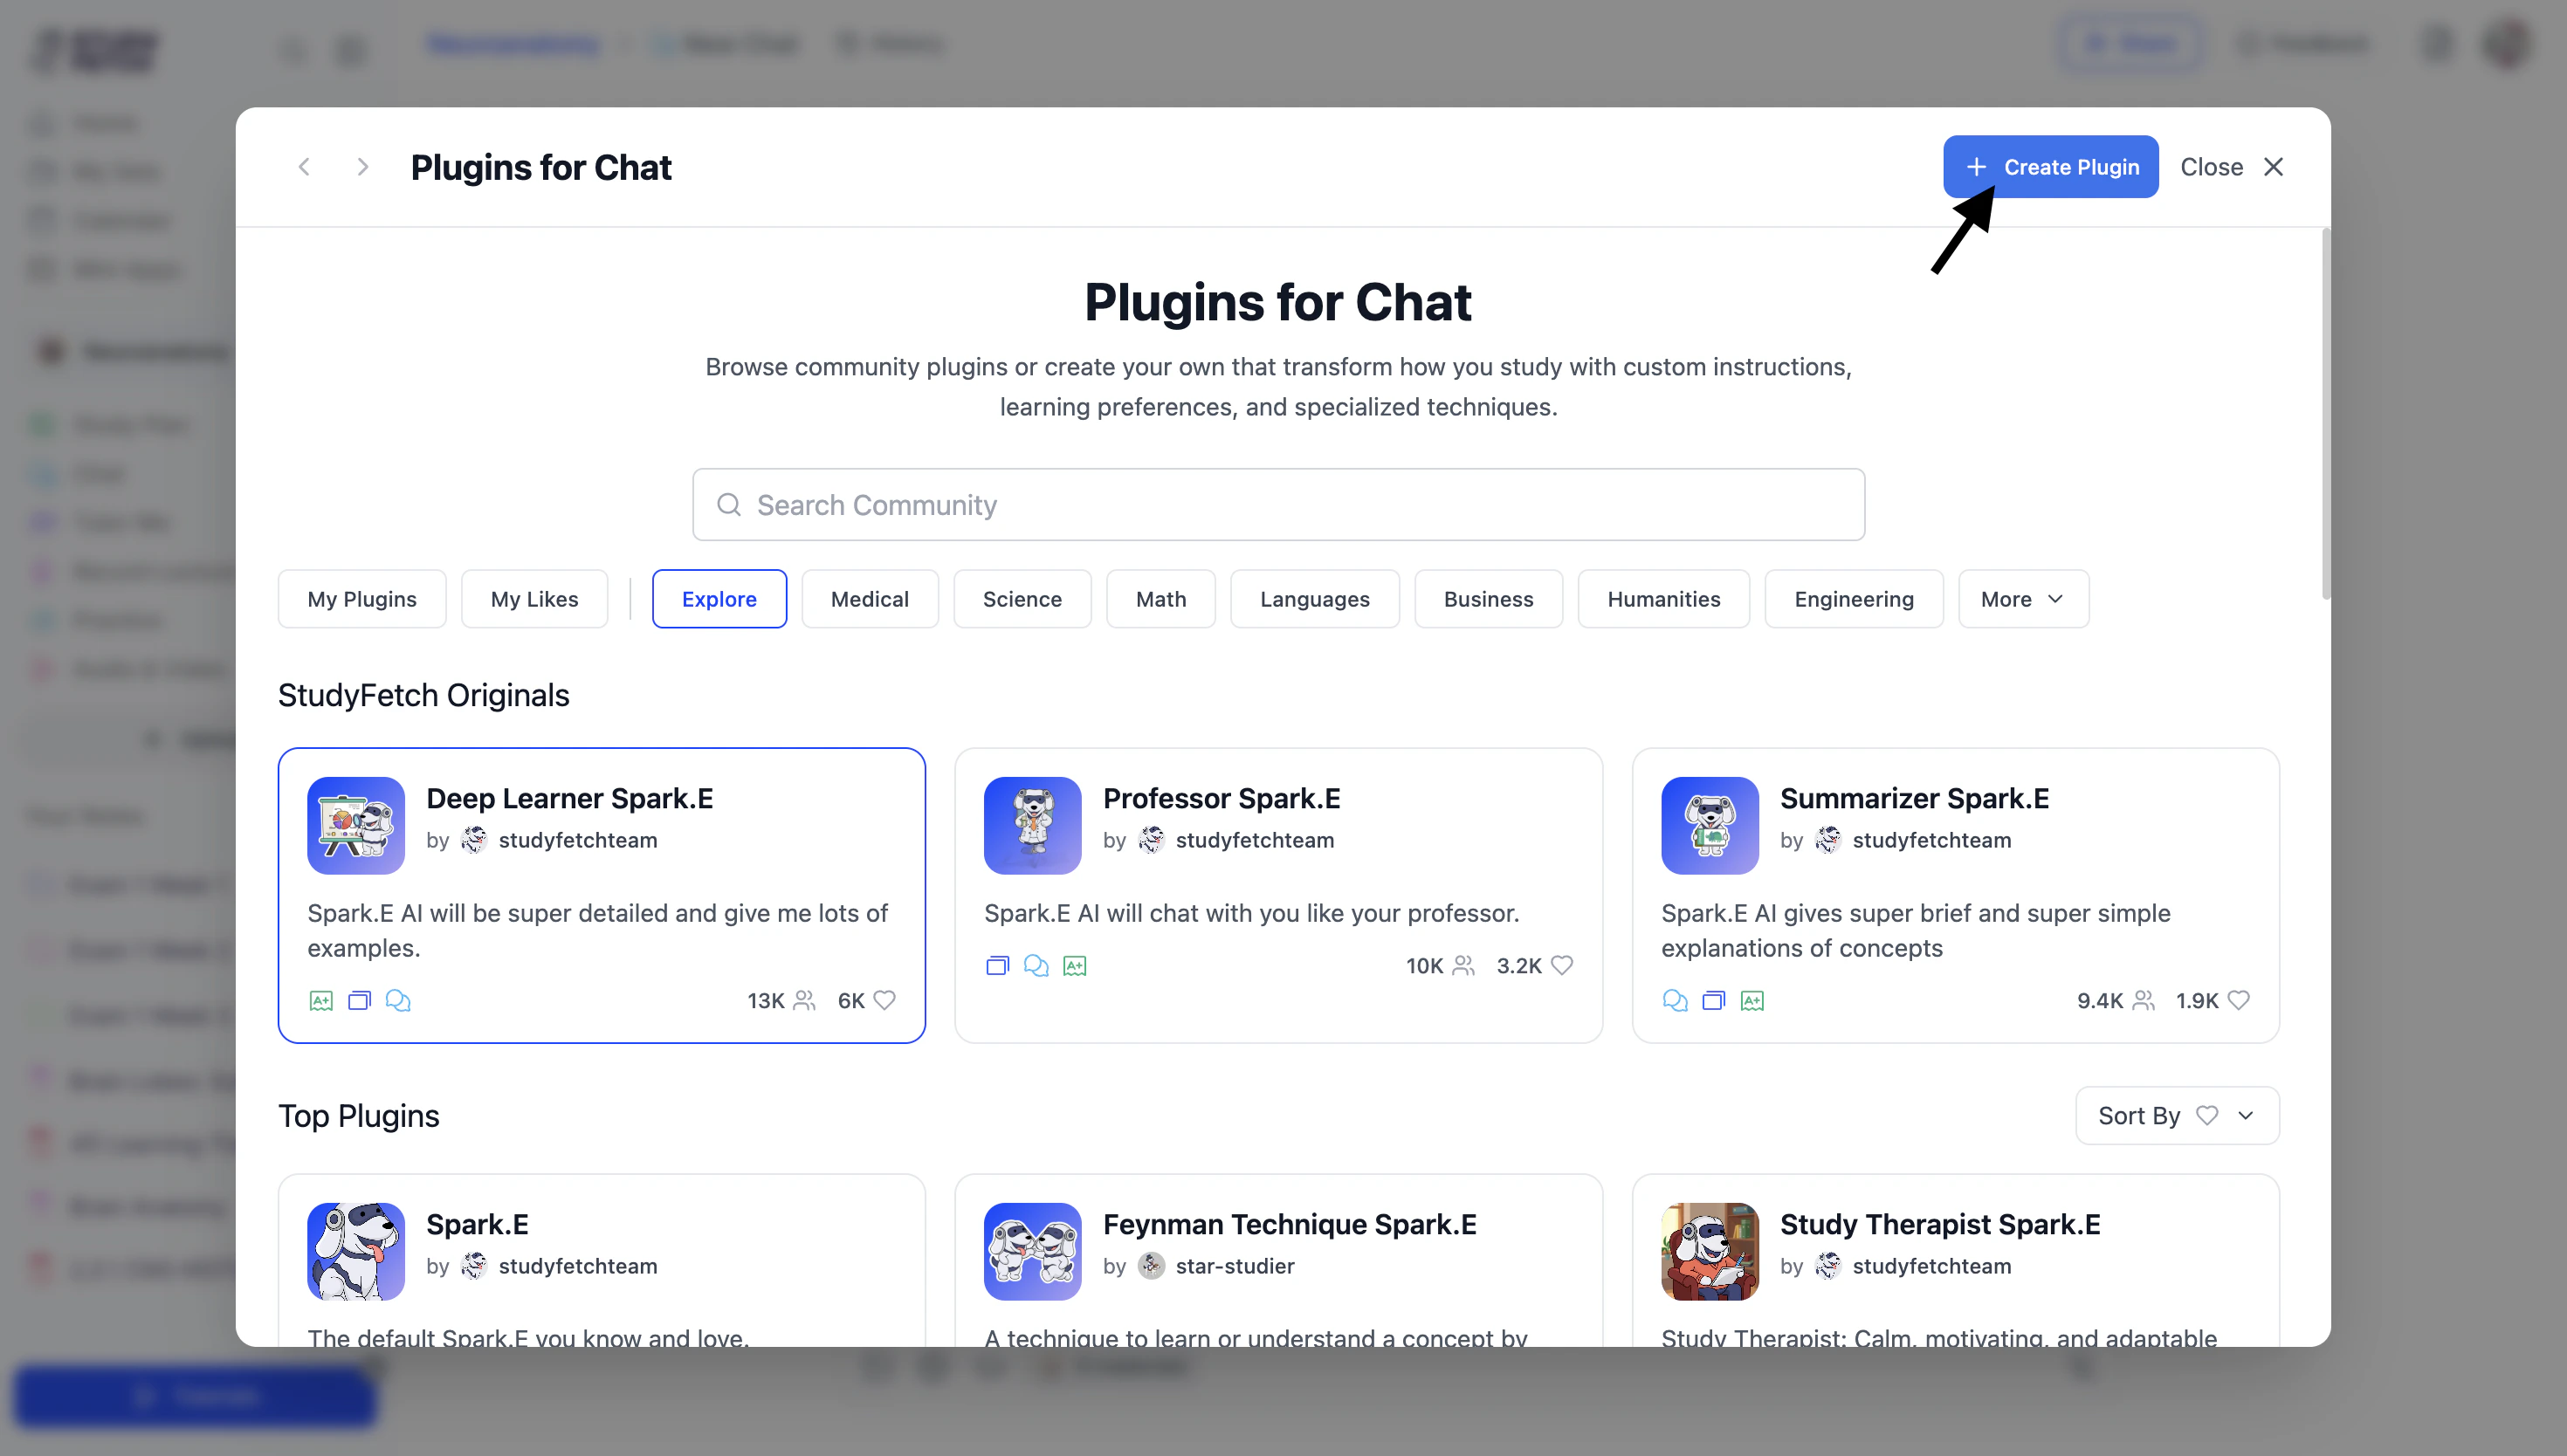
Customize how you interact in chat based on your personality preferences and learning goals with Chat Plugins.- Browse available plugins by scrolling through the Explore page, where you’ll find both StudyFetch original plugins and user-created options.
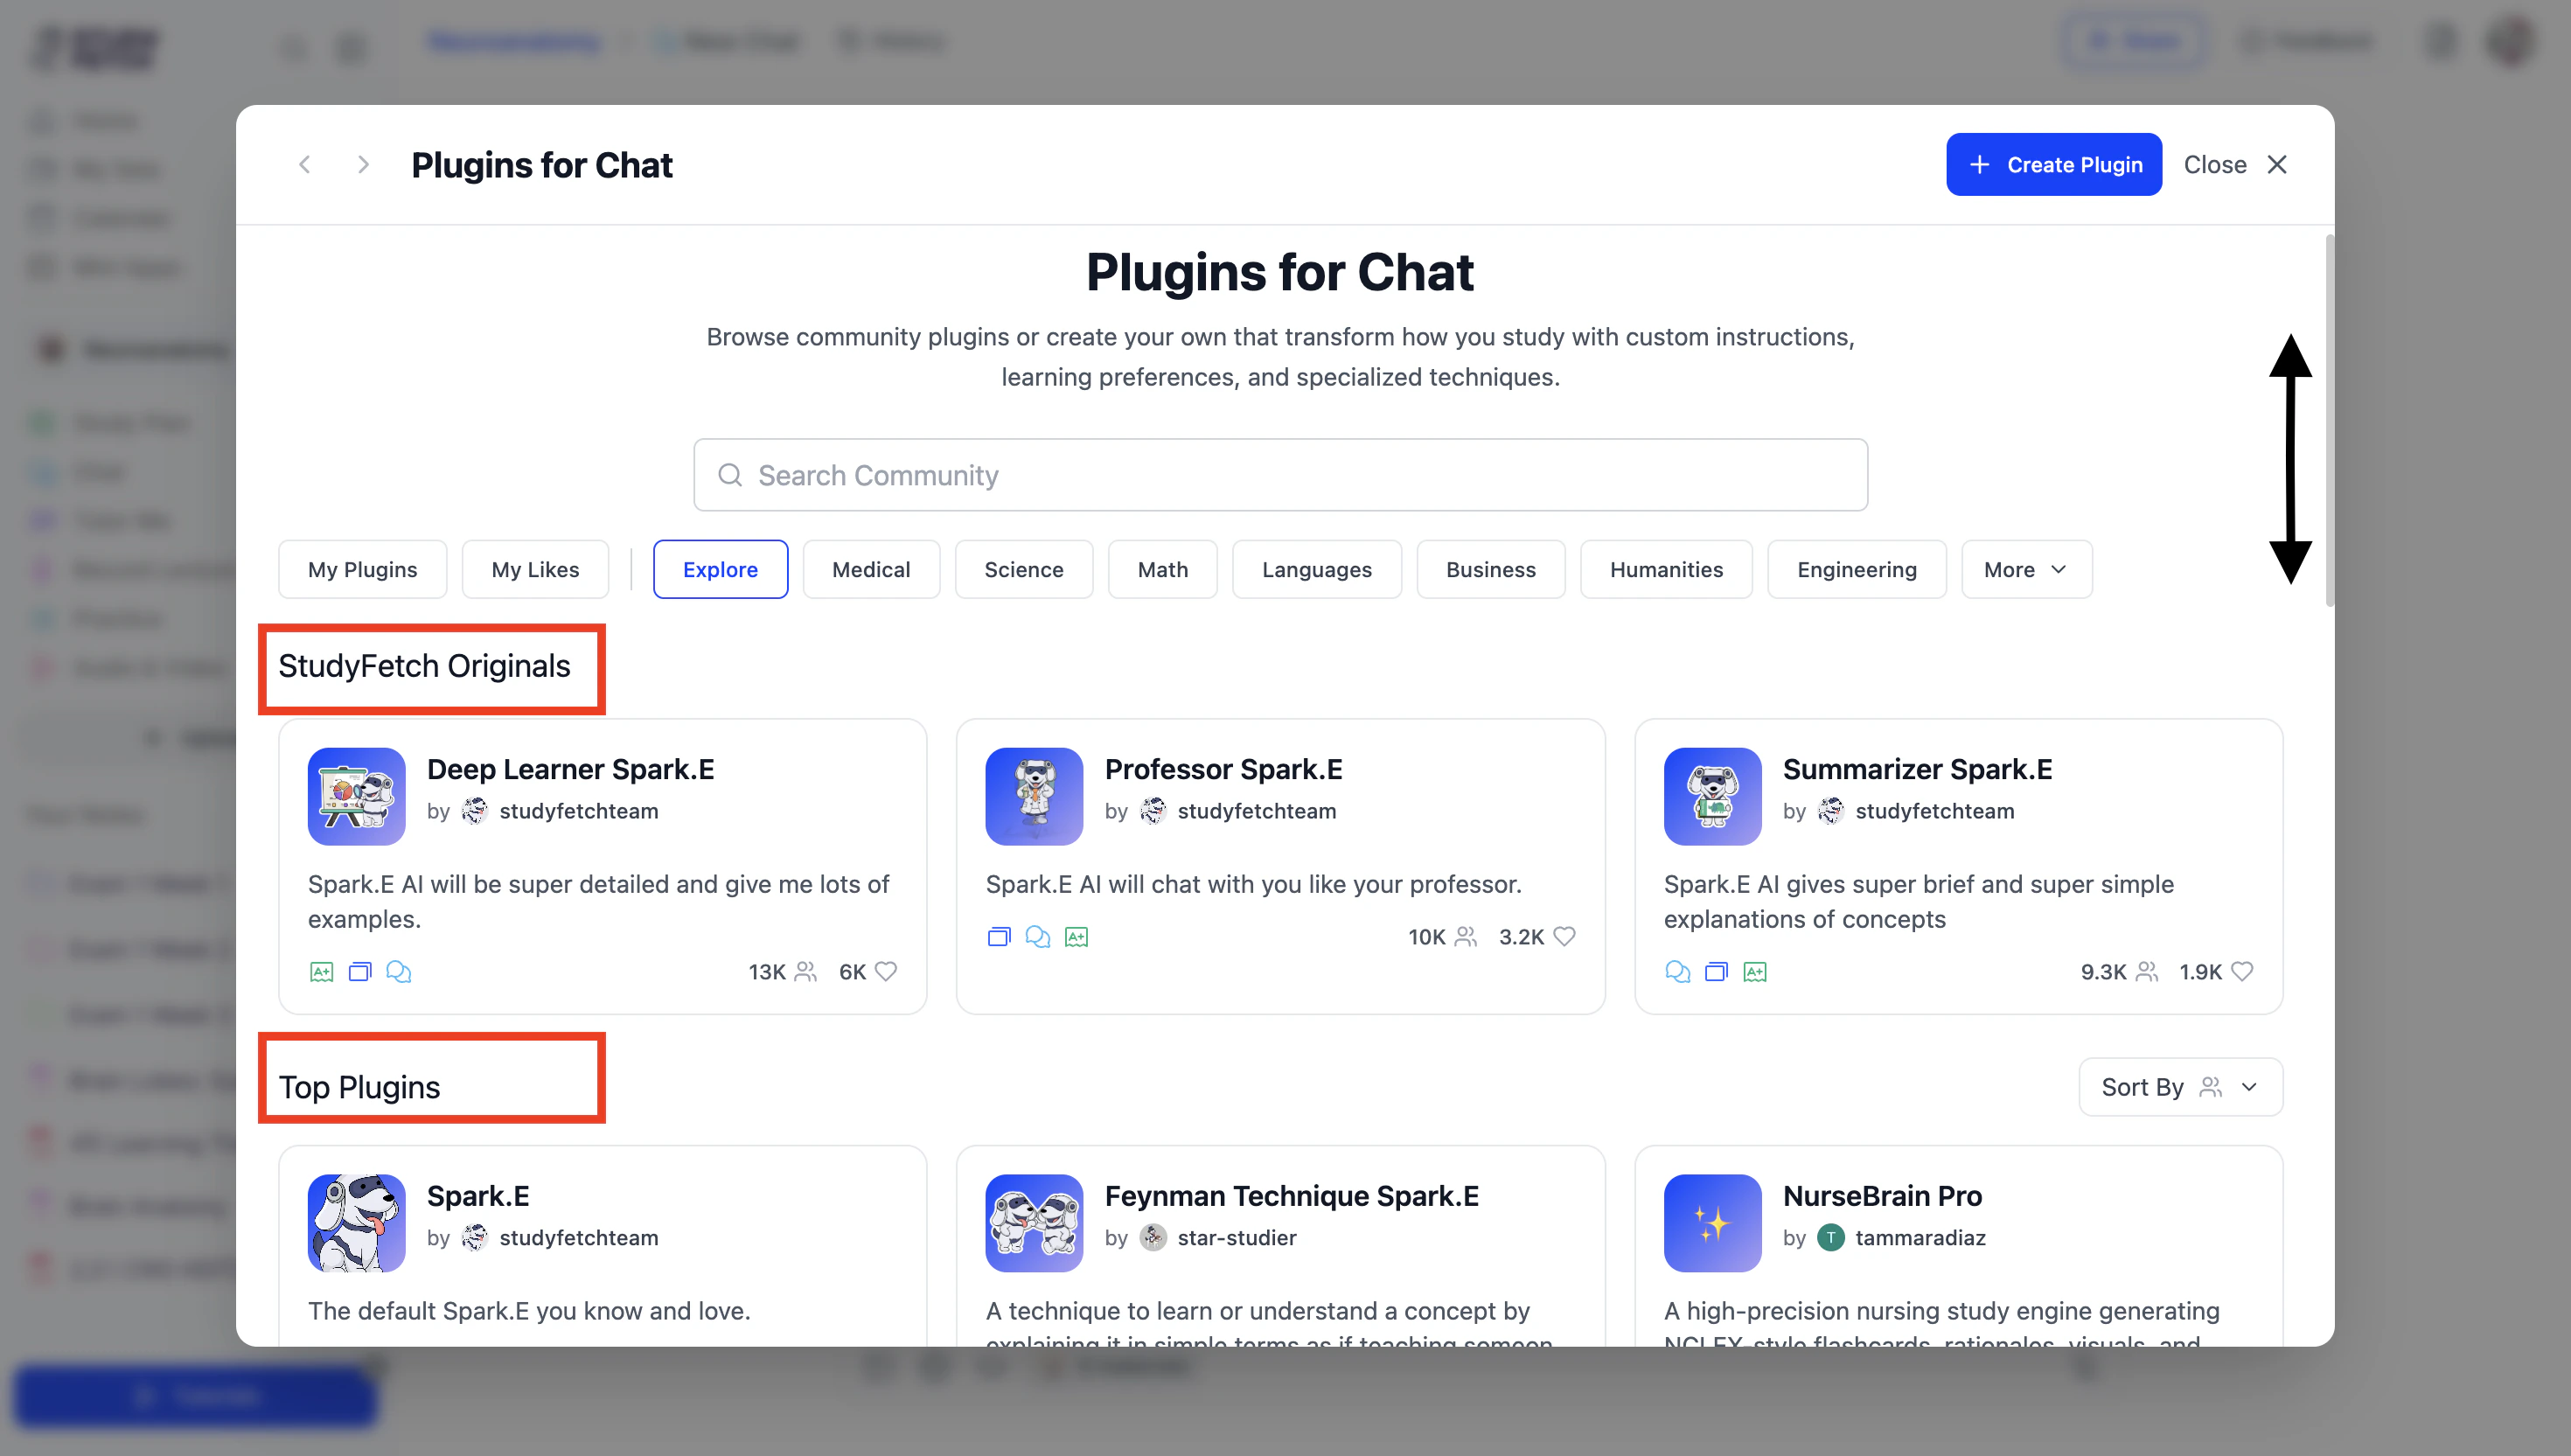
- Use the Sort By dropdown menu to organize plugins by Most Liked or Most Used.

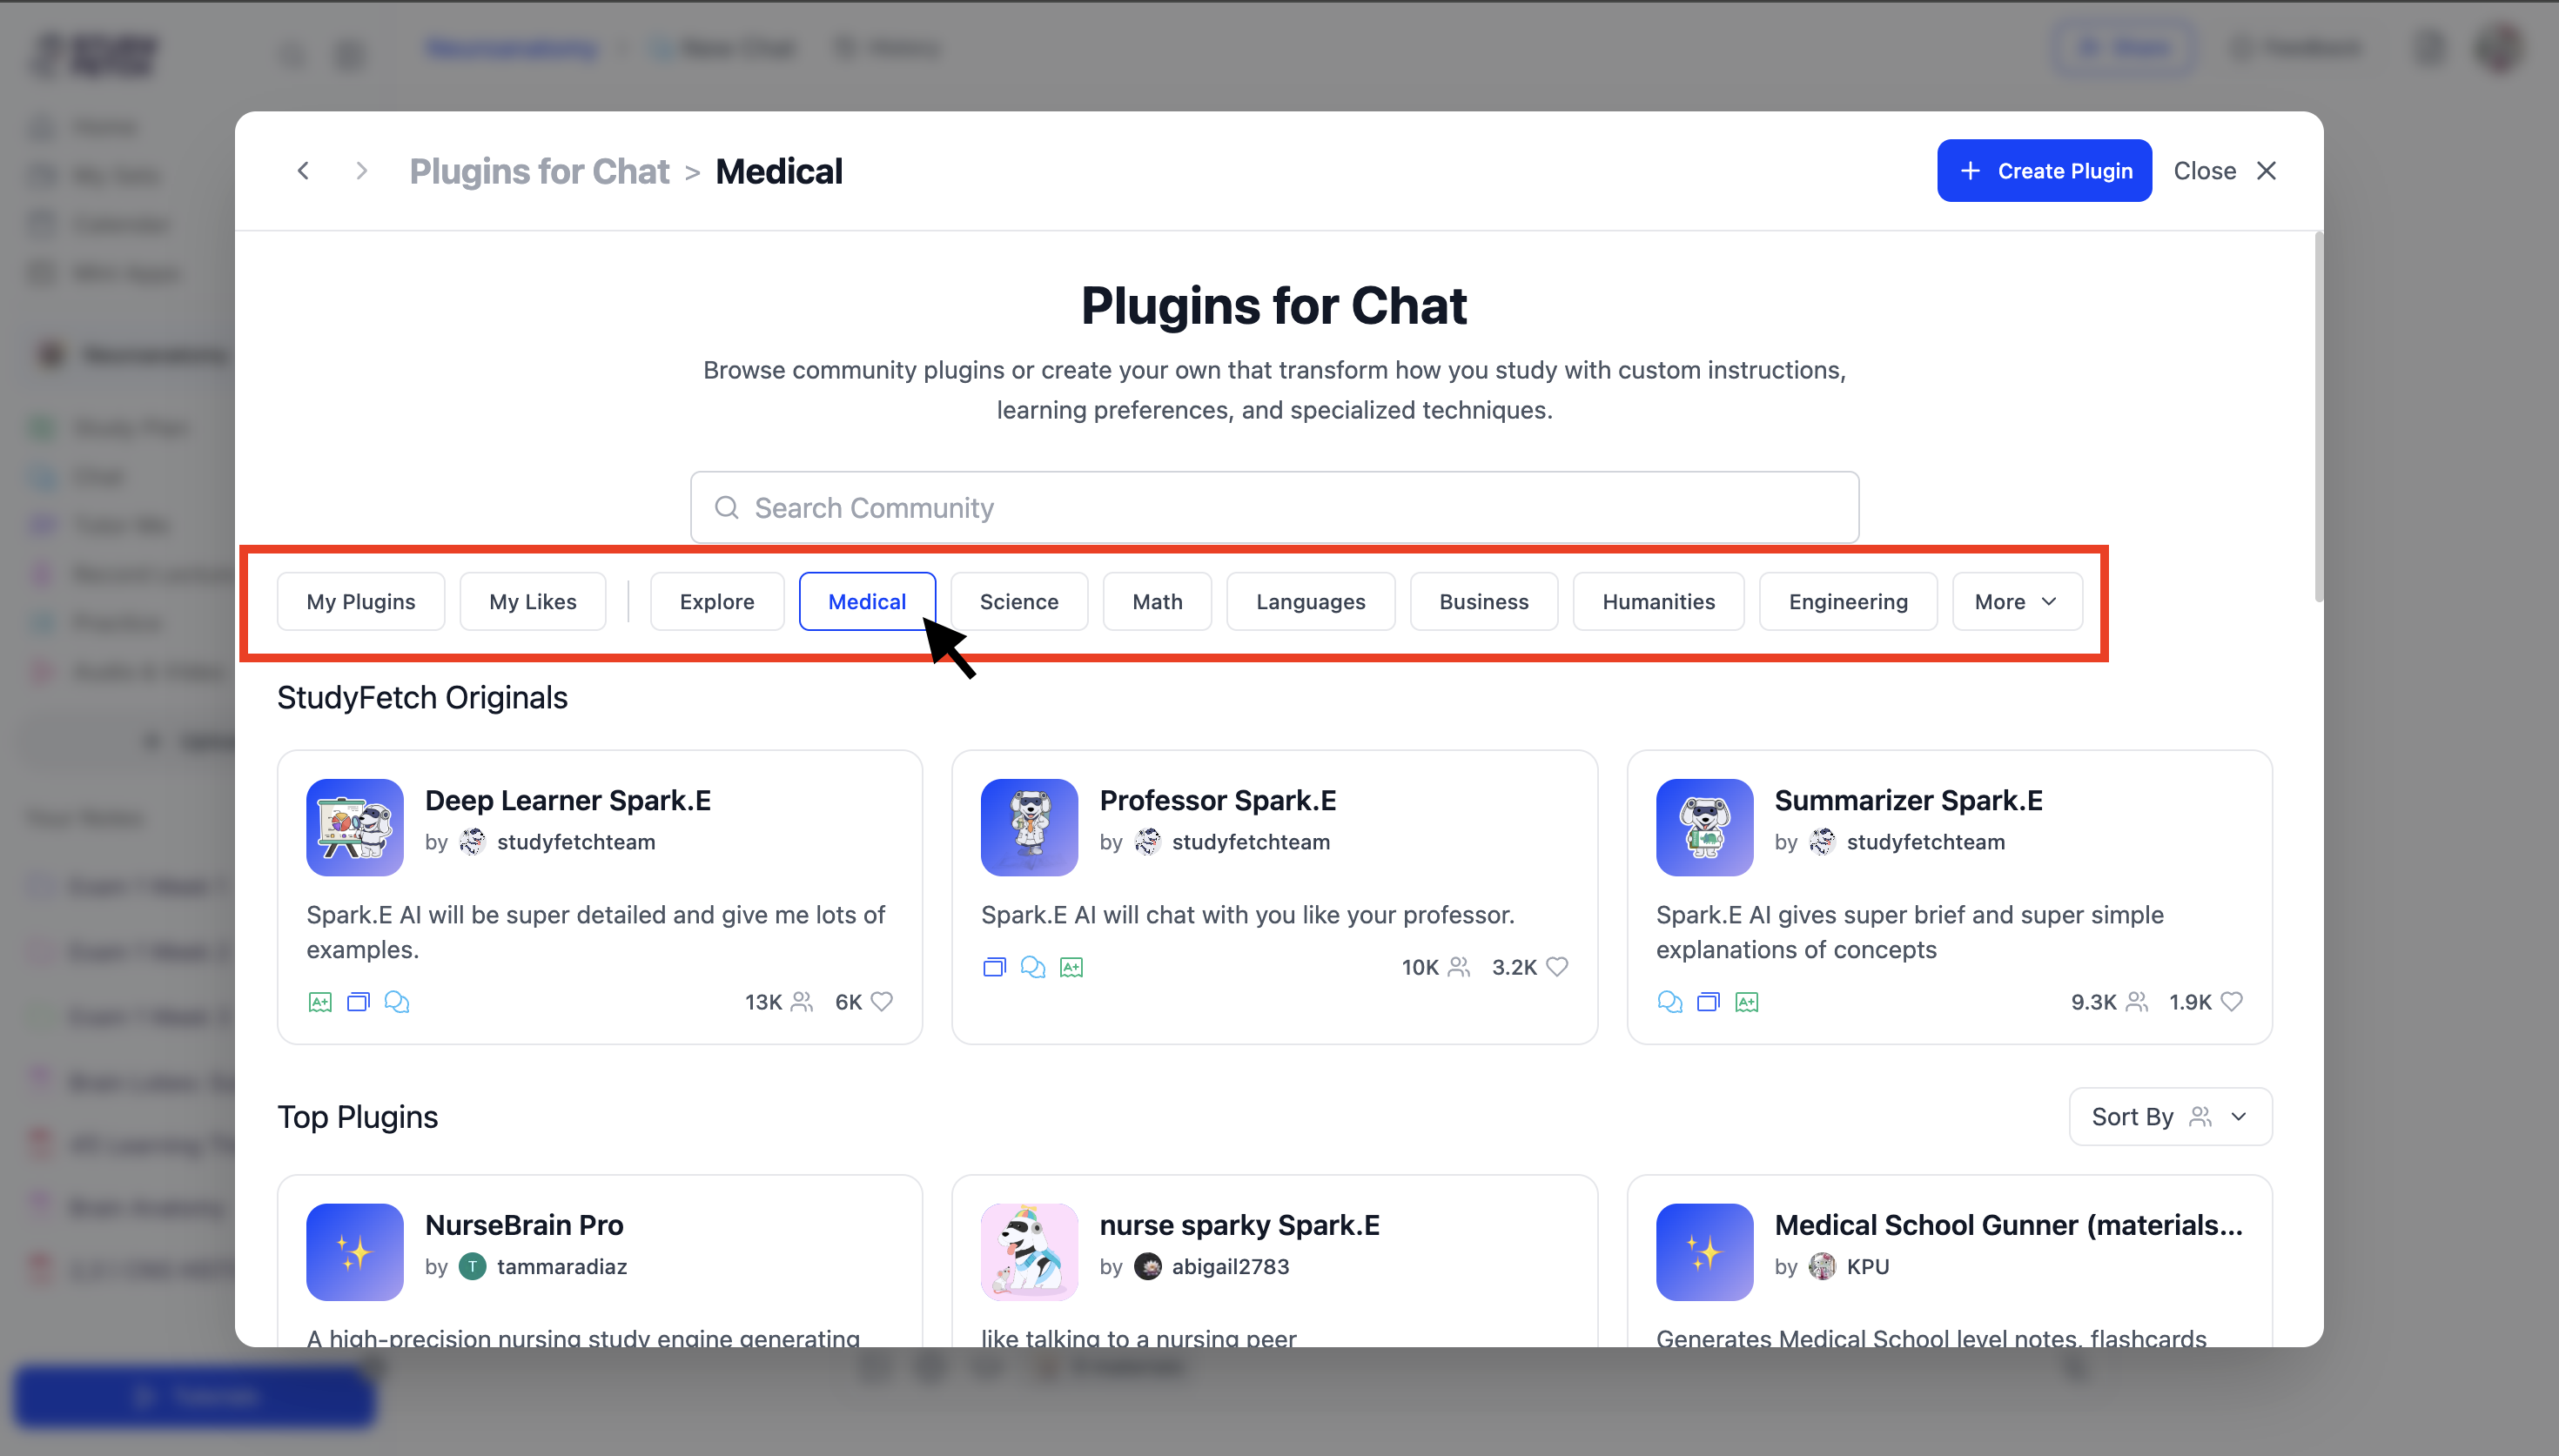
- Use the category tabs (e.g., Medical, Science, Math) to filter and view plugins specific to your preferred subject area.
- You can also use the Search Community field to look for specific plugins.
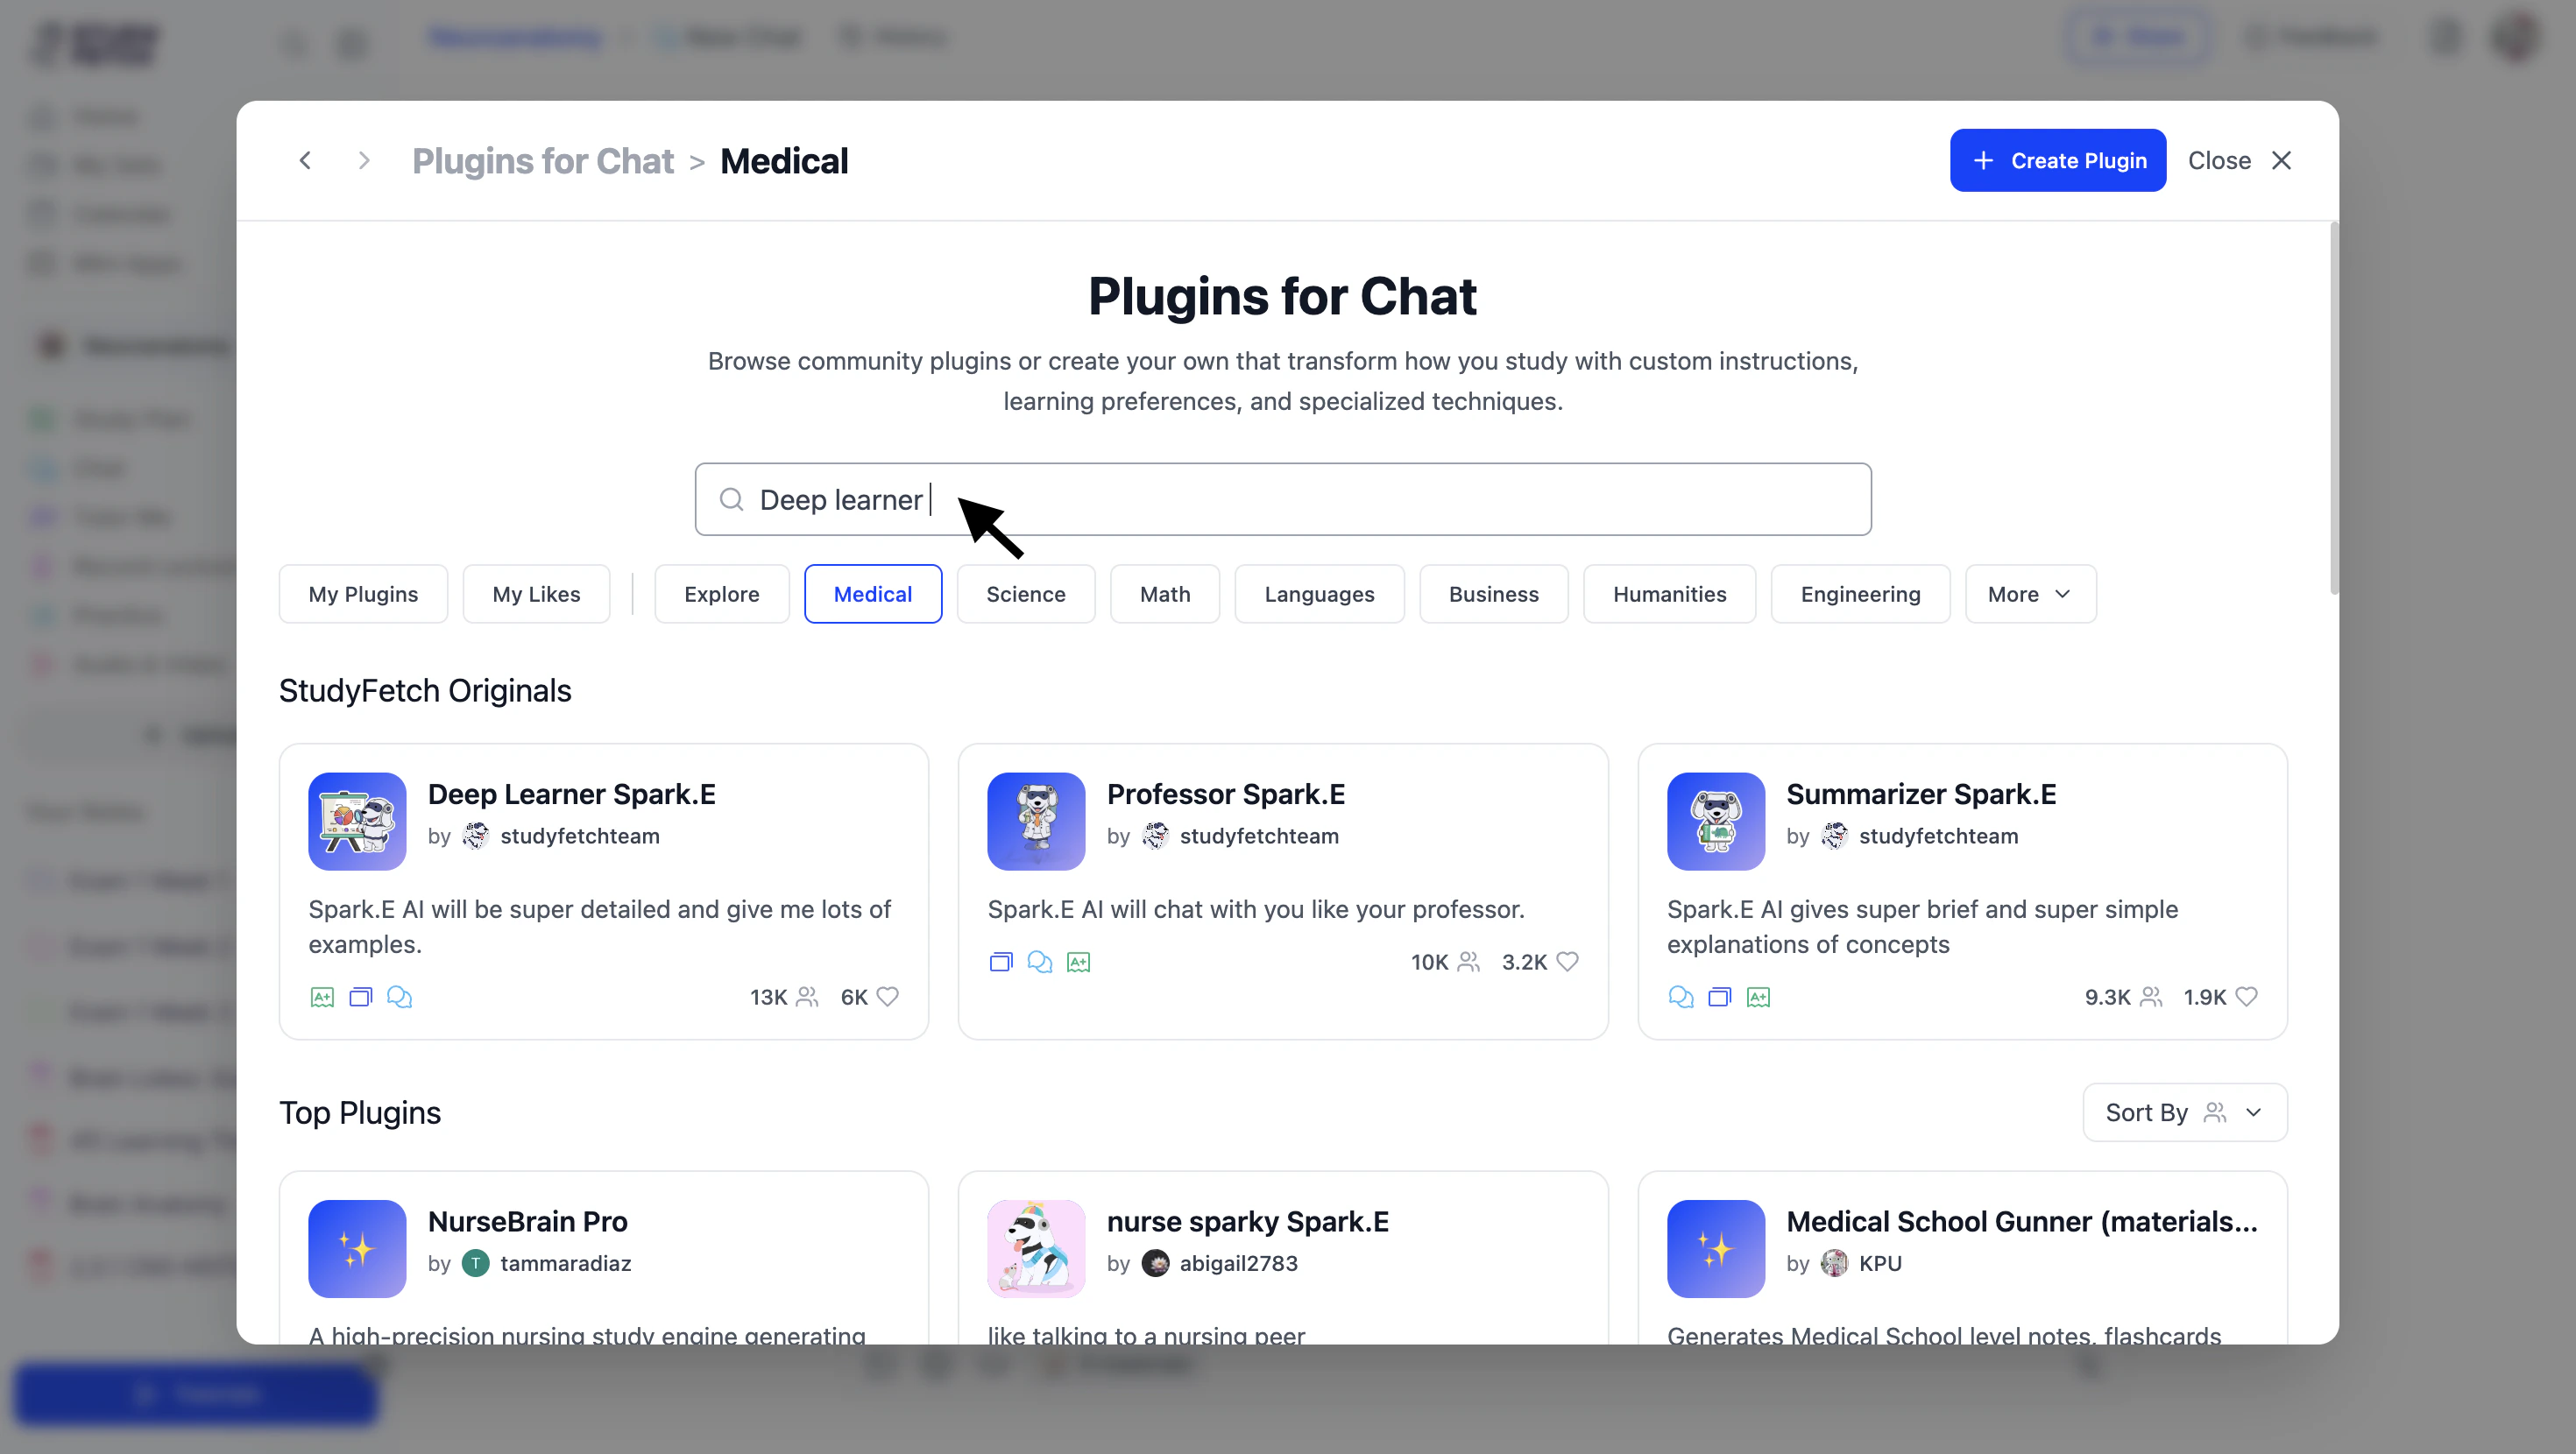
- When you find a plugin you’re interested in, click on it to view more details.
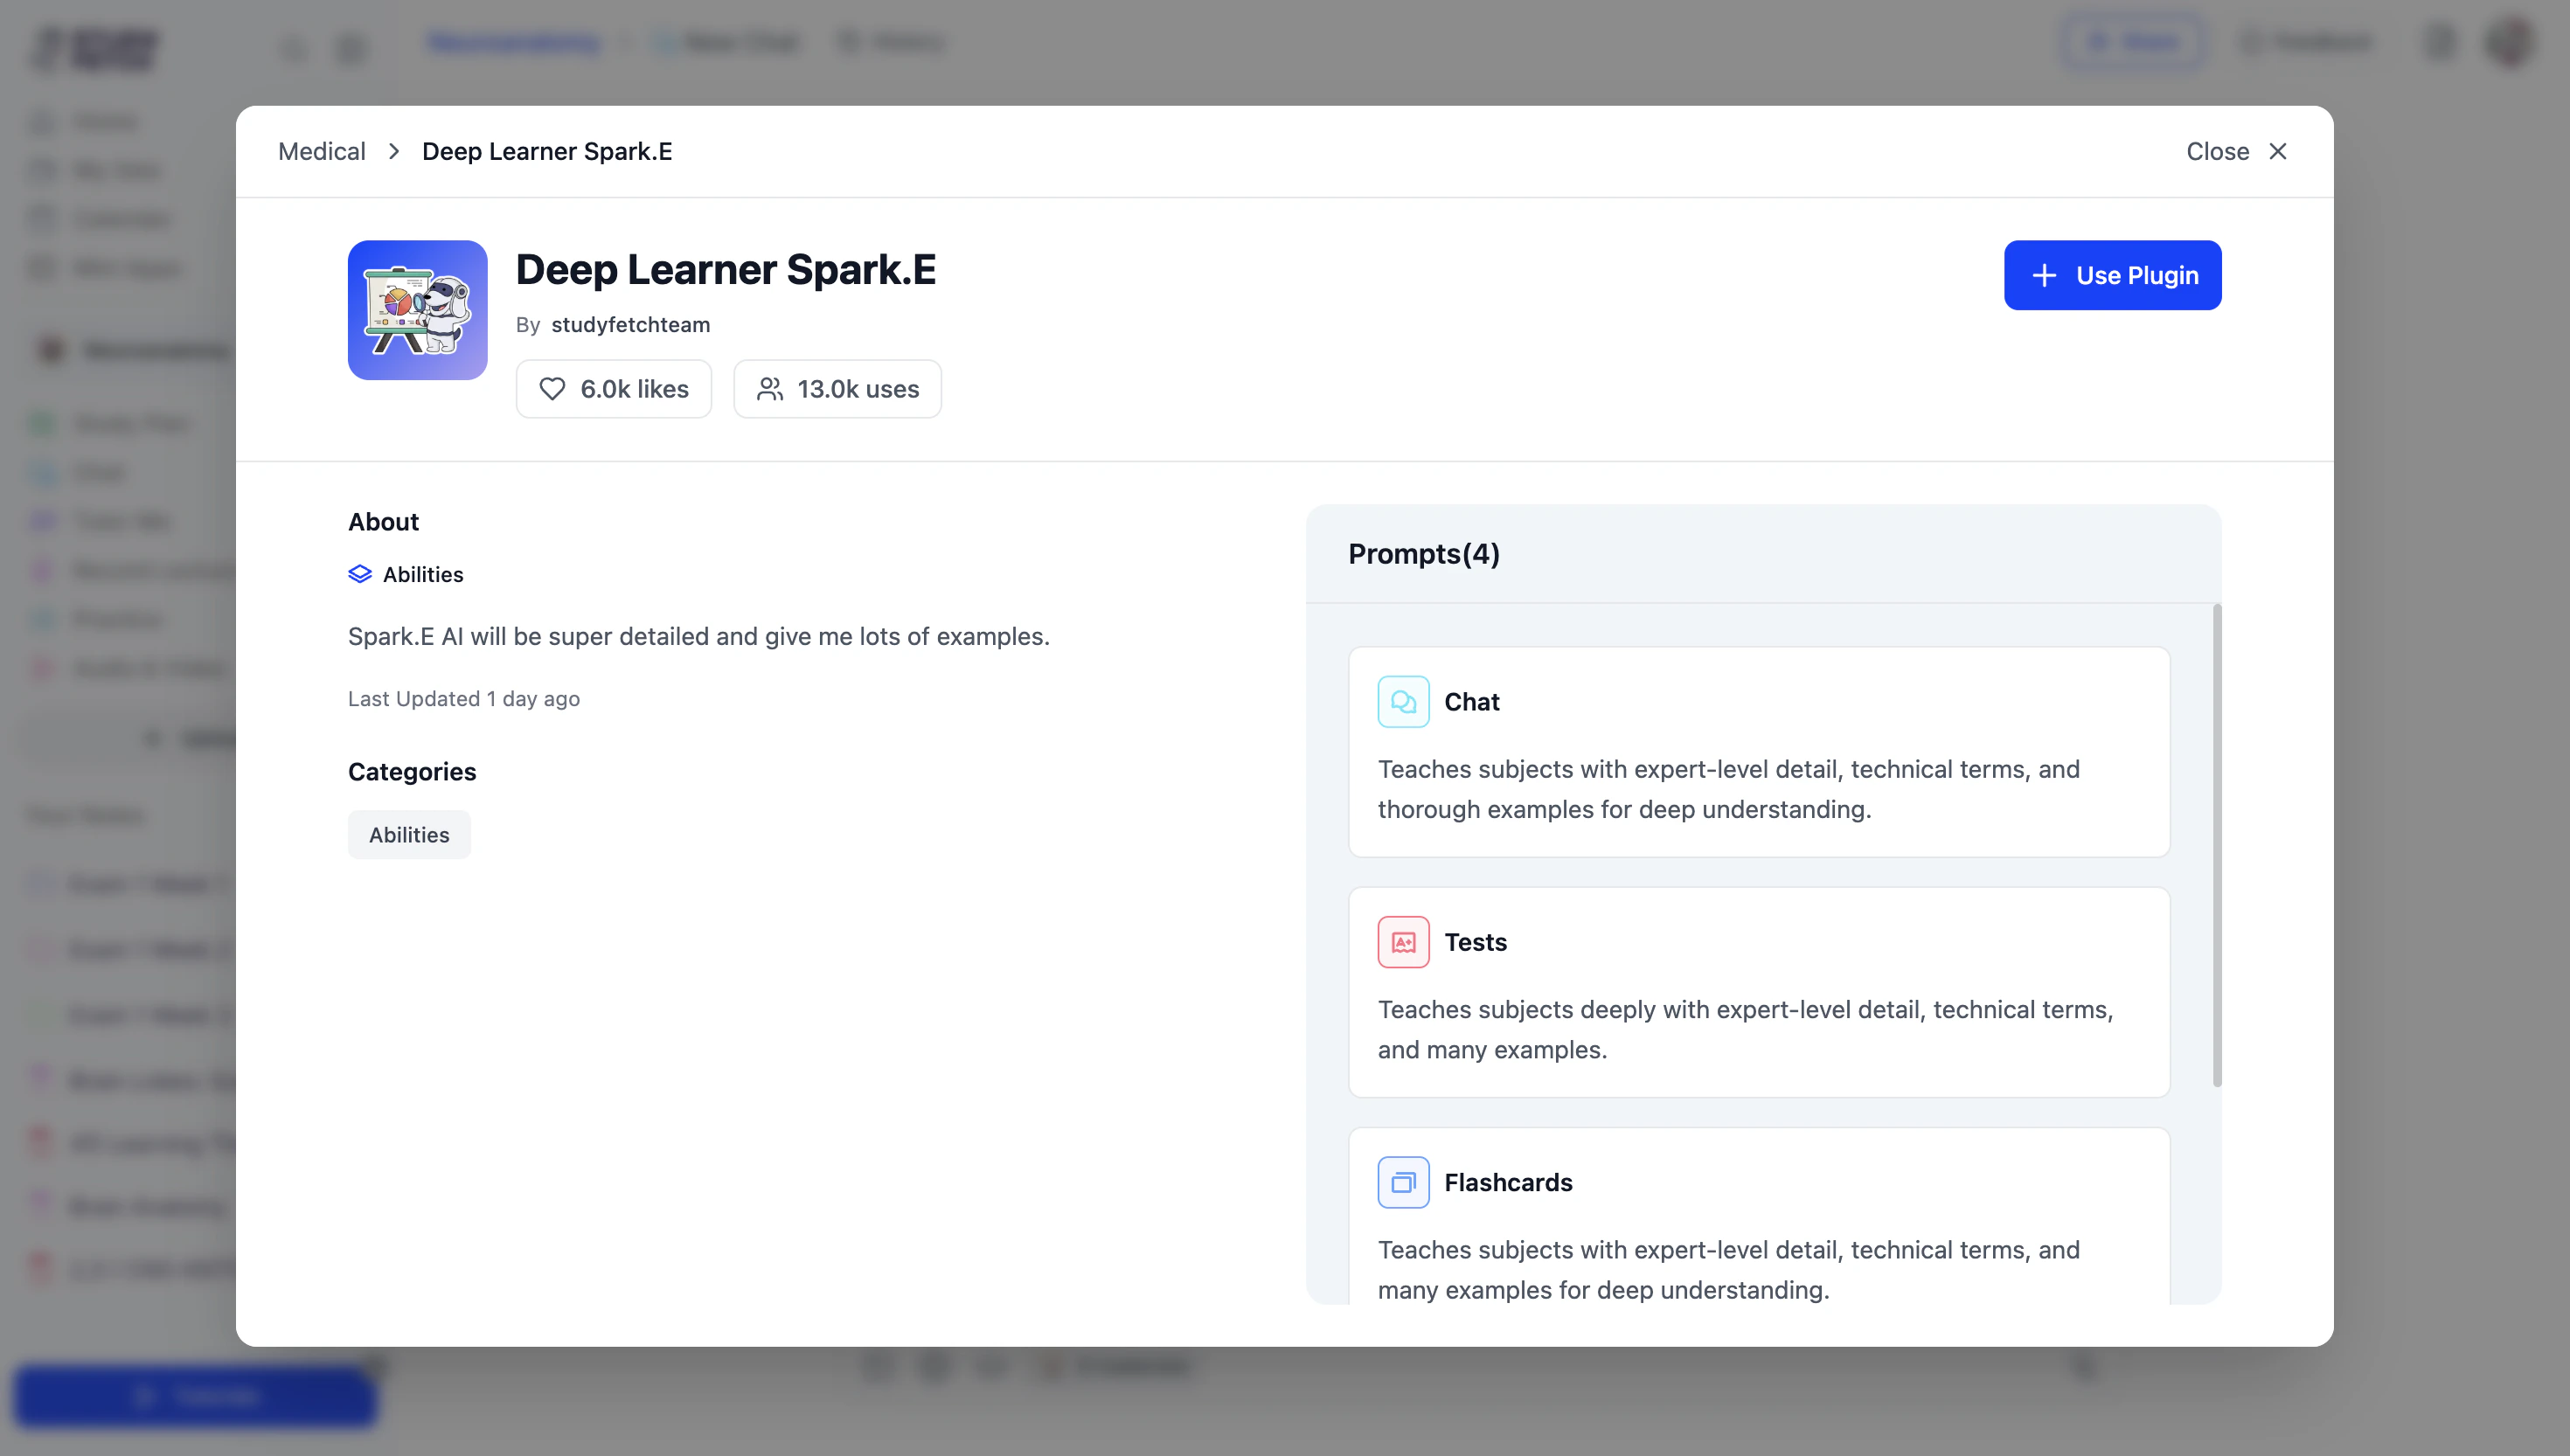
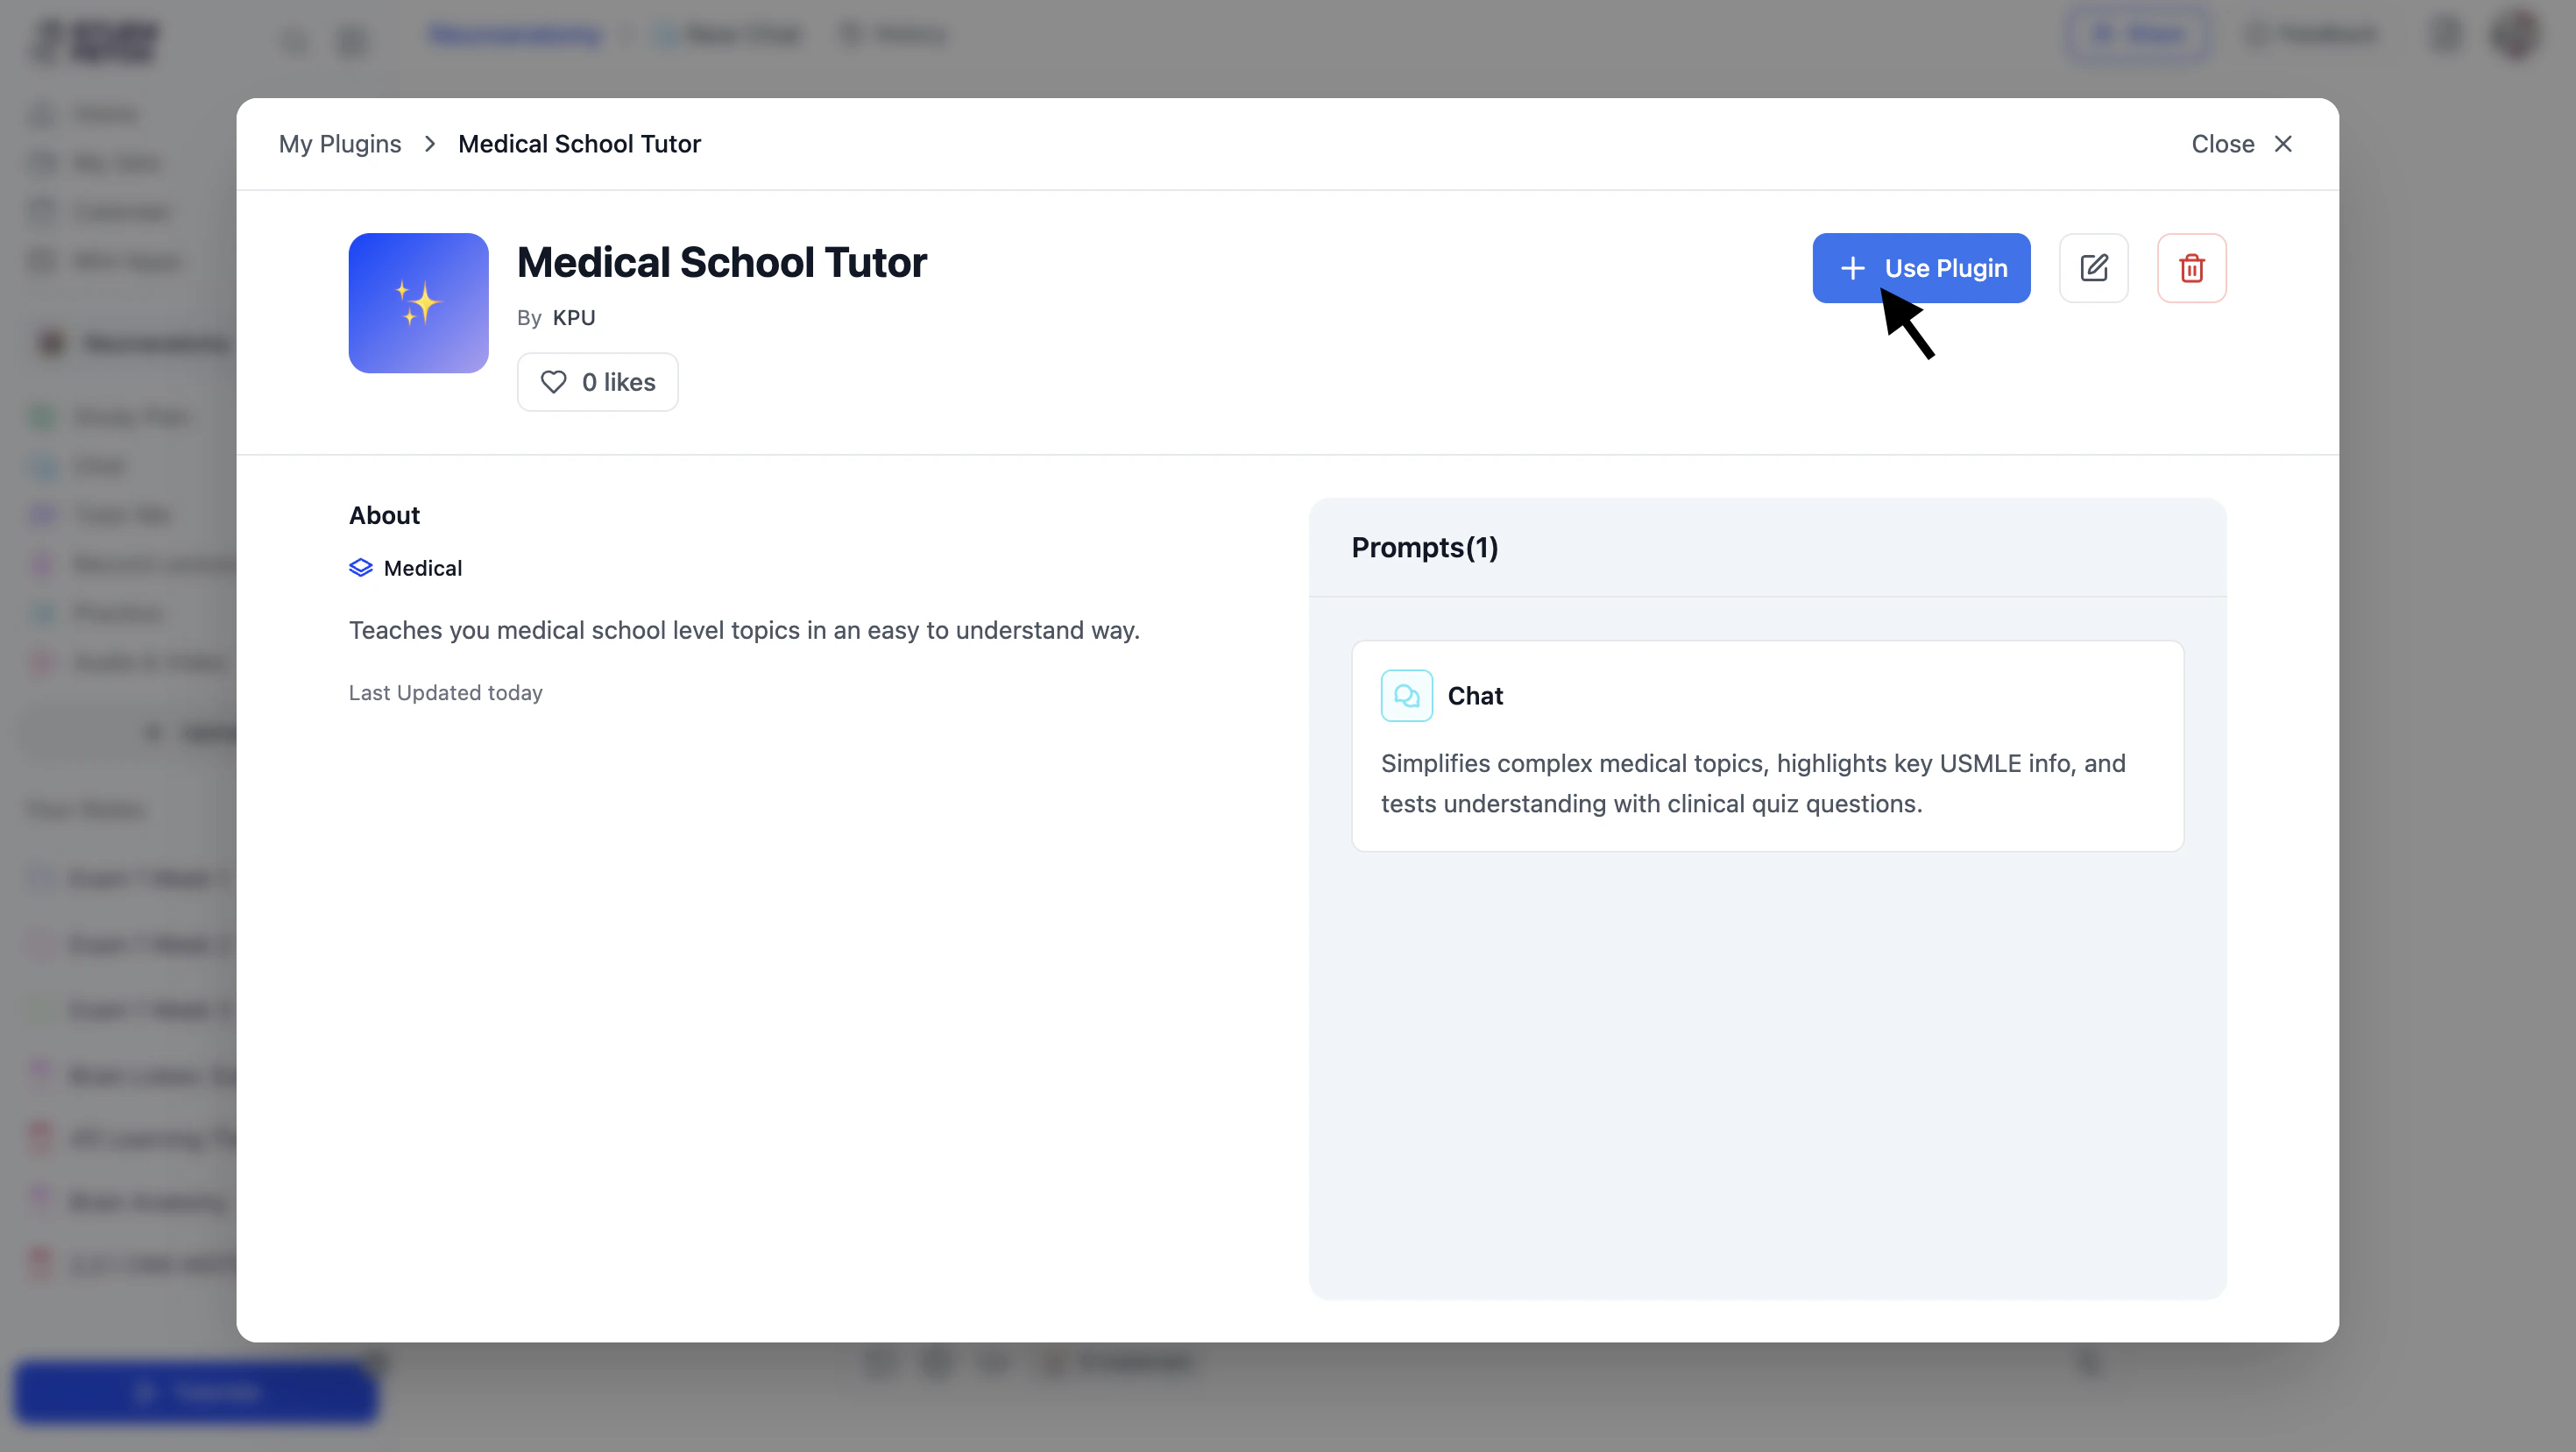
- The plugin About page will open, allowing you to view full details about the plugin, including the prompts designated for each feature in the Prompt box on the right-hand side.
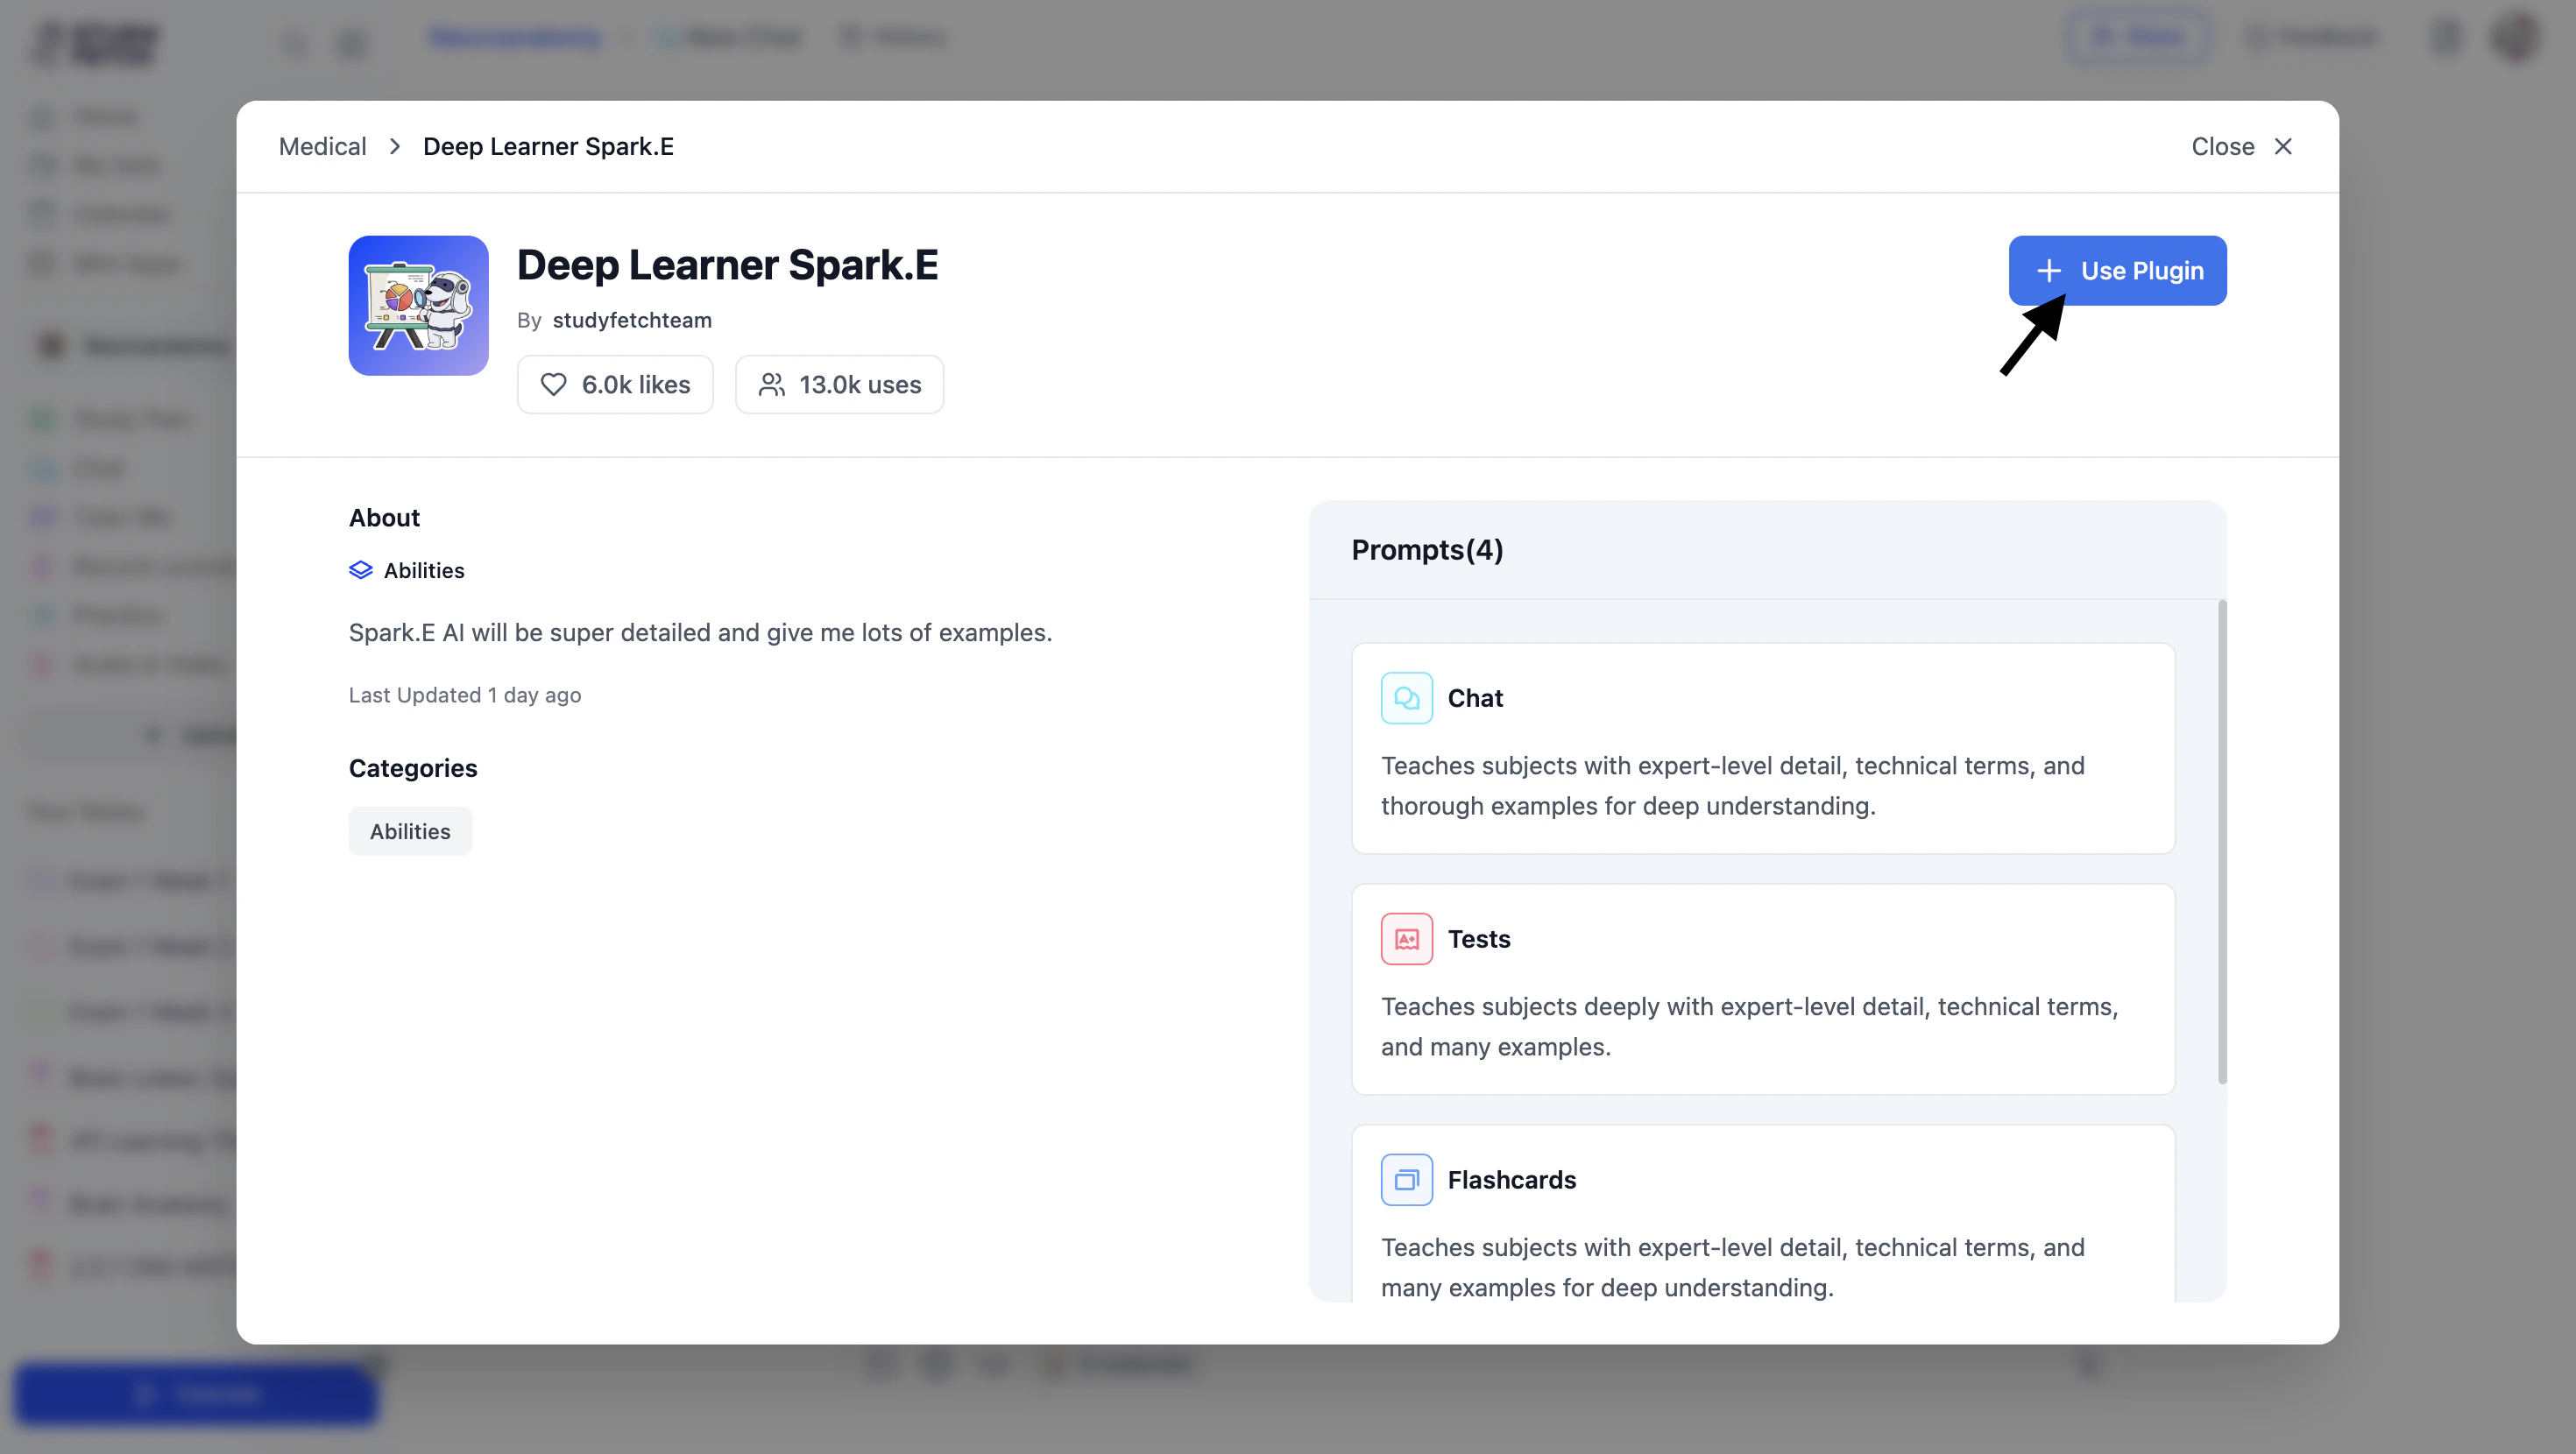
- To use the plugin in chat, select + Use Plugin in the top right corner.
- Once you see ✓ Using Plugin, click Close X.
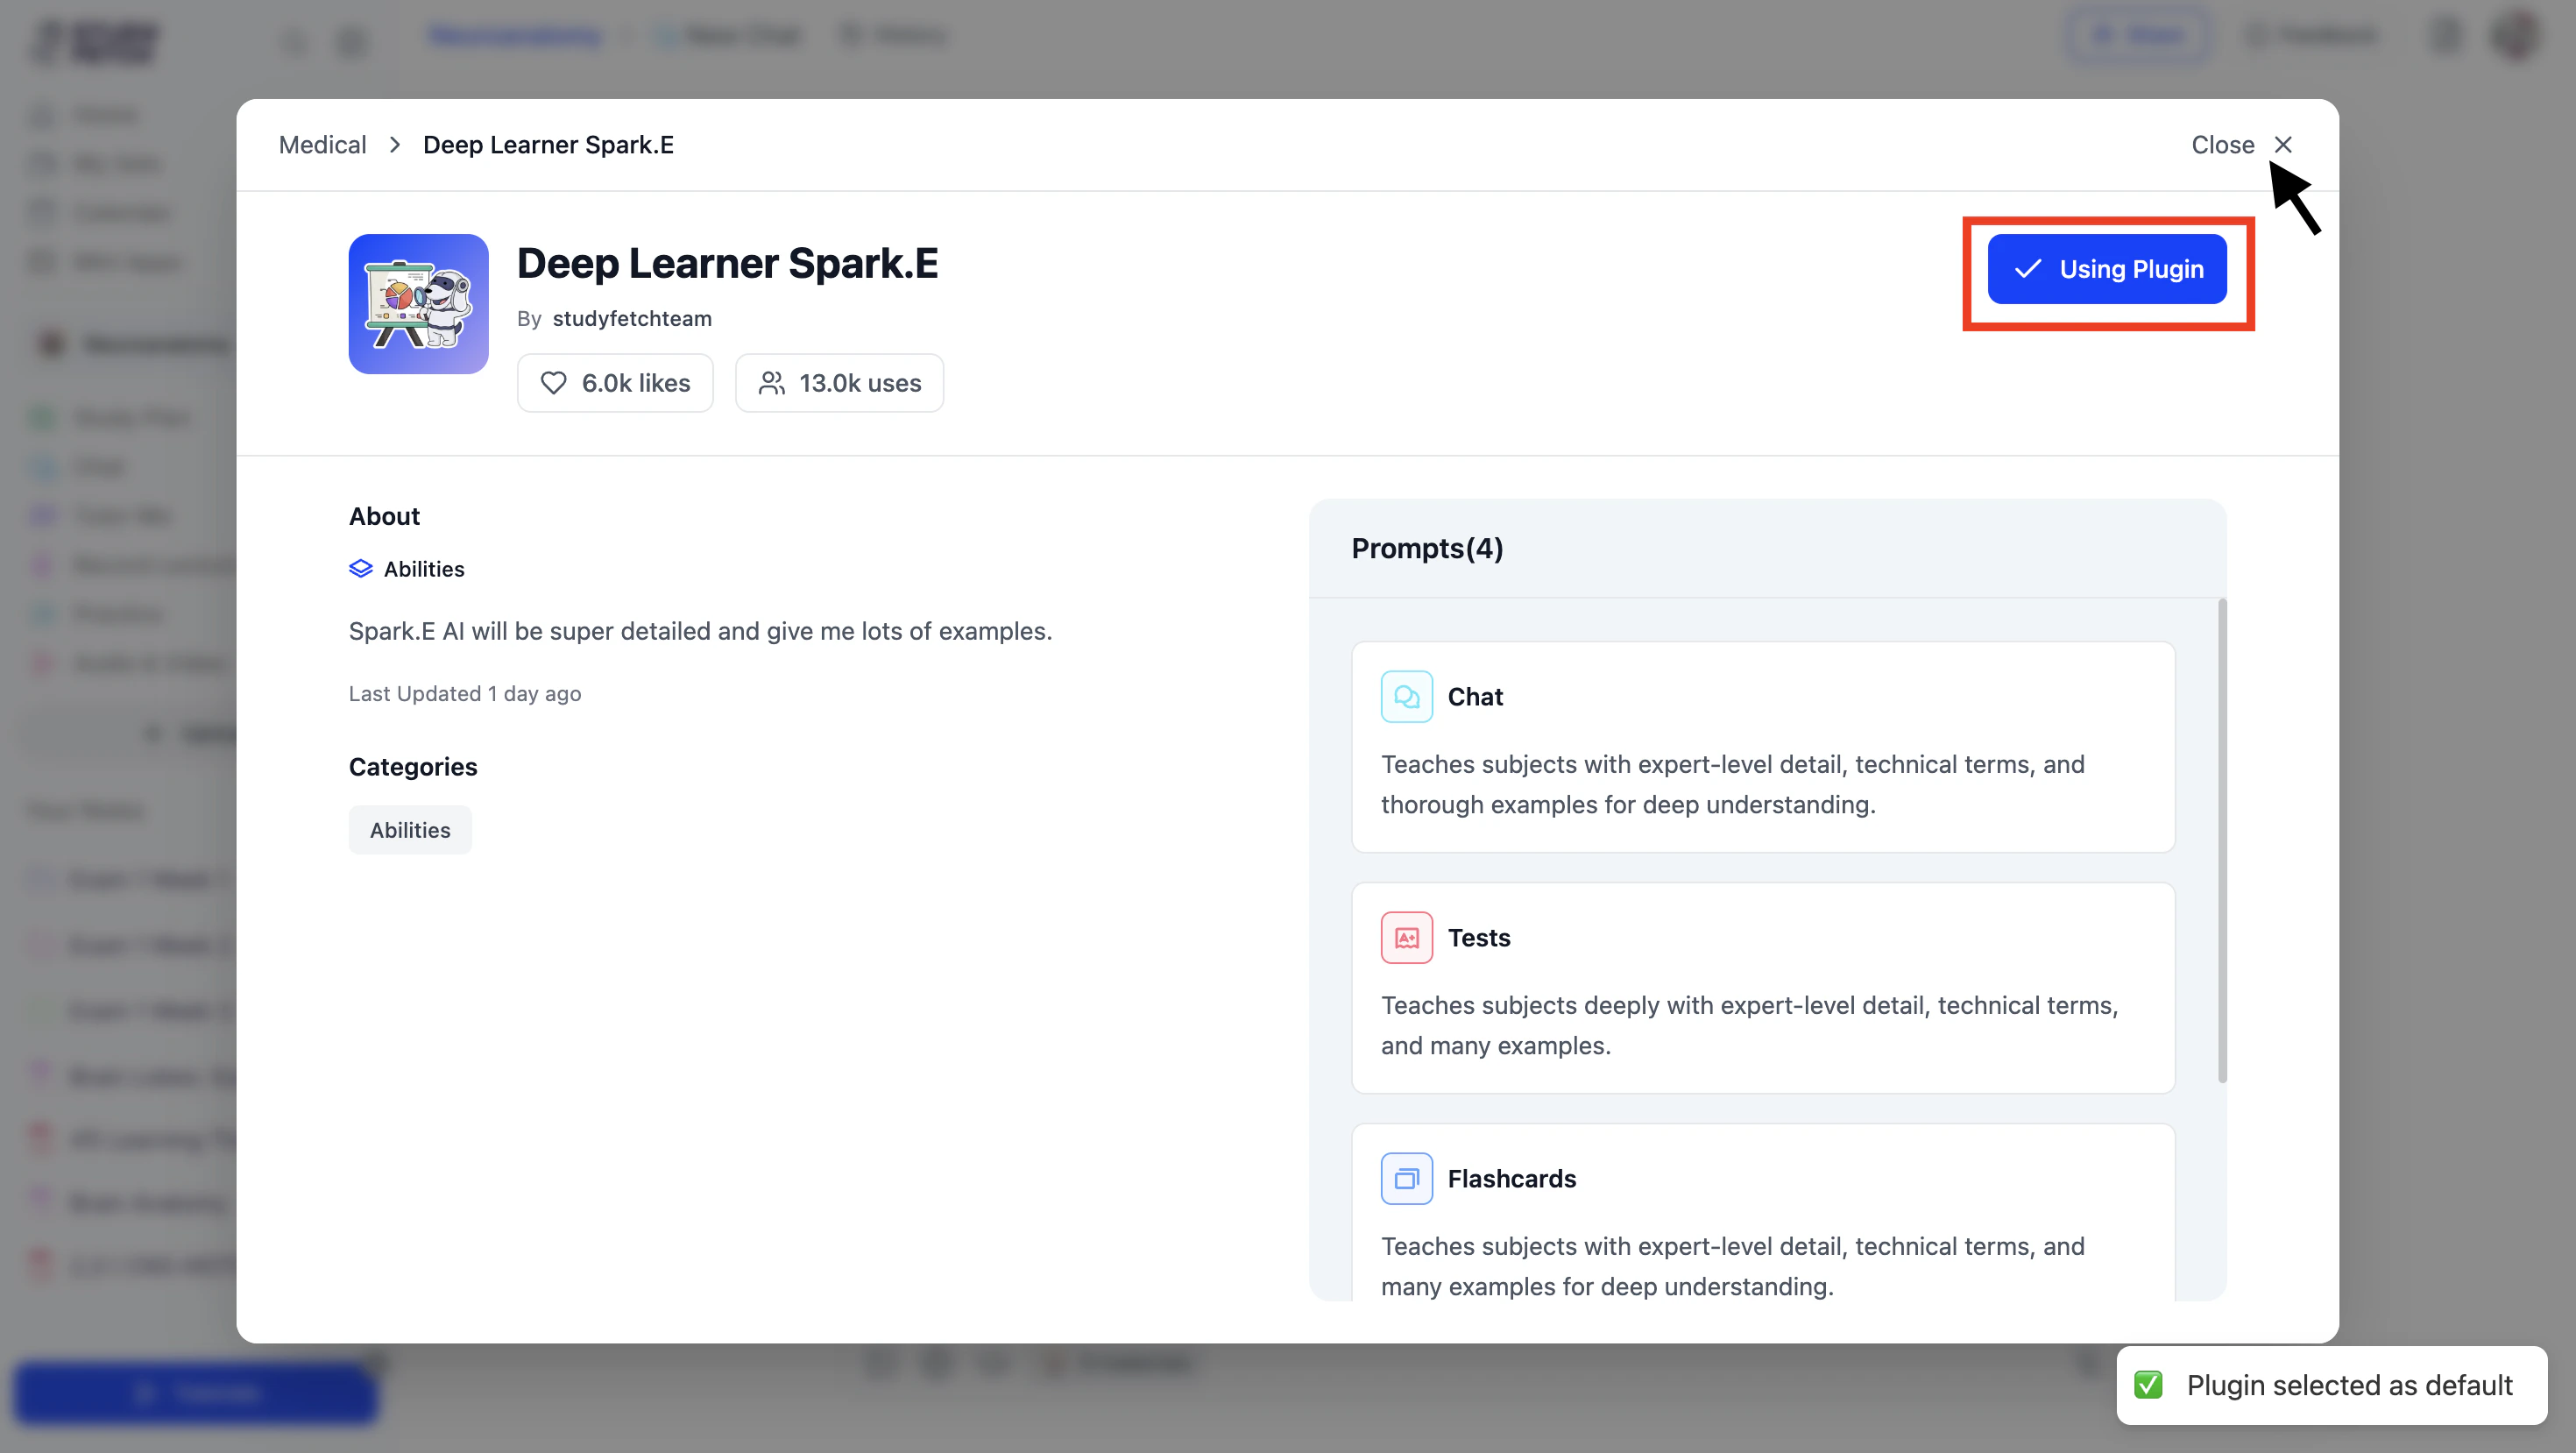
- Your AI Tutor’s name and icon will now update in the chat,
and Spark.E will instantly adjust how it interacts based on your selected plugin.
Customize Your Own Chat Plugin
Don’t see a plugin that fits your needs? Create your own to transform how you study with custom instructions, personalized learning preferences, and specialized techniques.- After opening Personalities & Skillsets, select + Create Plugin in the top right corner.
- Start by customizing the basic information for your plugin. Enter a name in the Plugin Name field.

- You can optionally add a description in the Description box to highlight what makes your plugin unique.
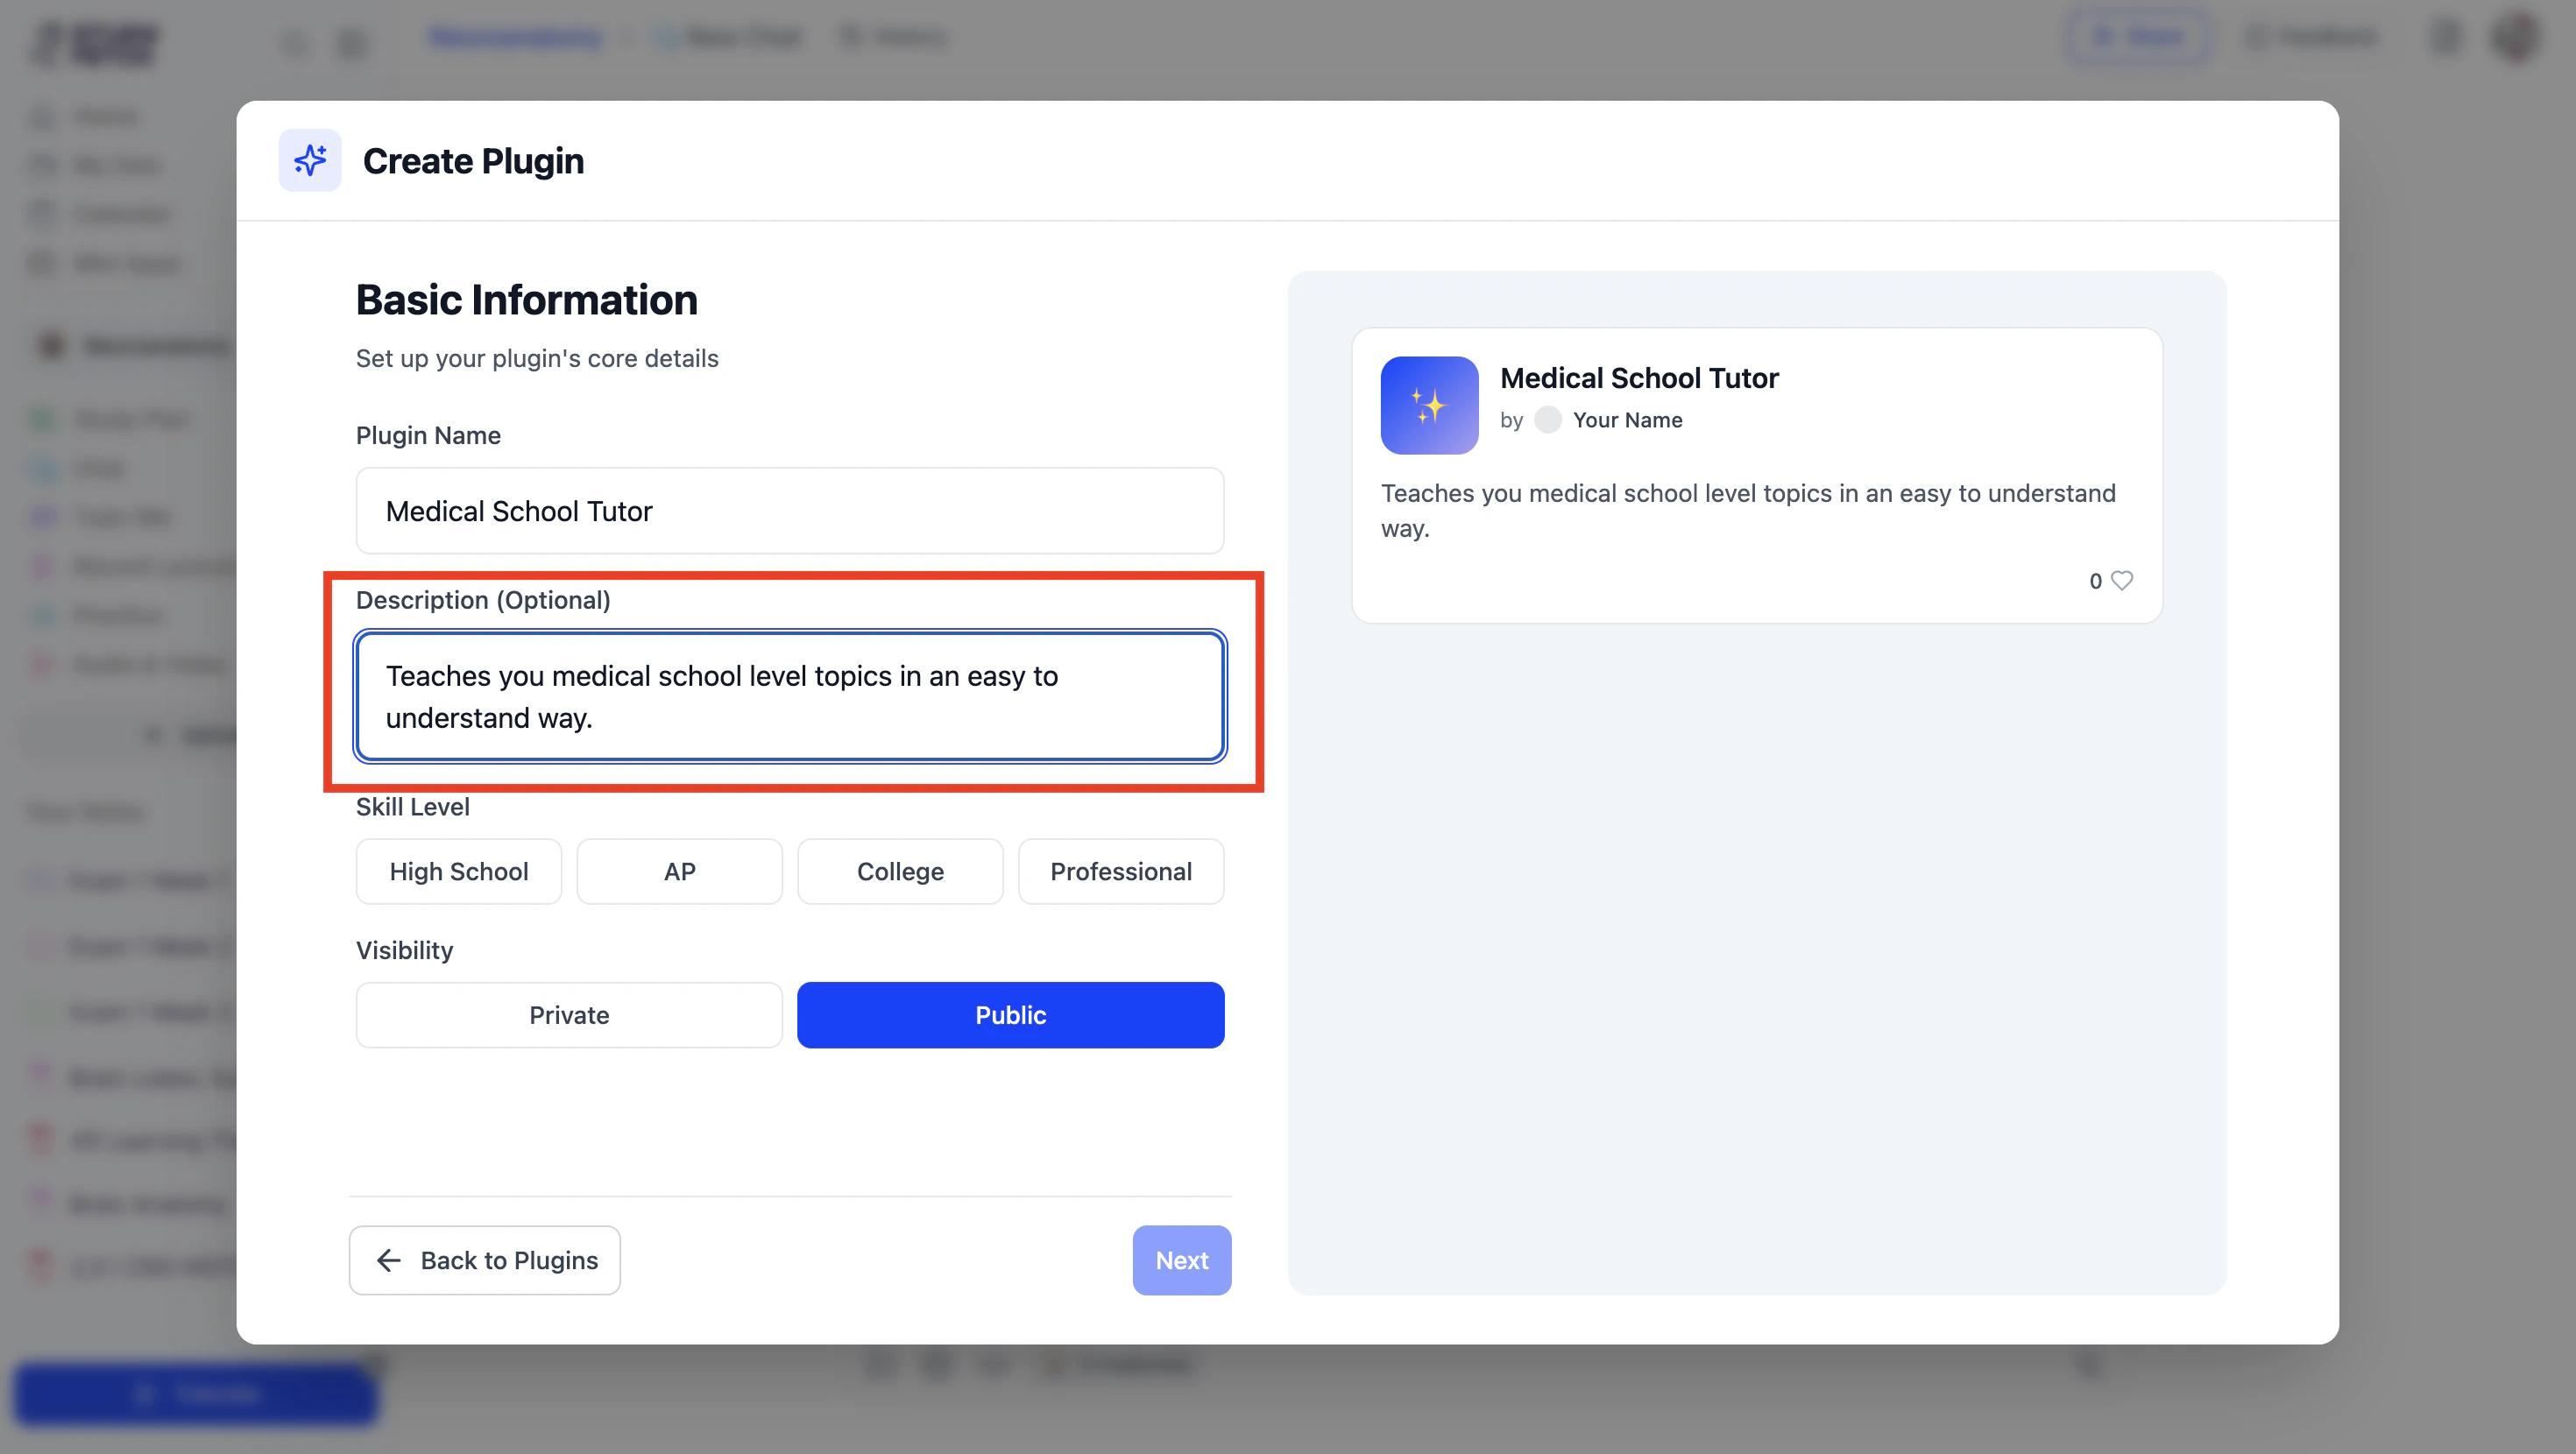
- Next choose your Skill Level from High School, AP, College and Professional.
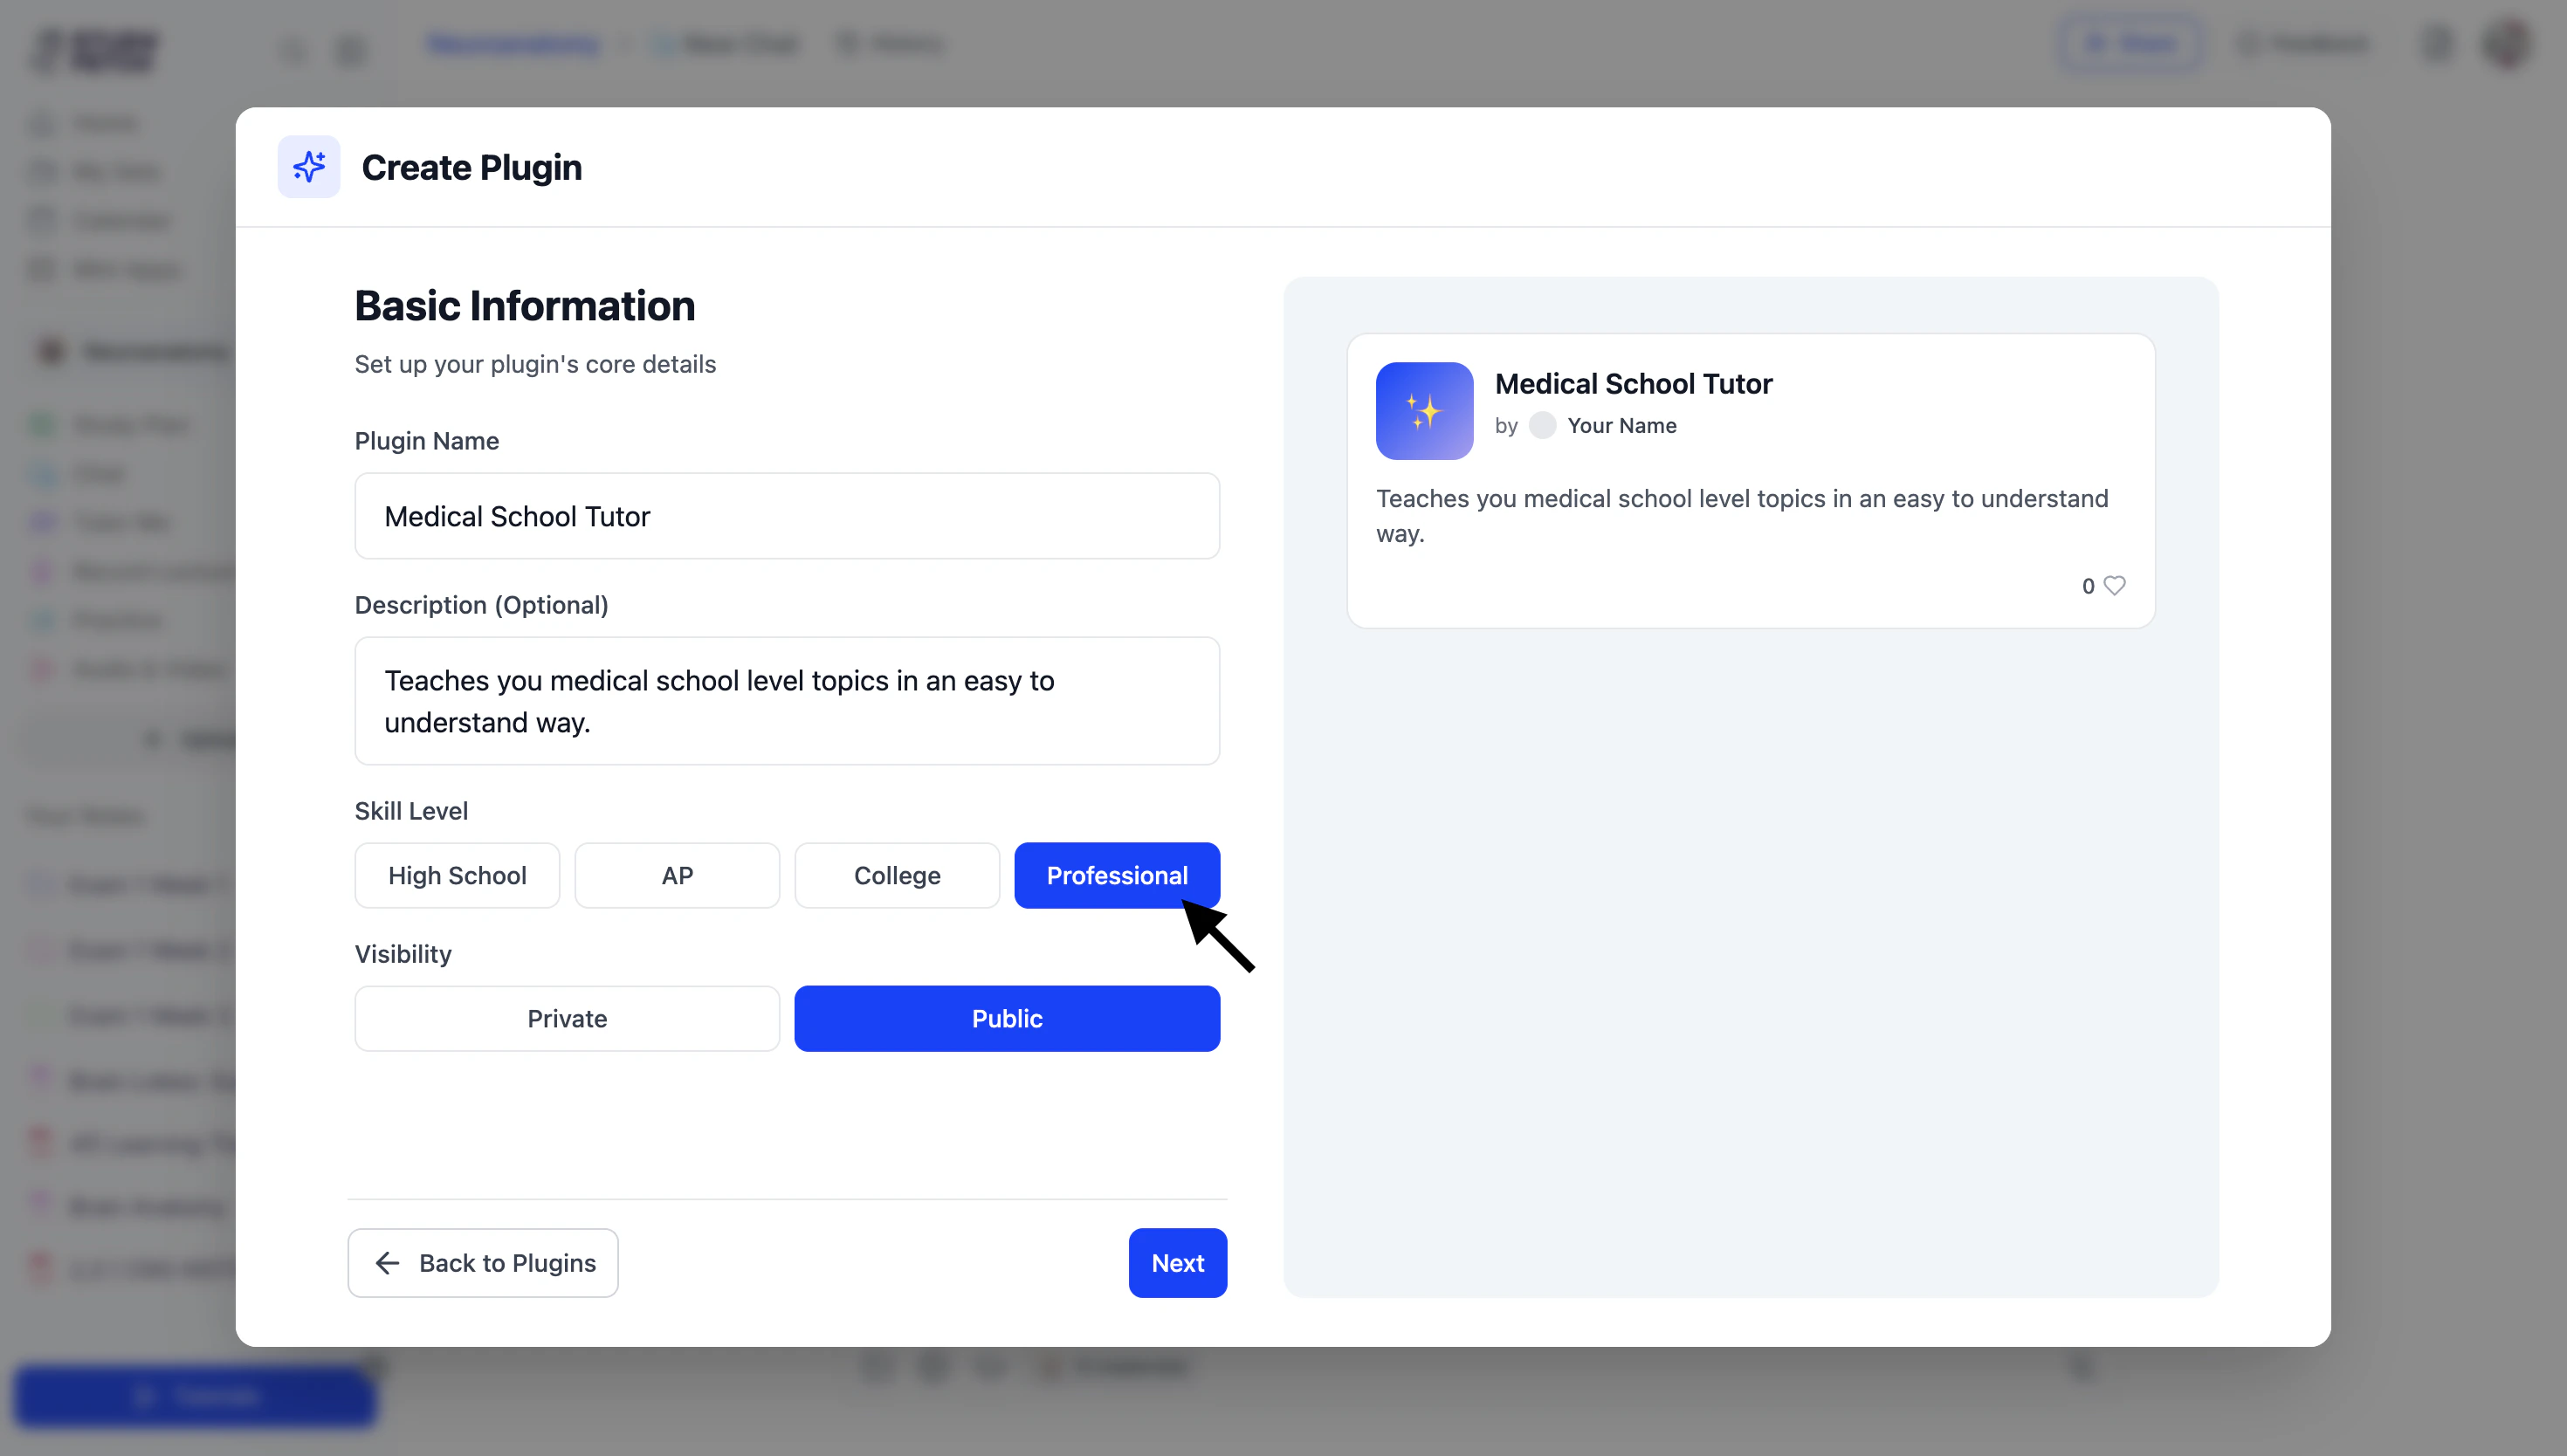
- Then, set your visibility by choosing Private to keep the plugin on your profile, or Public to share it with other StudyFetch users.
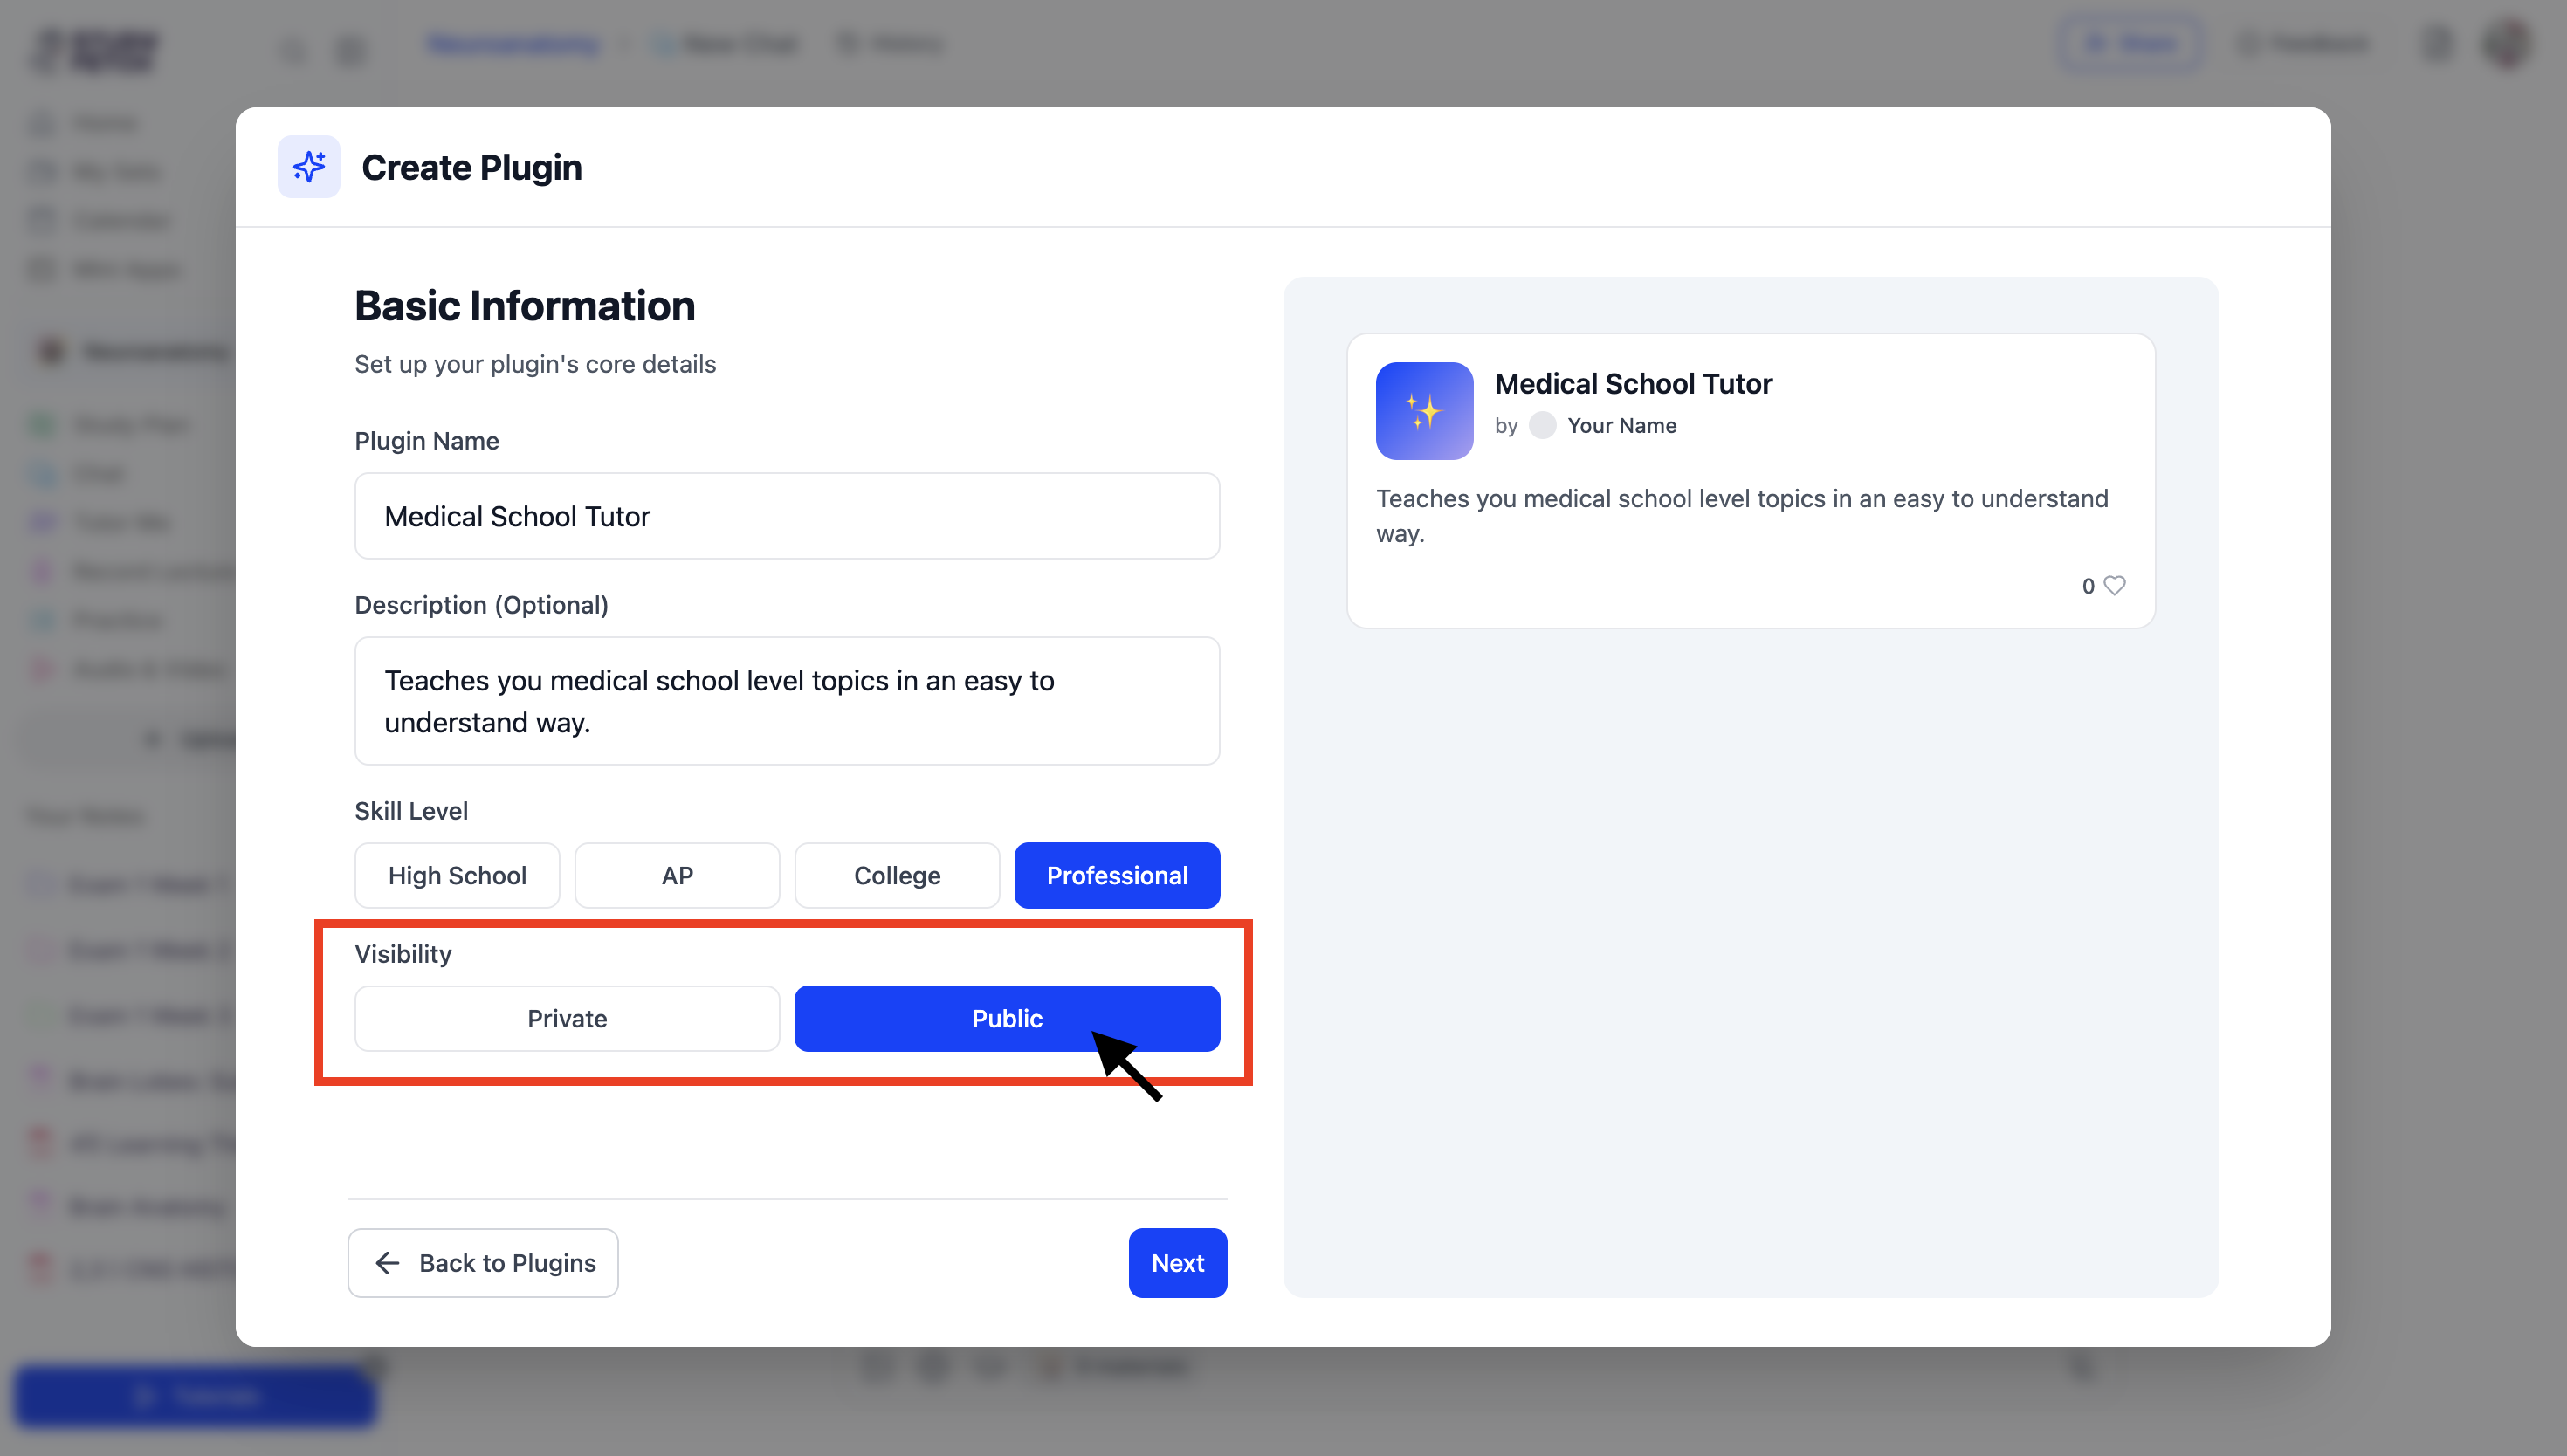
- Click Next to continue.
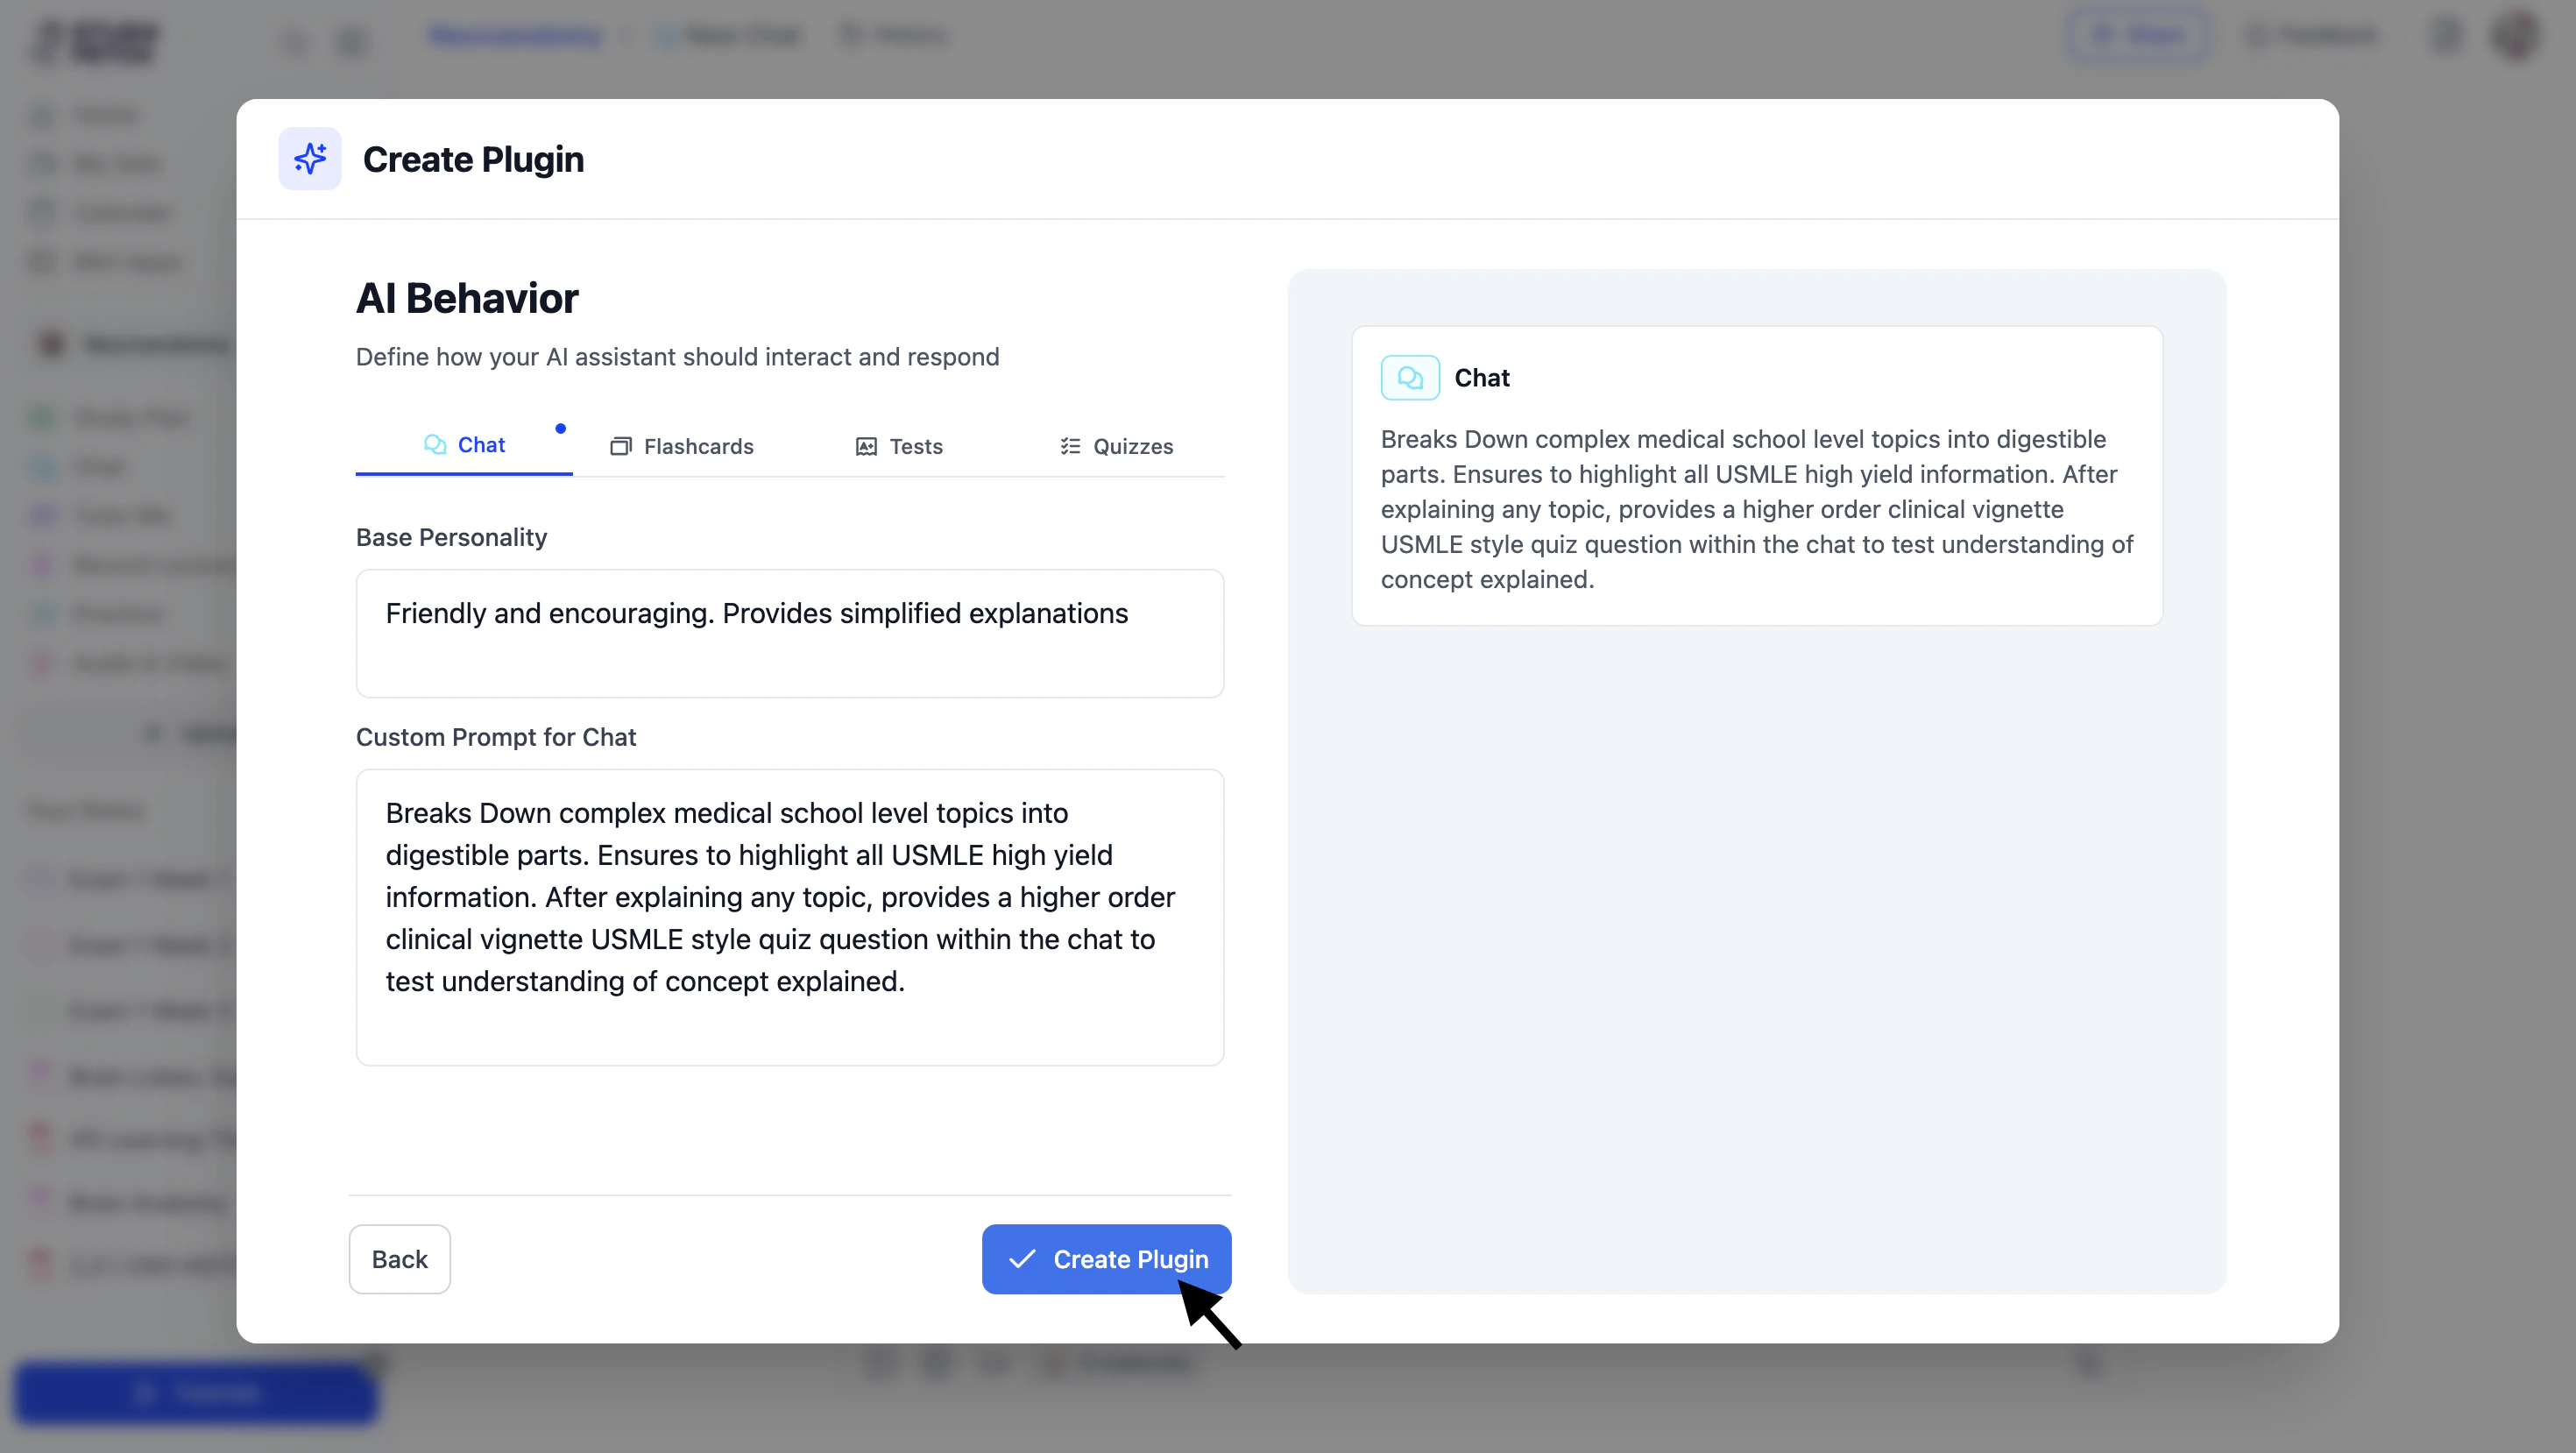
- Now, customize how your tutor interacts in chat. In the Base Personality field, describe the tone and style you want (e.g., friendly, encouraging, or simplified explanations).
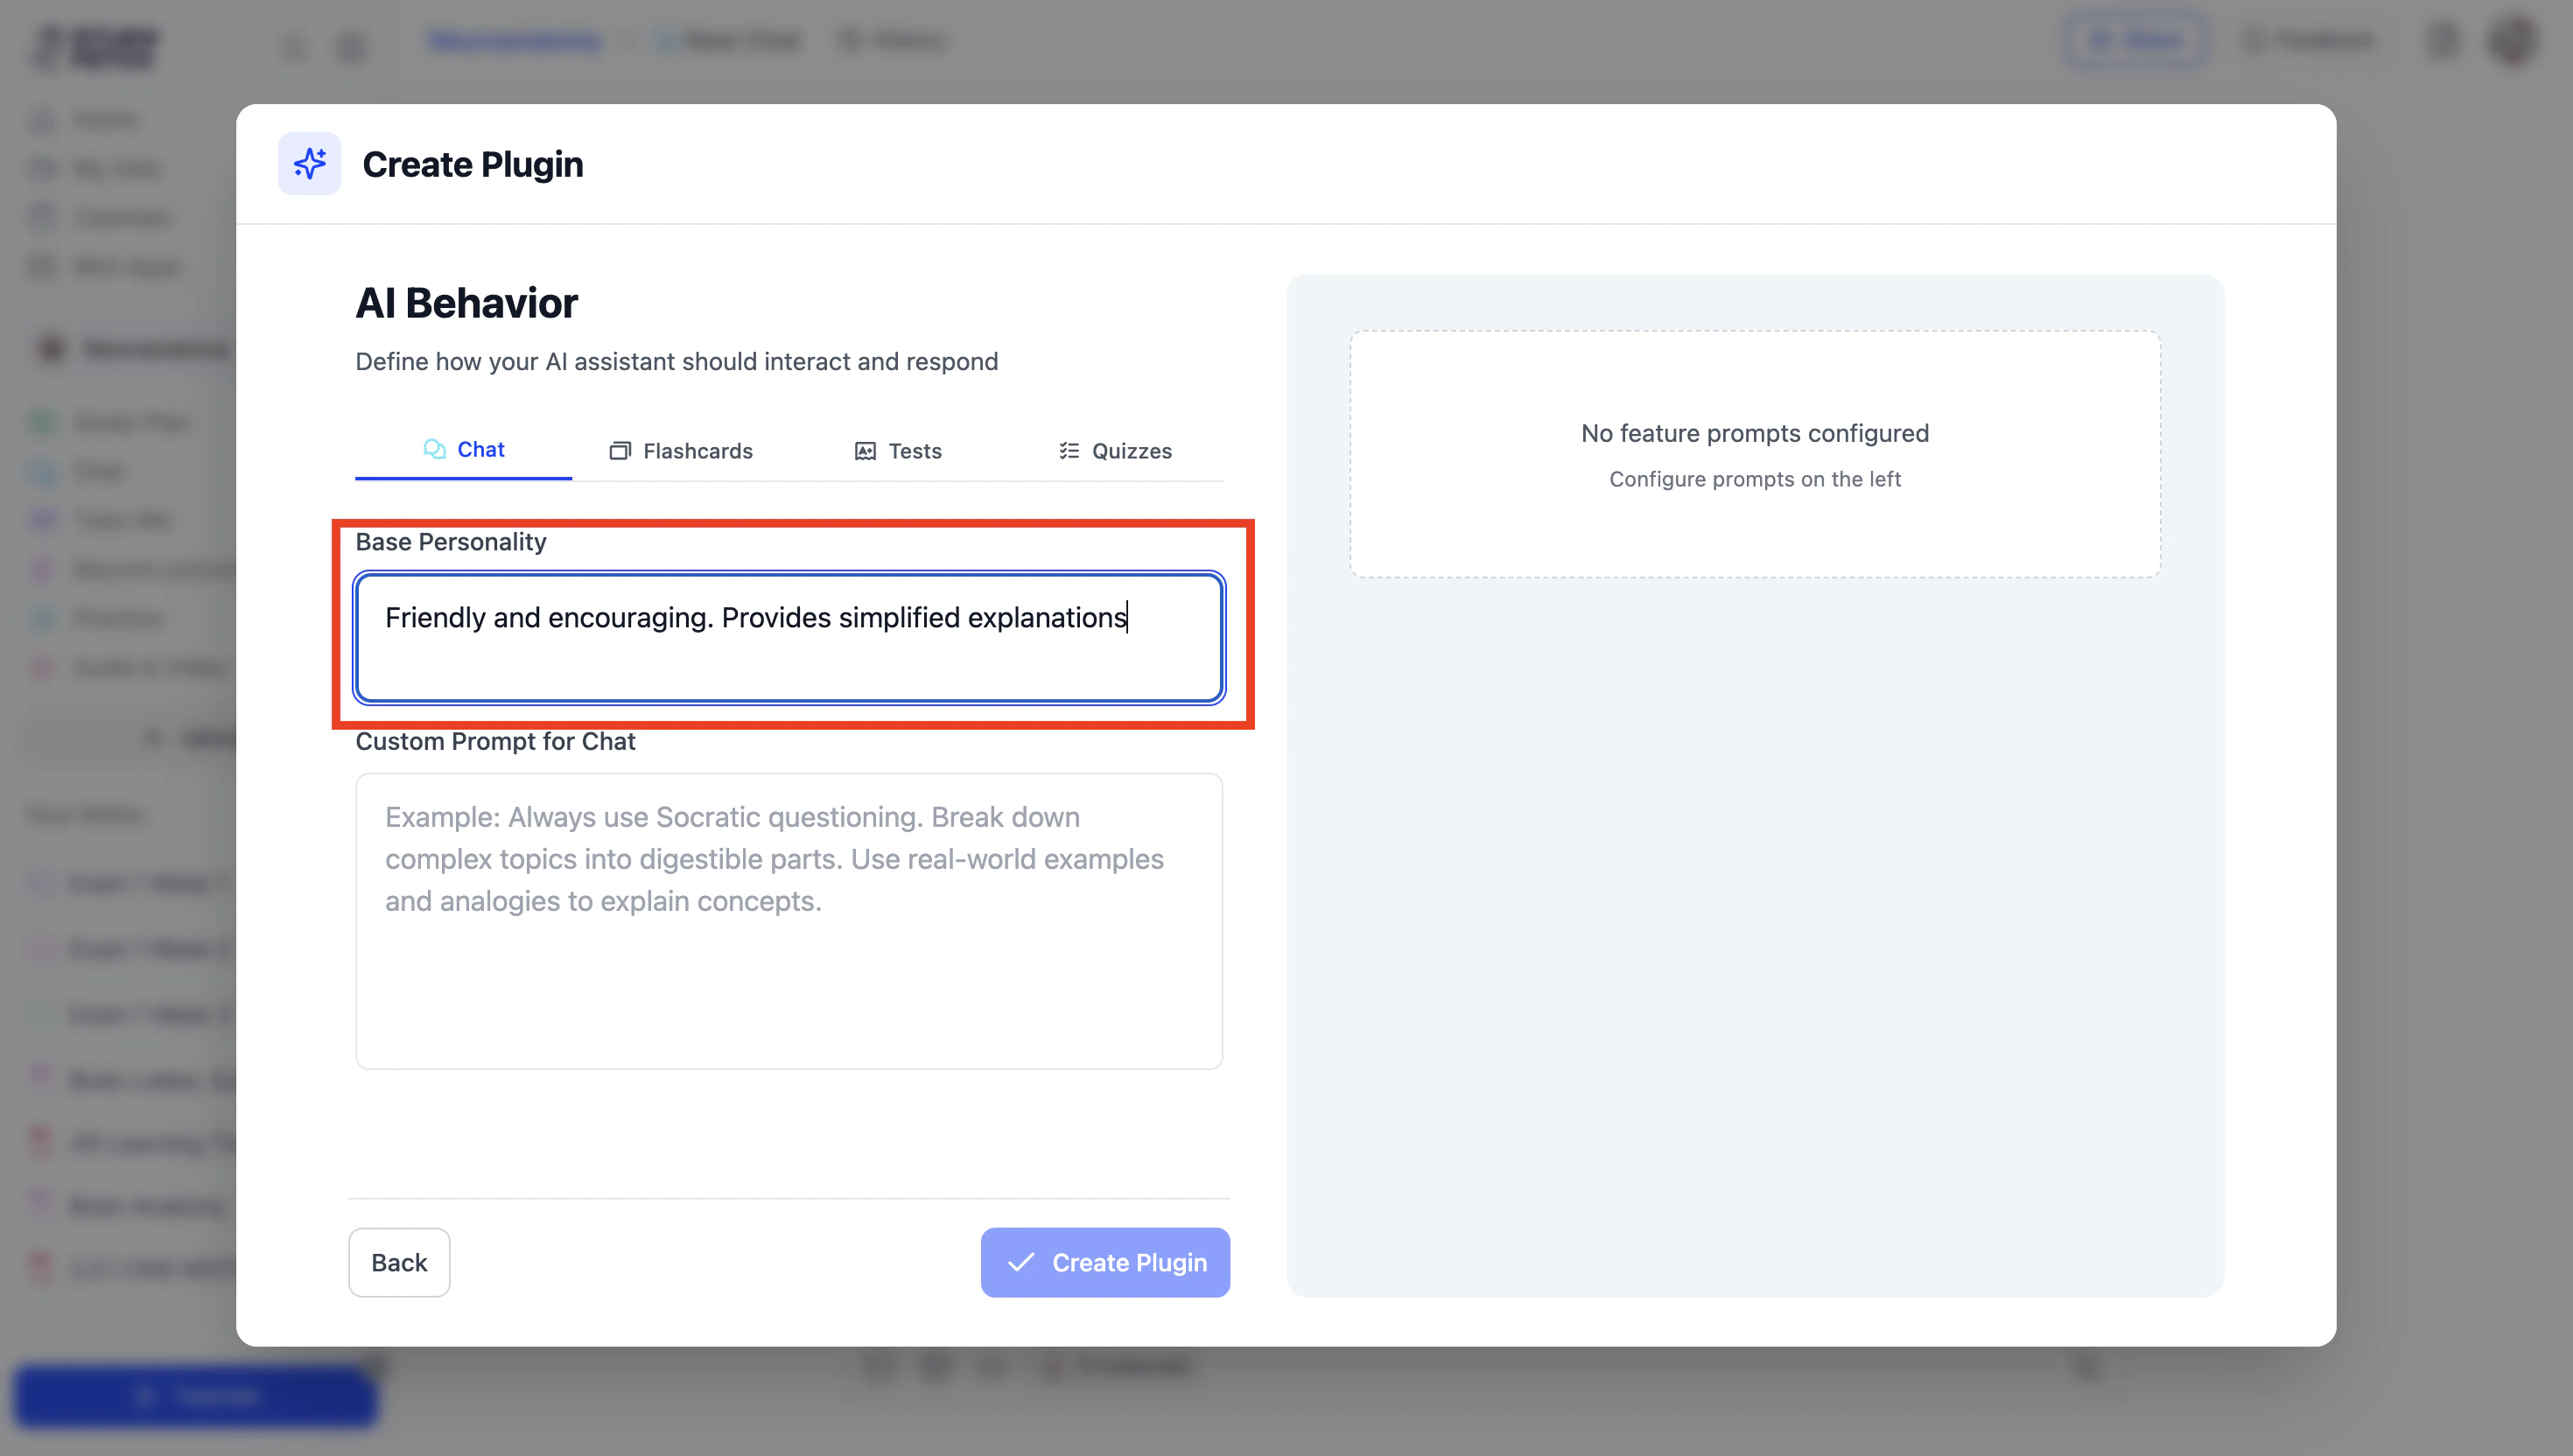
- In the Custom Prompt for Chat field, specify how you want the AI to behave—such as breaking down complex topics into digestible parts, using real-world examples, or providing memory aids for difficult concepts.
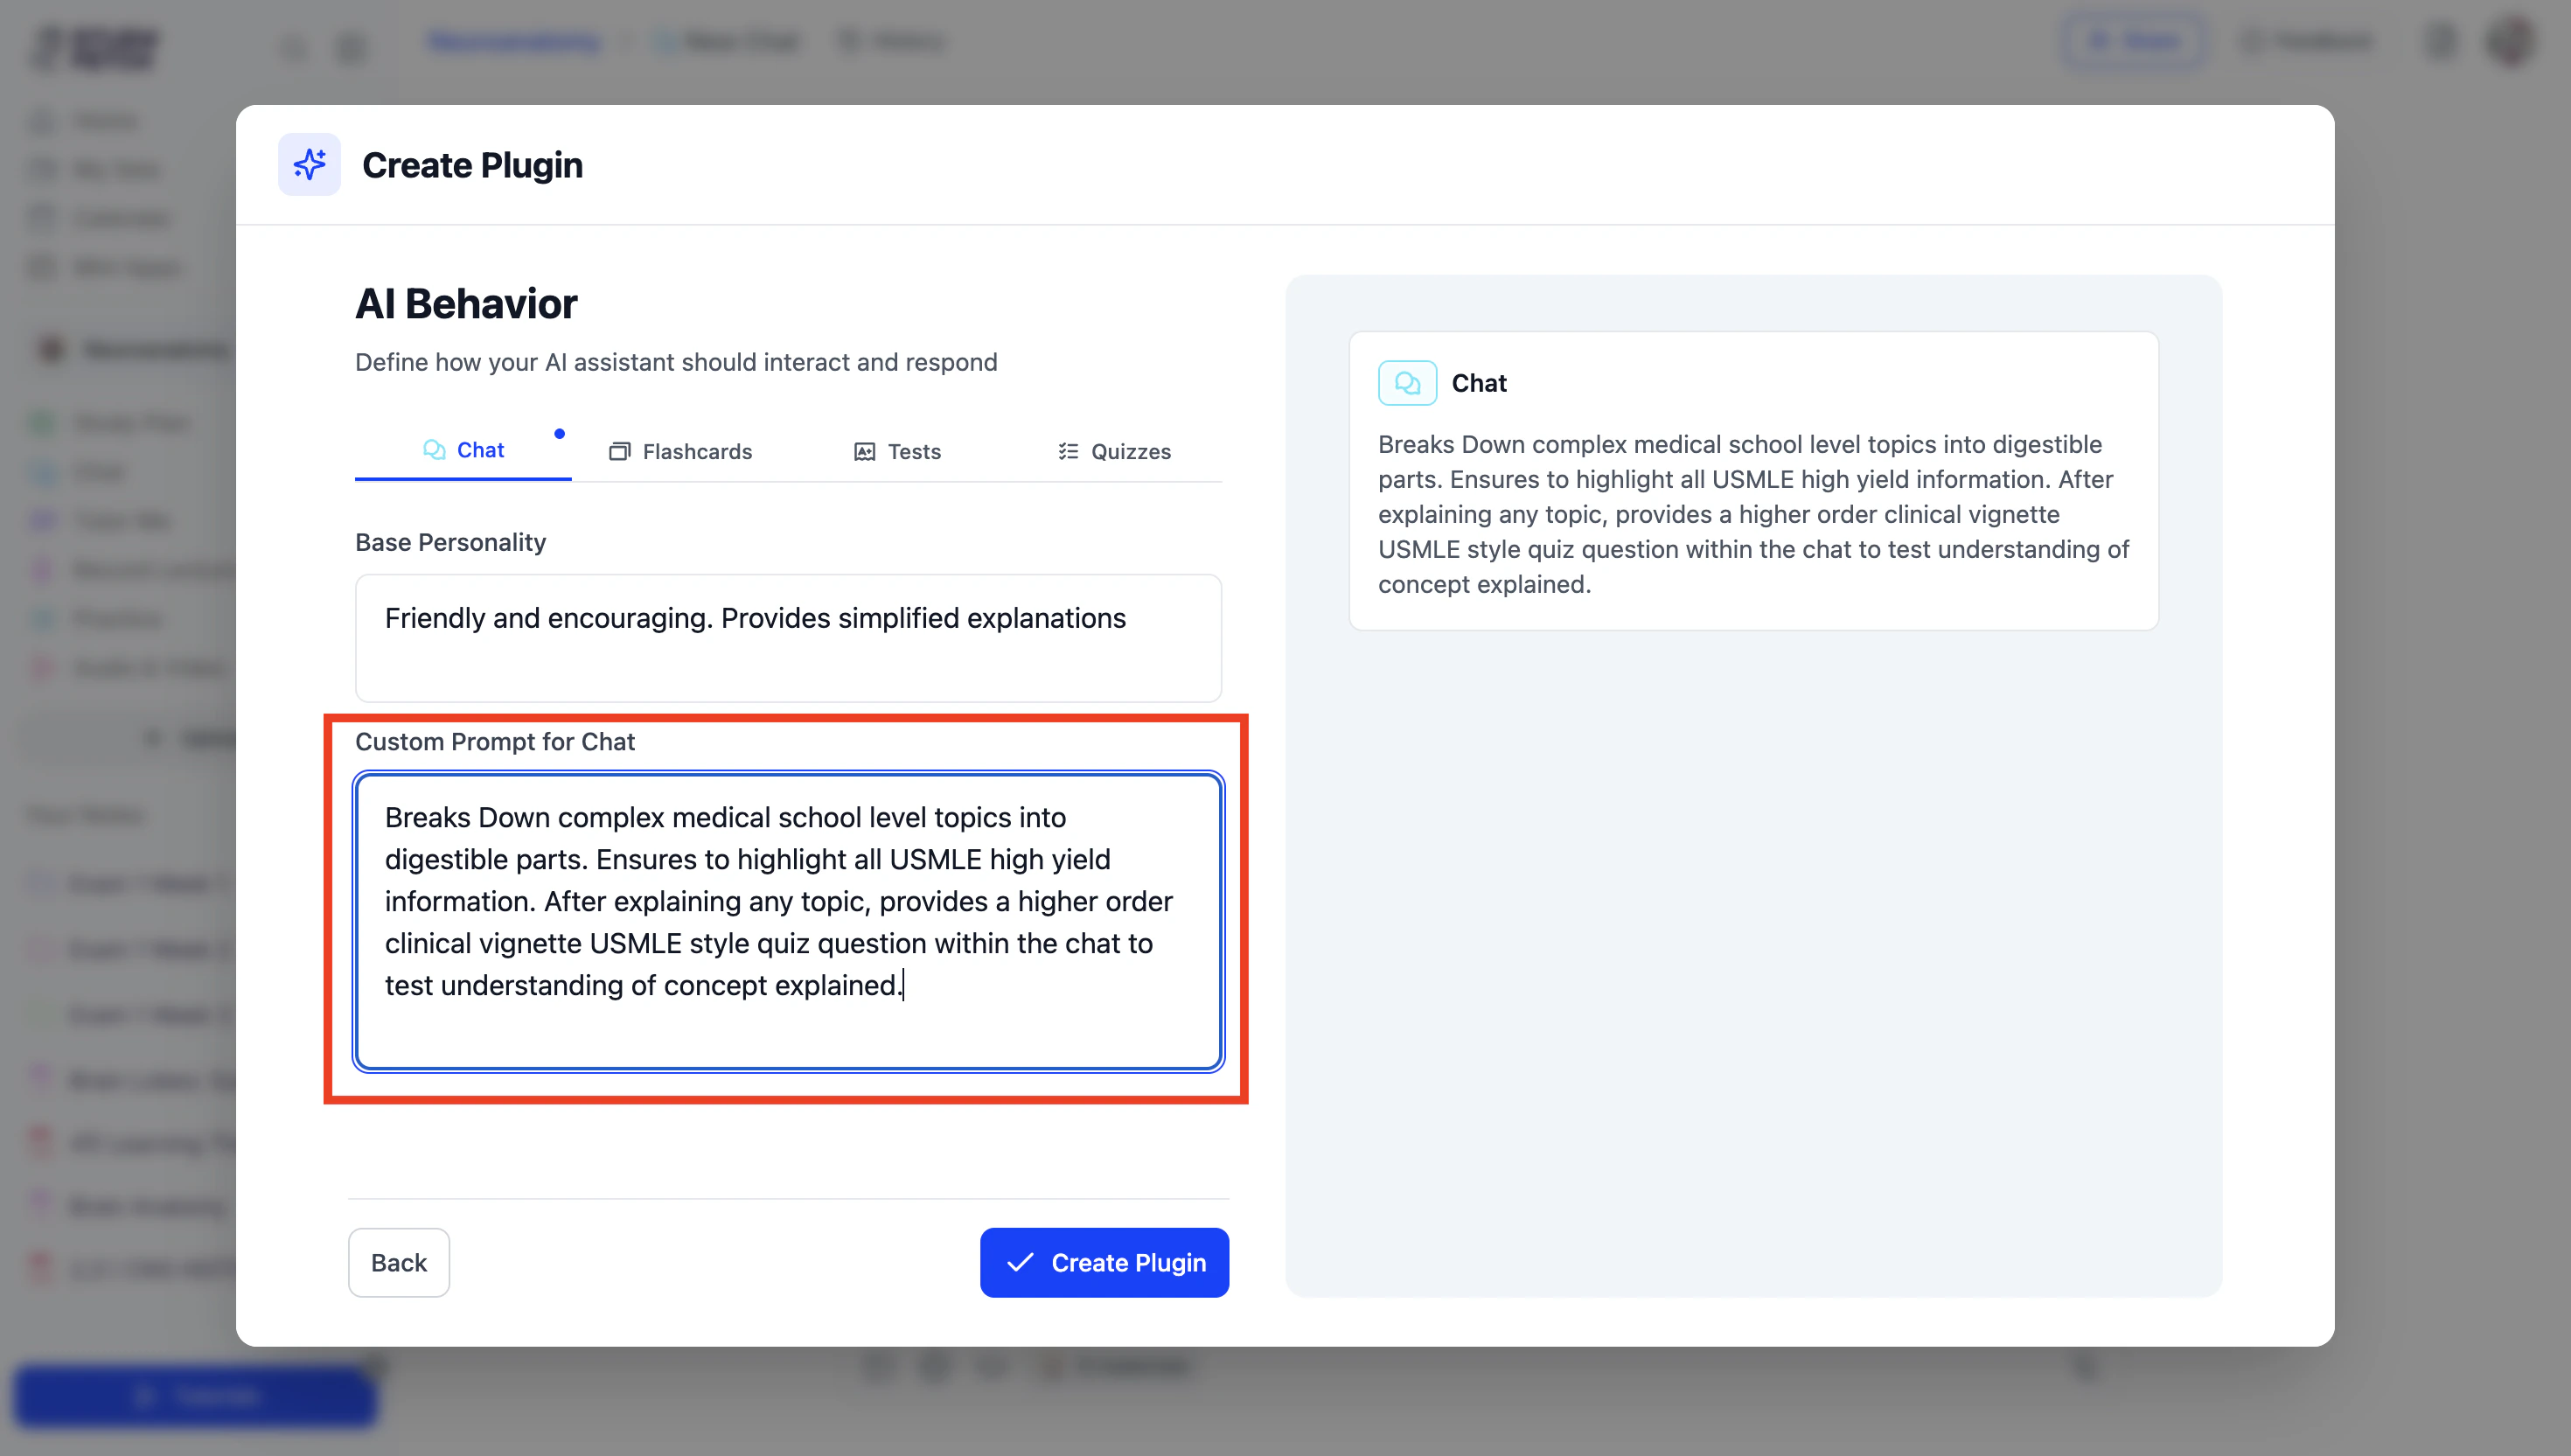
- You can also add custom prompts for other features like Flashcards, Tests, and Quizzes by selecting each feature tab at the top and,
entering prompts in the corresponding fields.
 These are optional—you don’t need to complete prompts for all features.
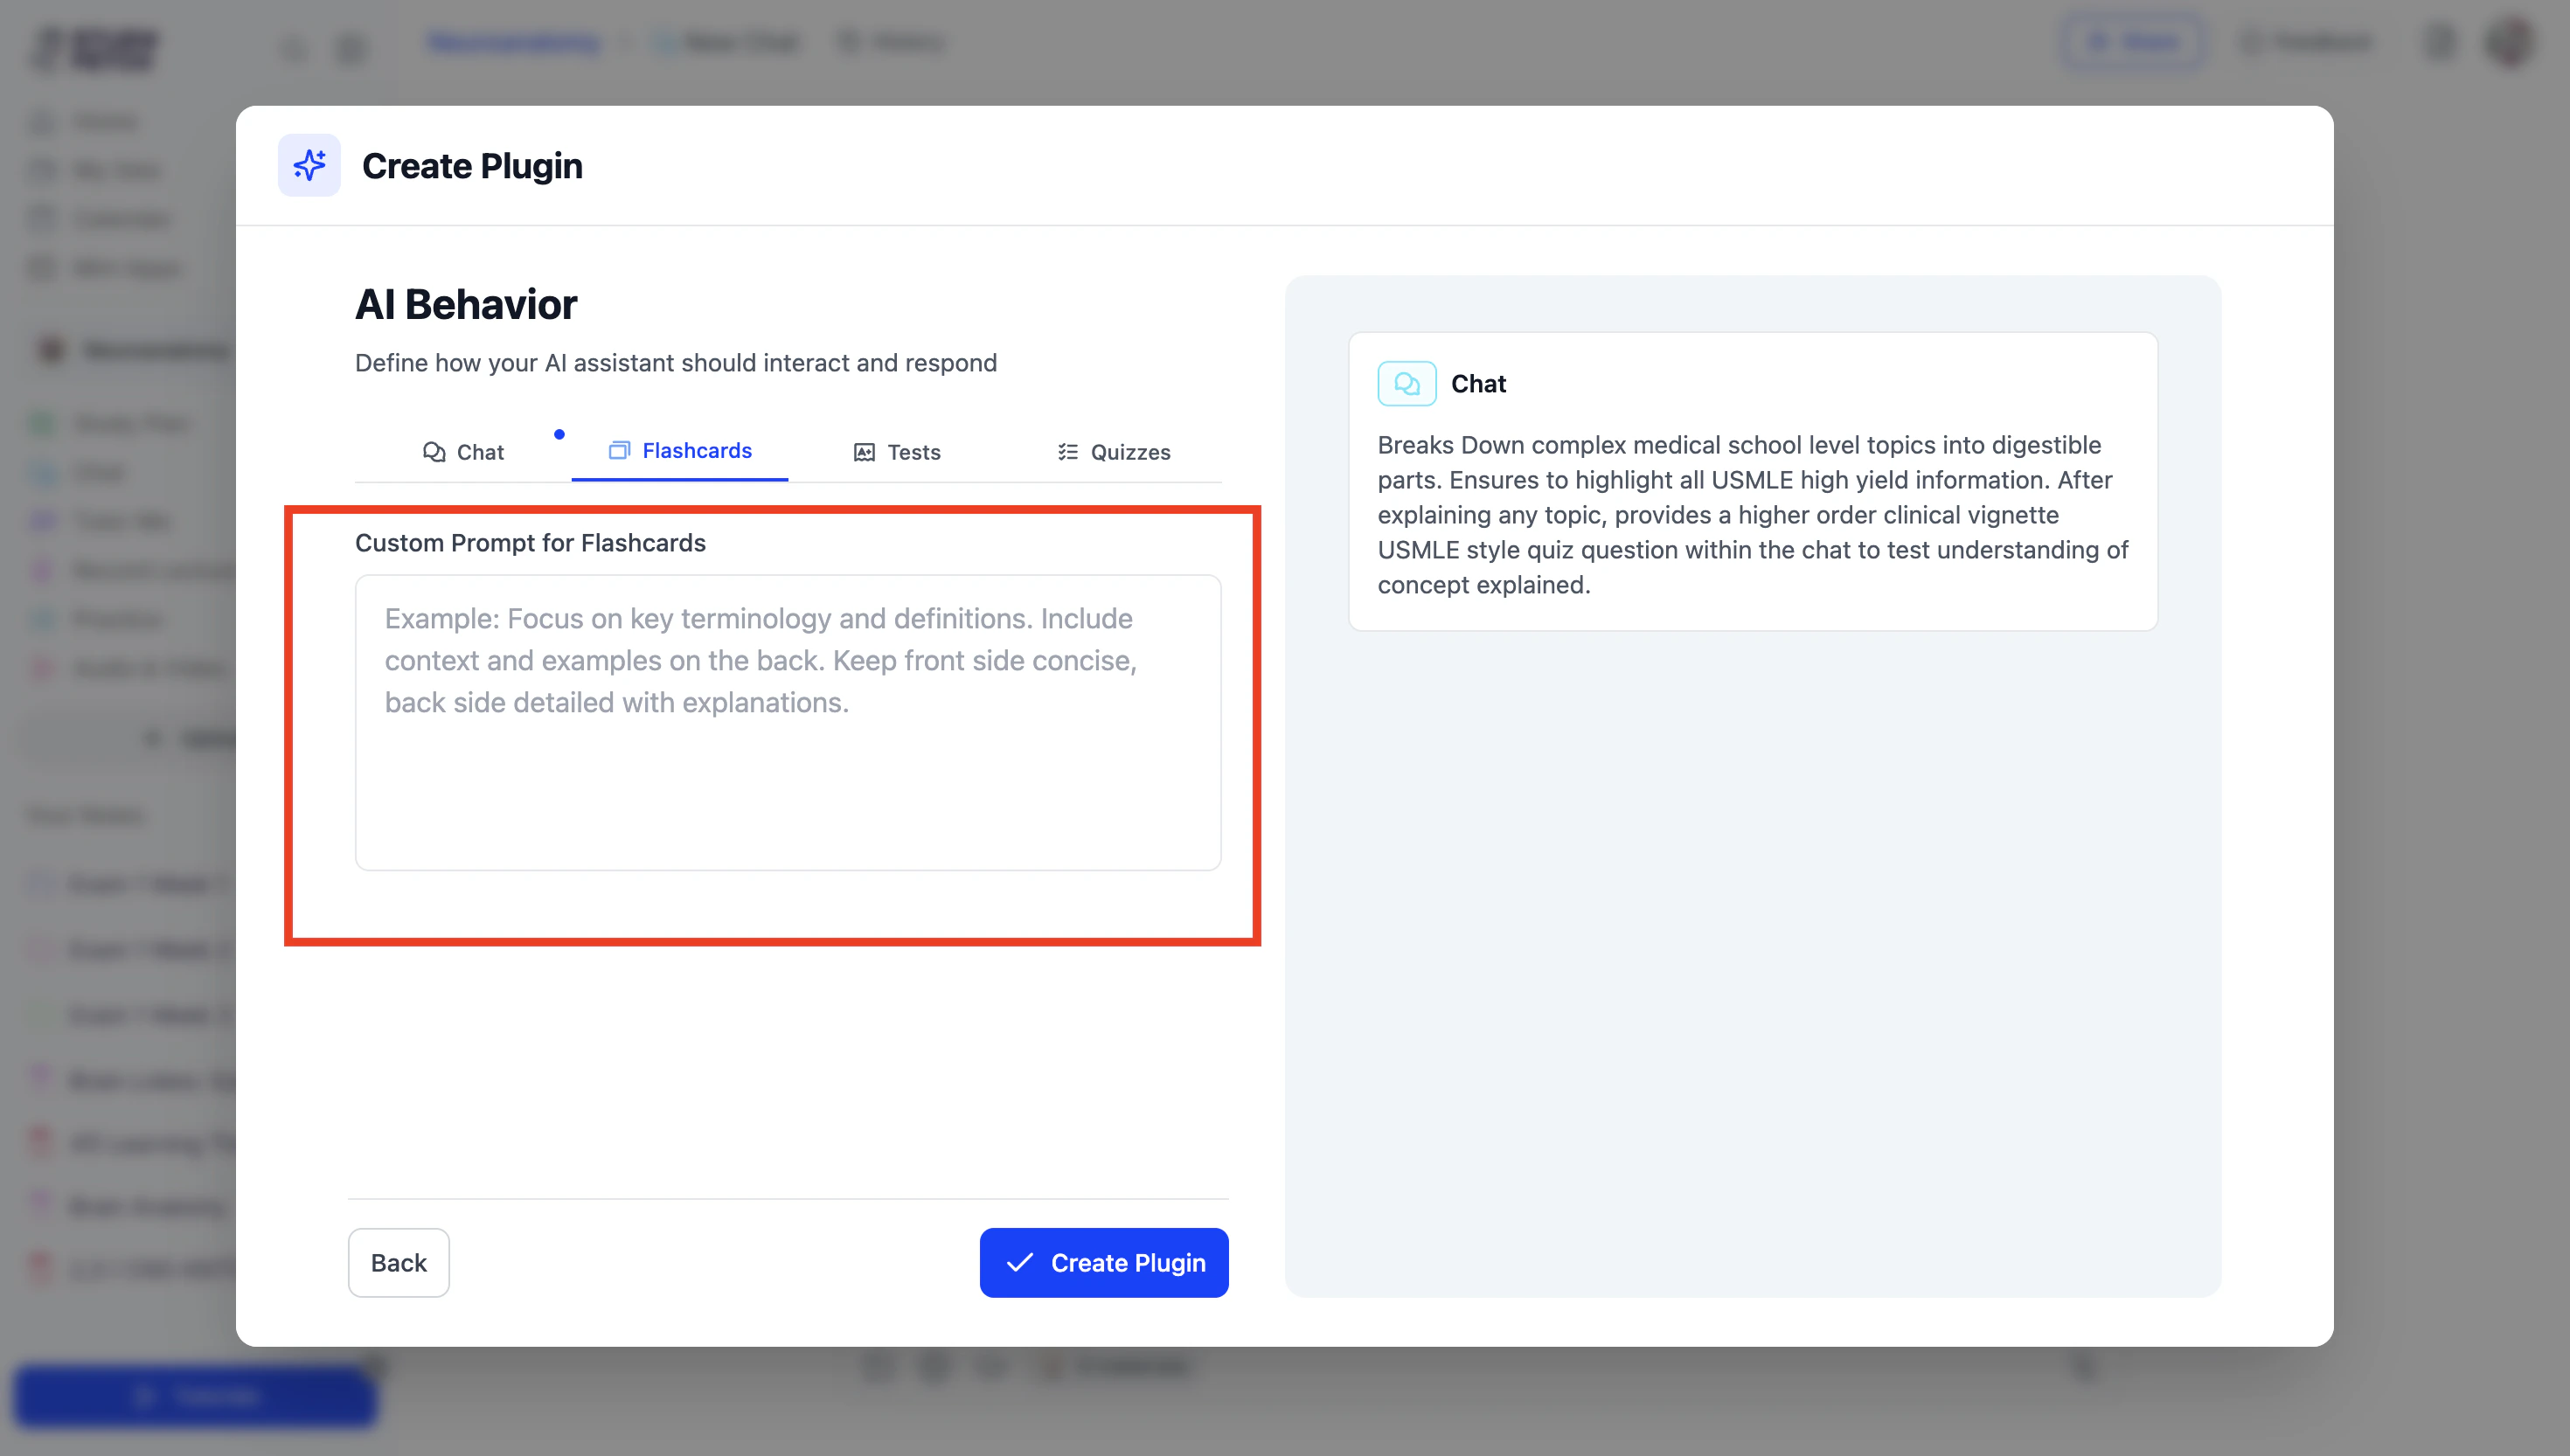
- When you’re finished, click ✓ Create Plugin.
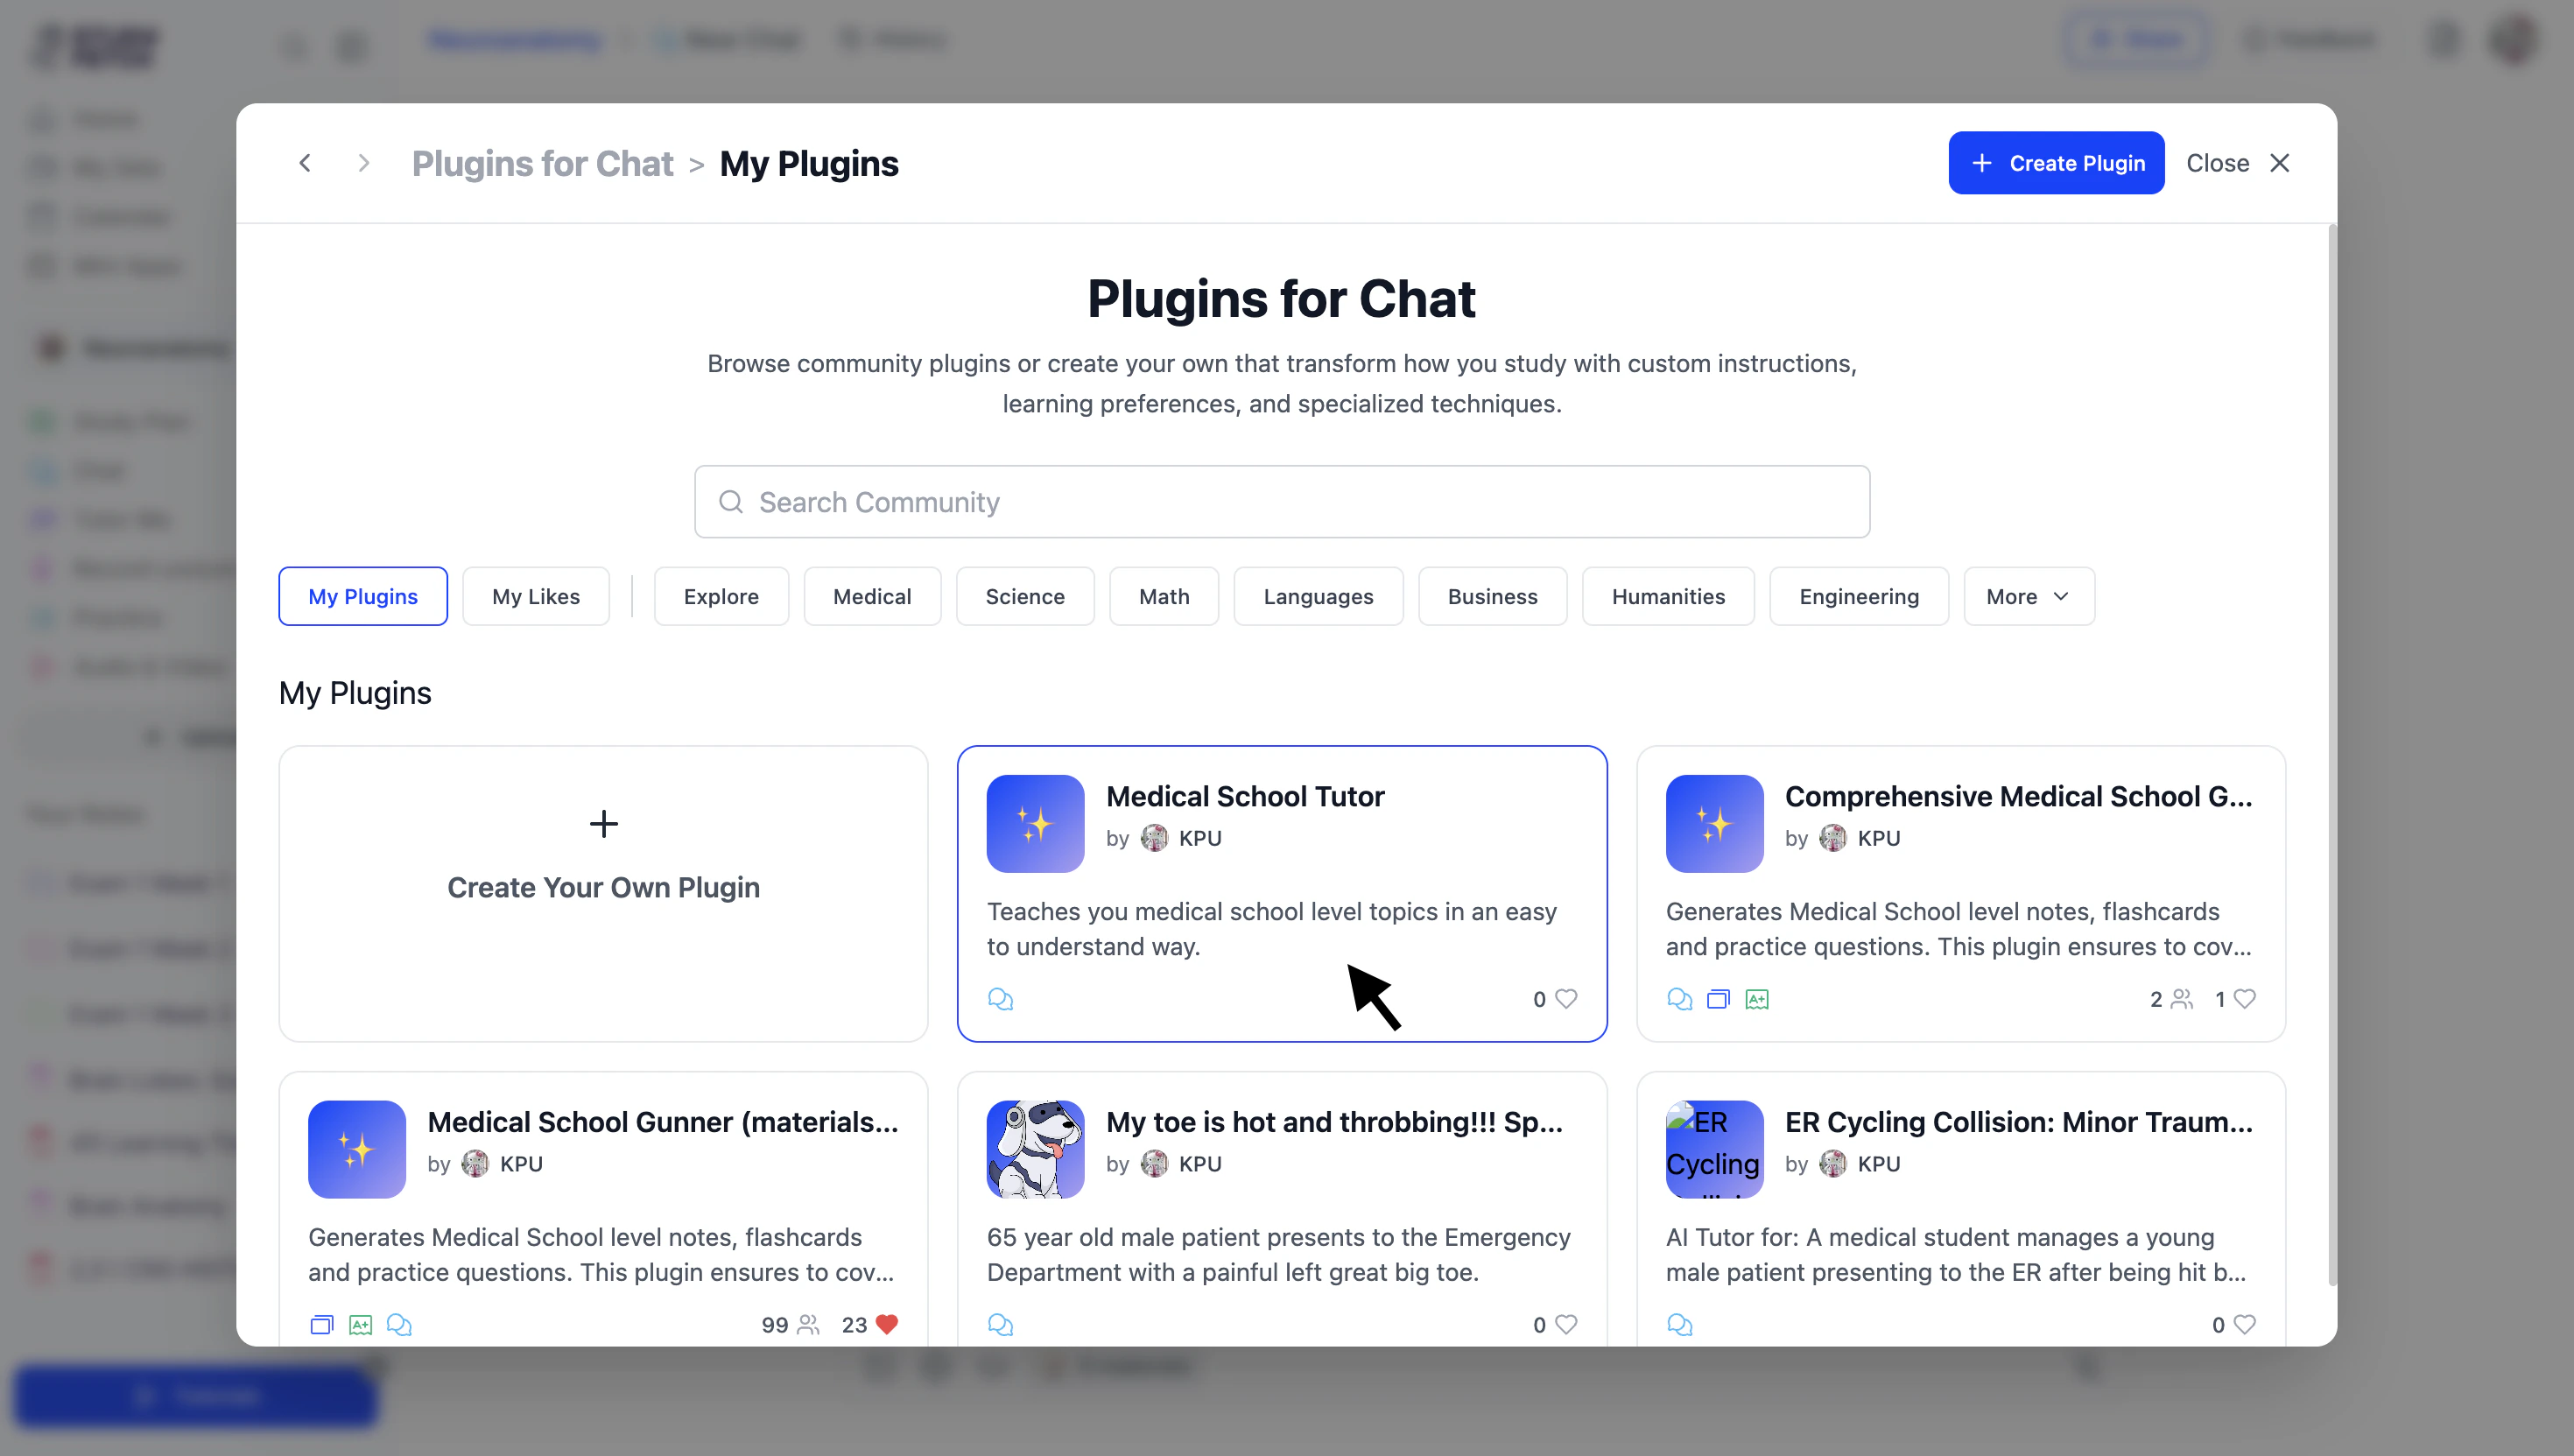
- Go to the My Plugins tab to view all of your created plugins.

- To use your plugin, click on it and
select + Use Plugin in the top right corner.
- Once you see ✓ Using Plugin, click Close X.

- Your AI Tutor’s name will now update in the chat,
and Spark.E will immediately adjust how it interacts based on your selected plugin.

Scenarios
The Scenario chat feature transforms studying into an interactive, real-world experience by placing you in customizable simulations tailored to any field. You can engage with dynamic scenarios, apply your knowledge in real time, and receive detailed feedback to strengthen your understanding and decision-making skills.Accessing Scenarios
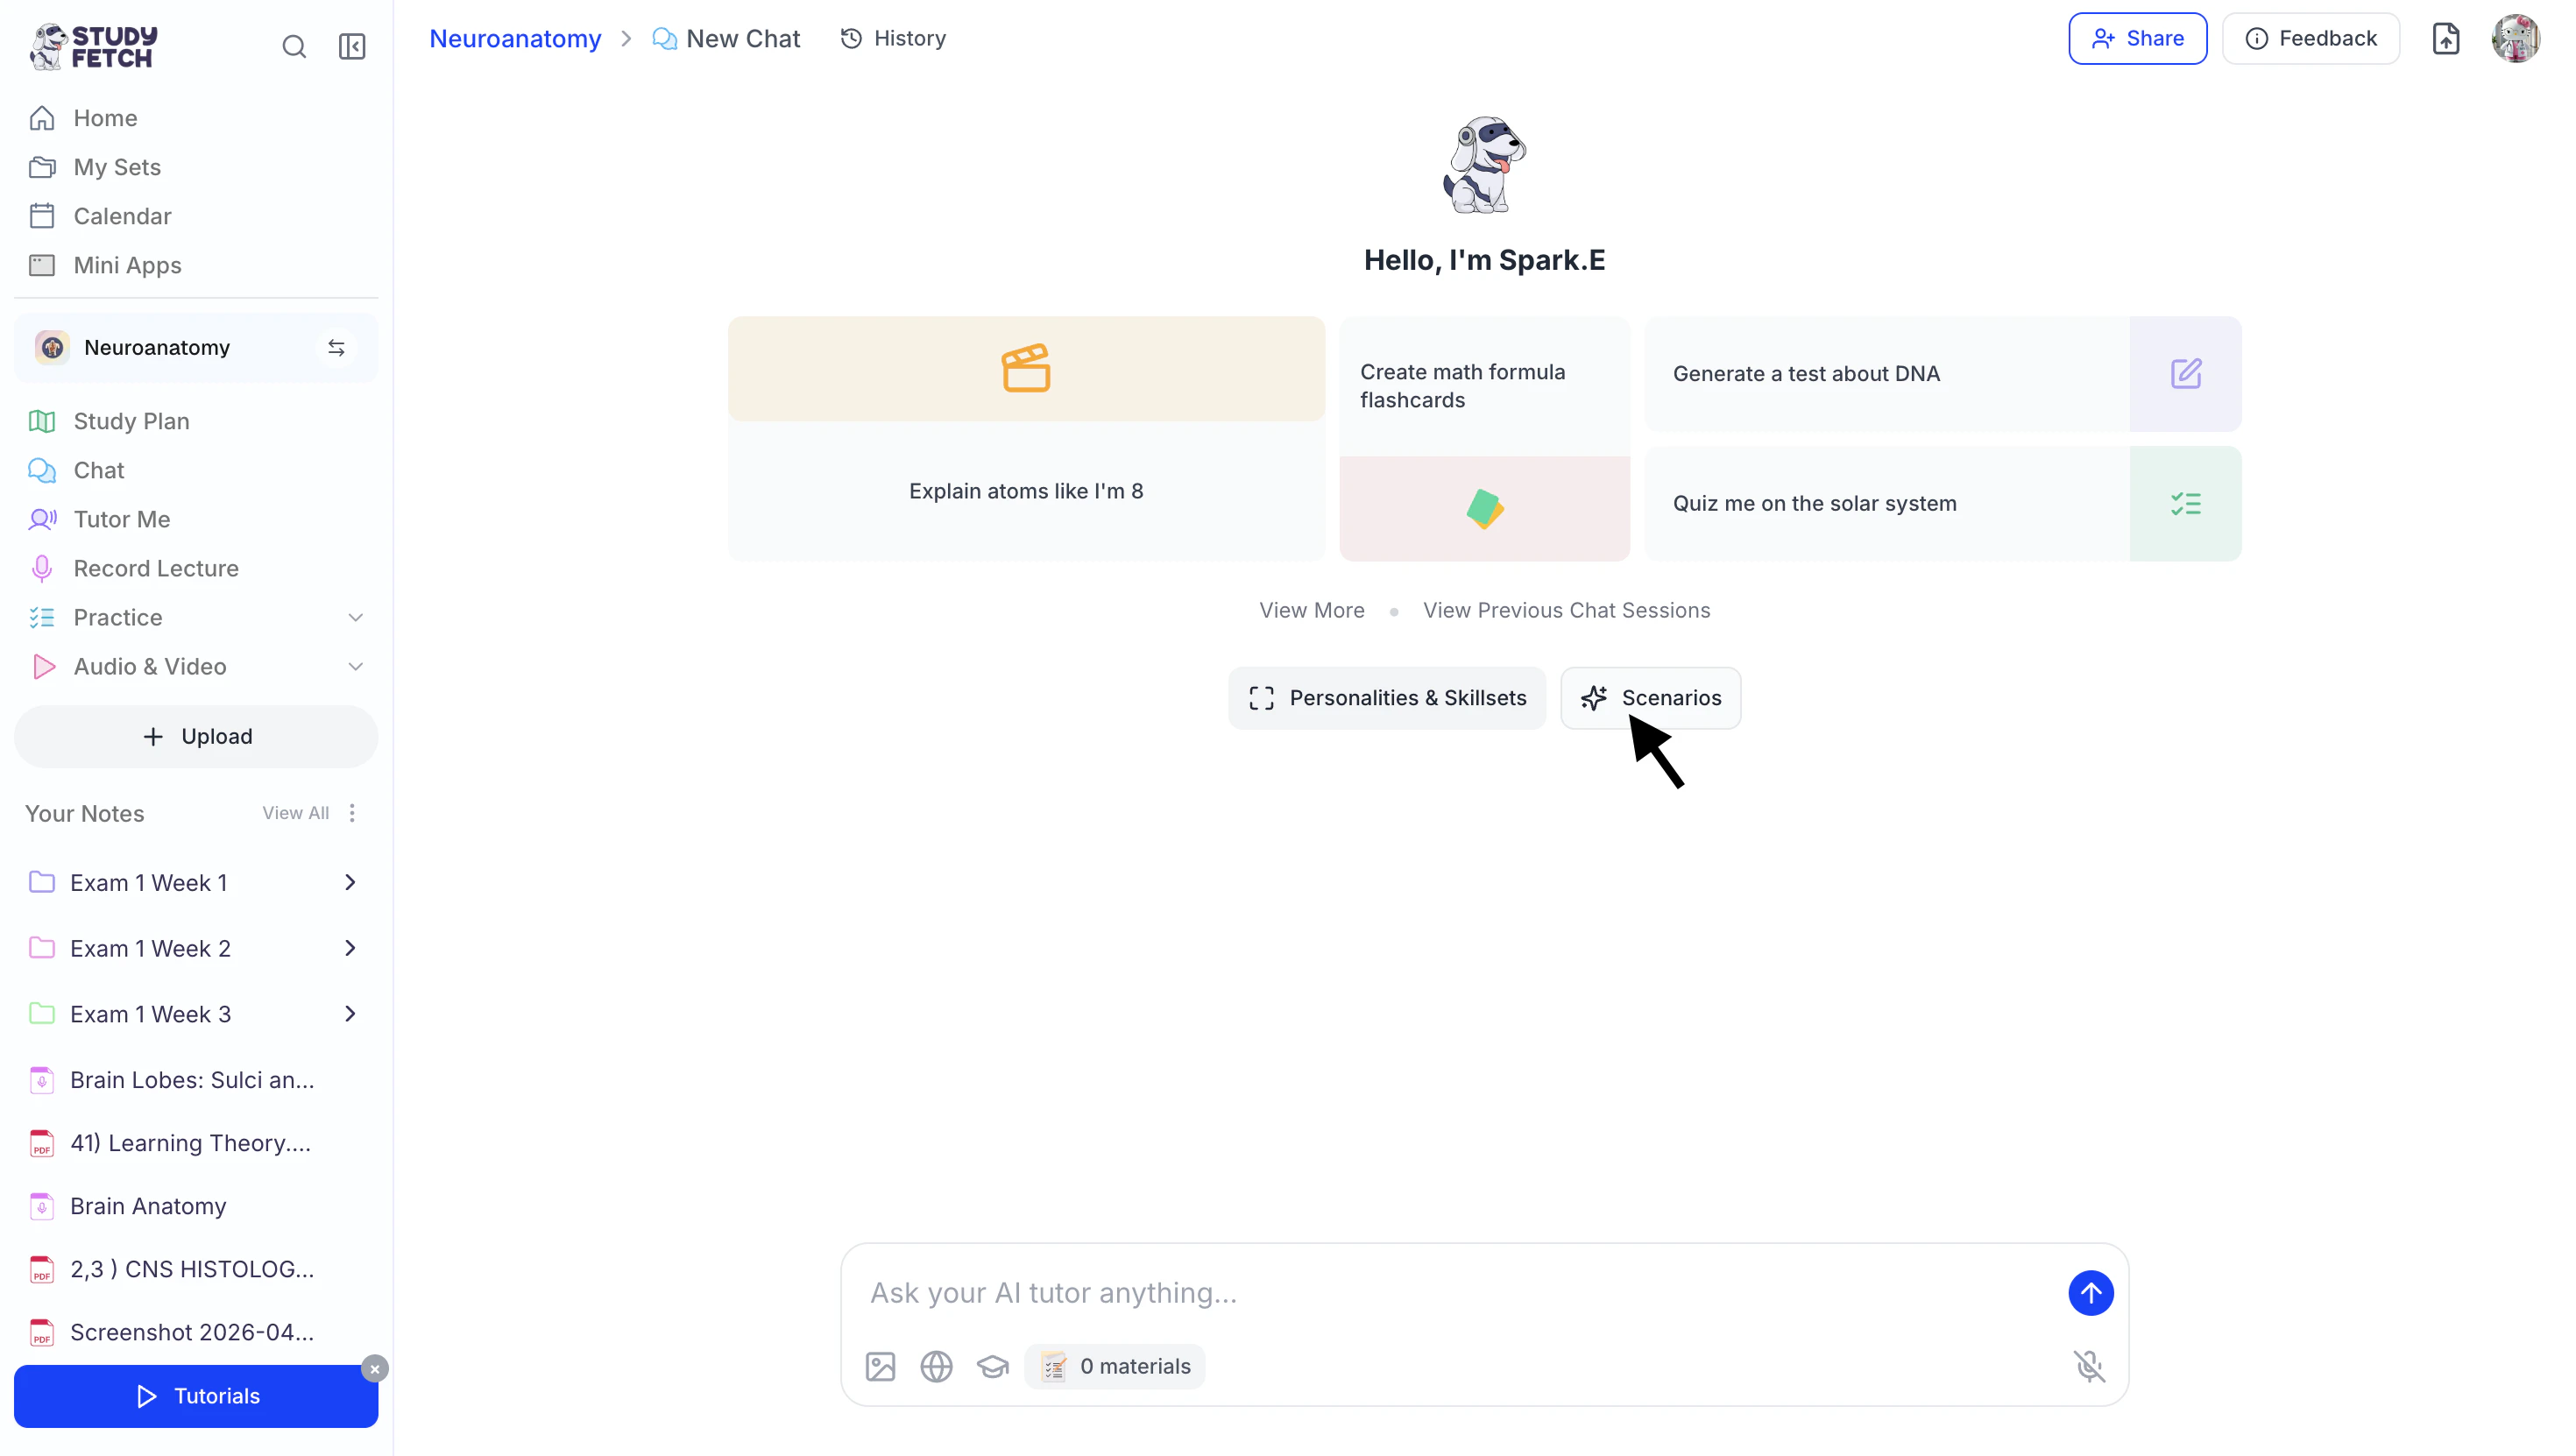
- After opening a new chat, select the Scenarios button.
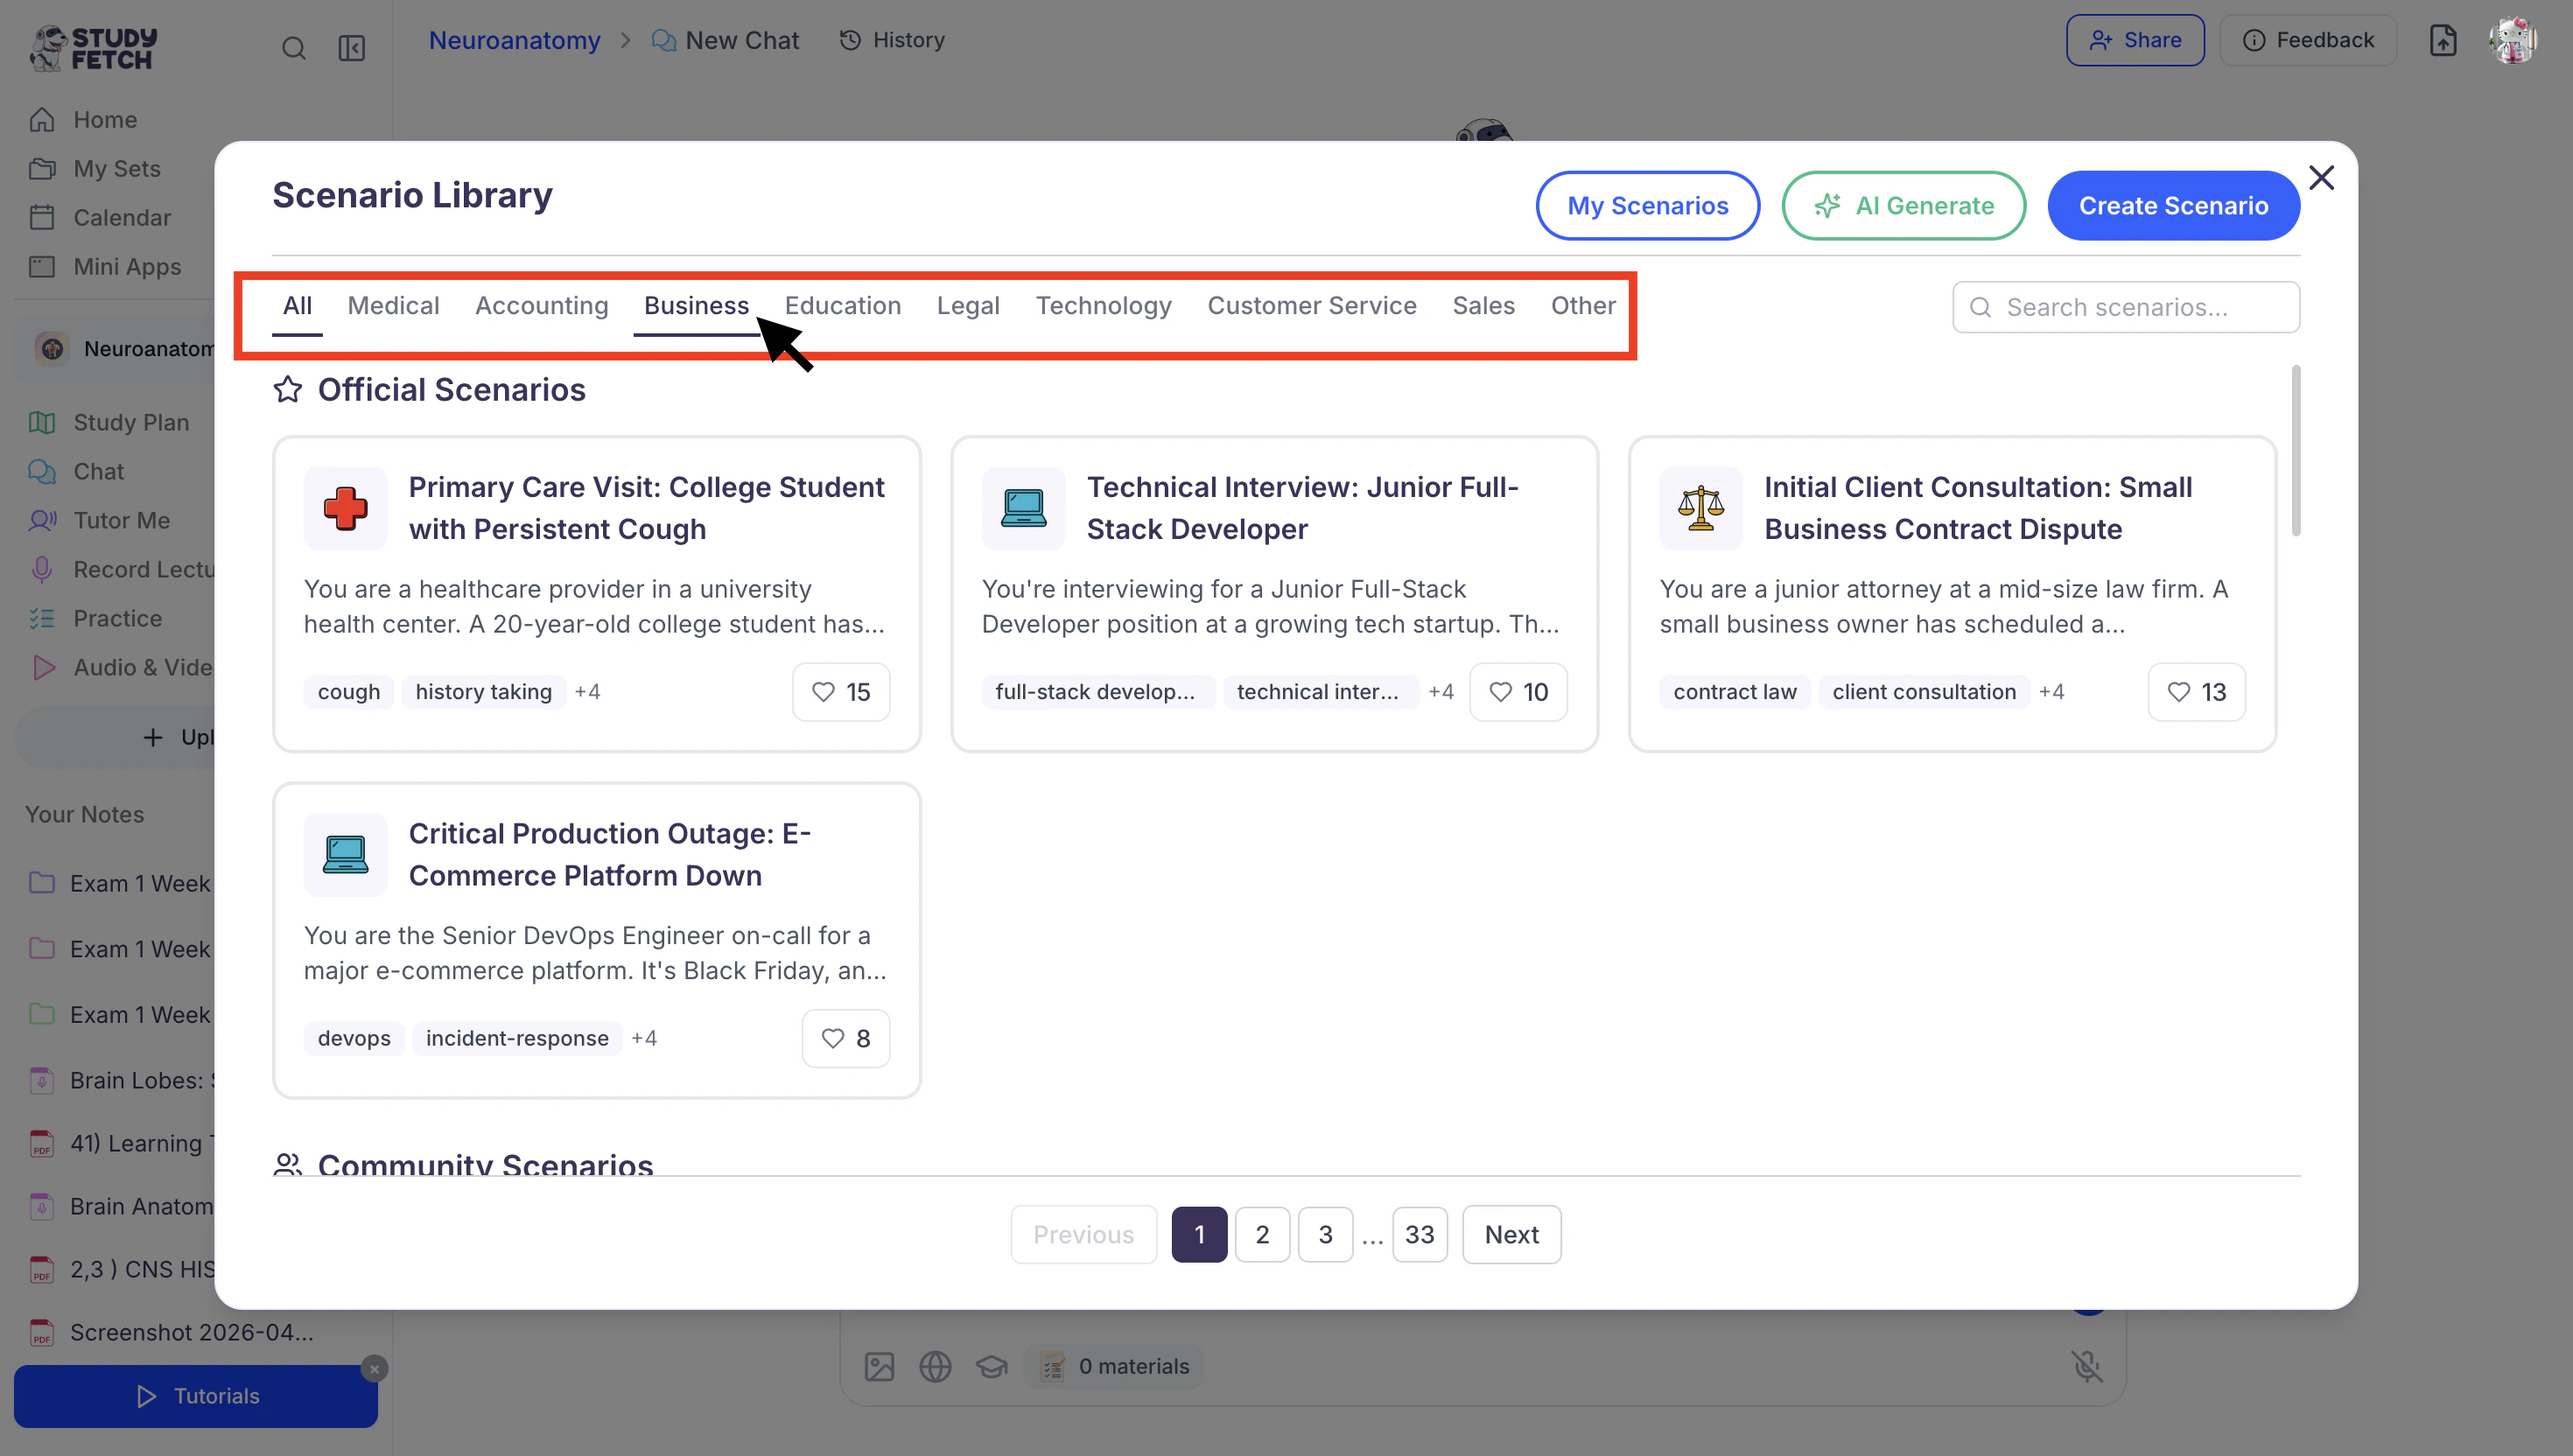
- The Scenario Library will load where you will find all StudyFetch Official Scenarios and Community Scenarios.

Selecting an Existing Scenario
- To select an existing scenario from the Official or Community library, start by browsing the scenario library for one you want to practice.
- You can scroll through the library to explore options, or…
- Use the search field in the top right corner to find a specific scenario, or…
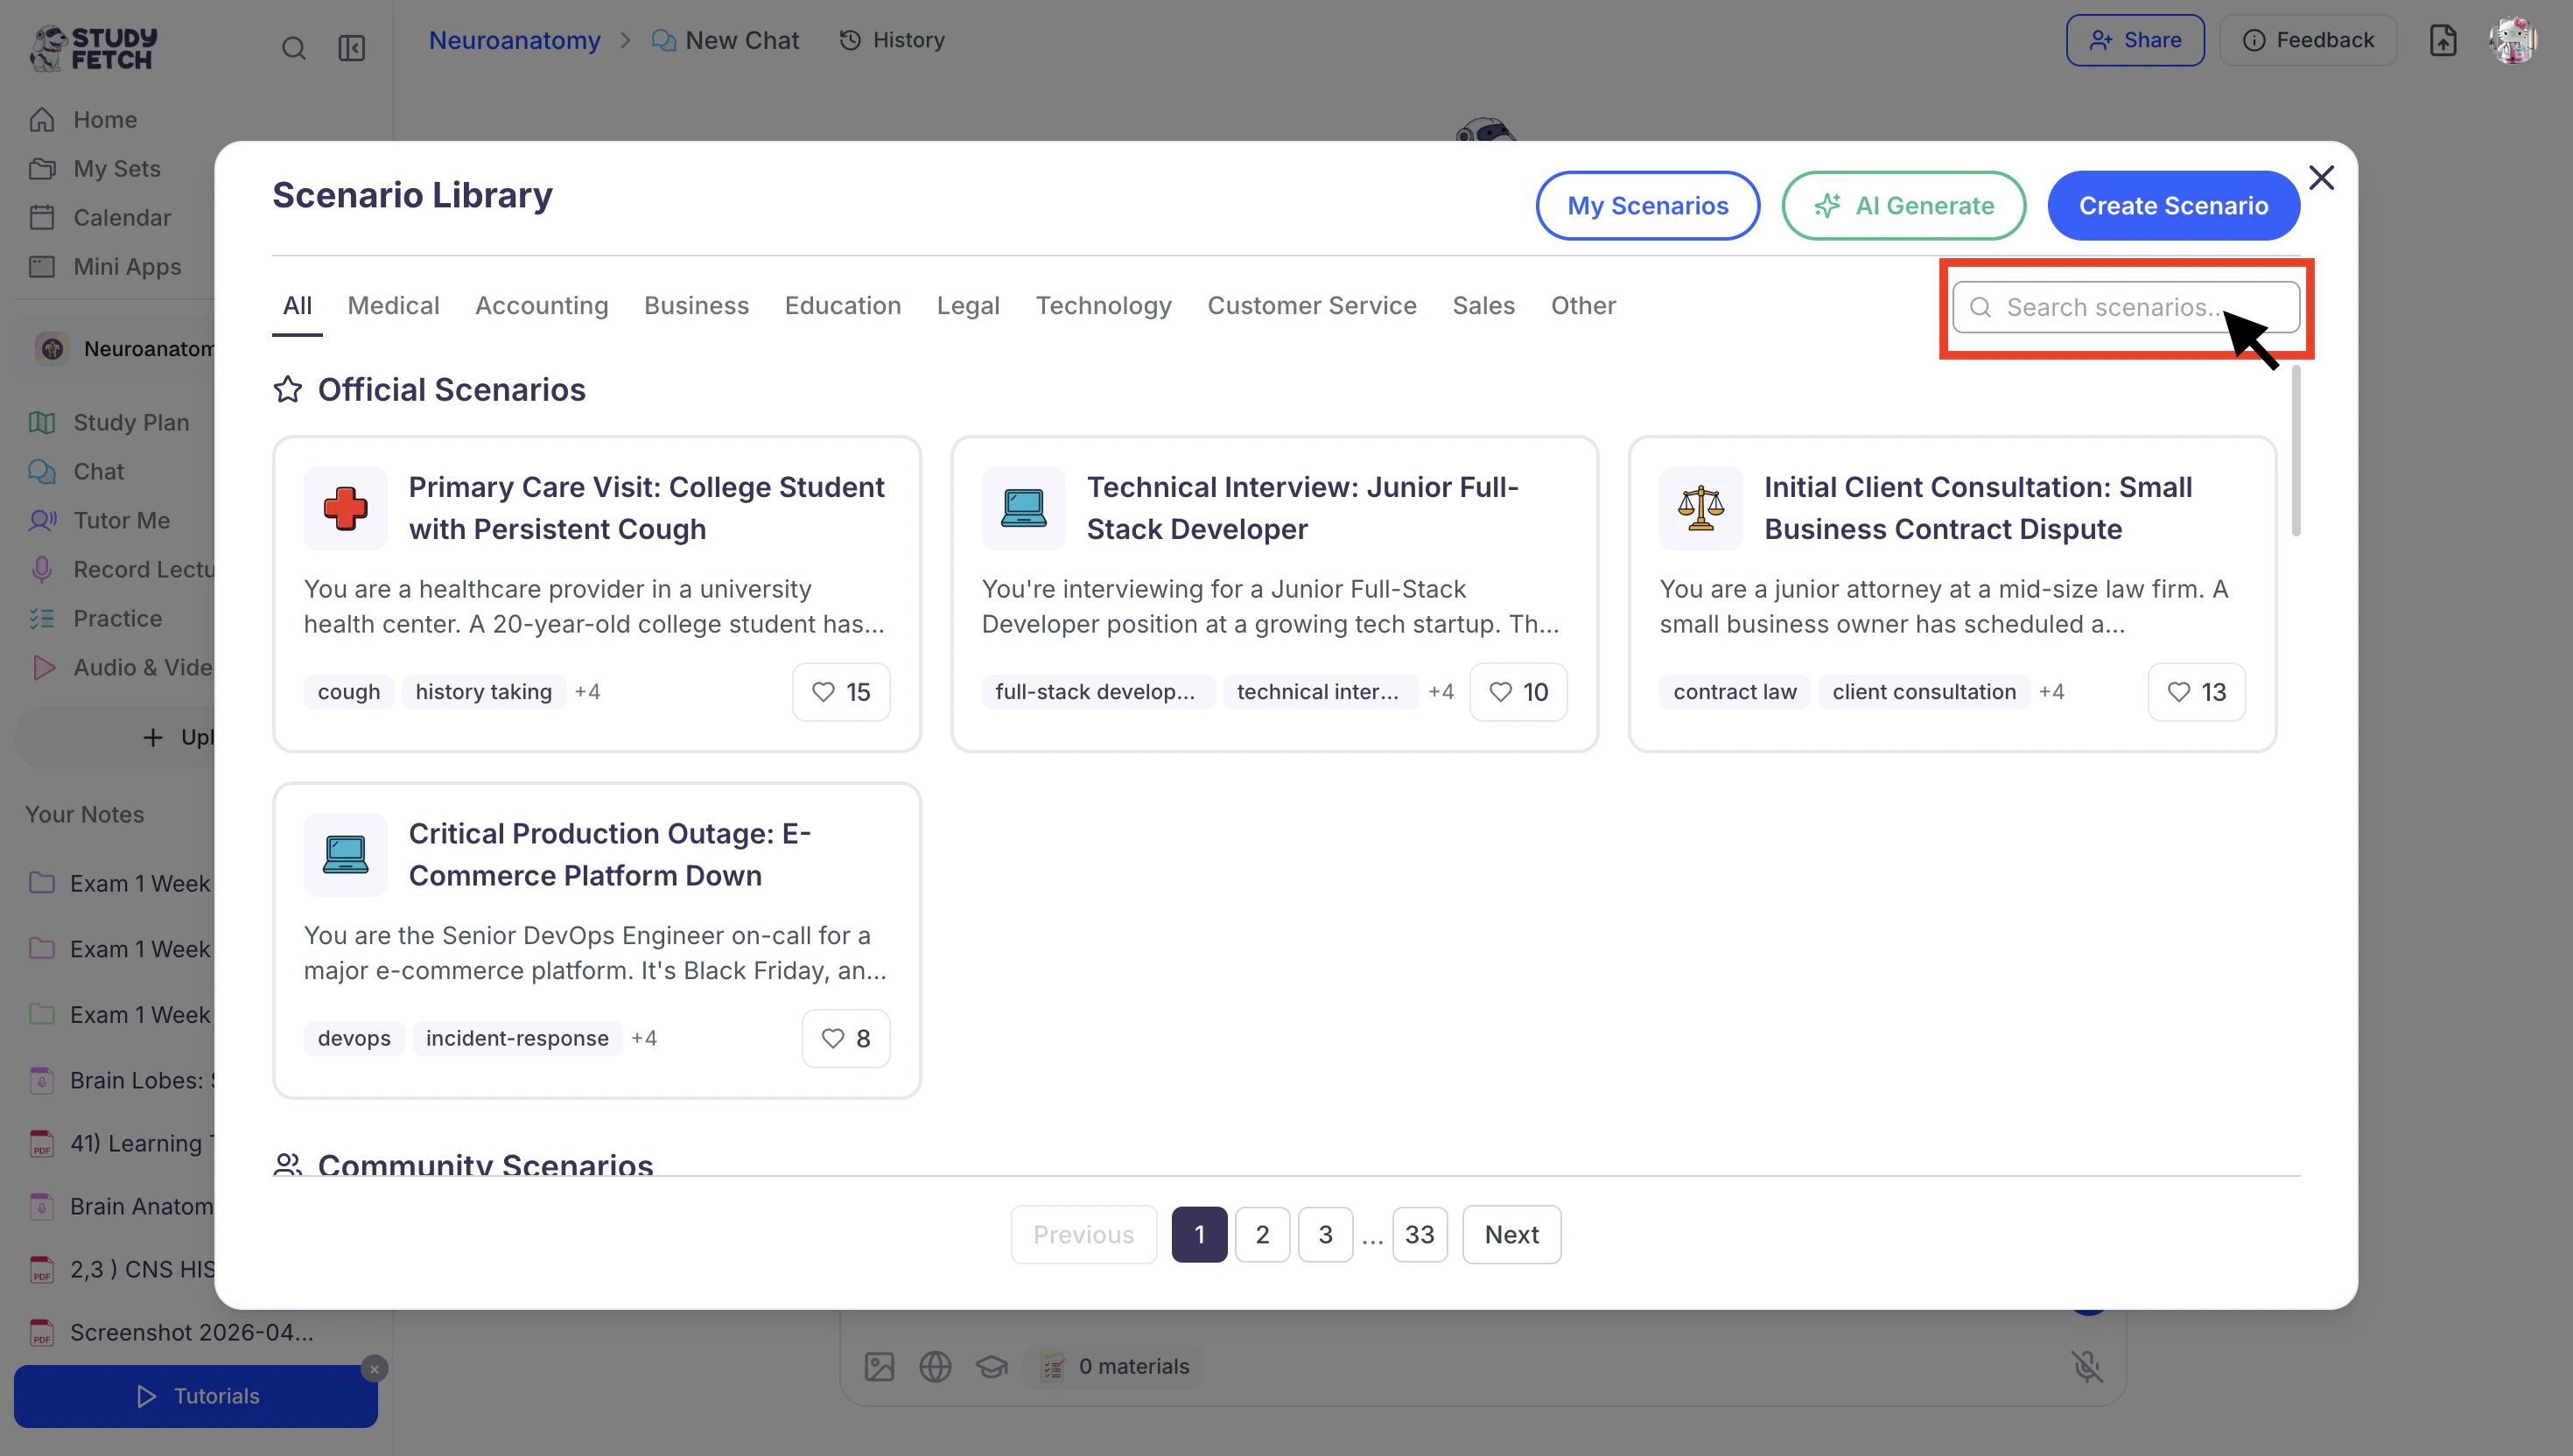
- Use the category tabs at the top of the screen to filter by subject, such as Medical, Accounting, Business, Education, Legal, Sales, and more.
- Once you find a scenario you want to practice, click on it to load the scenario directly into the chat.
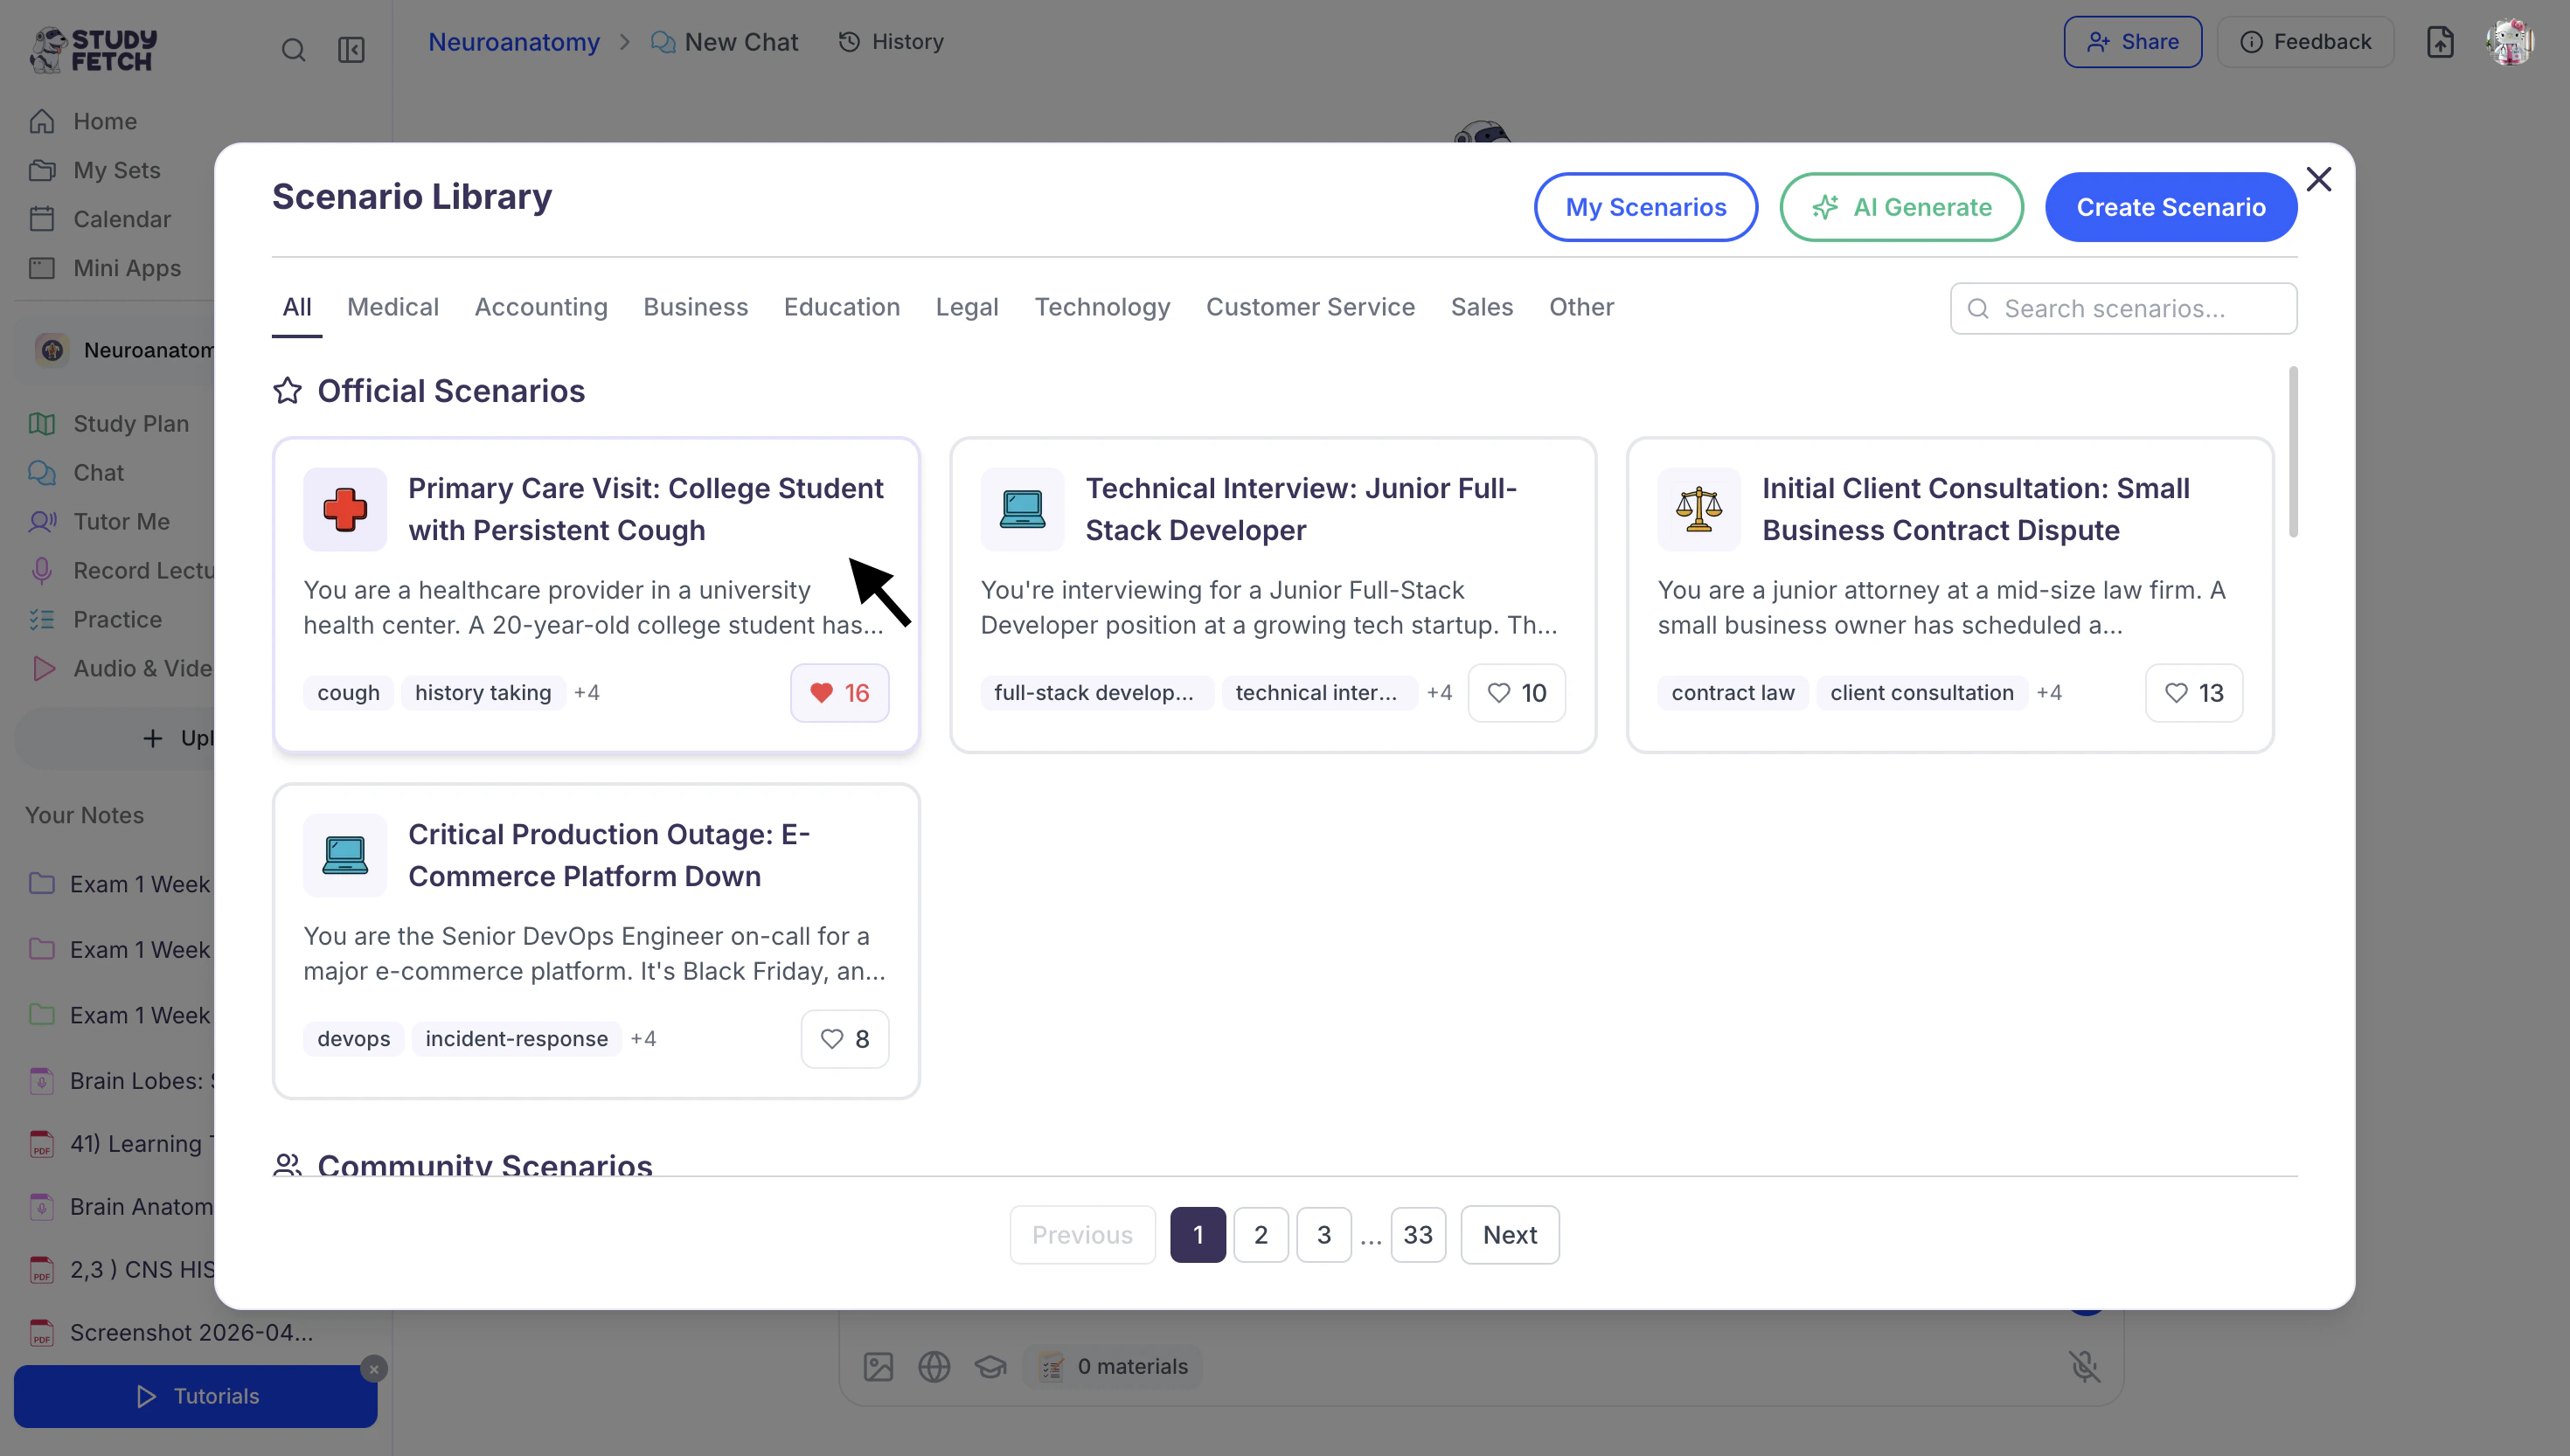
- Proceed to the Starting and Completing Scenarios section for the next steps.
Generate AI Scenarios
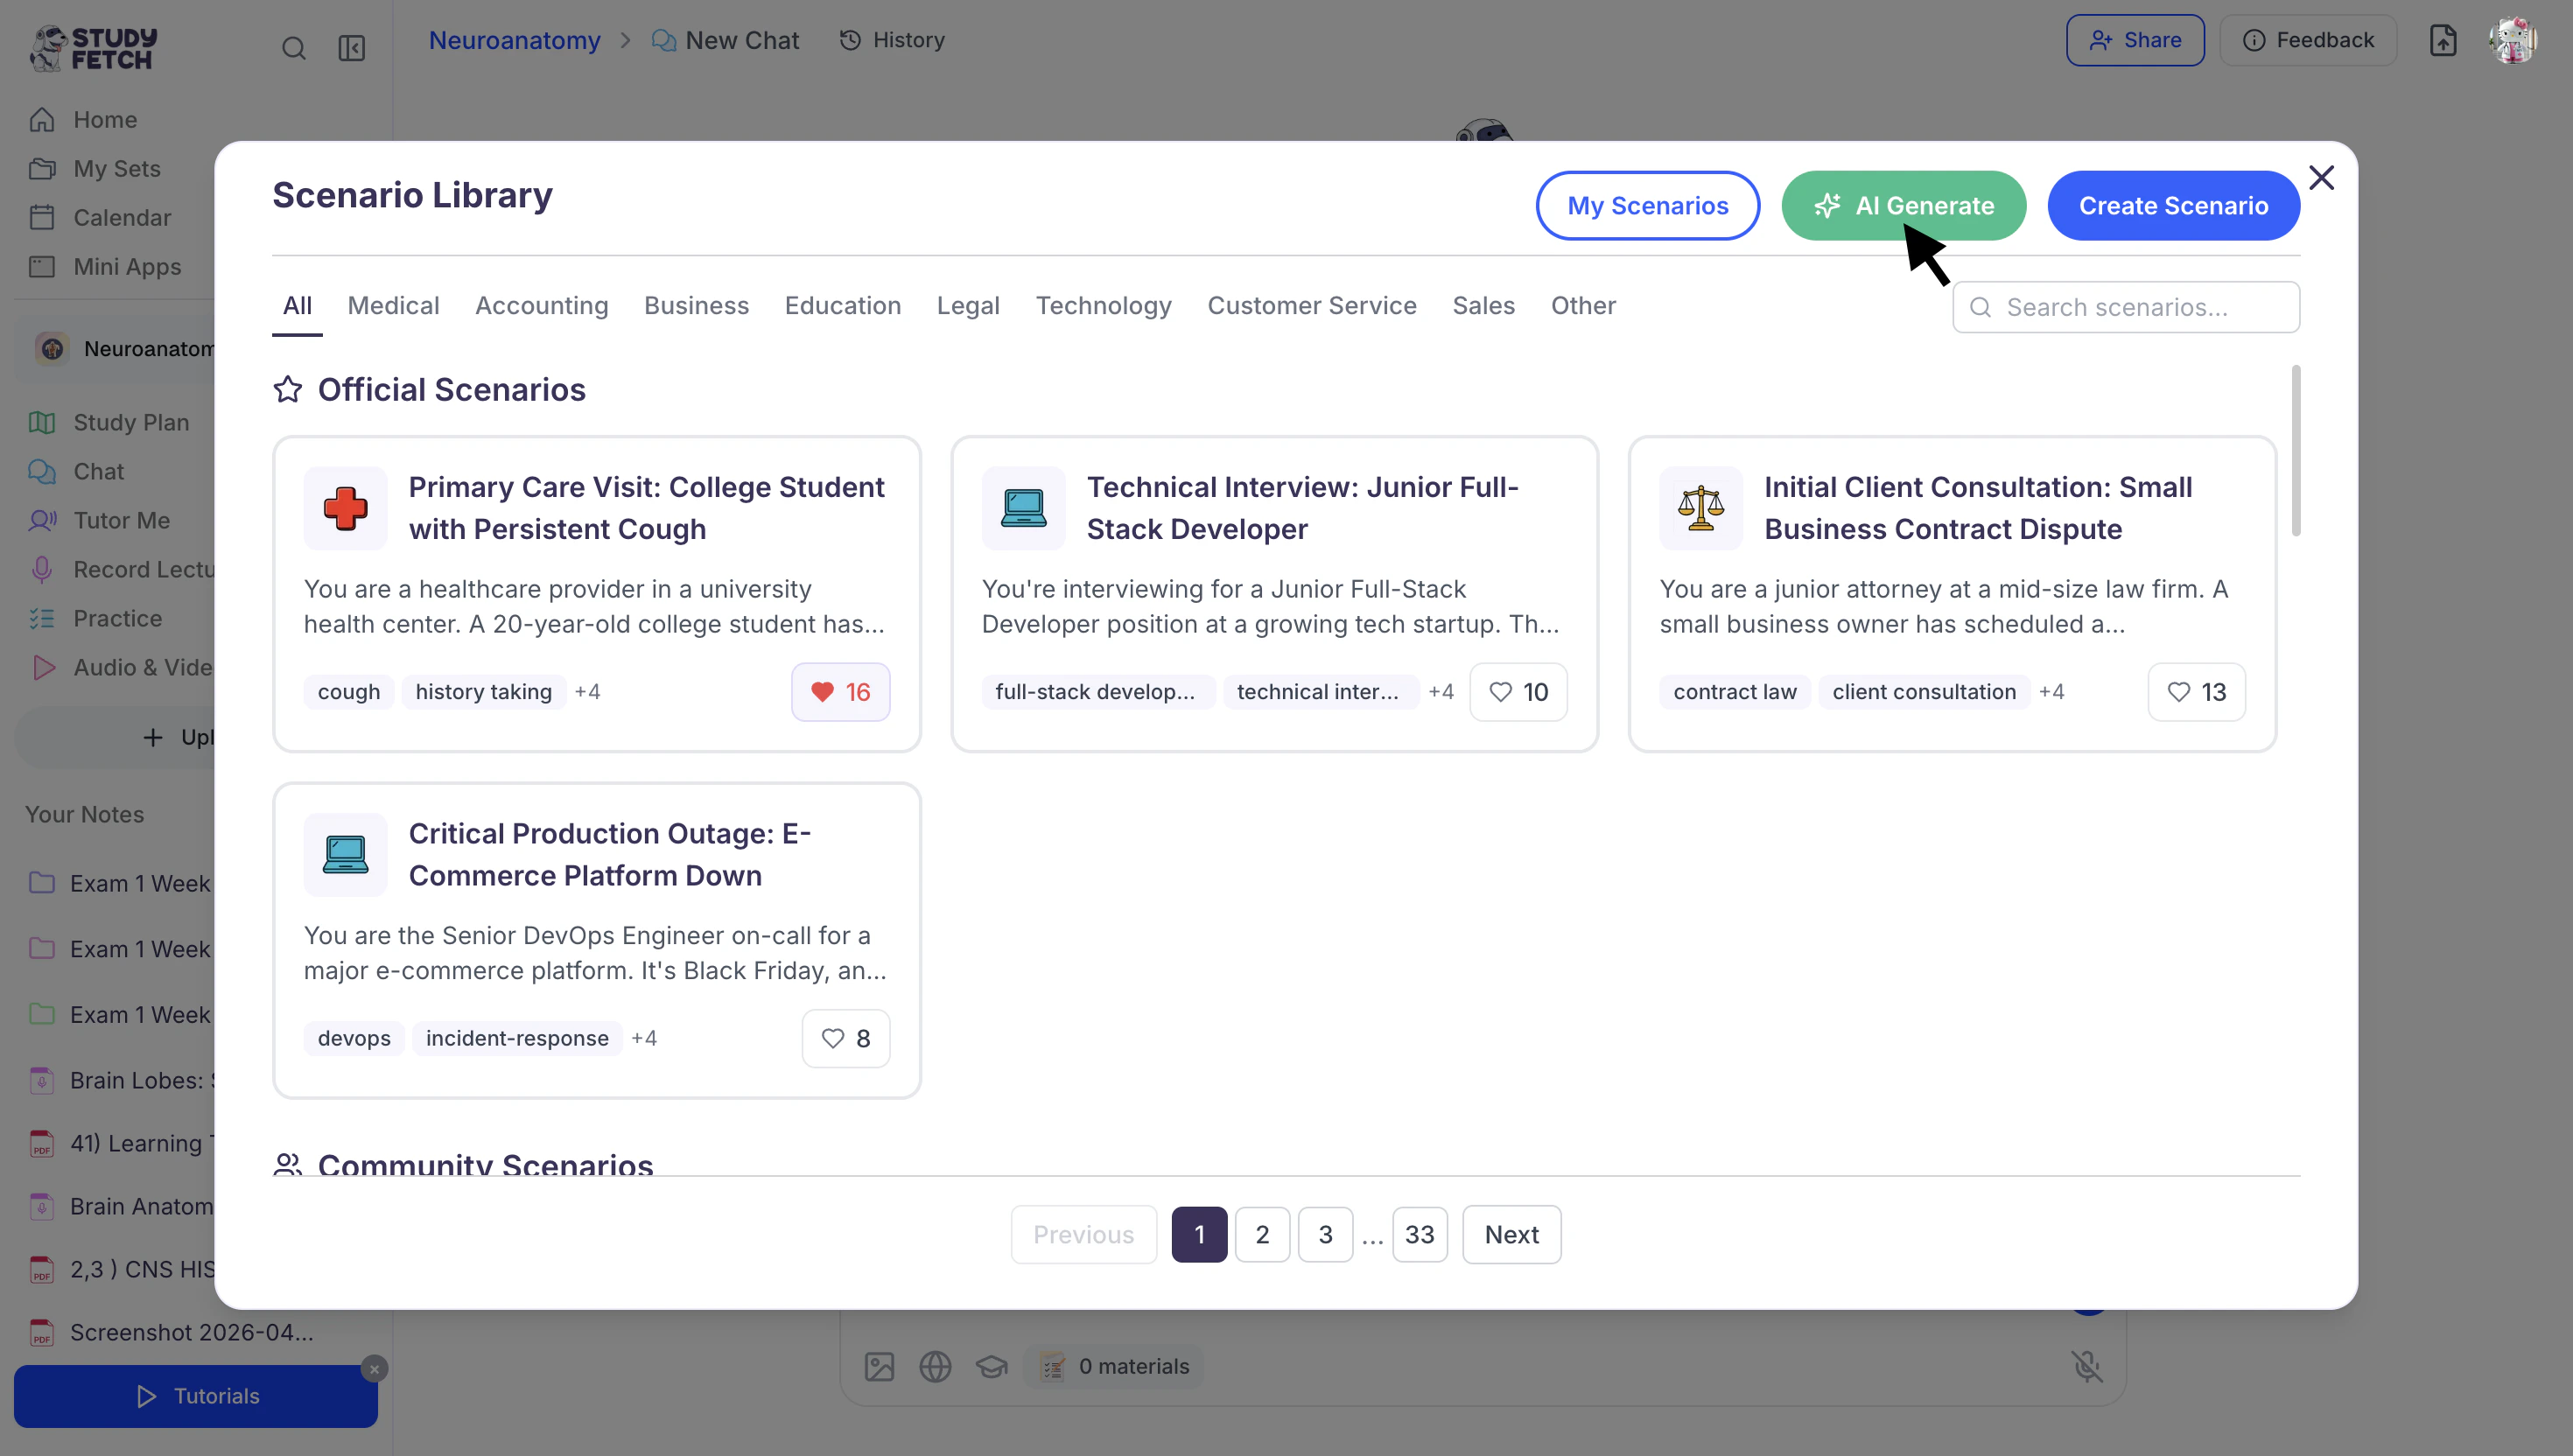
Can’t find a scenario that fits your needs? Use the AI Generate option to let AI instantly create a personalized scenario tailored to your learning goals.- Within the Scenarios Library screen, select the green AI Generate button.
- Start by entering your scenario topic in the Scenario Topic field.

- Then, use the Difficulty Level dropdown to choose your preferred level: Beginner, Intermediate, or Advanced.
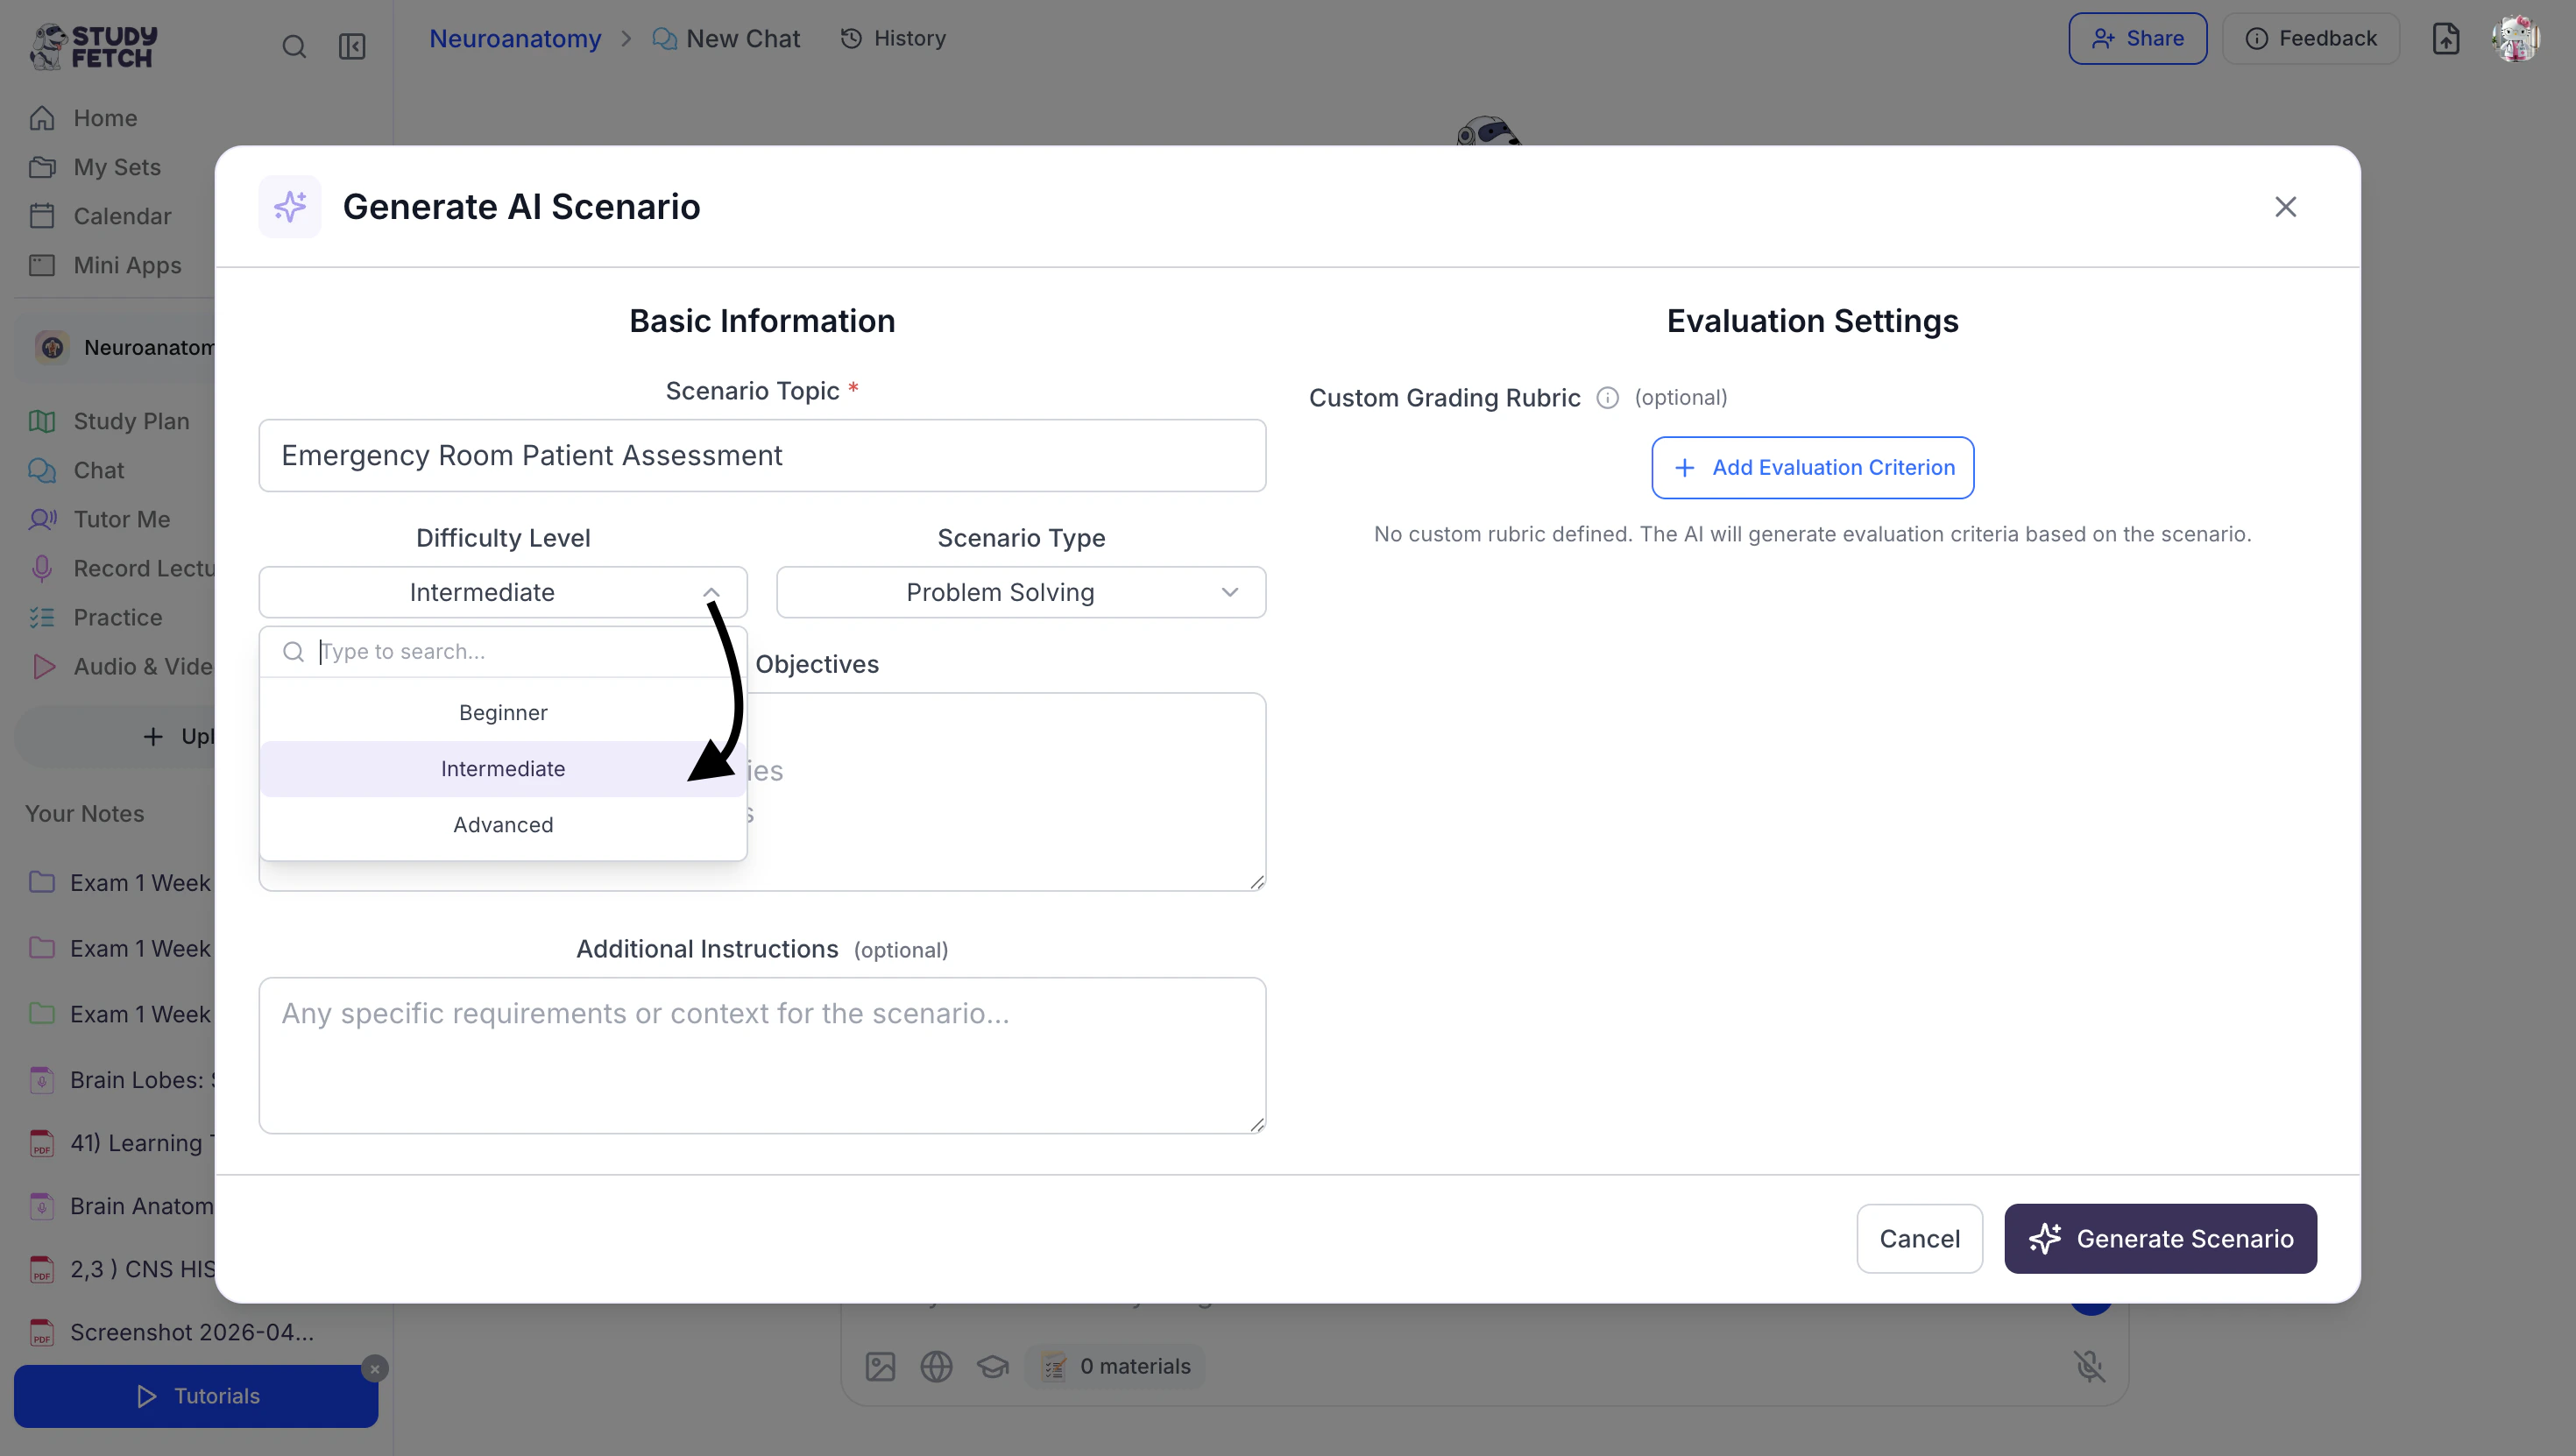
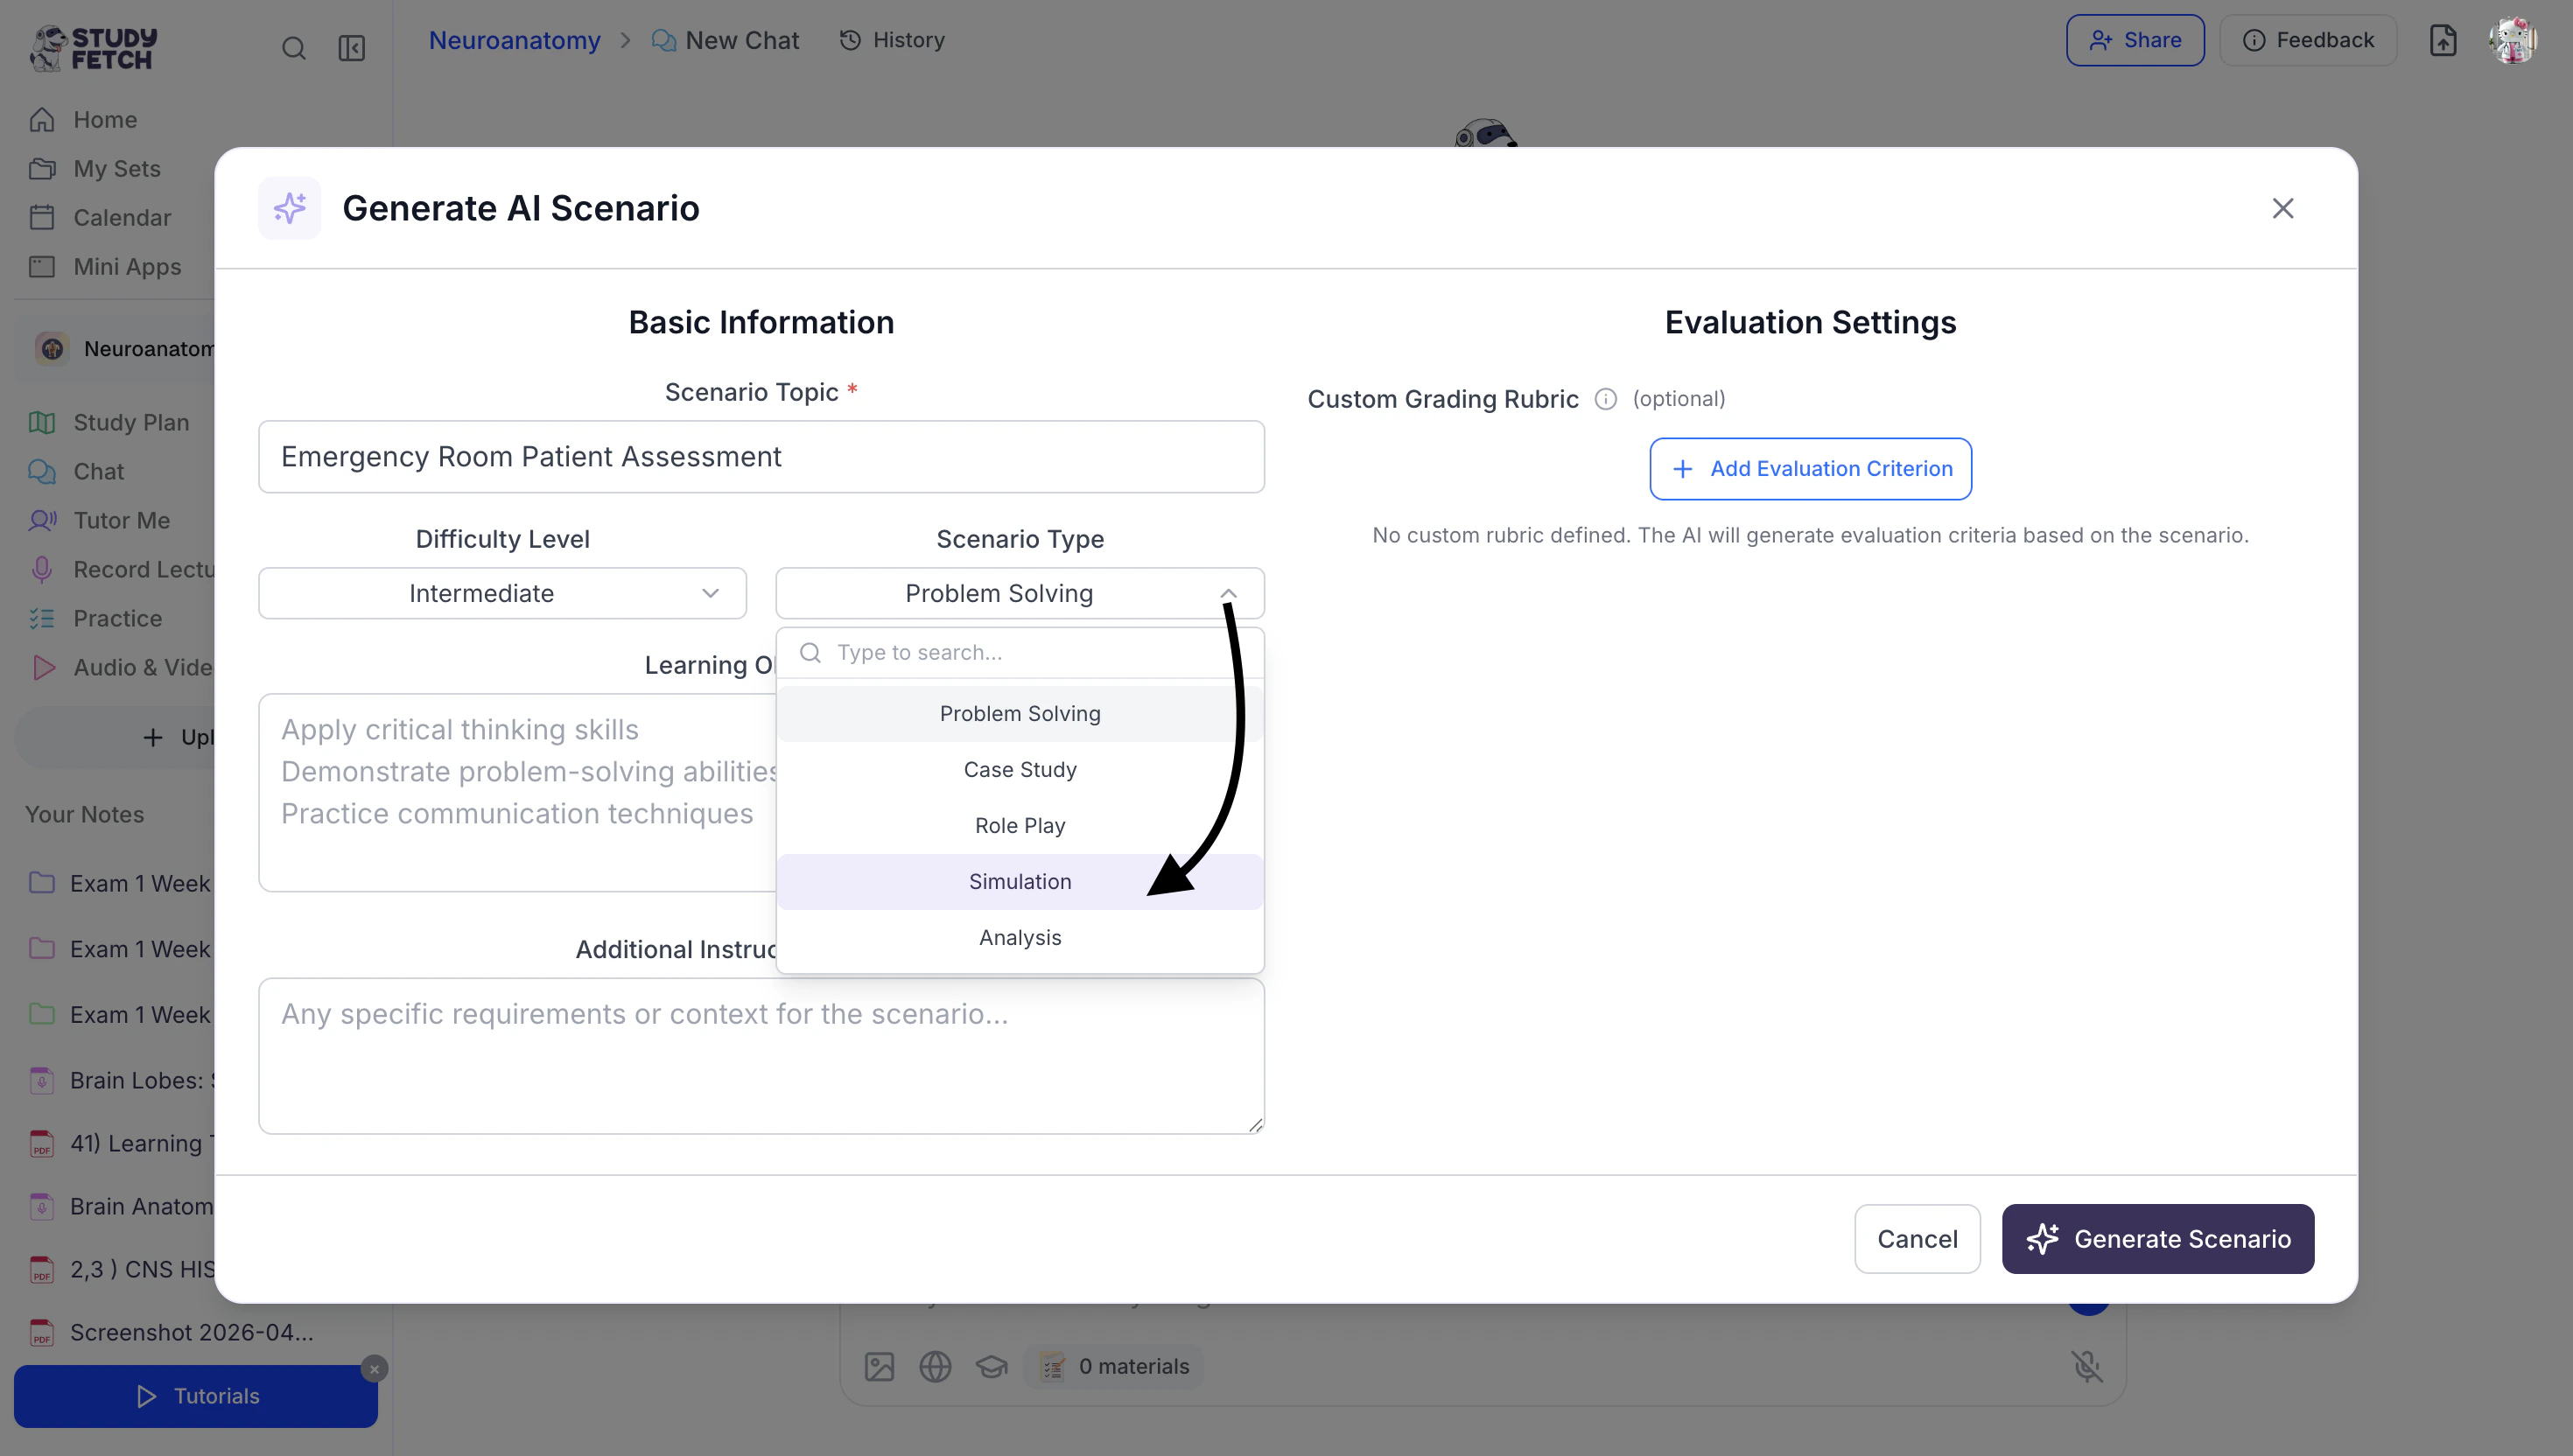
- Next, click the dropdown menu under the Scenario Type field to select the type of scenario you want to build—such as Problem Solving, Case Study, Role Play, Simulation, or Analysis.
- Now, define your learning objectives in the Learning Objectives field. Be as specific as possible to ensure the scenario is tailored to your goals.

- You can add additional context or specific instructions in the Additional Instructions (optional) field. This step is completely optional and can be left blank.
- If you’d like to include a rubric, continue to the next step. If not, proceed to step 14.
- To build a rubric, select + Add Evaluation Criterion.

- Next, enter a name in the Criterion Name field.

- Describe what the criterion evaluates in the textbox below that.

- Adjust the Weight for each criterion using your keyboard or arrows within the number field.

- To delete an evaluation criterion, simply click the red trash can icon in the top right corner of the specific criterion field you want to remove.

- To add additional evaluation criterions as needed, repeat steps 8-12.
- Once all settings are complete, click Generate Scenario in the bottom right corner to create your custom scenario.

- After a few moments, your AI generated scenario complete with characters and scenario tools, will load in the chat.
Proceed to the Starting and Completing Scenarios section for the next steps.

Create a Scenario From Scratch
The Create Scenario option gives you full control over how your scenario is built and experienced. You can add detailed context, define characters, include tools, and customize key elements to shape exactly how the scenario unfolds—allowing for a highly tailored and interactive learning experience. With this option, AI follows your instructions closely, generating content and guiding the scenario exactly as specified to match your desired flow, structure, and learning objectives.- Within the Scenarios Library screen, select the Create Scenario button from the top right.

- Start by entering your scenario name in the Scenario Name field.

- Then, describe what the scenario is about in the Description field.

- Within the Scenario Context field, add a description to set the scene and context for the scenario.

- Next, select + Add Character to start adding the characters that will interact in the scenario.

- Enter a name for your character in the Character Name field.

- In the textbox below that, define the Character Role.

- In the description box, provide details about the character—such as their personality, responsibilities, and how they should respond during the scenario.

- Optionally, you can upload an image for the character by clicking the image icon and selecting a file from your device.
If no image is added, one will be generated for you automatically.

- Repeat these steps to add all the characters you’d like included in your scenario.

- Enter a name for your character in the Character Name field.
- Now, select + Add Tool to start adding tools that can provide data or perform actions in the scenario, for example EKG reader, lab results viewer, Radiology report etc.

- Enter a name for your tool in the Tool Name field.

- In the textbox below that, define the Tool Type.

- In the description box, provide details about what the tool does and what data it provides.

- Lastly, add a description of the data format in the Data Format field.

- Optionally, you can upload an image for the tool by clicking the image icon and selecting a file from your device.
If no image is added, one will be generated for you automatically.

- Repeat these steps to add all the tools you’d like included in your scenario.

- Enter a name for your tool in the Tool Name field.
- Describe the main objective or goal the user should achieve in the scenario in the Scenario Goal/Objective field.

- In the Requirements/Success Criteria field, list specific requirements or success criteria that users must meet to successfully complete this scenario.
Be clear and measurable (e.g., ‘Student must correctly diagnose the patient’, ‘Student must follow proper safety protocols’).

- Enable Require Final Answer Submission to require users to submit a final answer or conclusion at the end of the scenario. This is optional and can remain disabled if you choose.
- First click the toggle button on the bottom right corner.

- A textbox will appear for you to type a prompt that will be shown to students when they submit their answer.

- First click the toggle button on the bottom right corner.
- Scroll to the top and locate the Greeting Message field under the Basic Information section. Use the dropdown to select which character will initiate the scenario.

- Then, enter a greeting message that will be sent as the first interaction. This message will appear exactly as written.

- If you’d like to share your scenario, toggle Public Scenario on to make it available to other StudyFetch users.

- Once you’ve completed the Basic Information section, select Advanced Settings.

- In the Response Format field, you can add any additional instructions for how the AI should respond—this step is optional.

- You also have the option to include a rubric. For step-by-step instructions on adding rubric evaluation criteria, refer to steps 8–13 in the Generating AI Scenarios section.
- Once all settings are complete, click Create Scenario in the top right corner to create your custom scenario.

- After a few moments, your AI generated scenario will be created and you will be taken back to the scenario library page. To access your newly created scenario, select the My Scenarios button.

- Select the scenario title that matches the scenario name you entered during the scenario generation process.

- After a few moments, your scenario complete with characters and scenario tools, will load in the chat.

- Proceed below to the Starting and Completing Scenarios section for the next steps.
Starting and Completing Scenarios
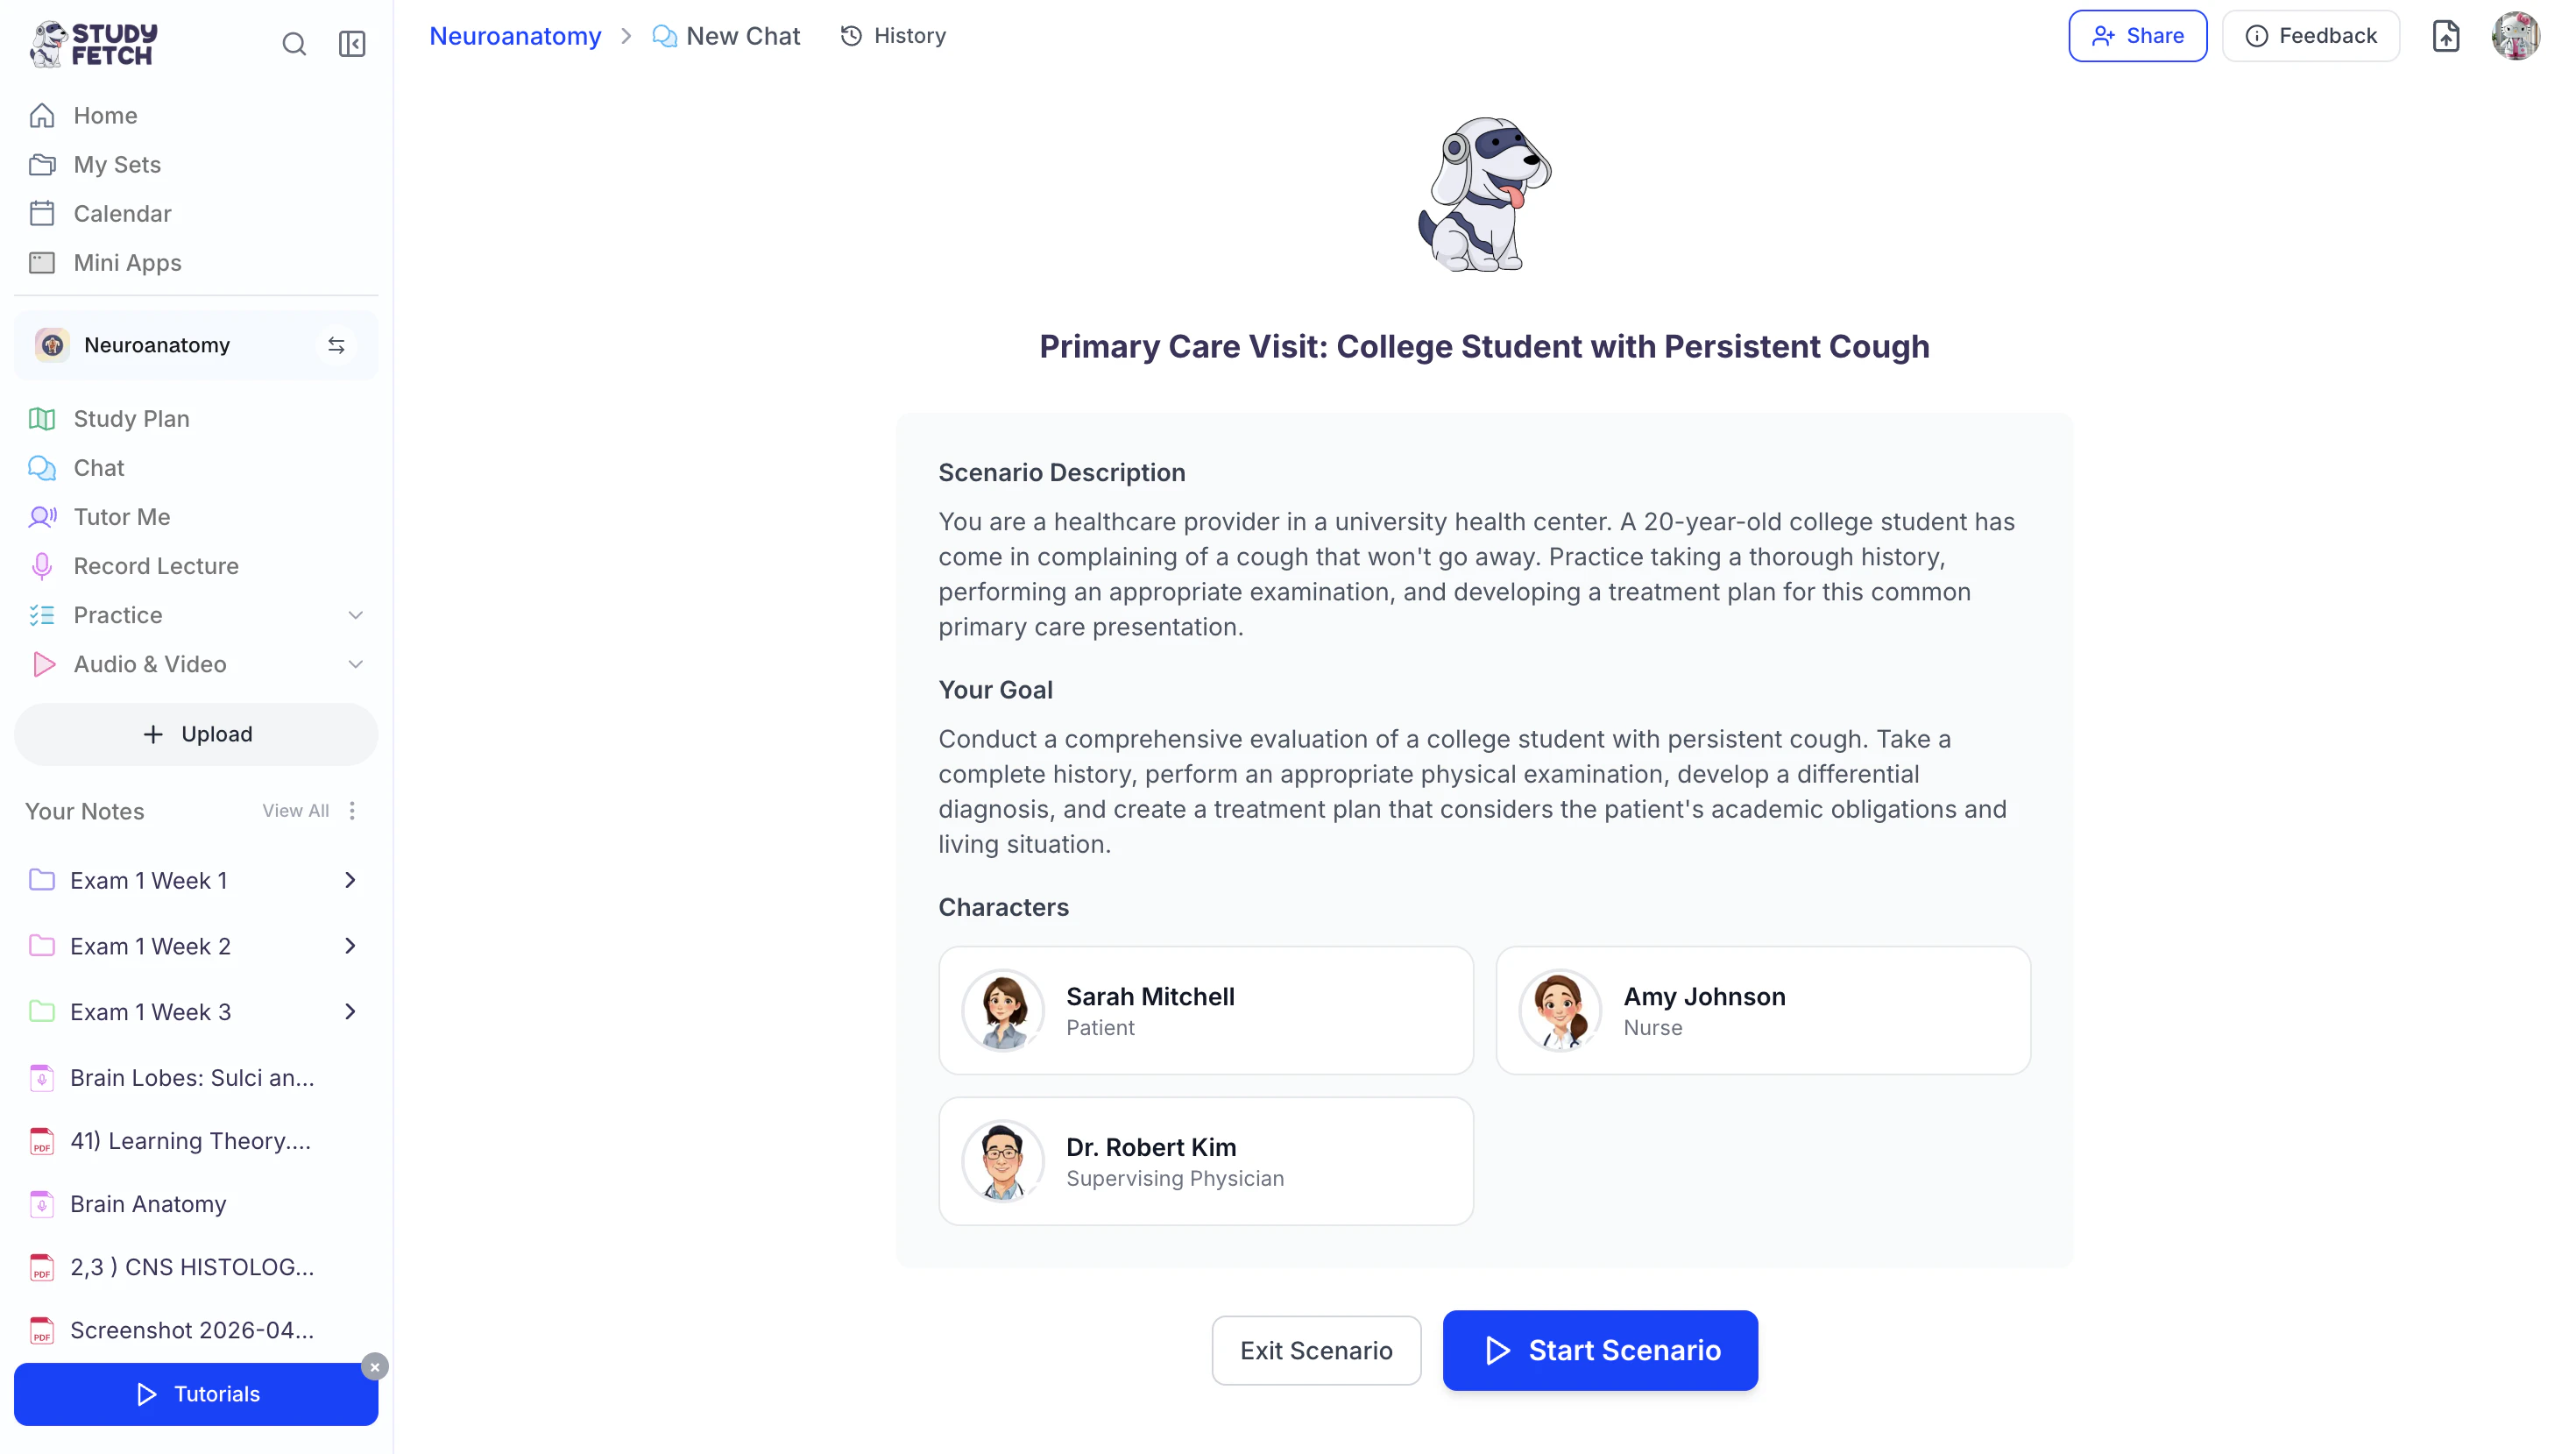
- After selecting the scenario you want to practice, it will load directly into the chat. Here, you can review the Scenario Description, your objectives, and all included characters and available tools.

- When you’re ready to begin, click Start Scenario.

- When you start your scenario, a greeting message will appear in the chat to begin the interaction.
On the right side of your screen, you’ll also see a panel displaying the scenario’s characters and available tools for easy reference.

- To continue the conversation, simply type your response in the chat box or
use the microphone icon in the bottom right to dictate your message.
 Then press Enter on your keyboard or click the blue arrow button to send your message.

- As the scenario progresses, you can interact naturally with any of the characters. The AI will automatically ensure the appropriate character responds based on the context.

- You can also utilize the available scenario tools during the interaction, with the AI incorporating relevant data and responses as the scenario unfolds.

- When you are finished with the scenario, follow the next steps based on your setup.
- If no final answer submission is required, select Submit Scenario.

- If a final answer is required, continue below.
- Select + to expand the Submit Your Final Answer field.

- Review the question prompt carefully, then enter your response in the text box and click Submit Answer.

- Your scenario will then be analyzed based on the rubric settings.

- Select + to expand the Submit Your Final Answer field.
- If no final answer submission is required, select Submit Scenario.
- Proceed below for information on reviewing your feedback.
Interpreting Scenario Feedback and Trying Again
After you submit your scenario, you will receive detailed feedback similar to the examples below.


- You will receive detailed feedback on your performance based on the rubric criteria. This feedback will include an overall assessment, as well as specific strengths and areas for improvement.
- After reviewing your feedback, you can view the full scenario conversation by clicking View Conversation.

- To return to your feedback page, click Back to Results.

- To return to your feedback page, click Back to Results.
- When you feel ready to try again, select Try Again to repeat the scenario.


- To leave the scenario at any time, click Exit Scenario.

Using Spark.E Chat
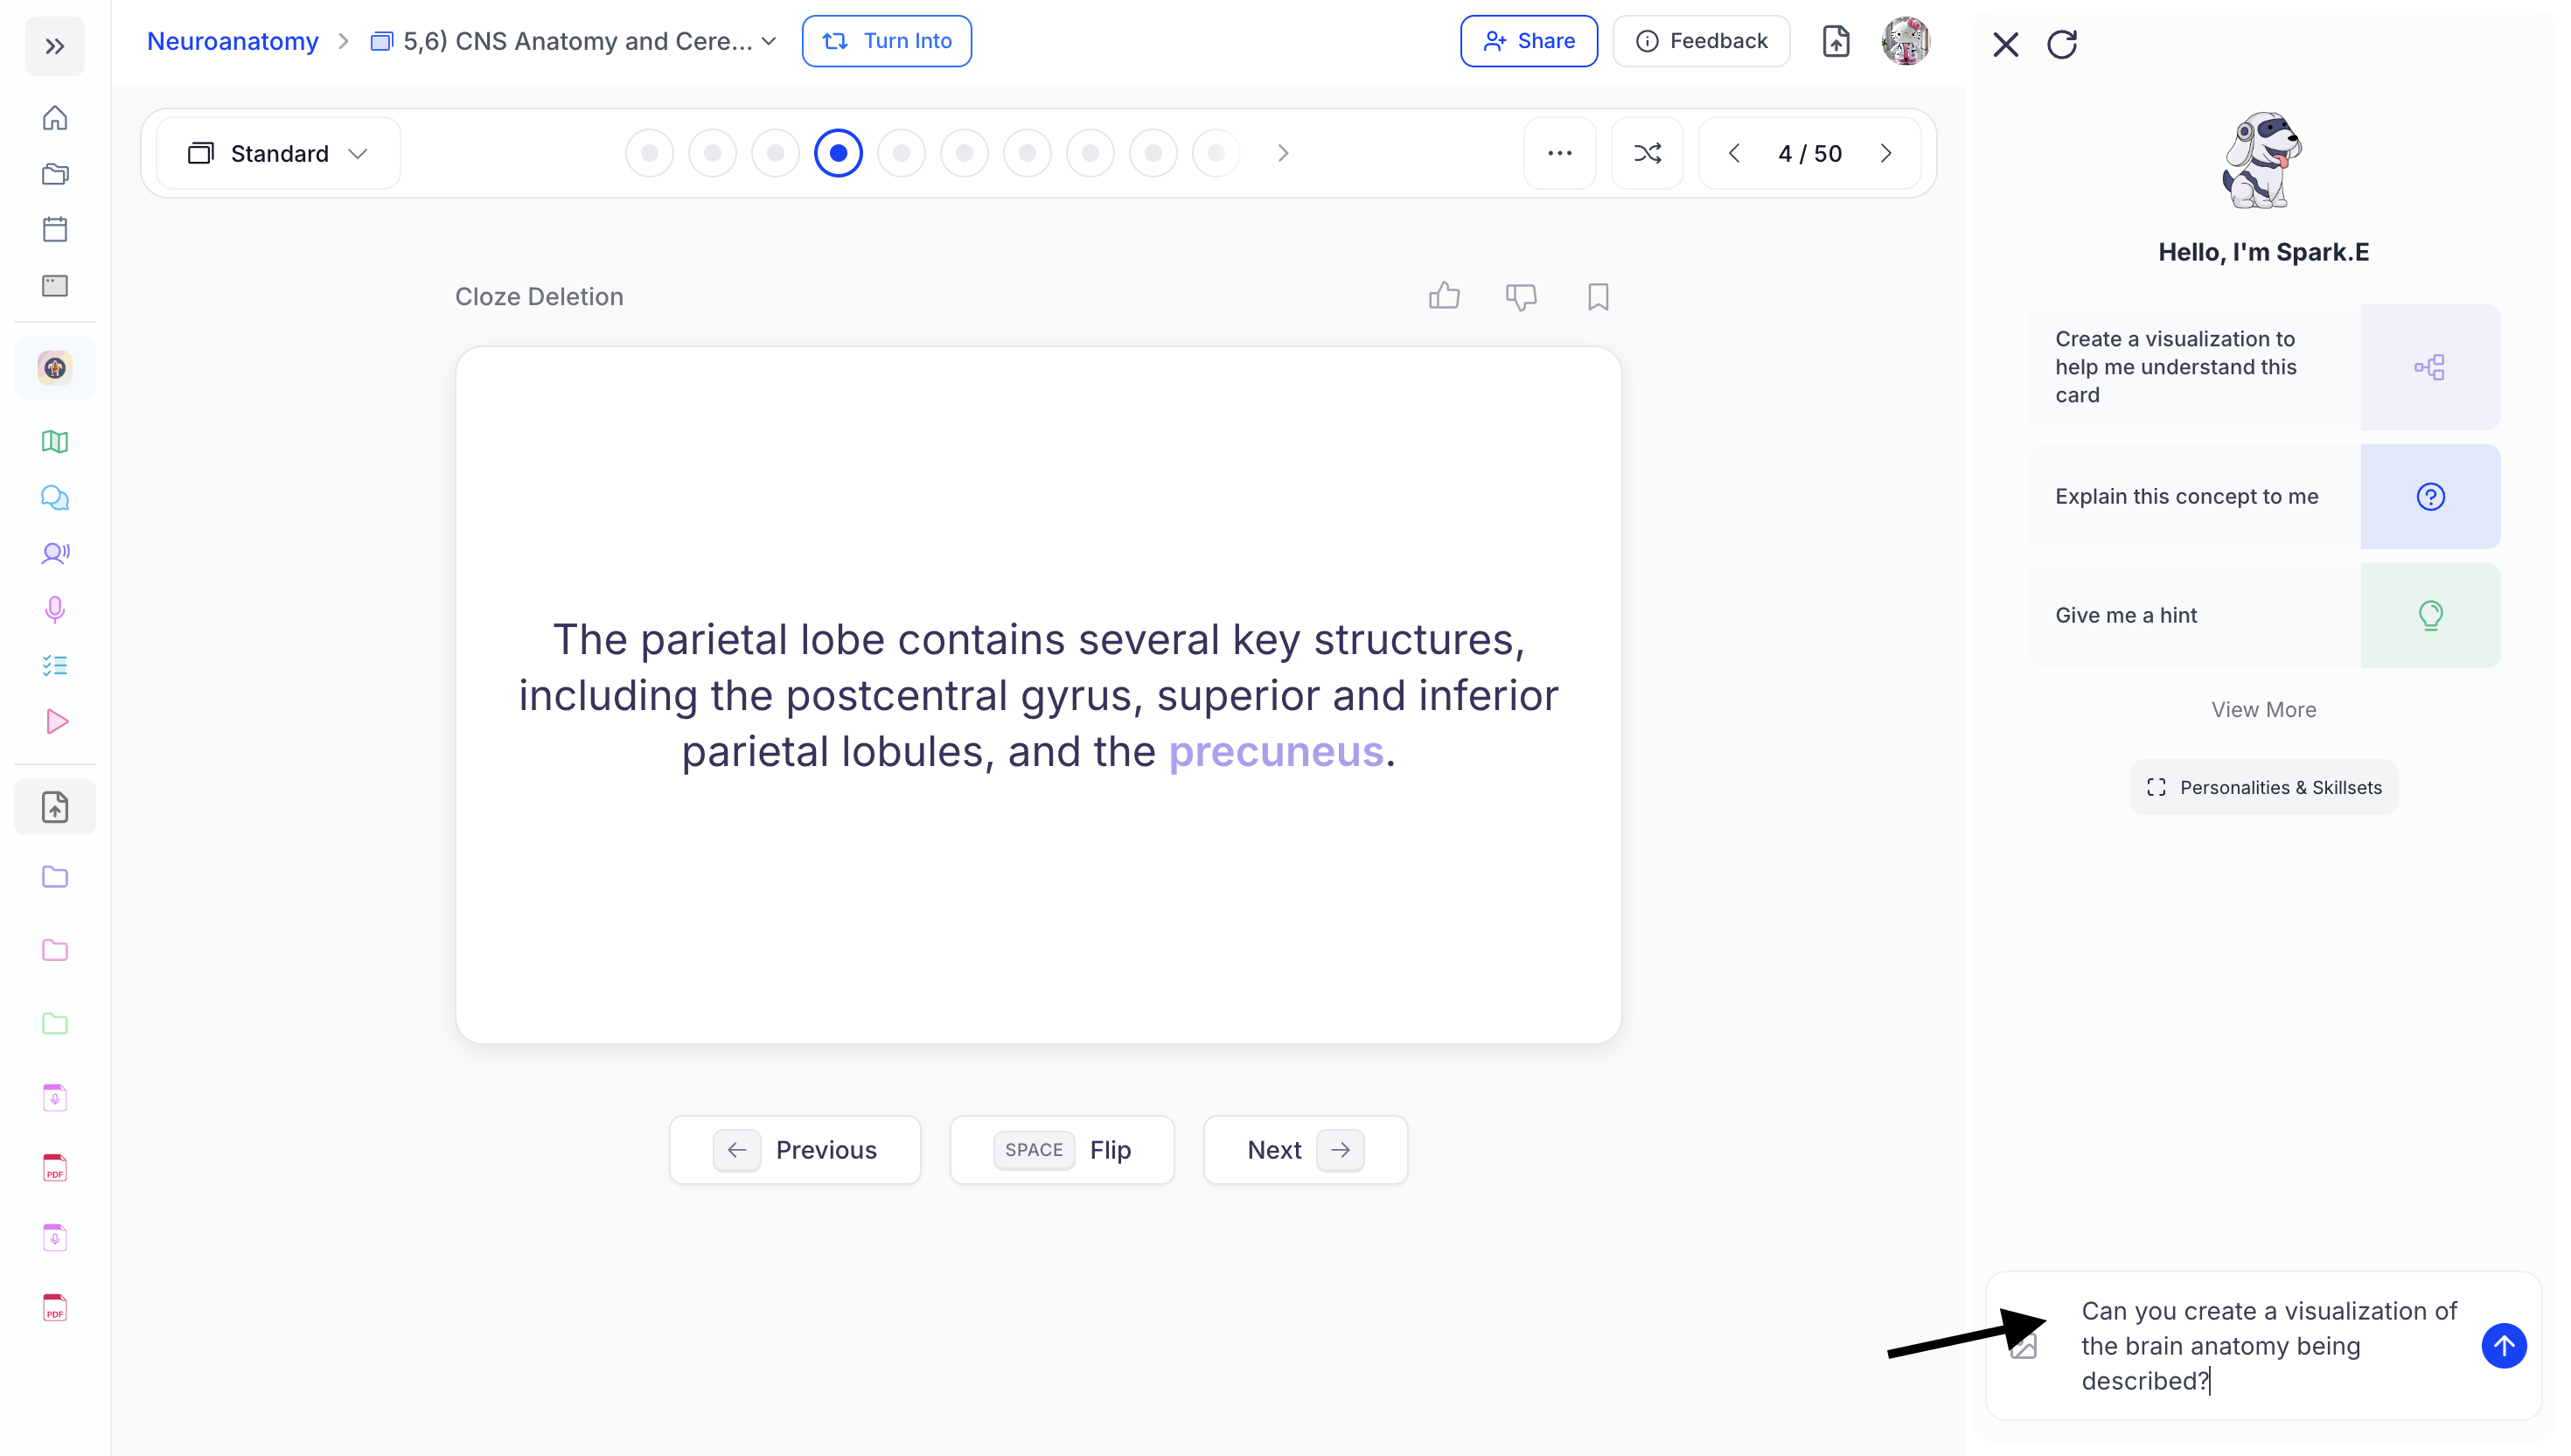
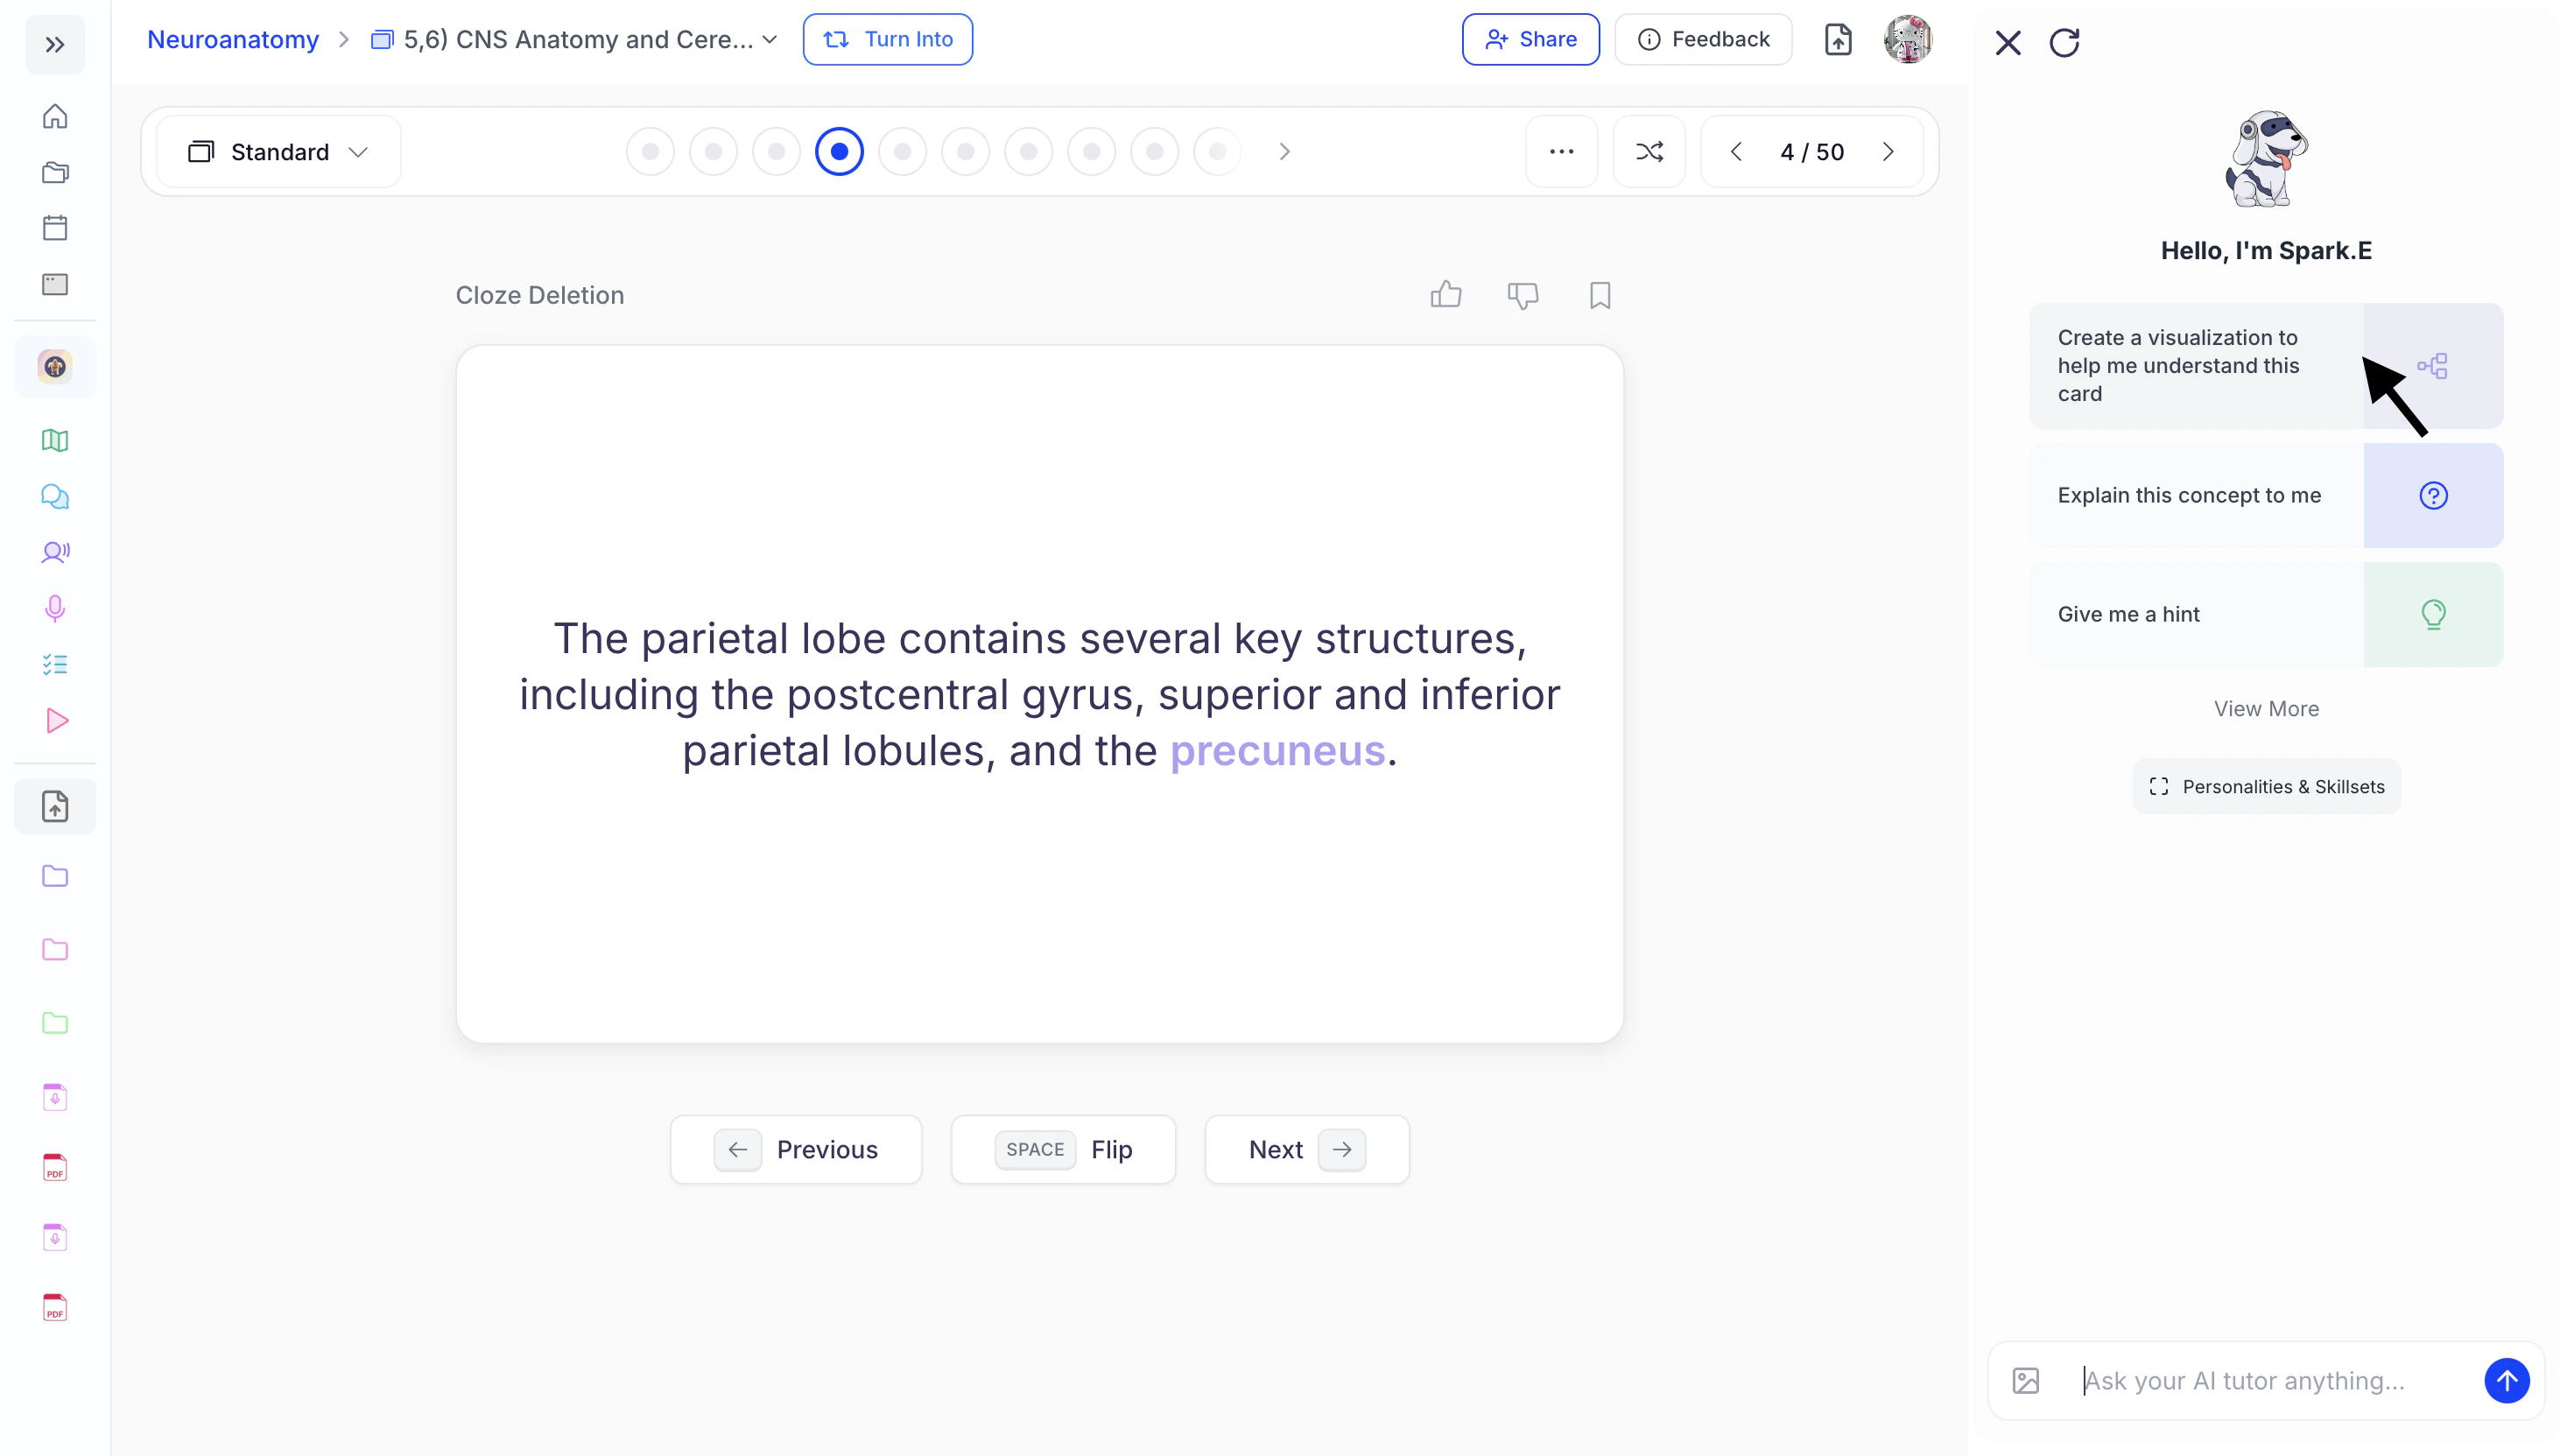
Sending Messages in Chat
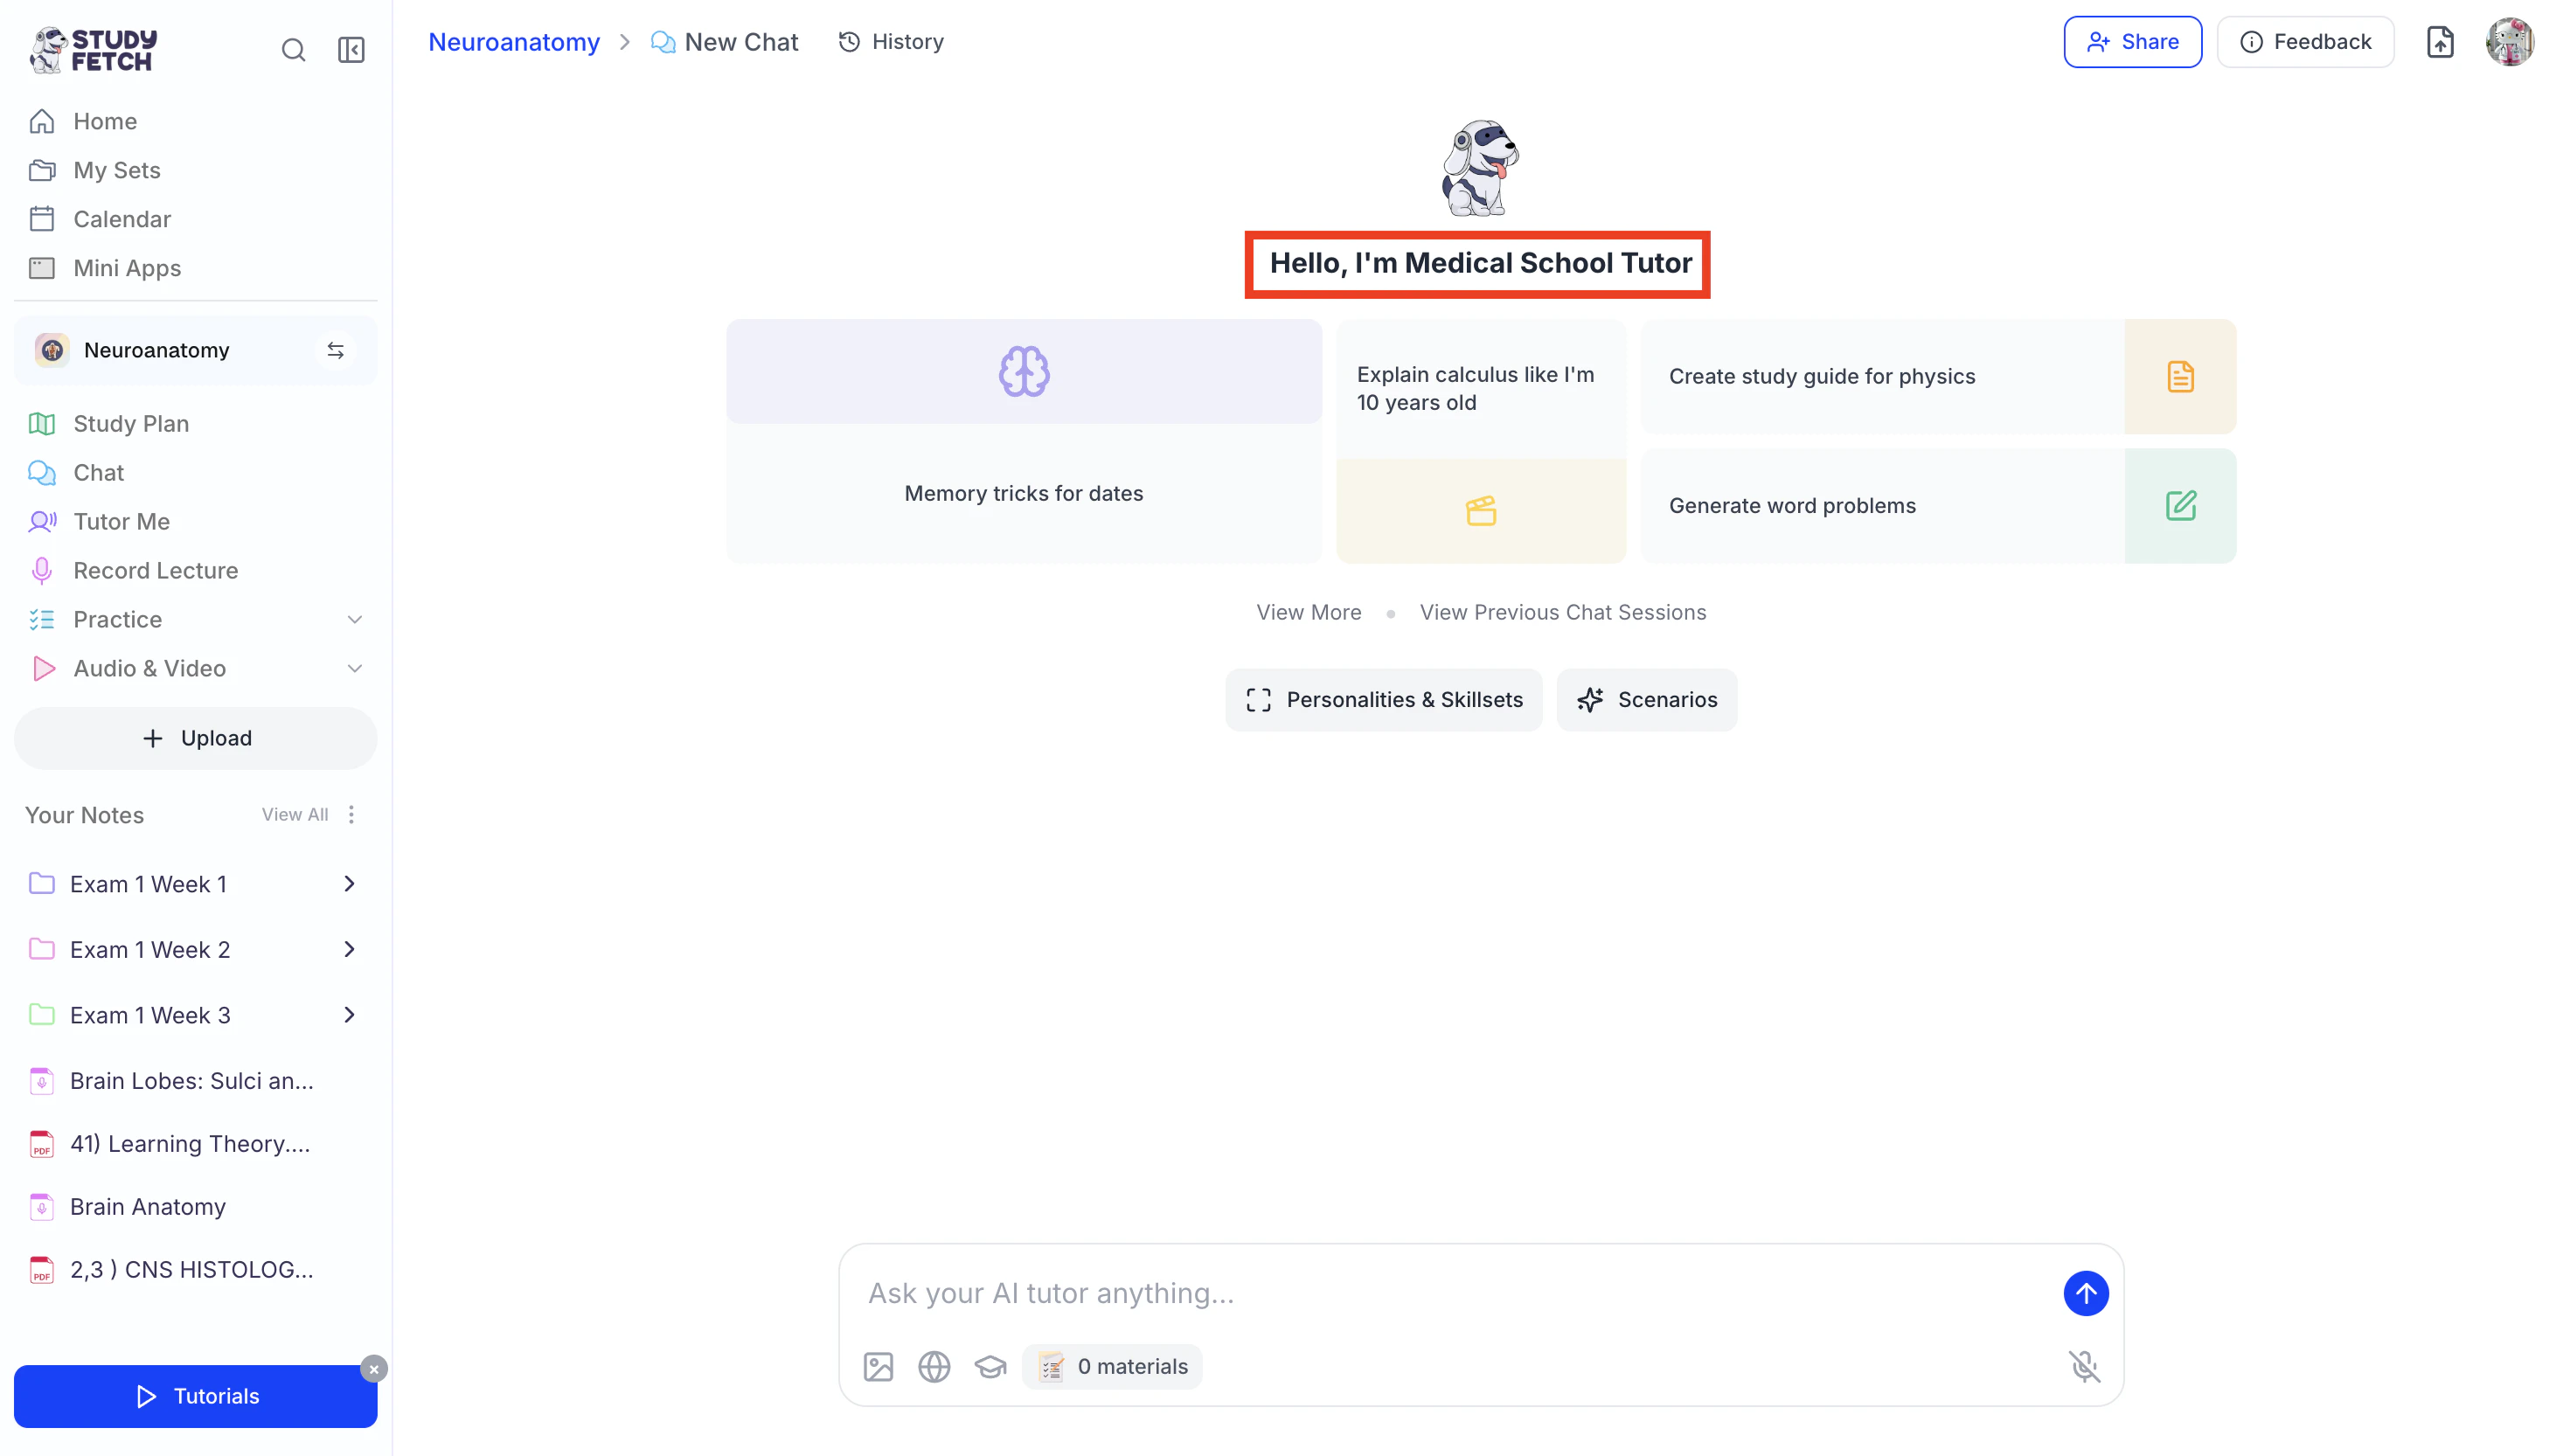
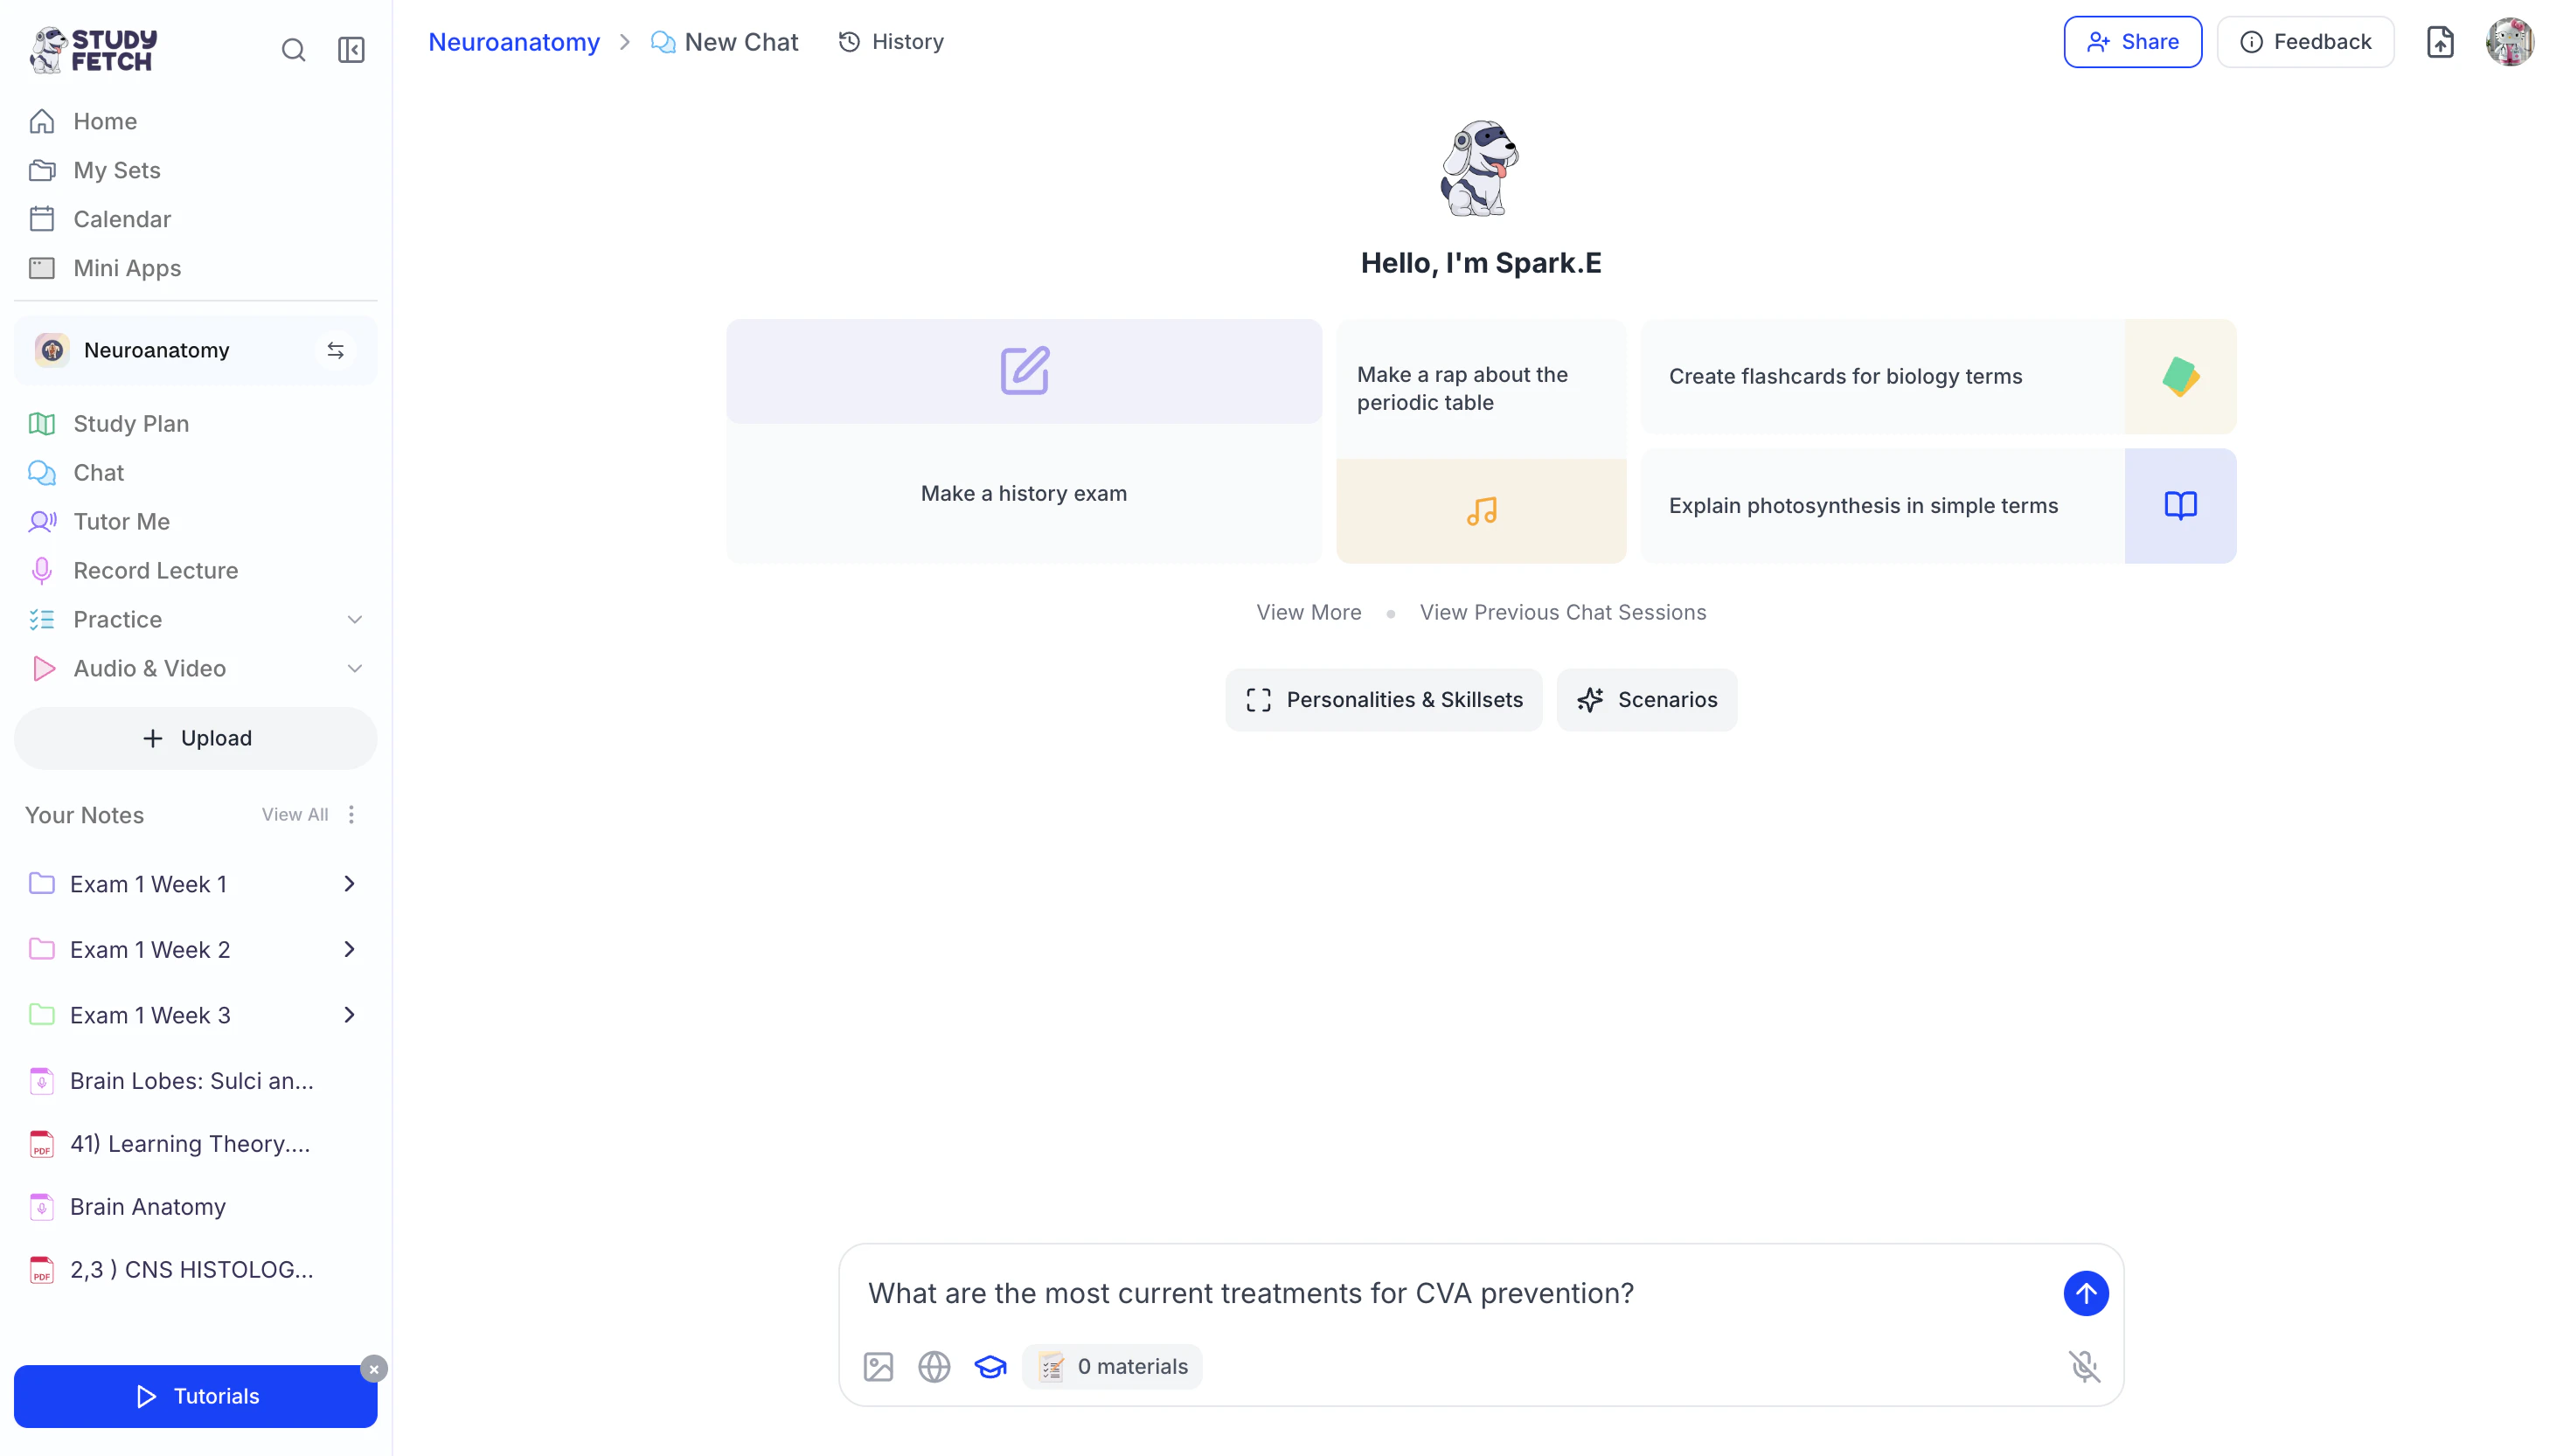
- To interact with your AI tutor Spark.E, click the chat box labeled Ask your AI tutor anything… and type your message.
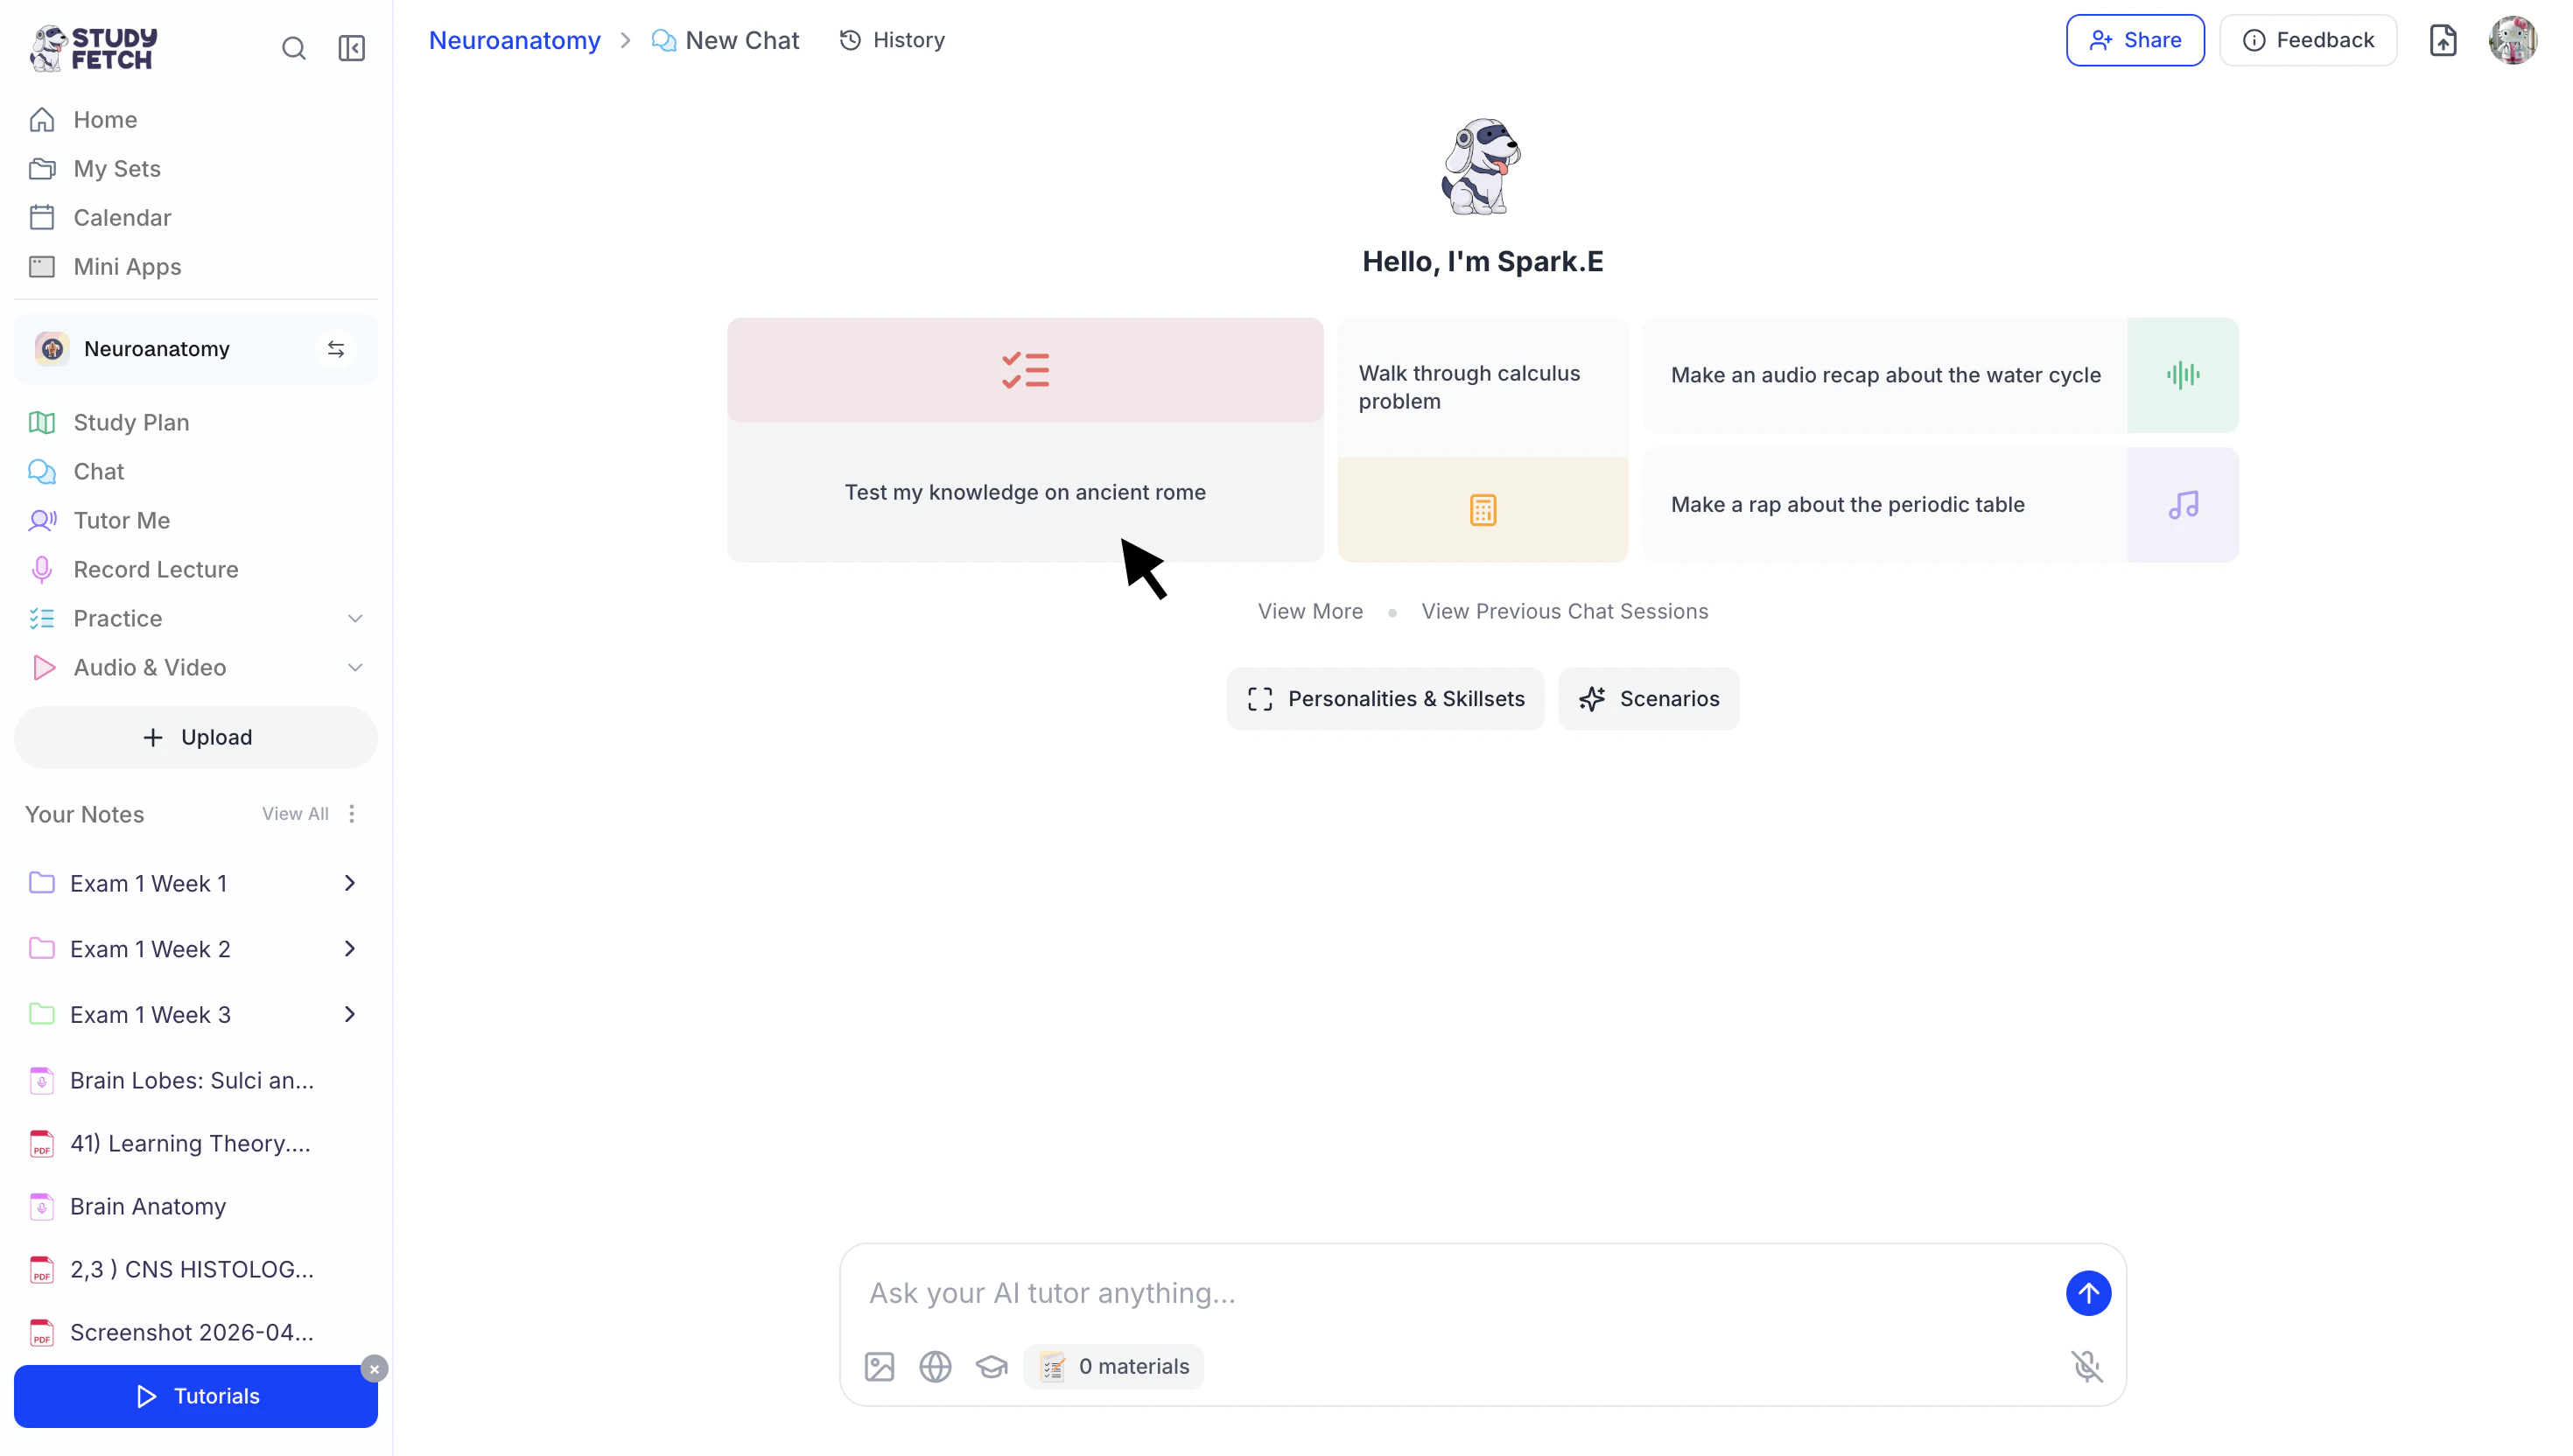
or select from the suggested prompts listed under Hello, I’m Spark.E.
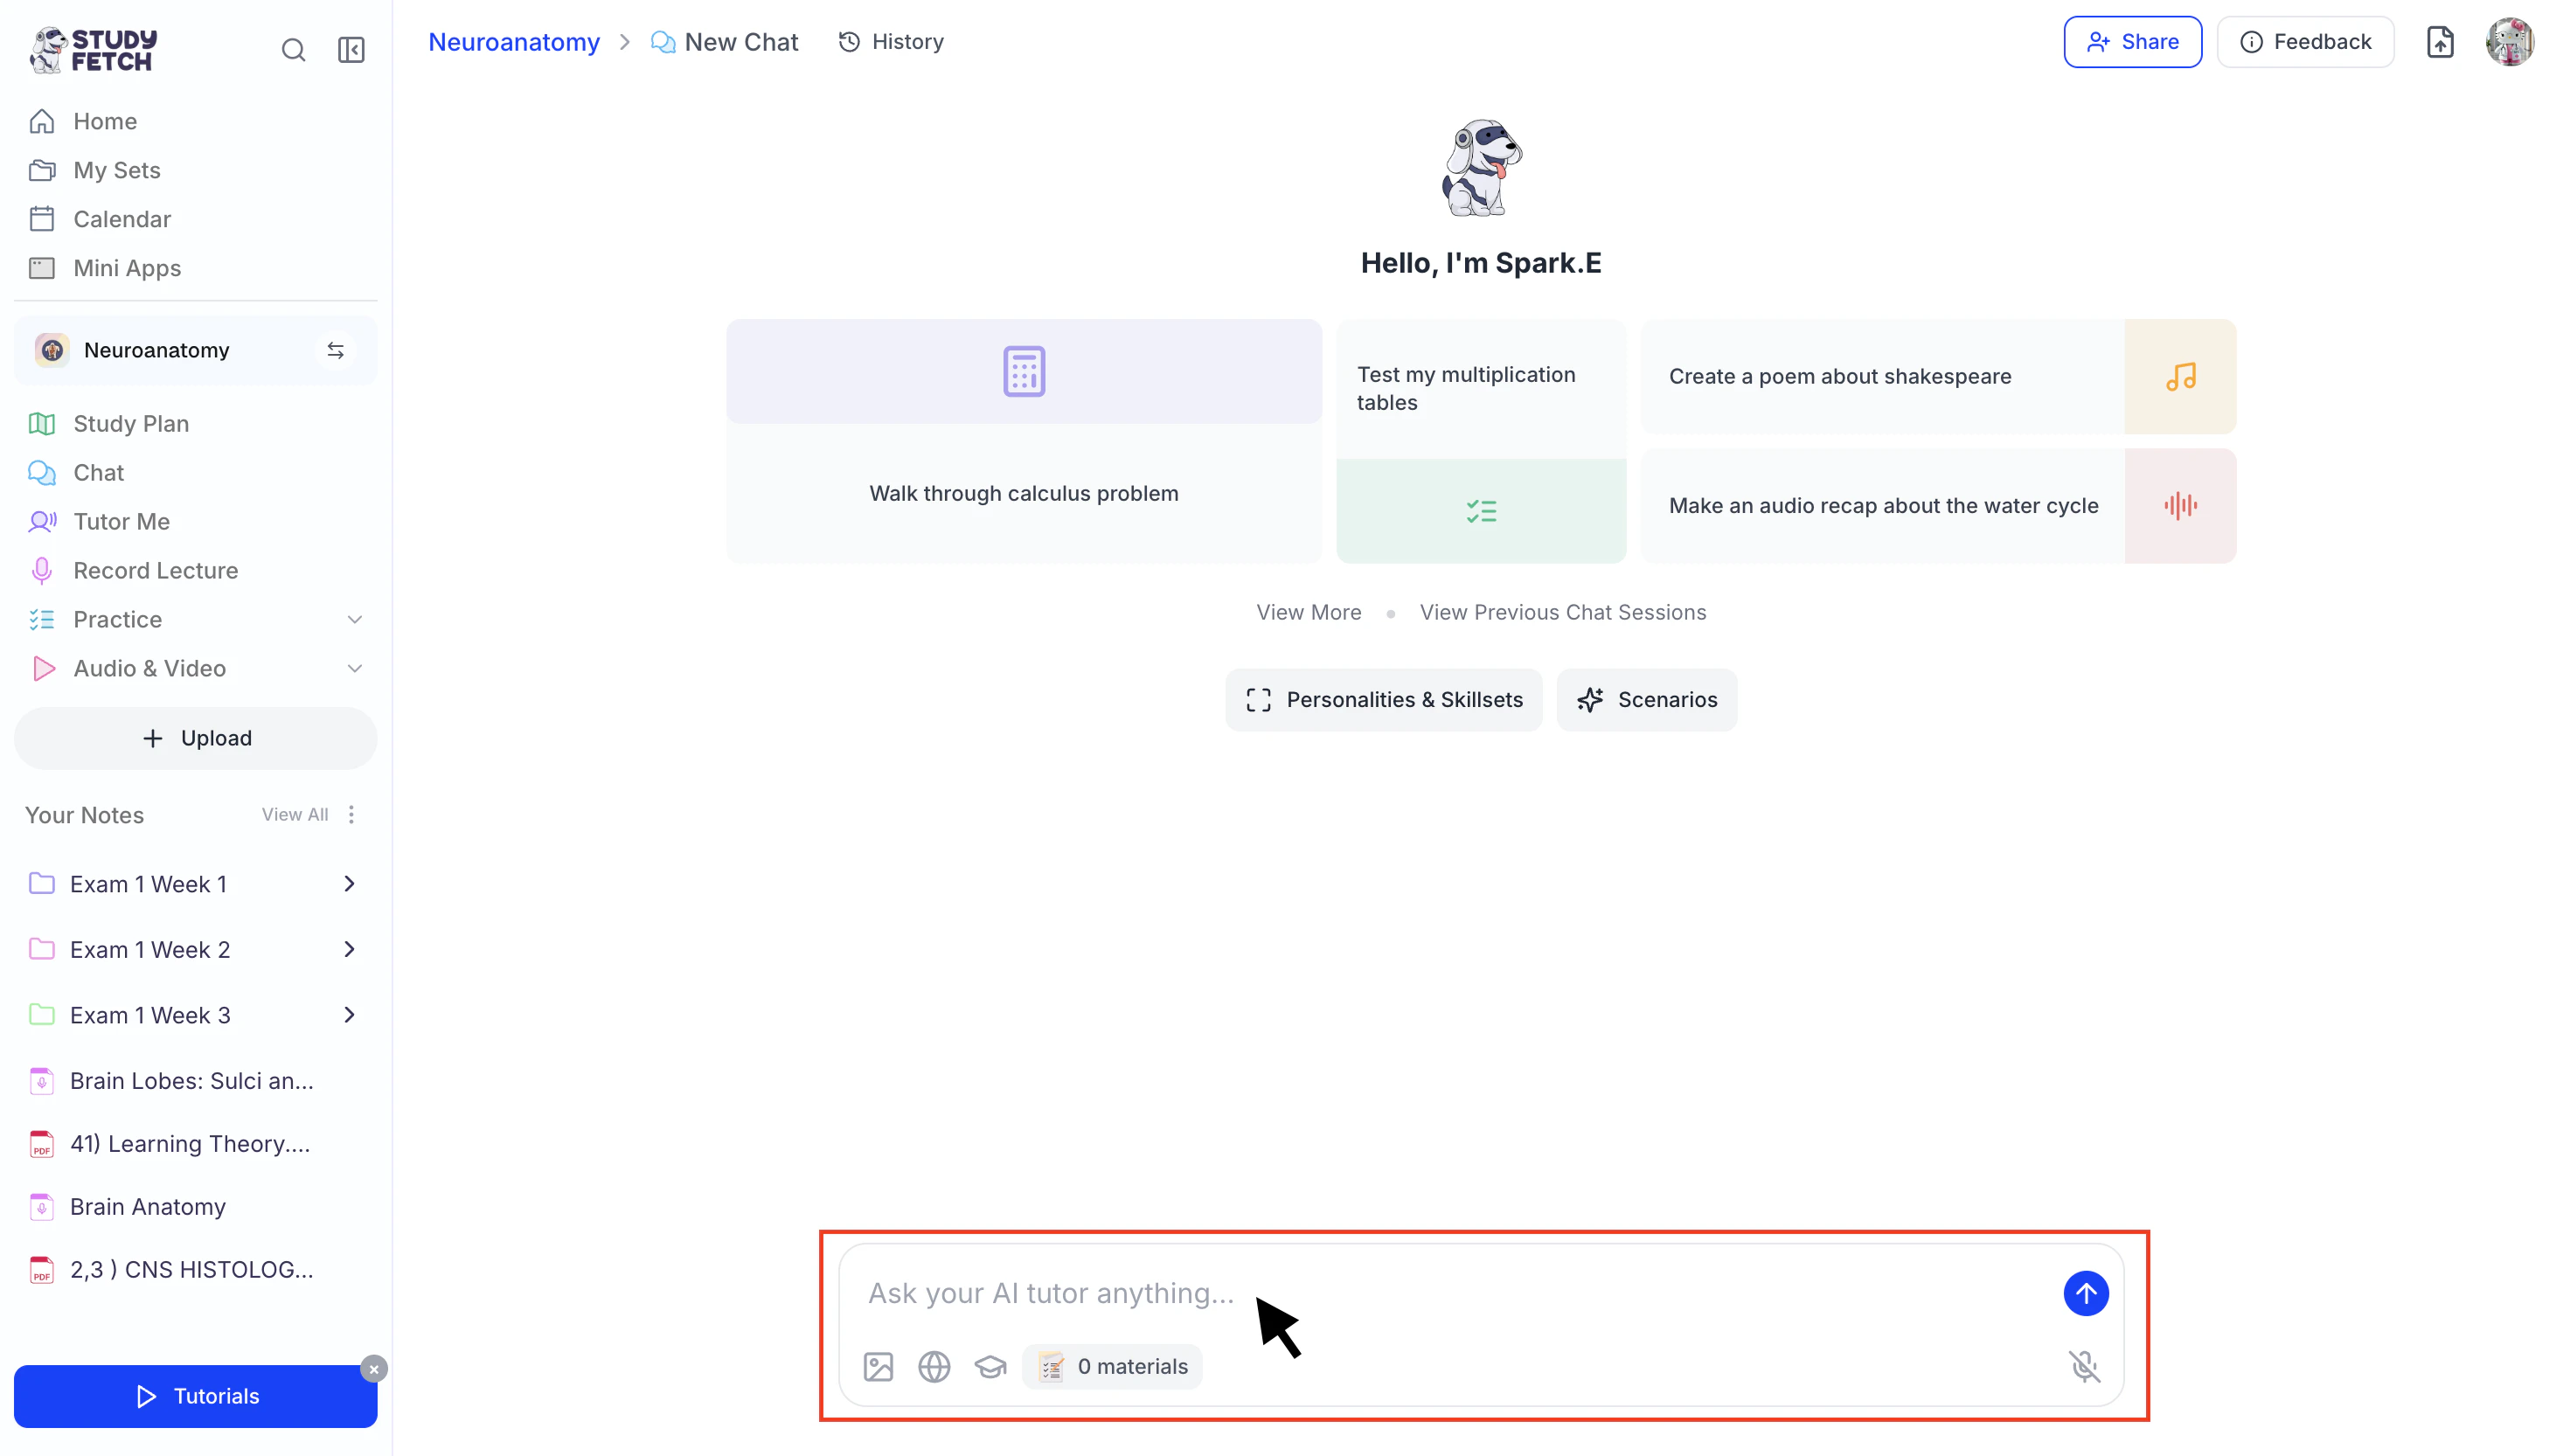
- You can also click the microphone icon in the bottom right to dictate your question.
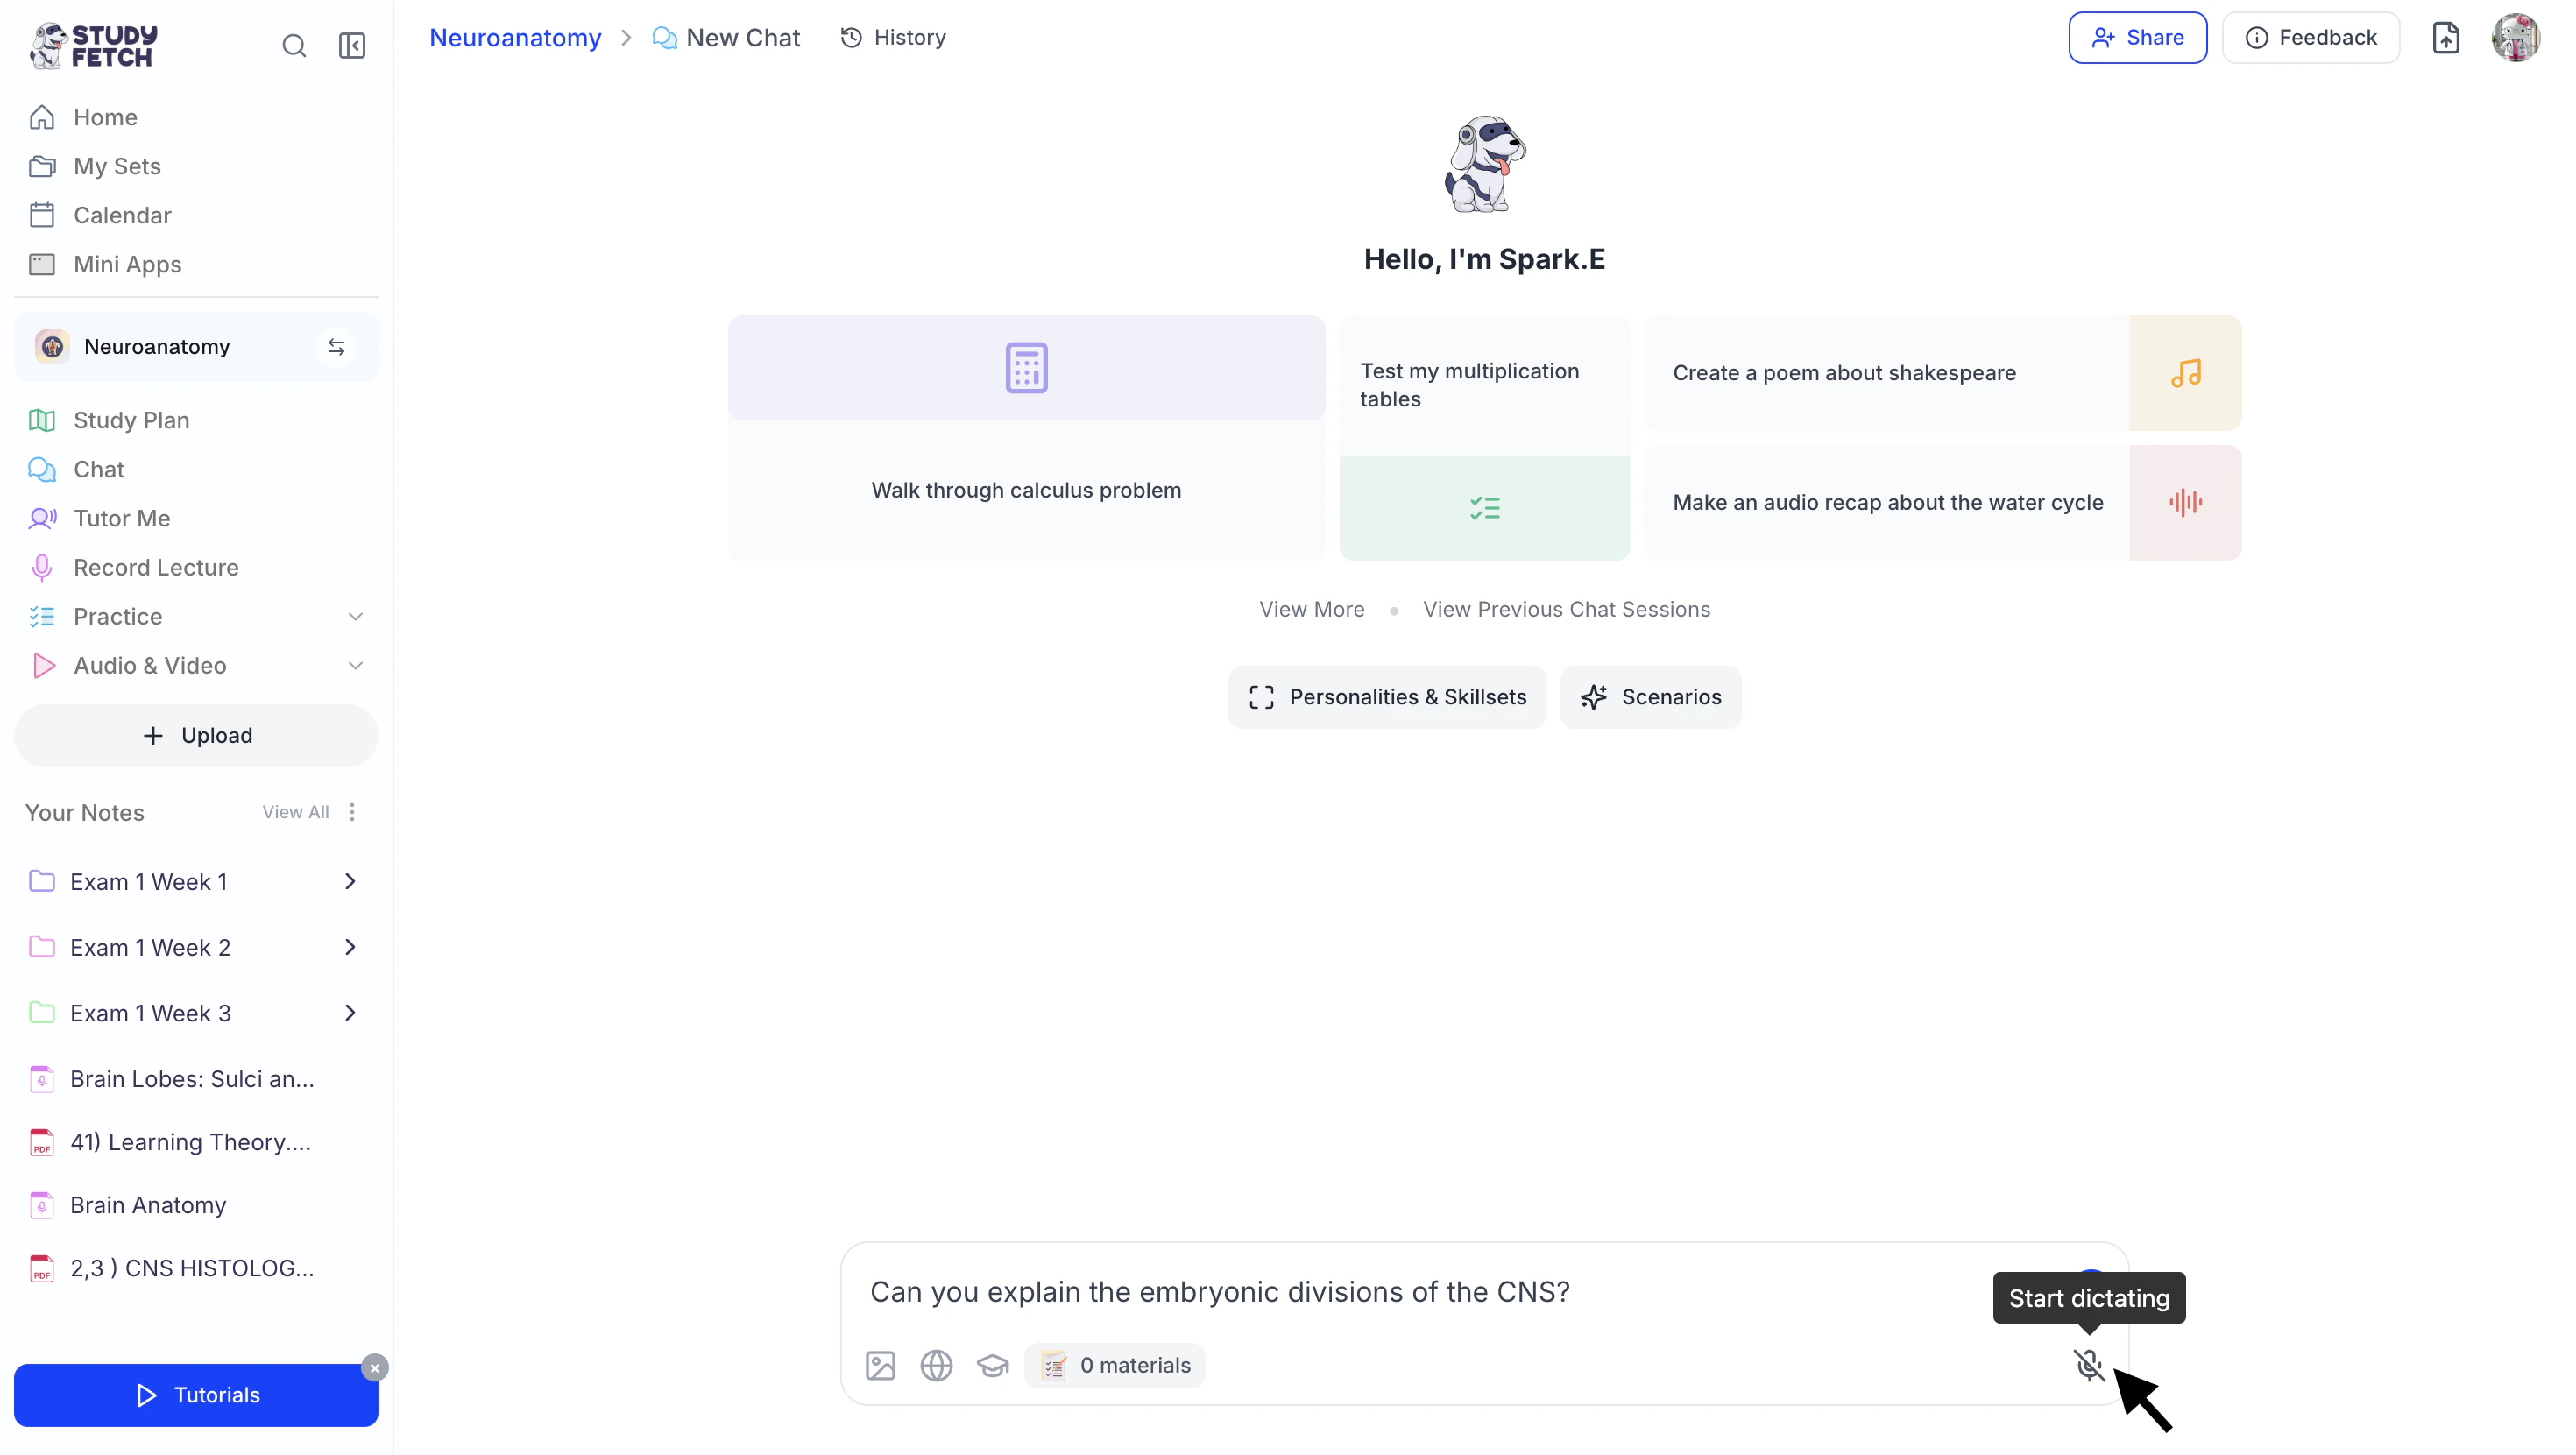
- Once you’re ready, press Enter on your keyboard or click the blue arrow button to send your message.
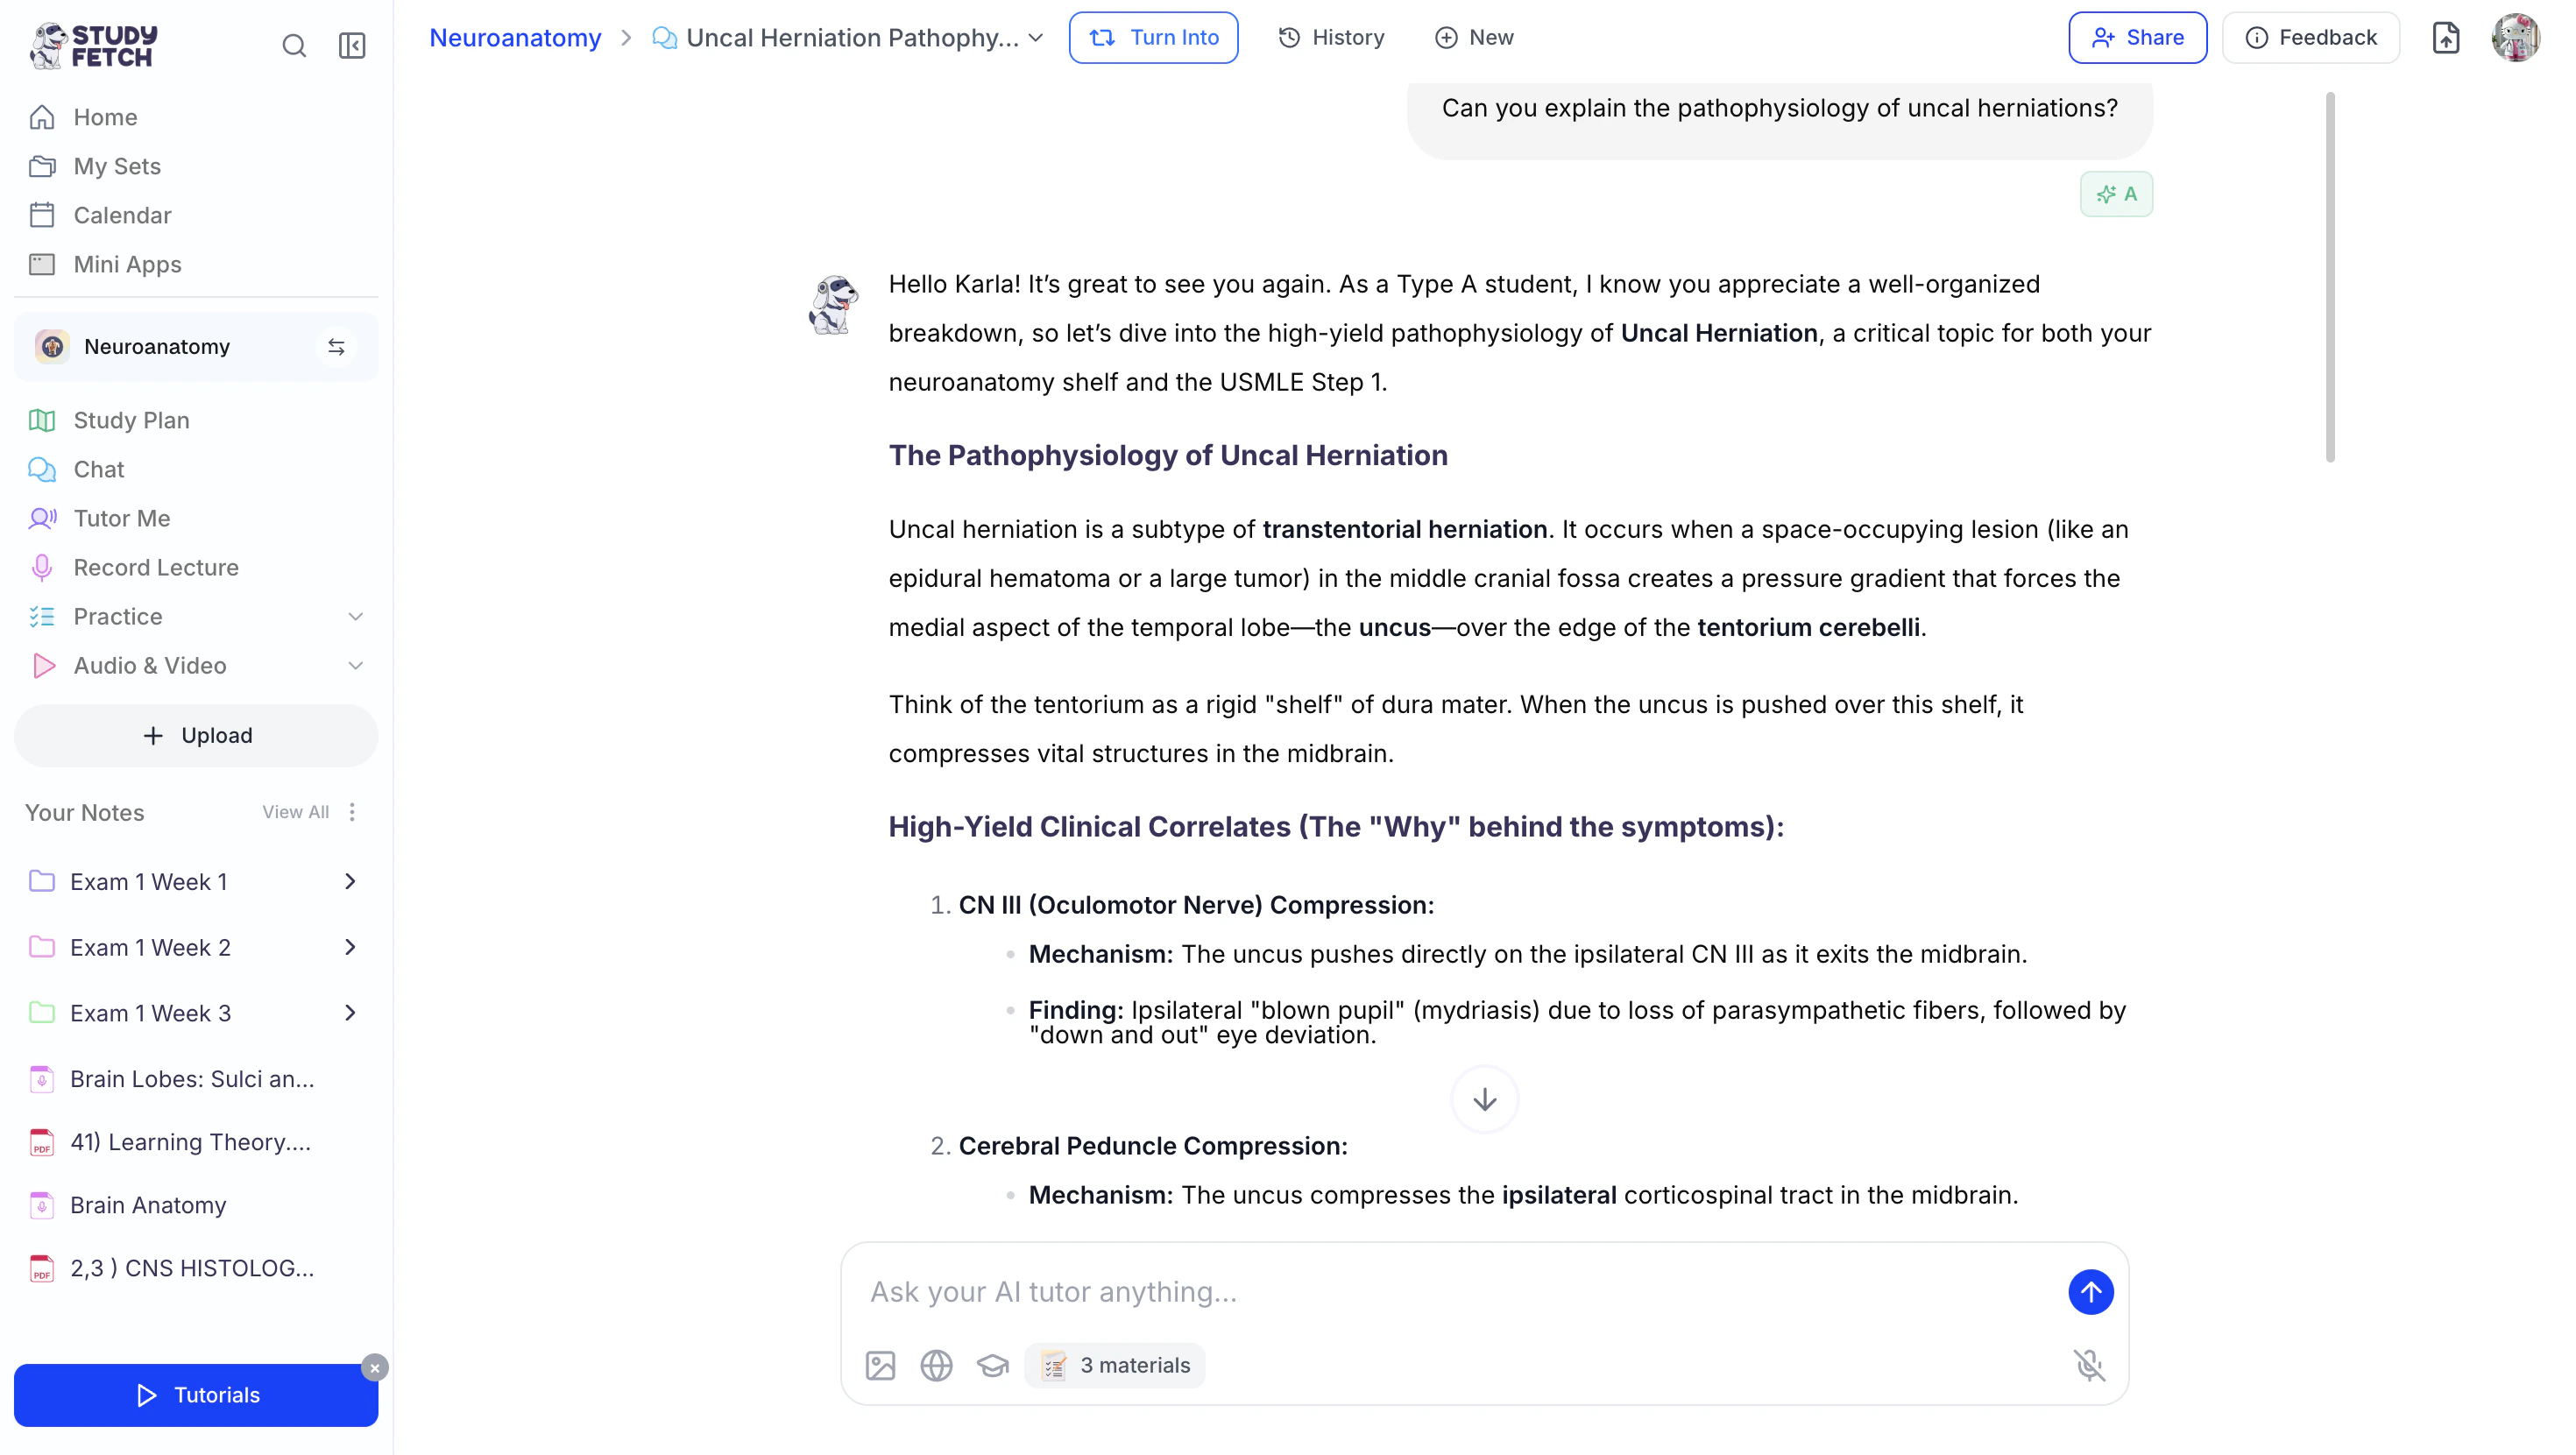
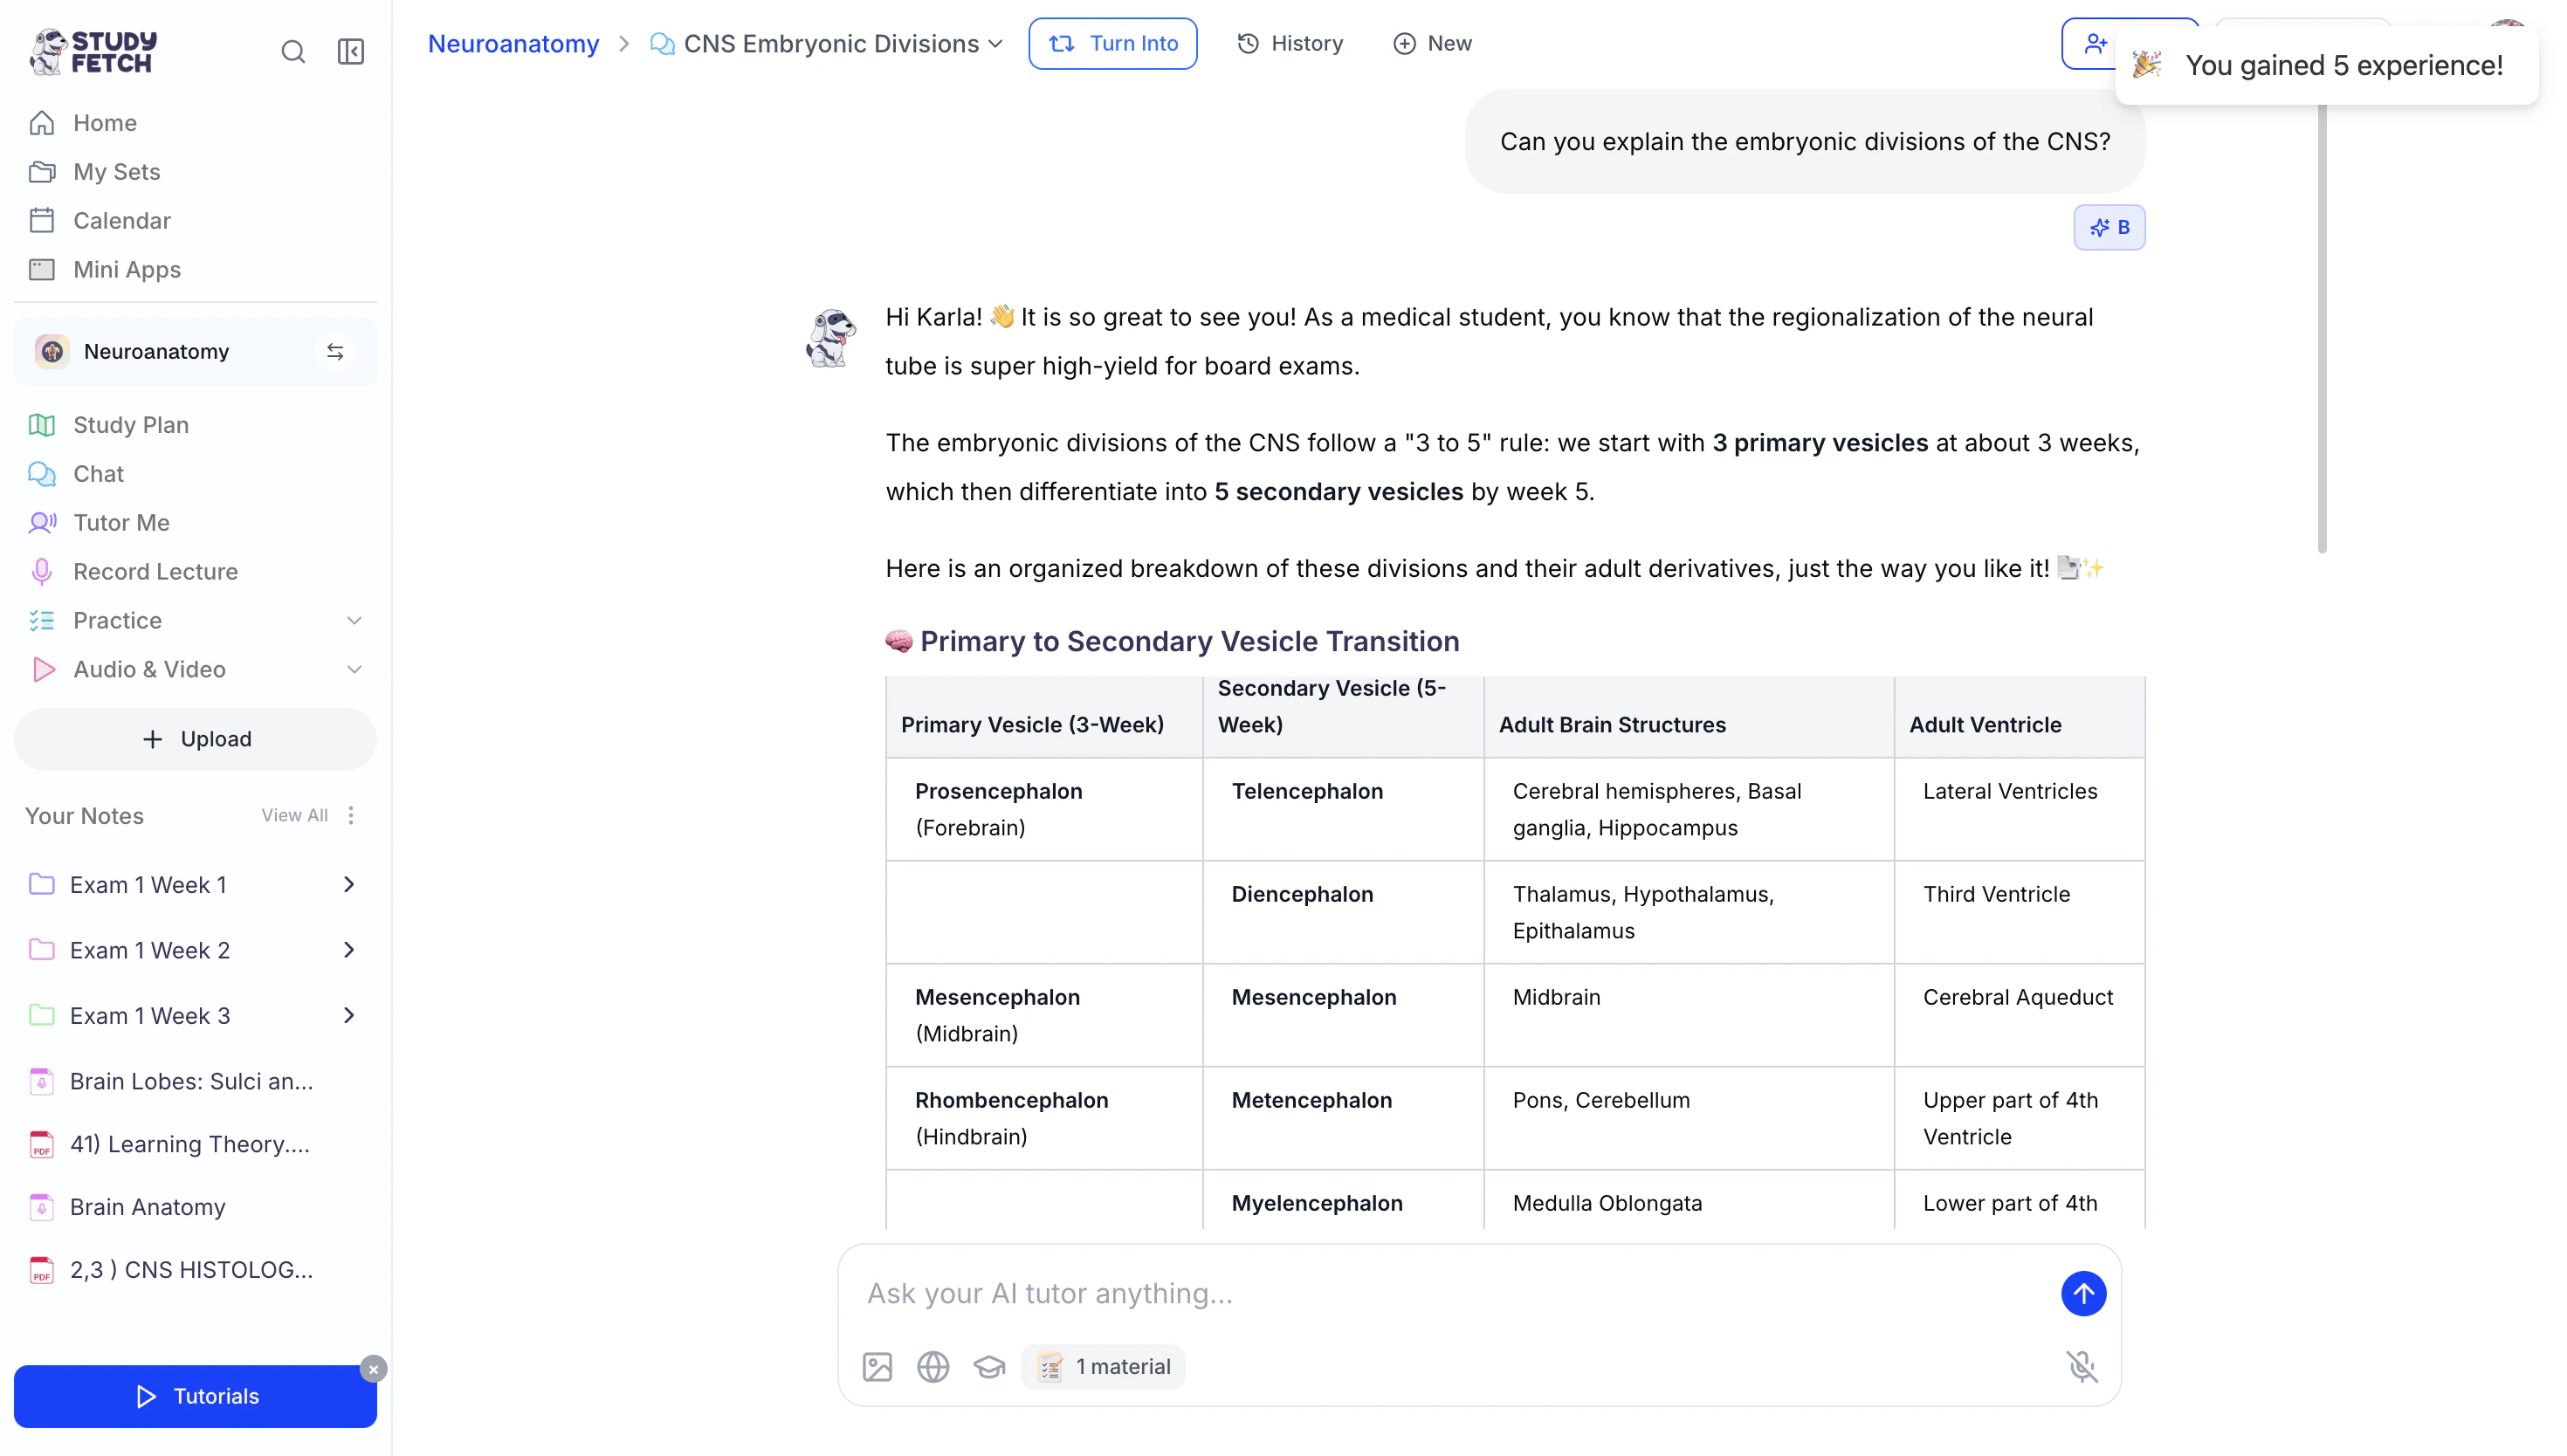
- Spark.E will respond with a personalized answer tailored to your learning goals.
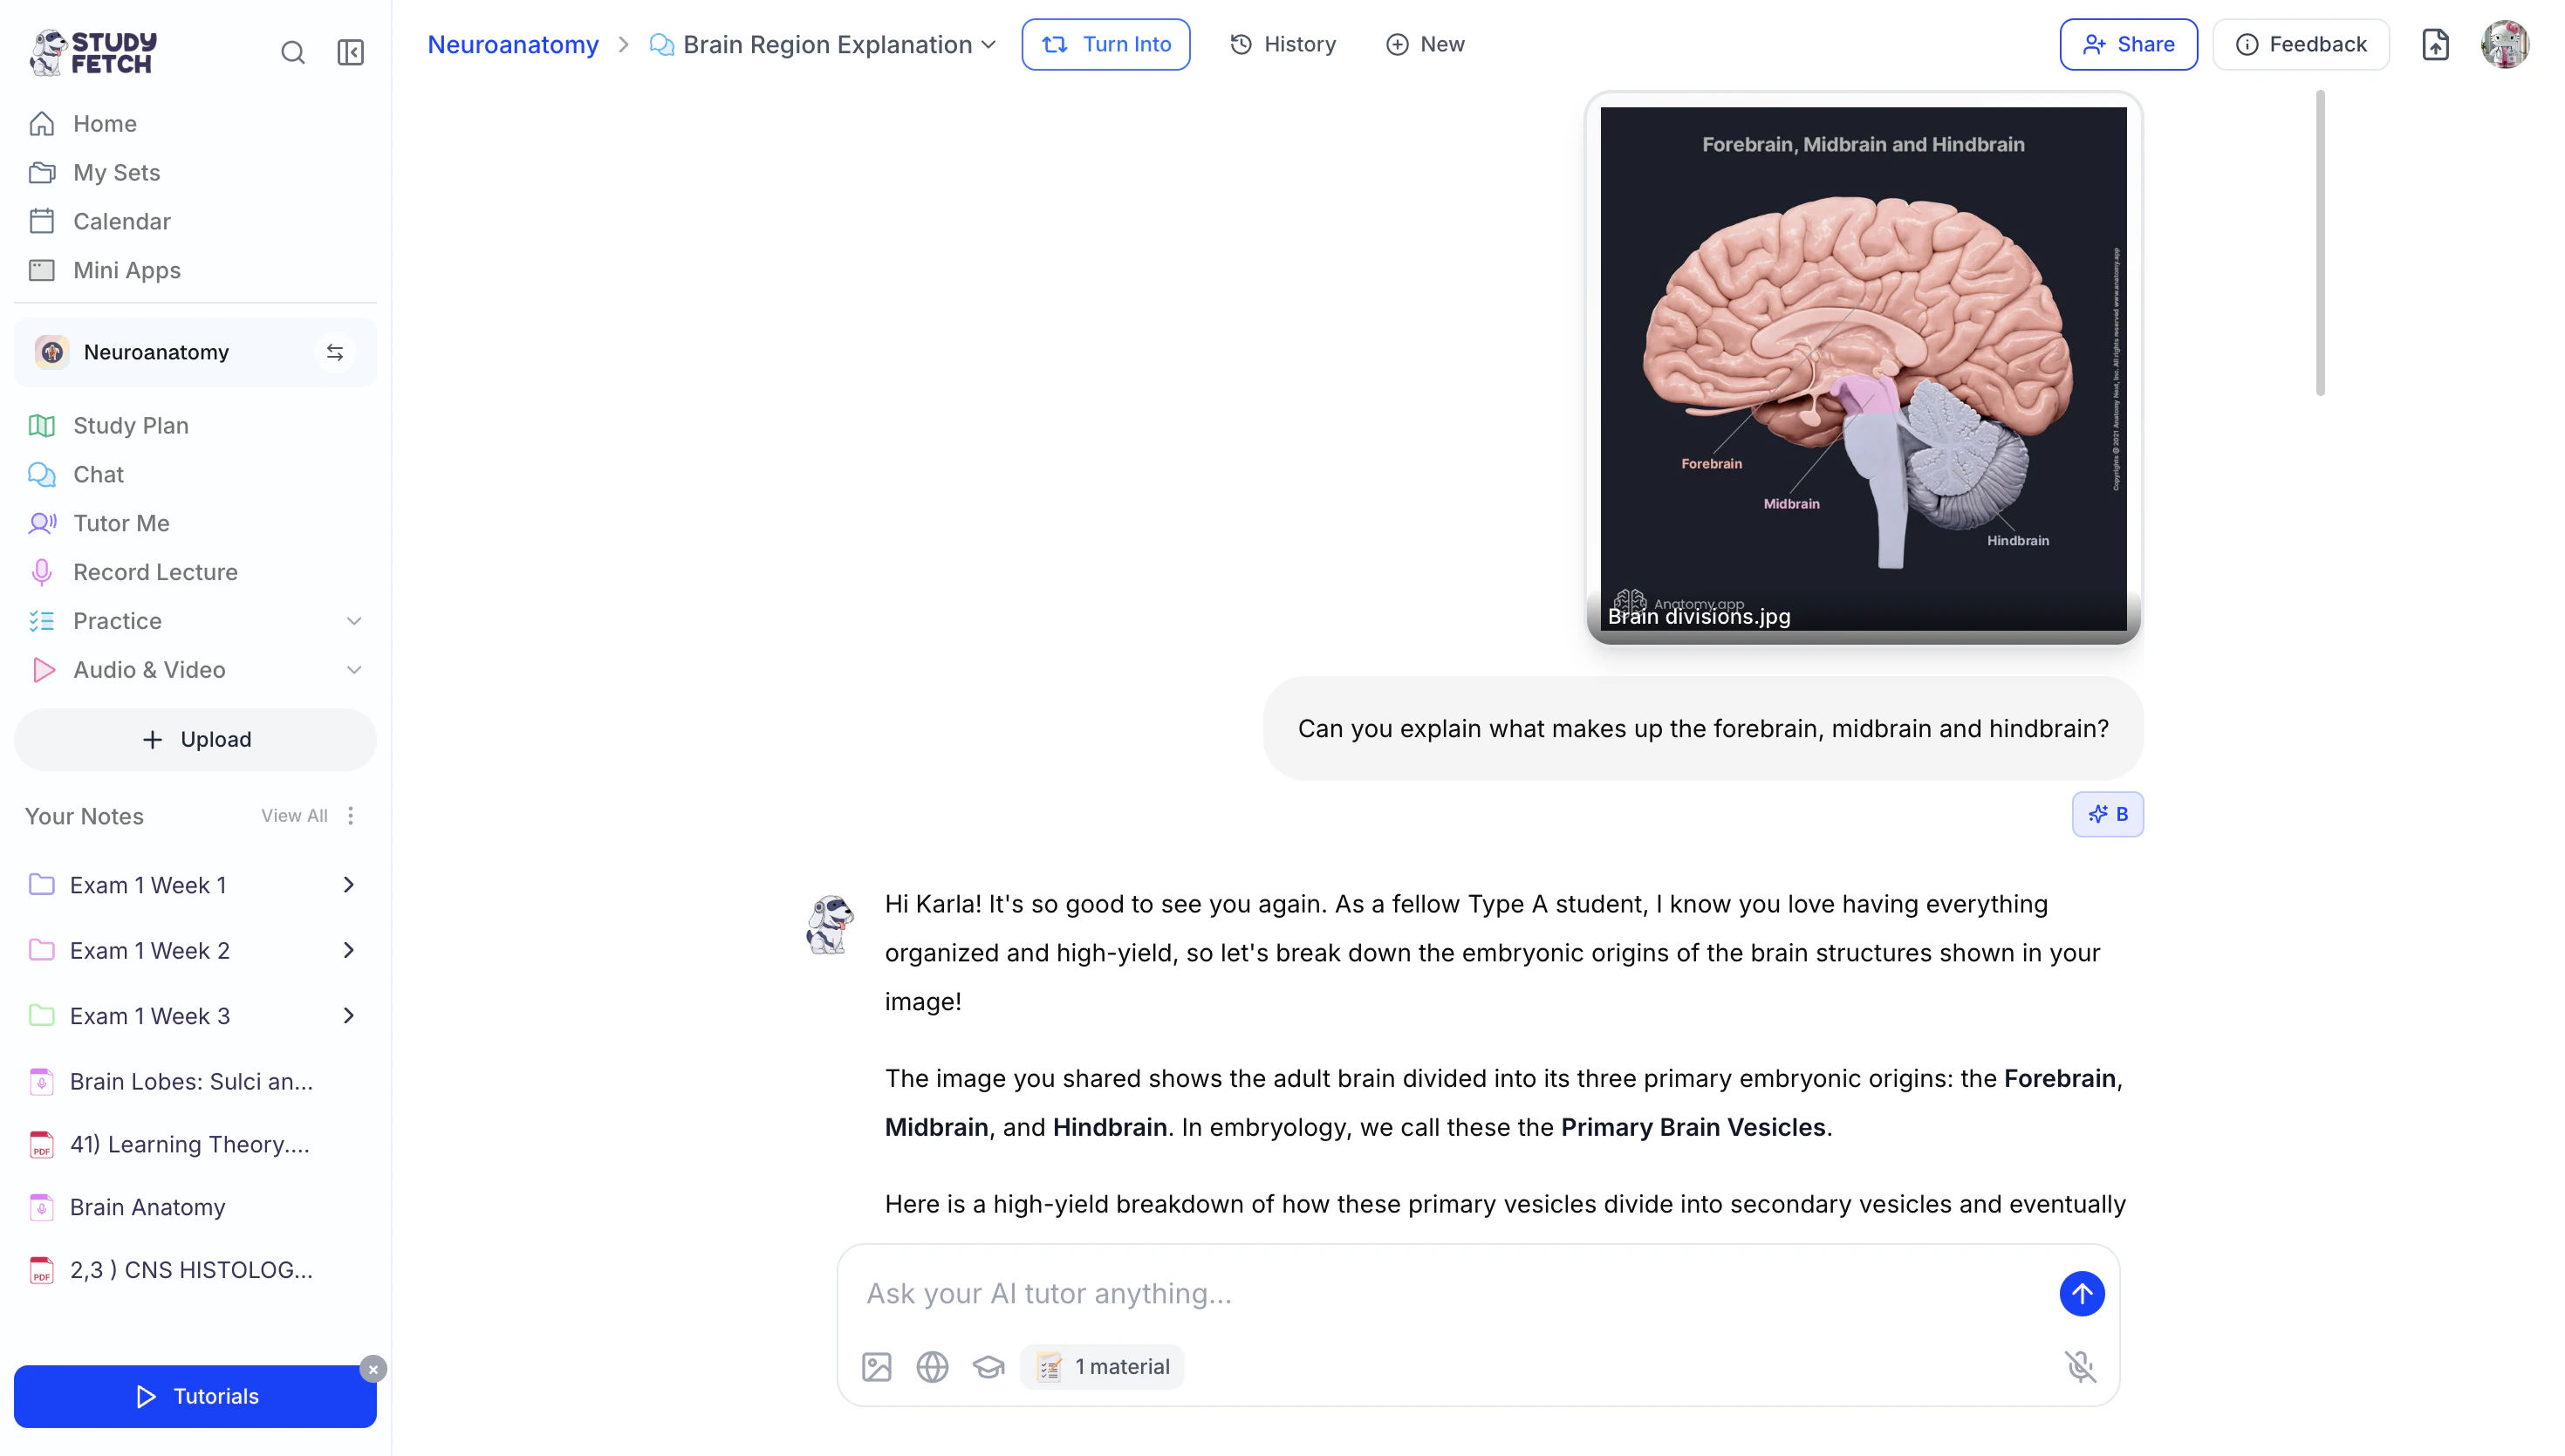
Uploading an Image to Chat
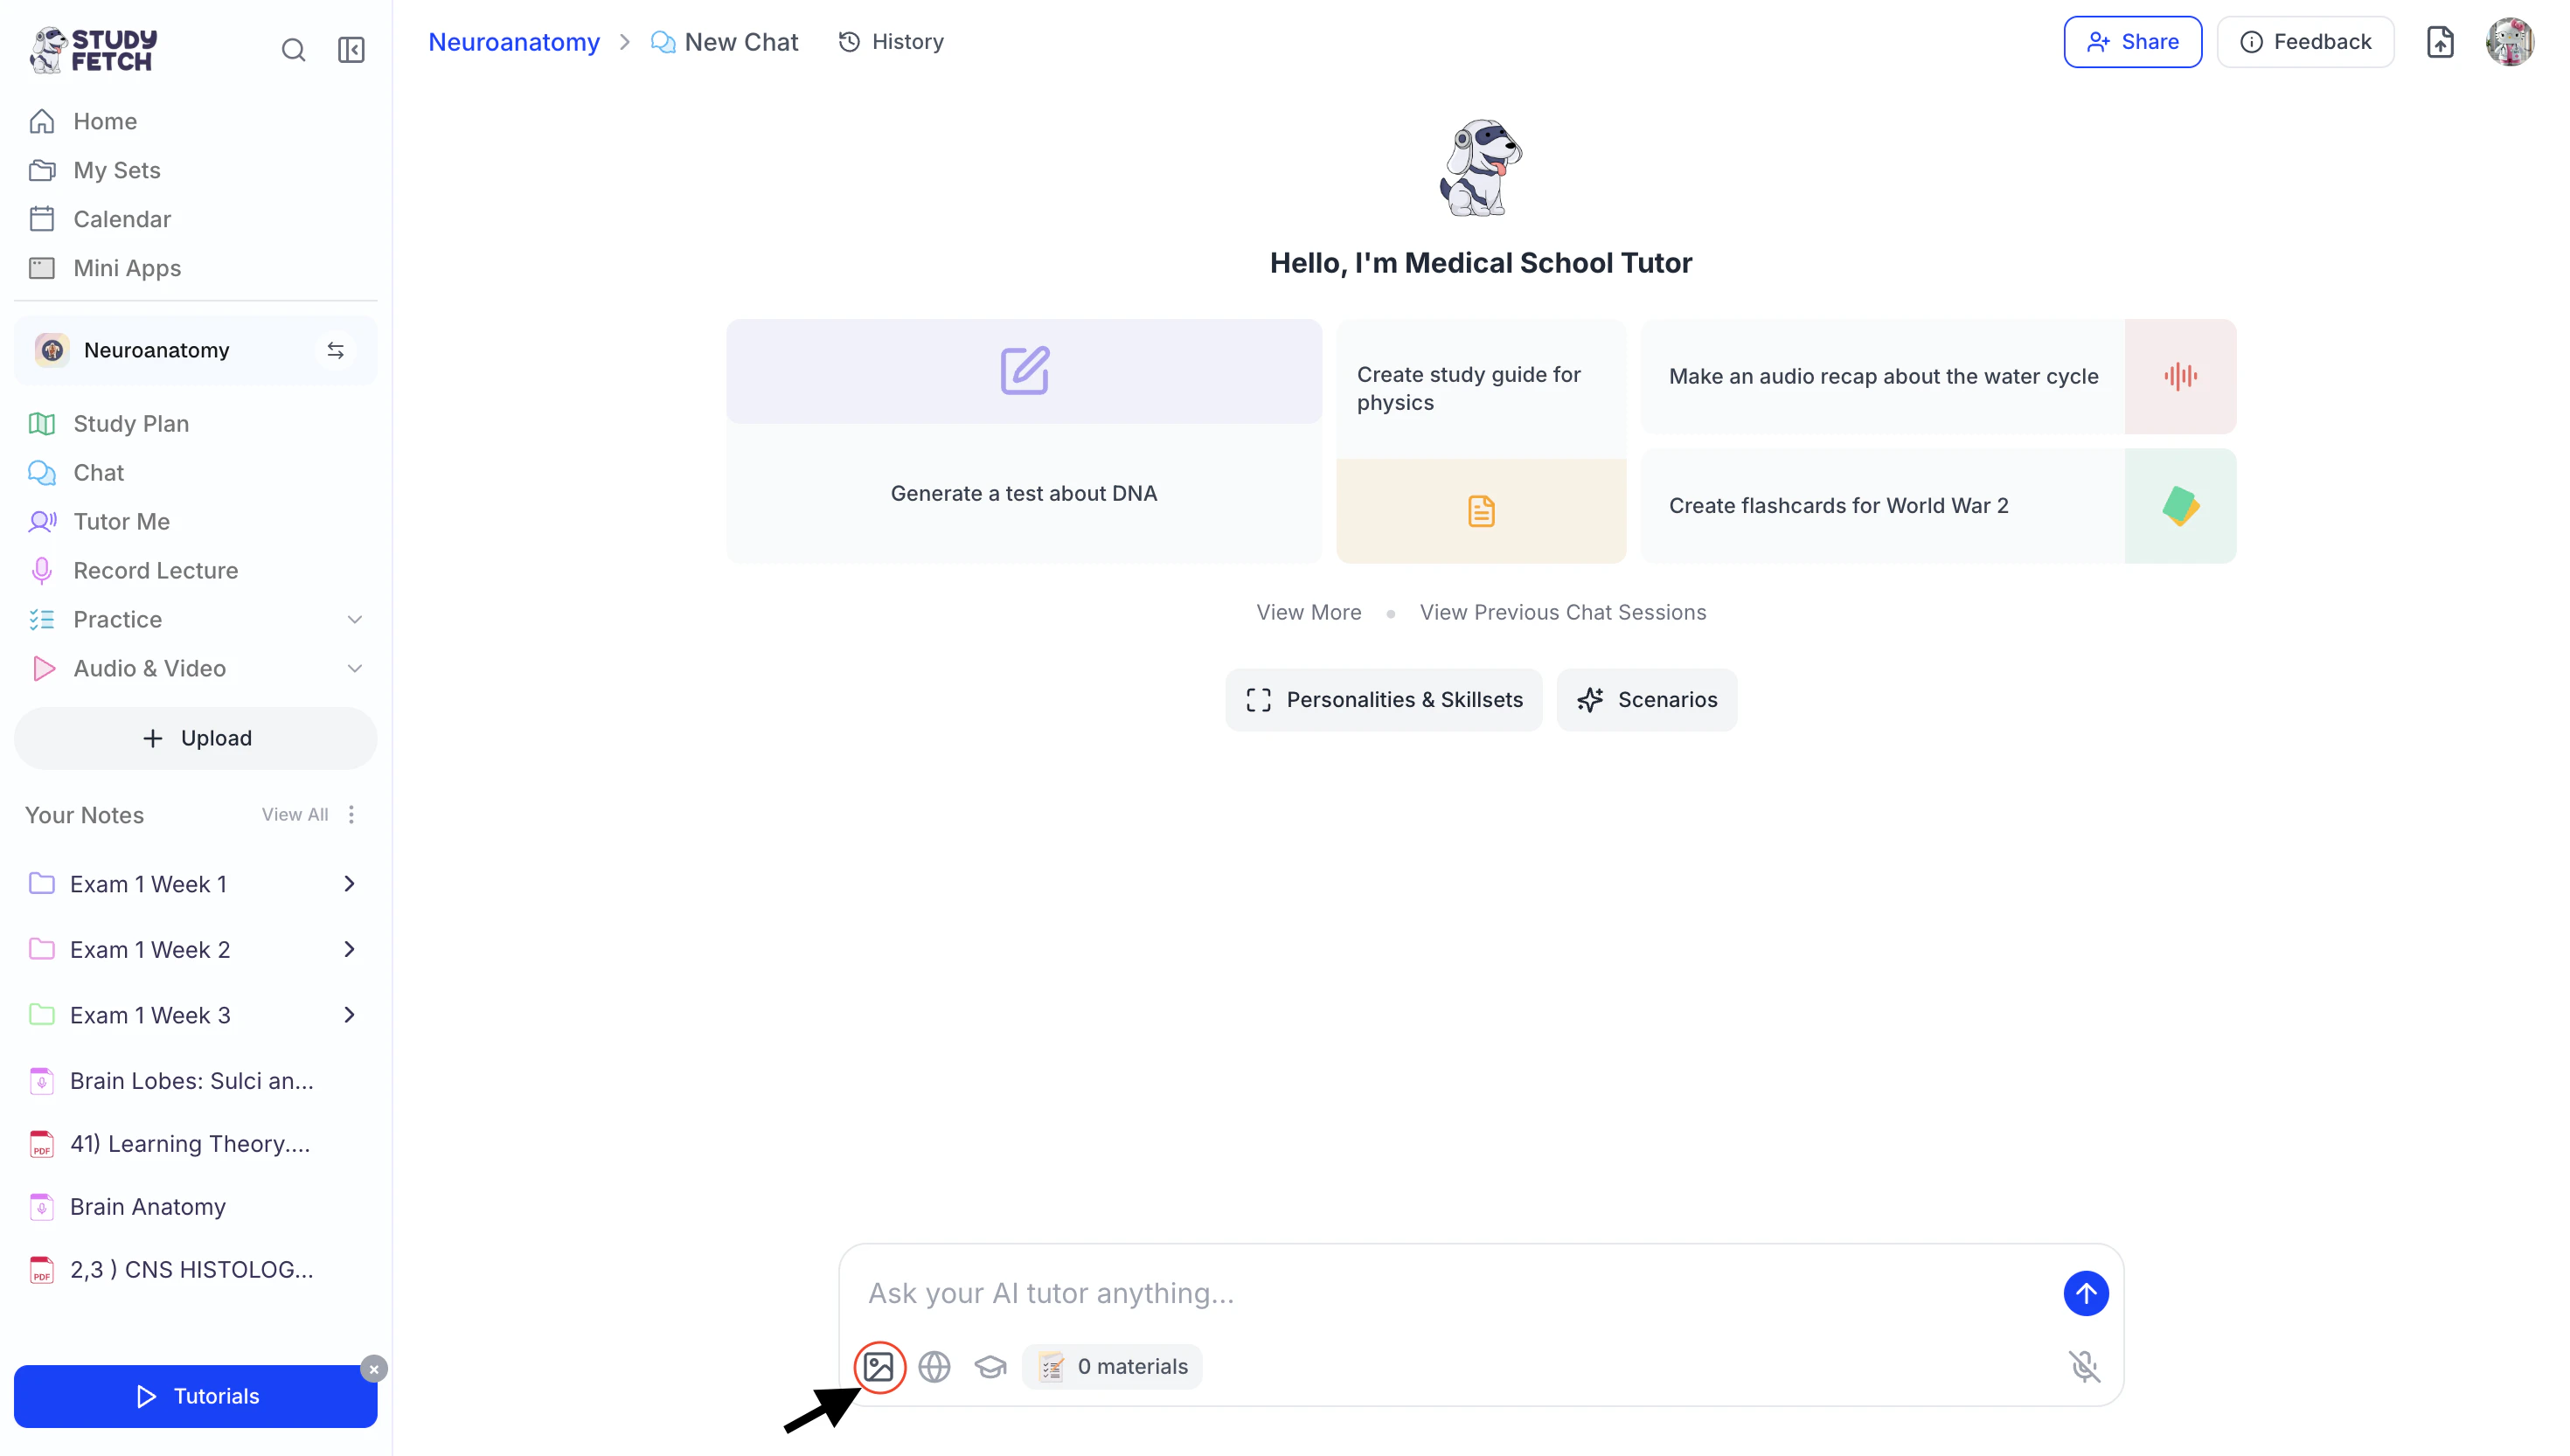
At the bottom of your chat box, you’ll find powerful tools to help you study smarter. One of these is the ability to upload an image to better explain your question. To upload an image:- Select the Image Icon in the bottom left of the chat toolbar to open your device’s file browser and choose the image you want to use.
- Once selected, a preview of your image will appear above the chat box.
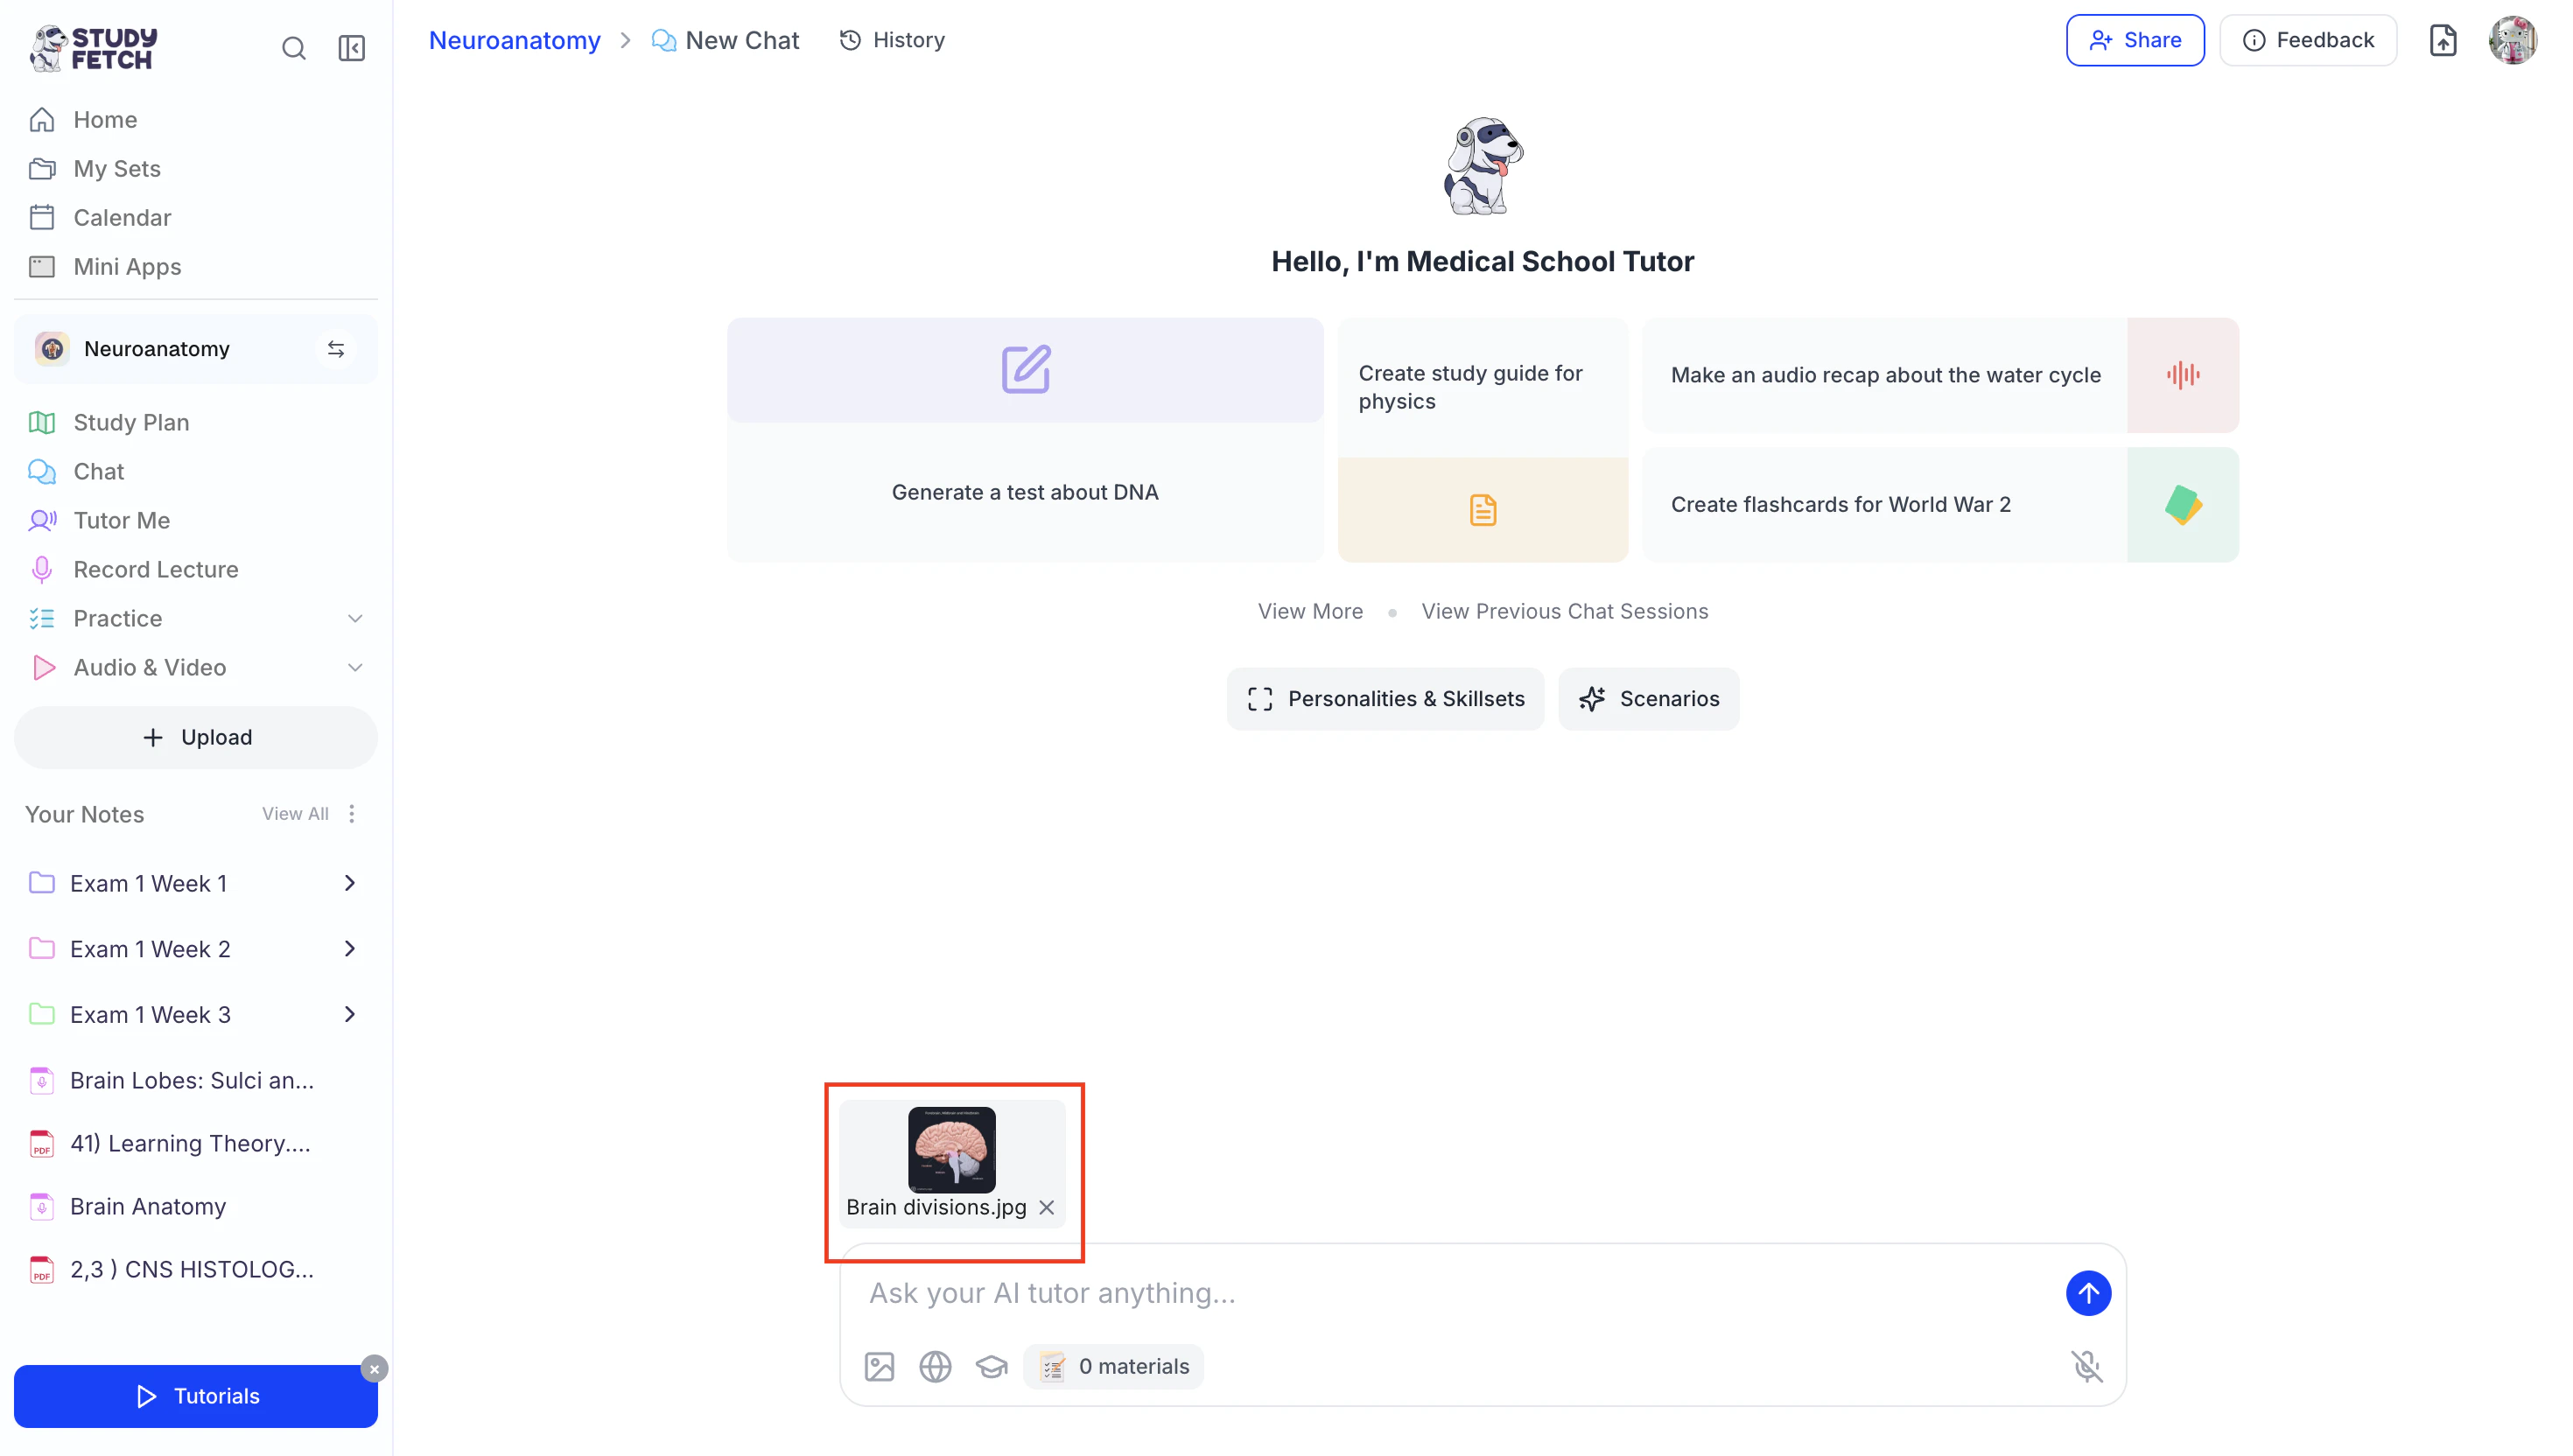
- From there, you can ask any questions related to the image, and Spark.E will analyze it and respond with clear, helpful explanations.
Enabling Web Browsing
At the bottom of your chat box, you’ll find powerful tools to help you study smarter. One of these is Web Browsing, which allows you to search the internet for up-to-date information. To enable it:- Select the Web Browsing icon in the bottom left of the chat toolbar.
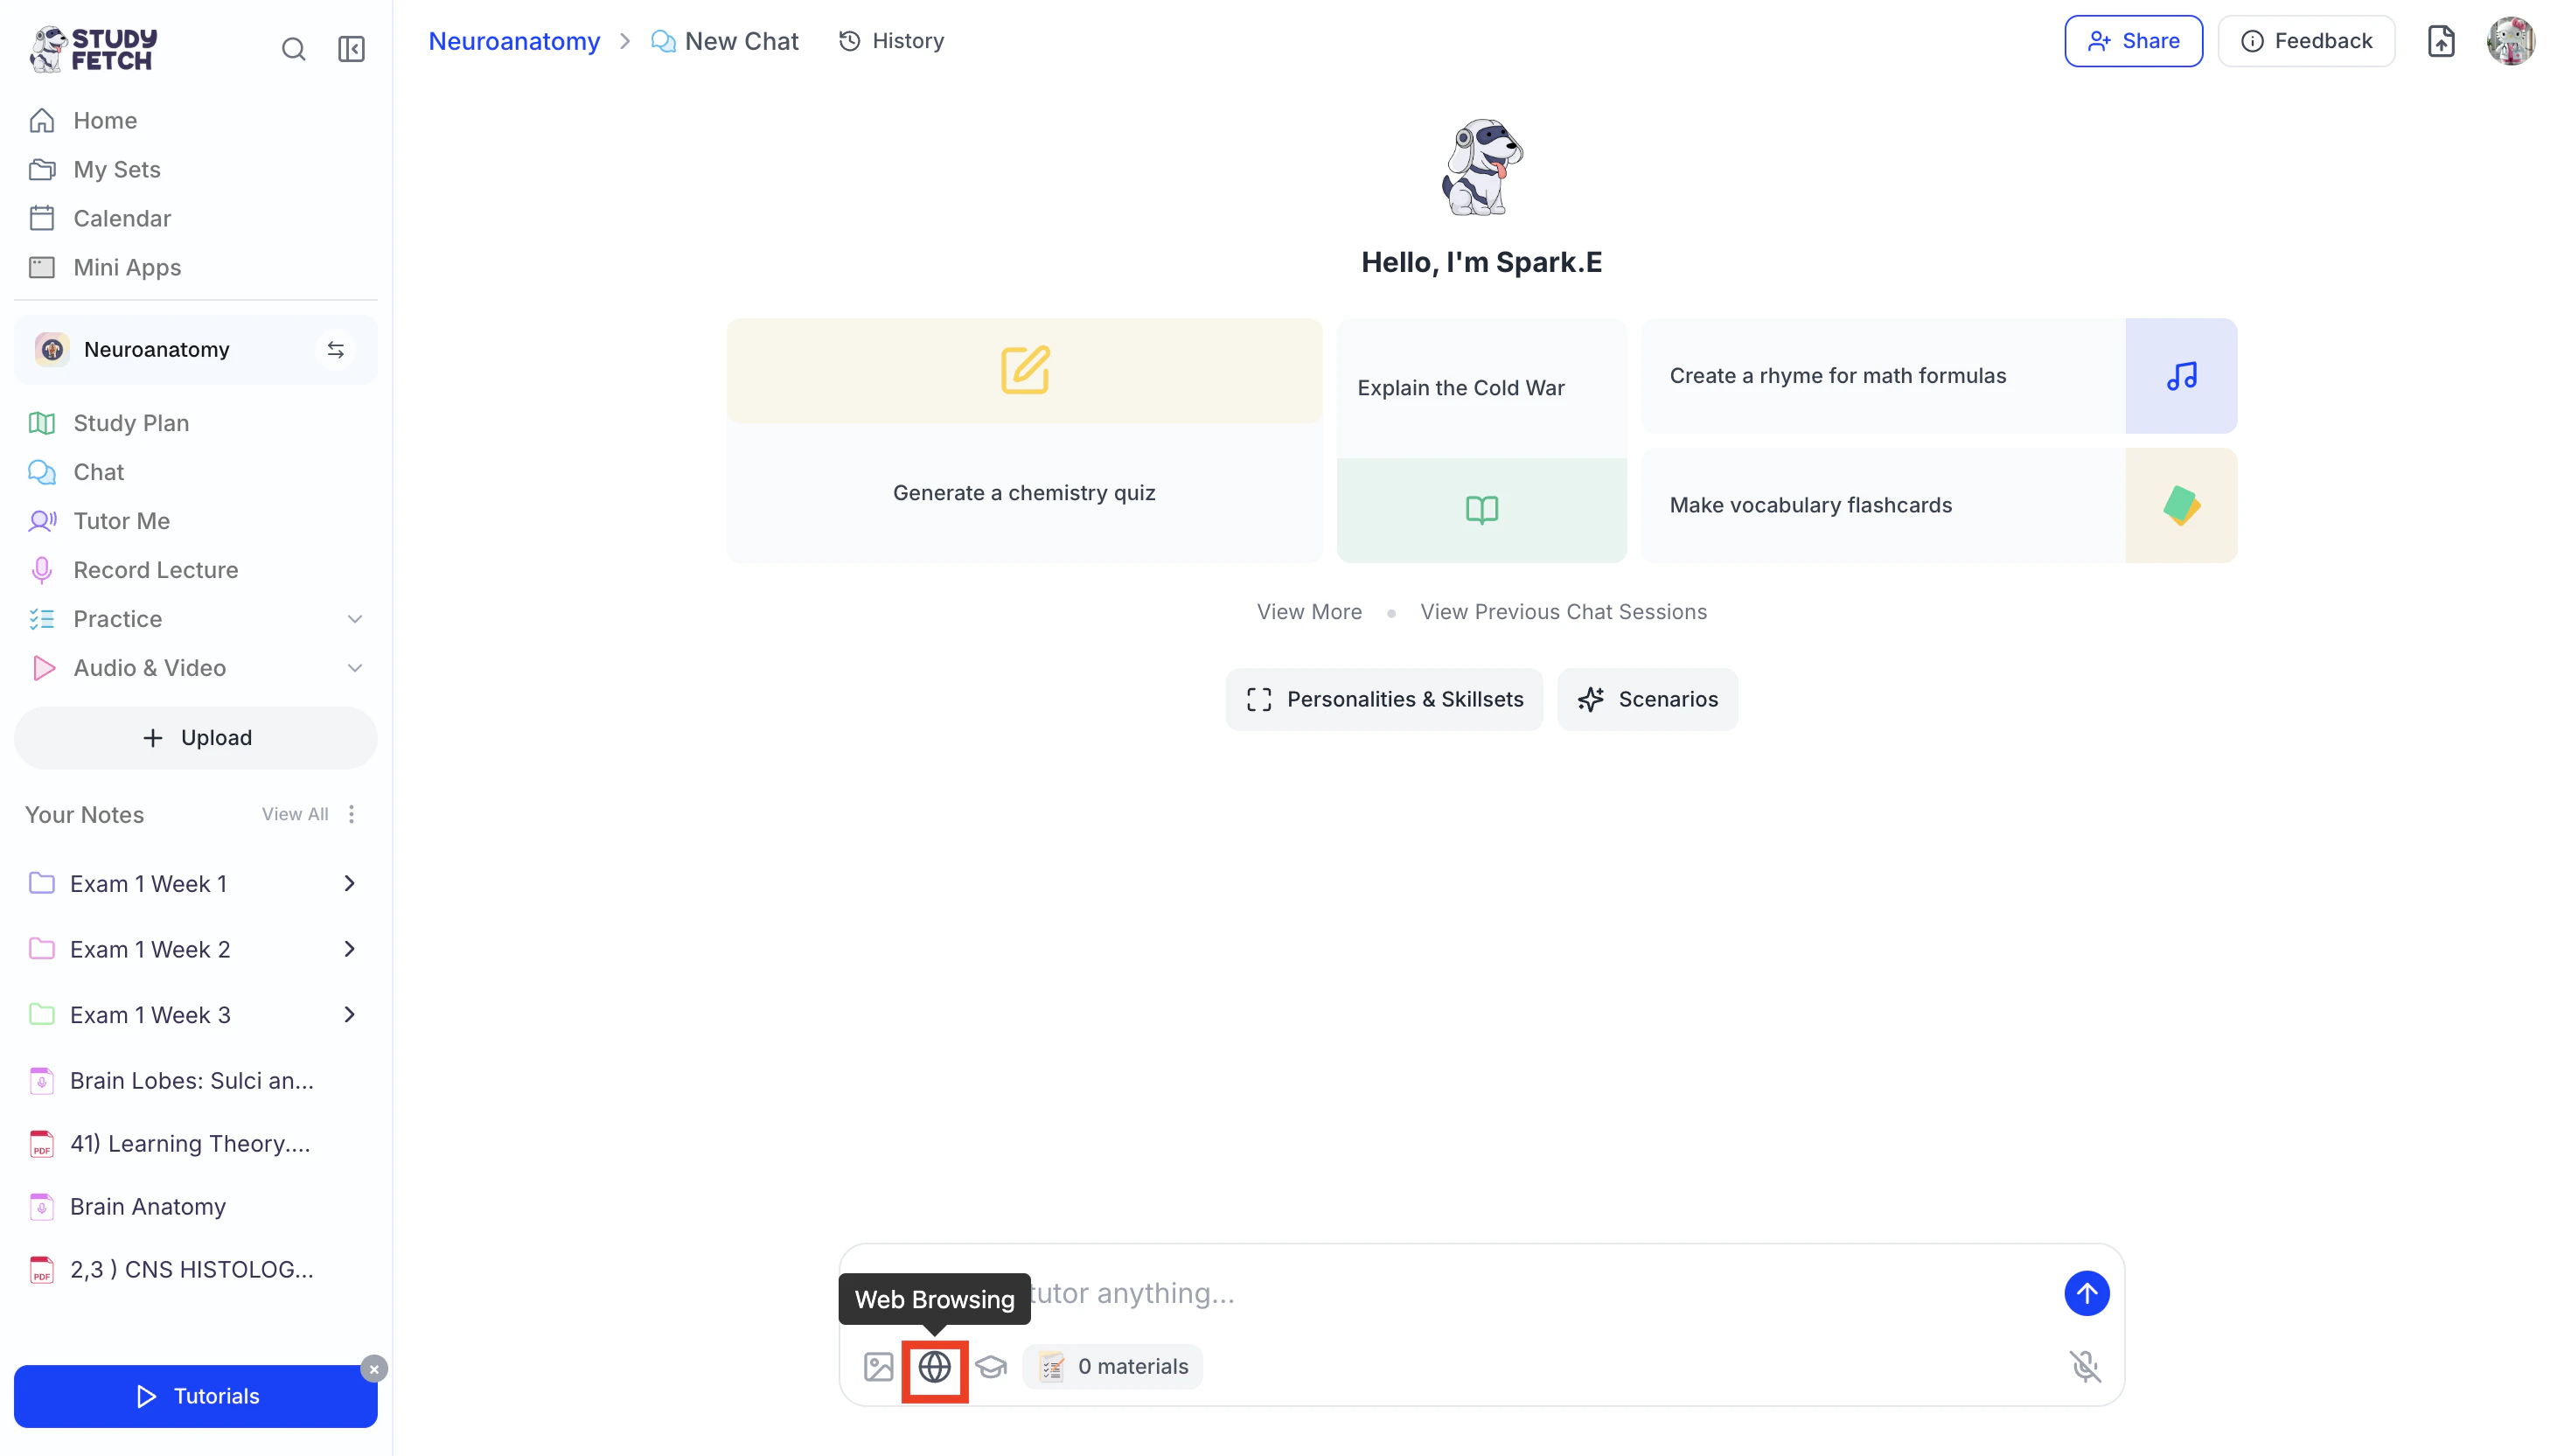
- Once activated, the icon will turn blue.

- You can now ask any question, and Spark.E will search the web to provide the most current and relevant information.
Enable Academic Paper Search
At the bottom of your chat box, you’ll see a few powerful tools to help you study smarter. One of these is Search Academic Papers, which allows Spark.E to pull from scholarly, peer-reviewed sources for more reliable, in-depth information. To enable this:- Select the Search Academic Papers icon in the bottom chat toolbar.
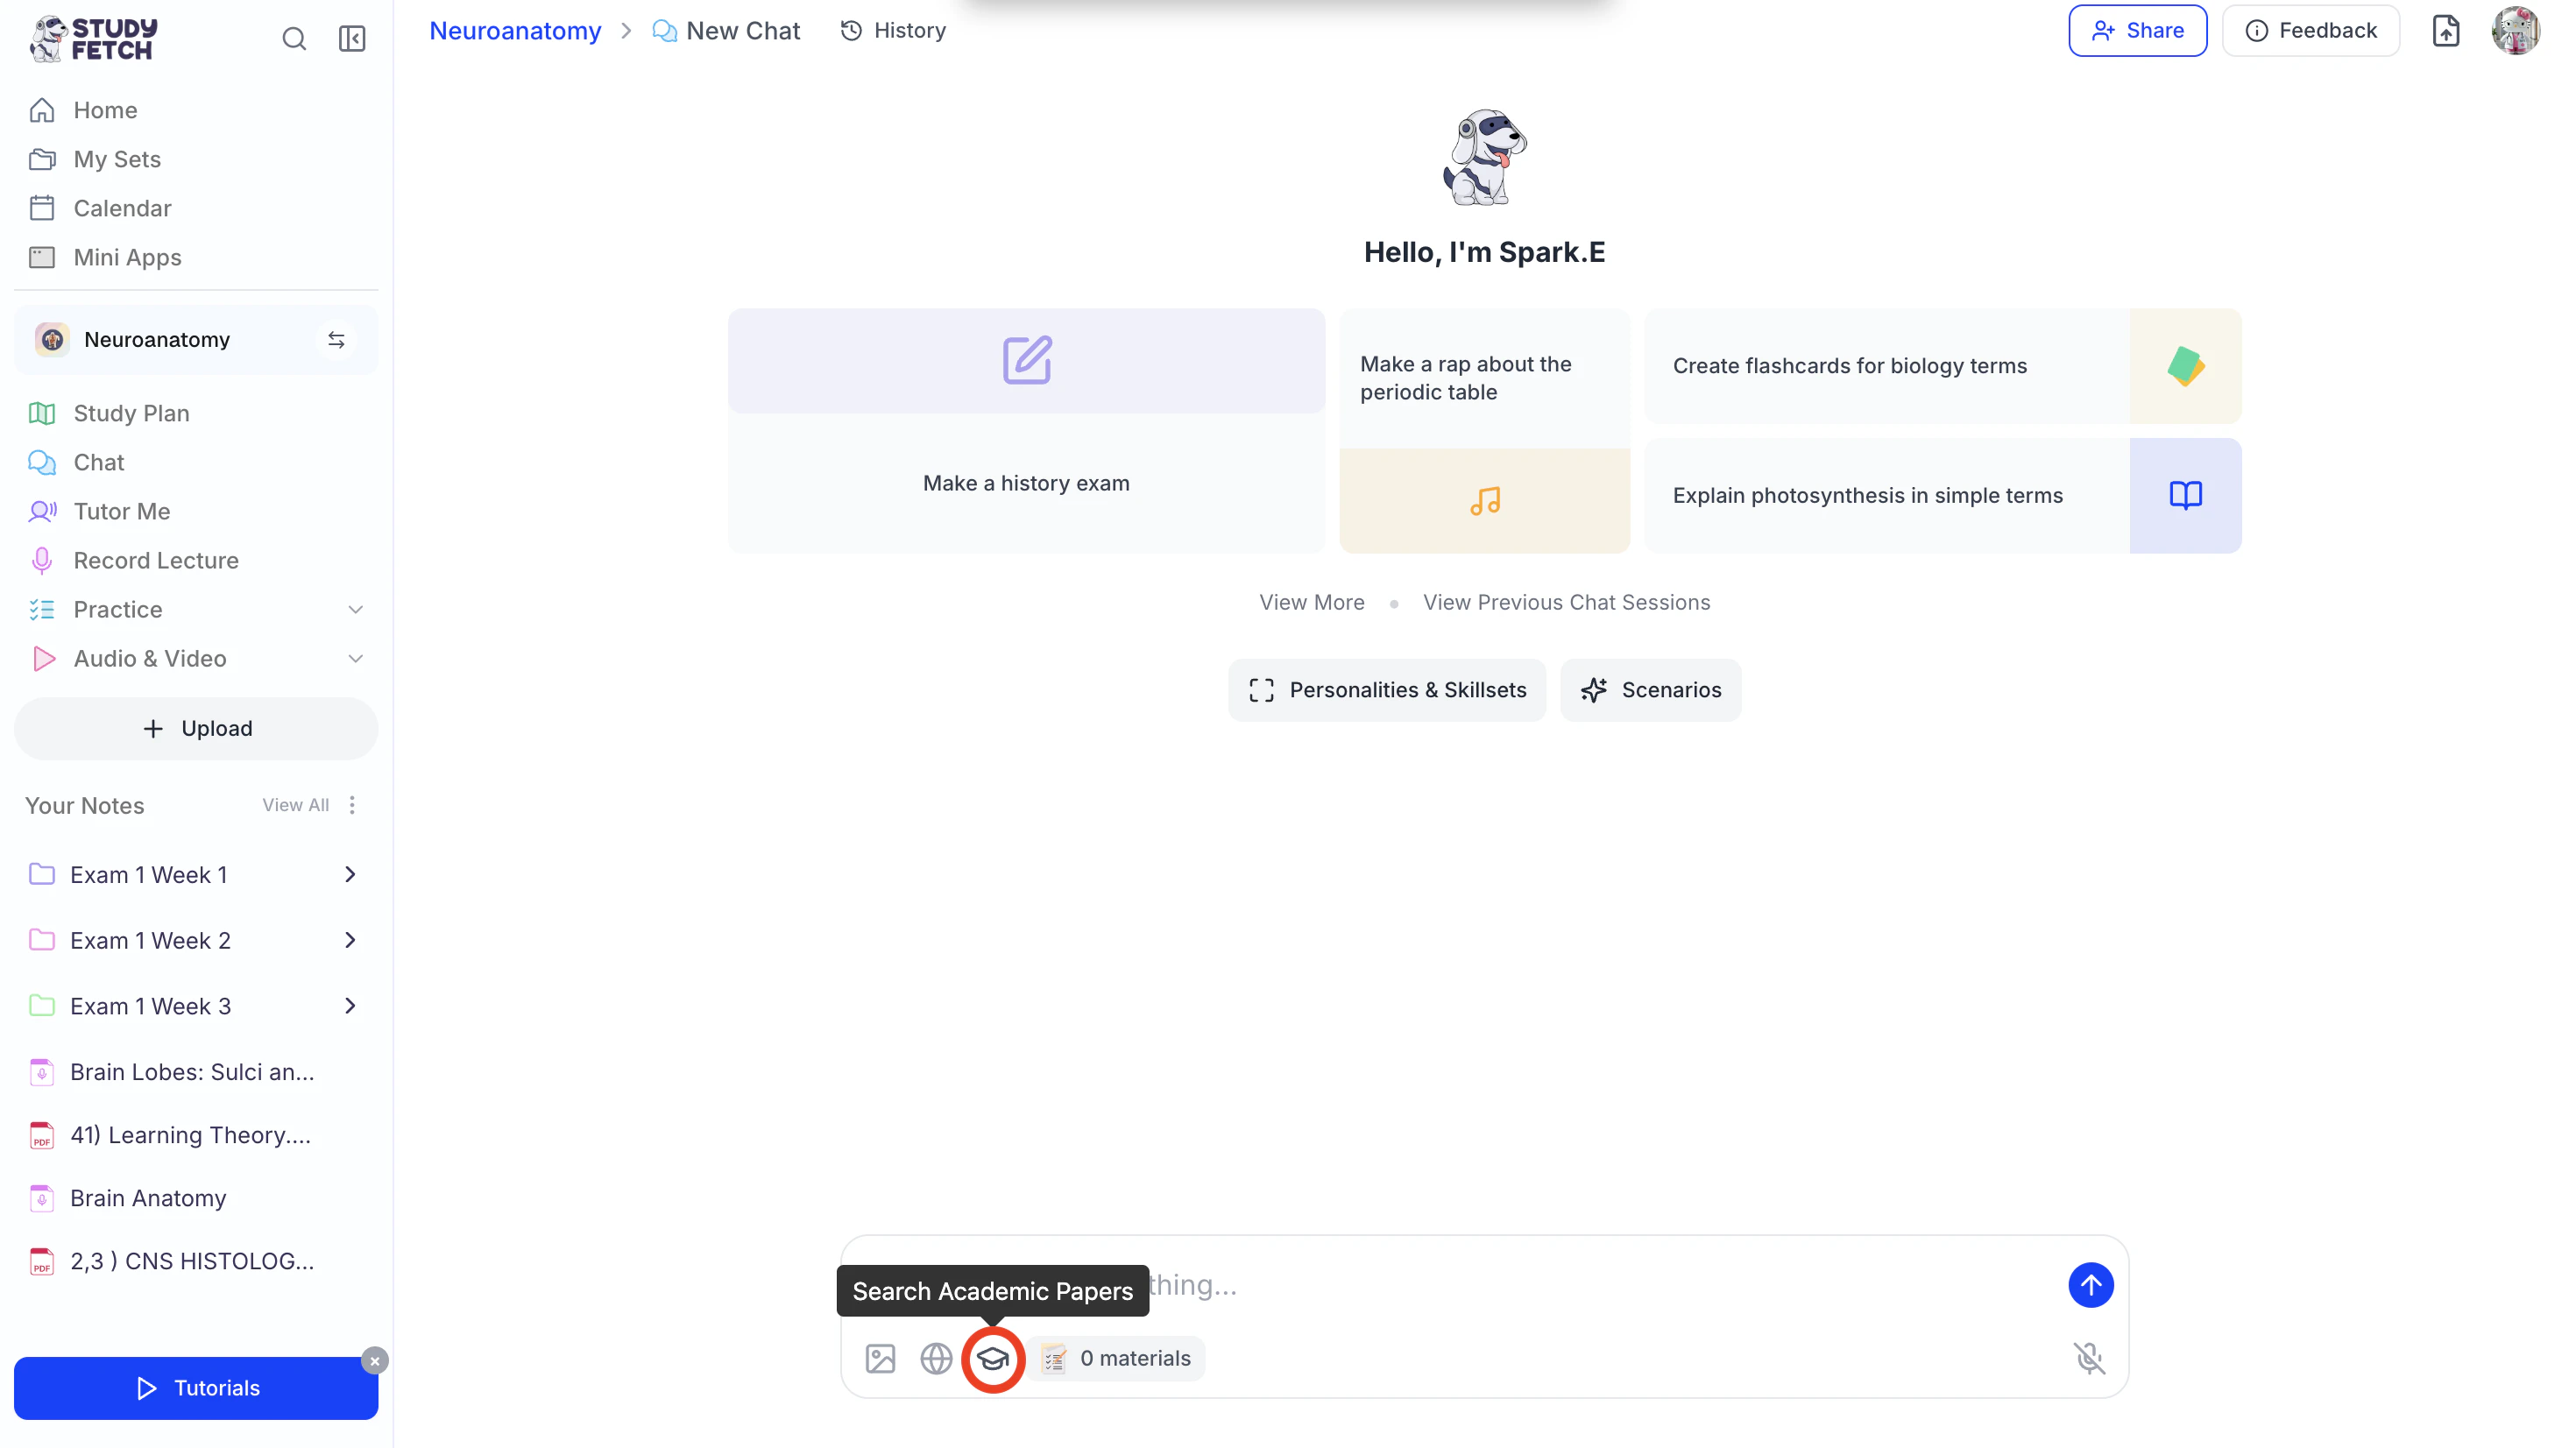
- Once activated, the icon will turn blue.
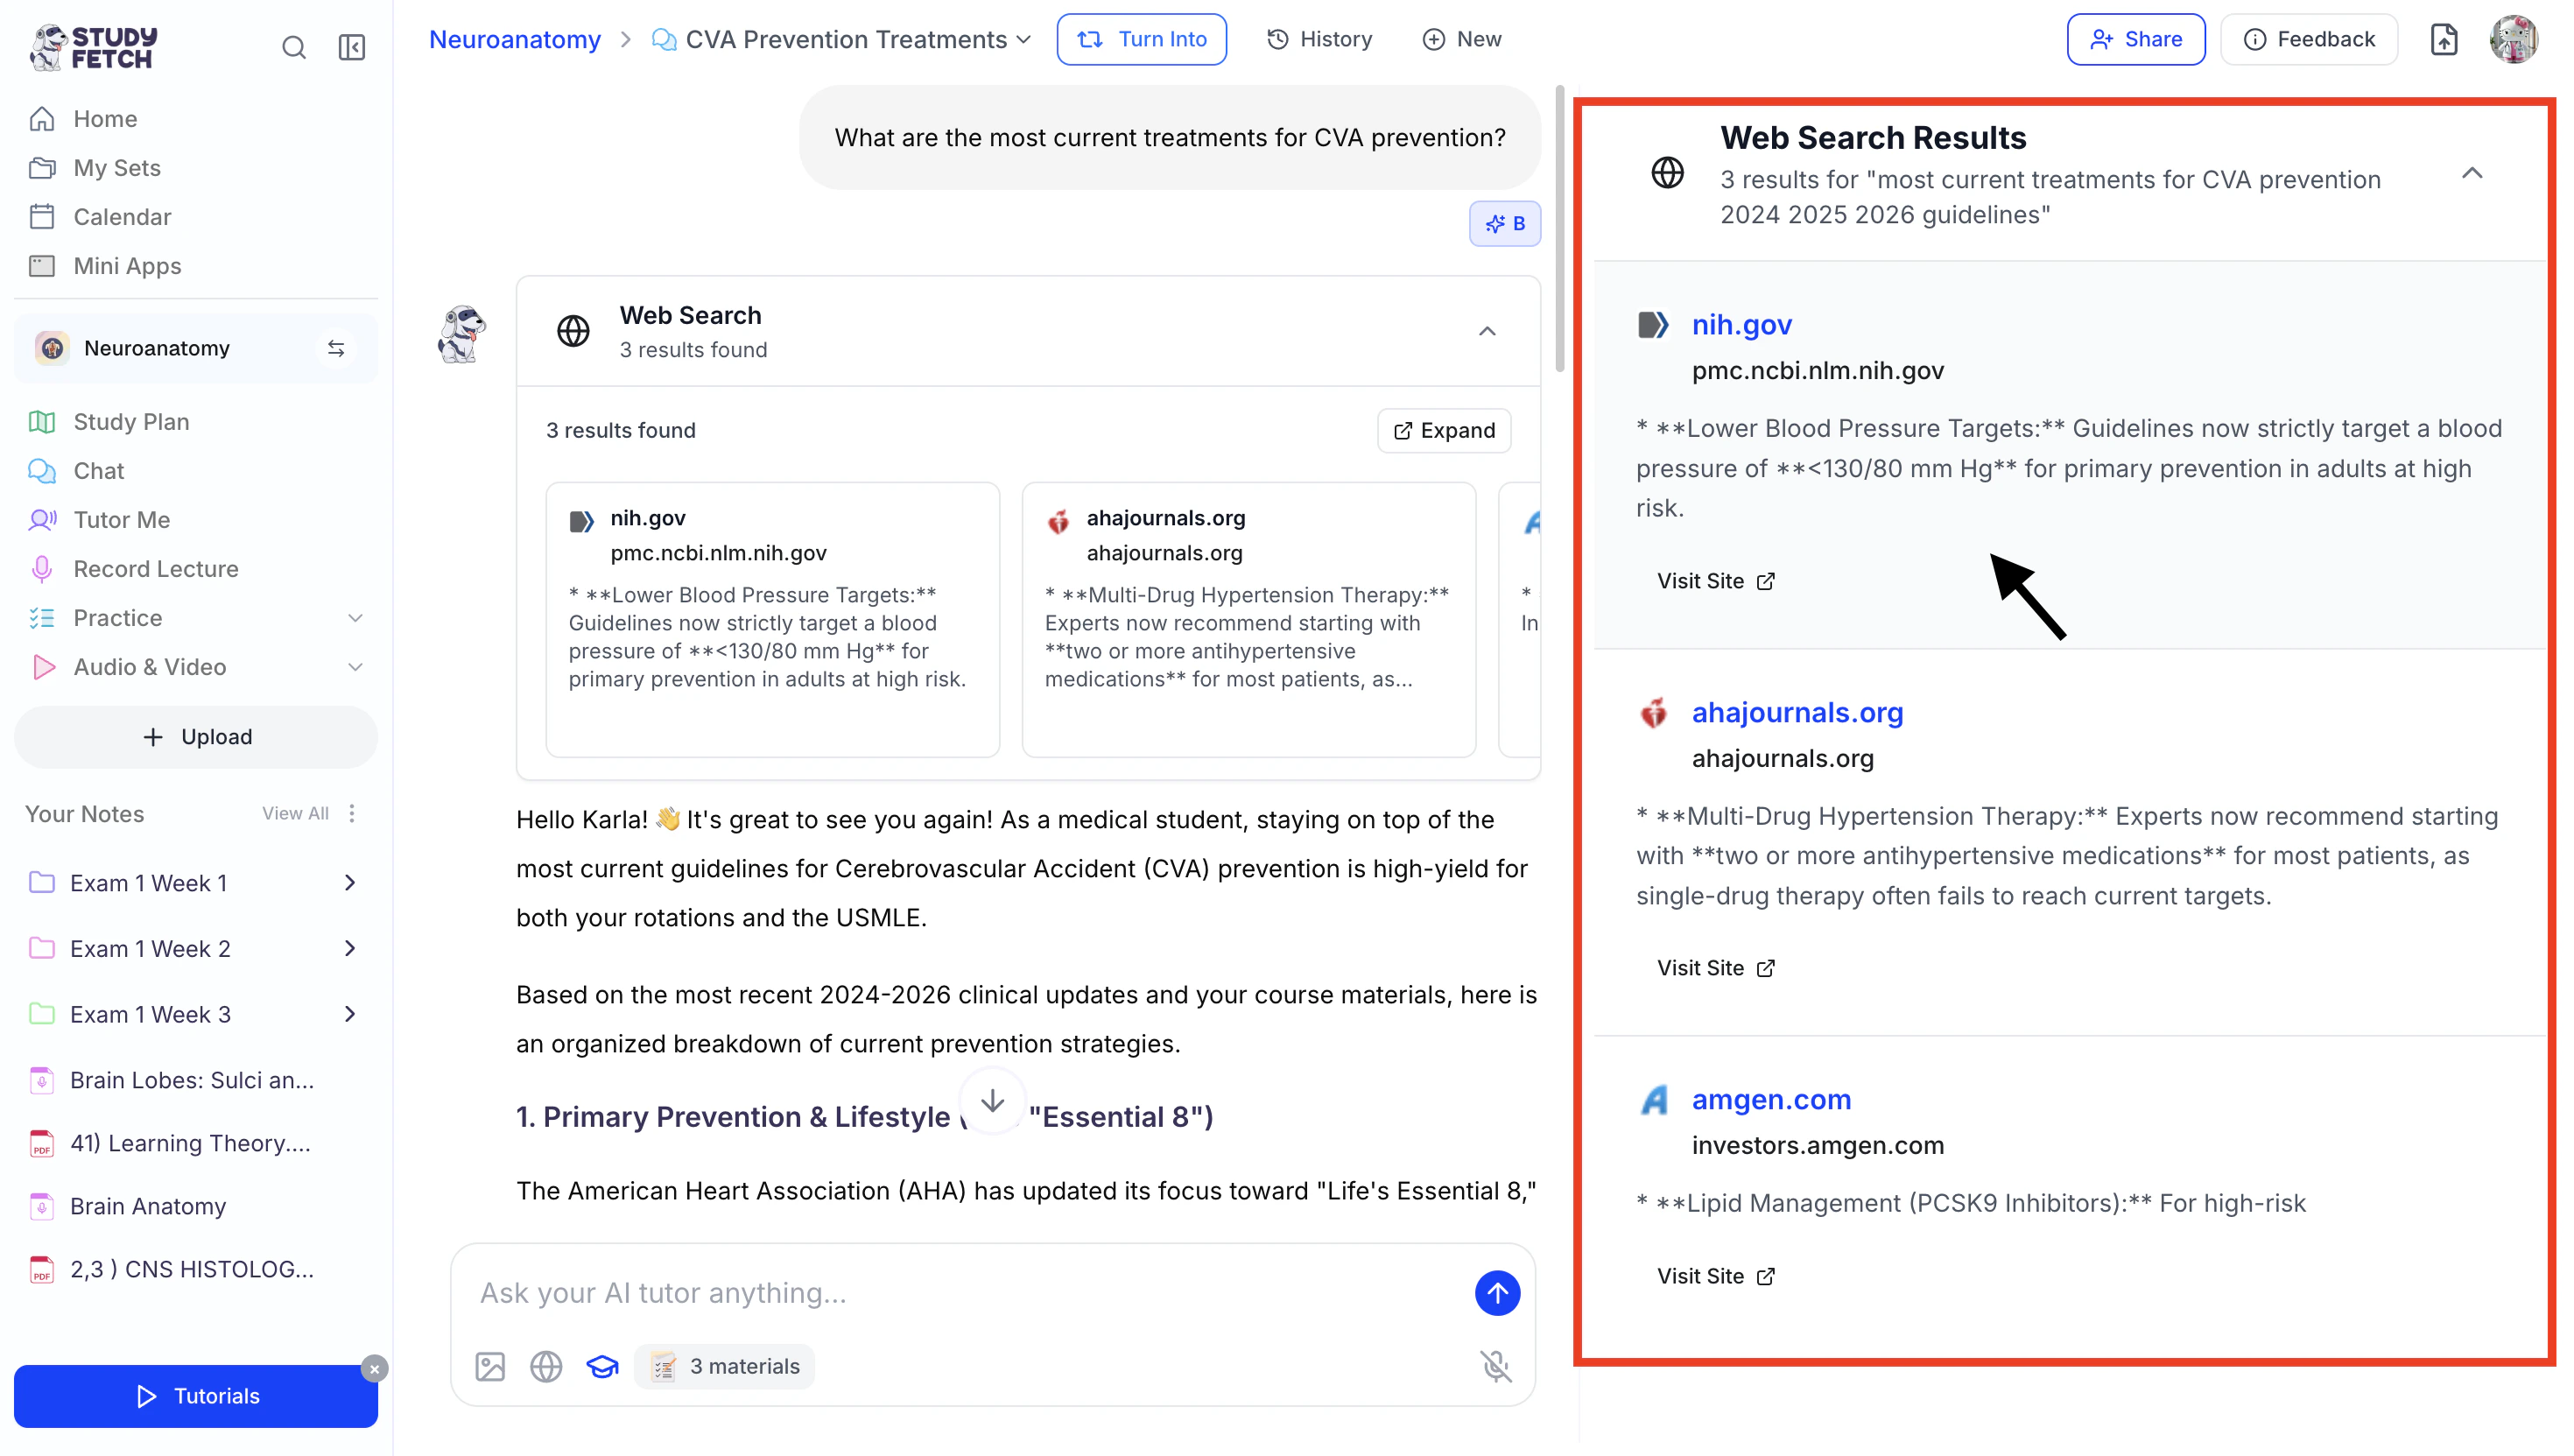
- You can now ask any question, and Spark.E will search published academic papers, pull relevant sources directly into the chat with accessible links, and review the content of those papers to generate a clear, accurate, and tailored response.
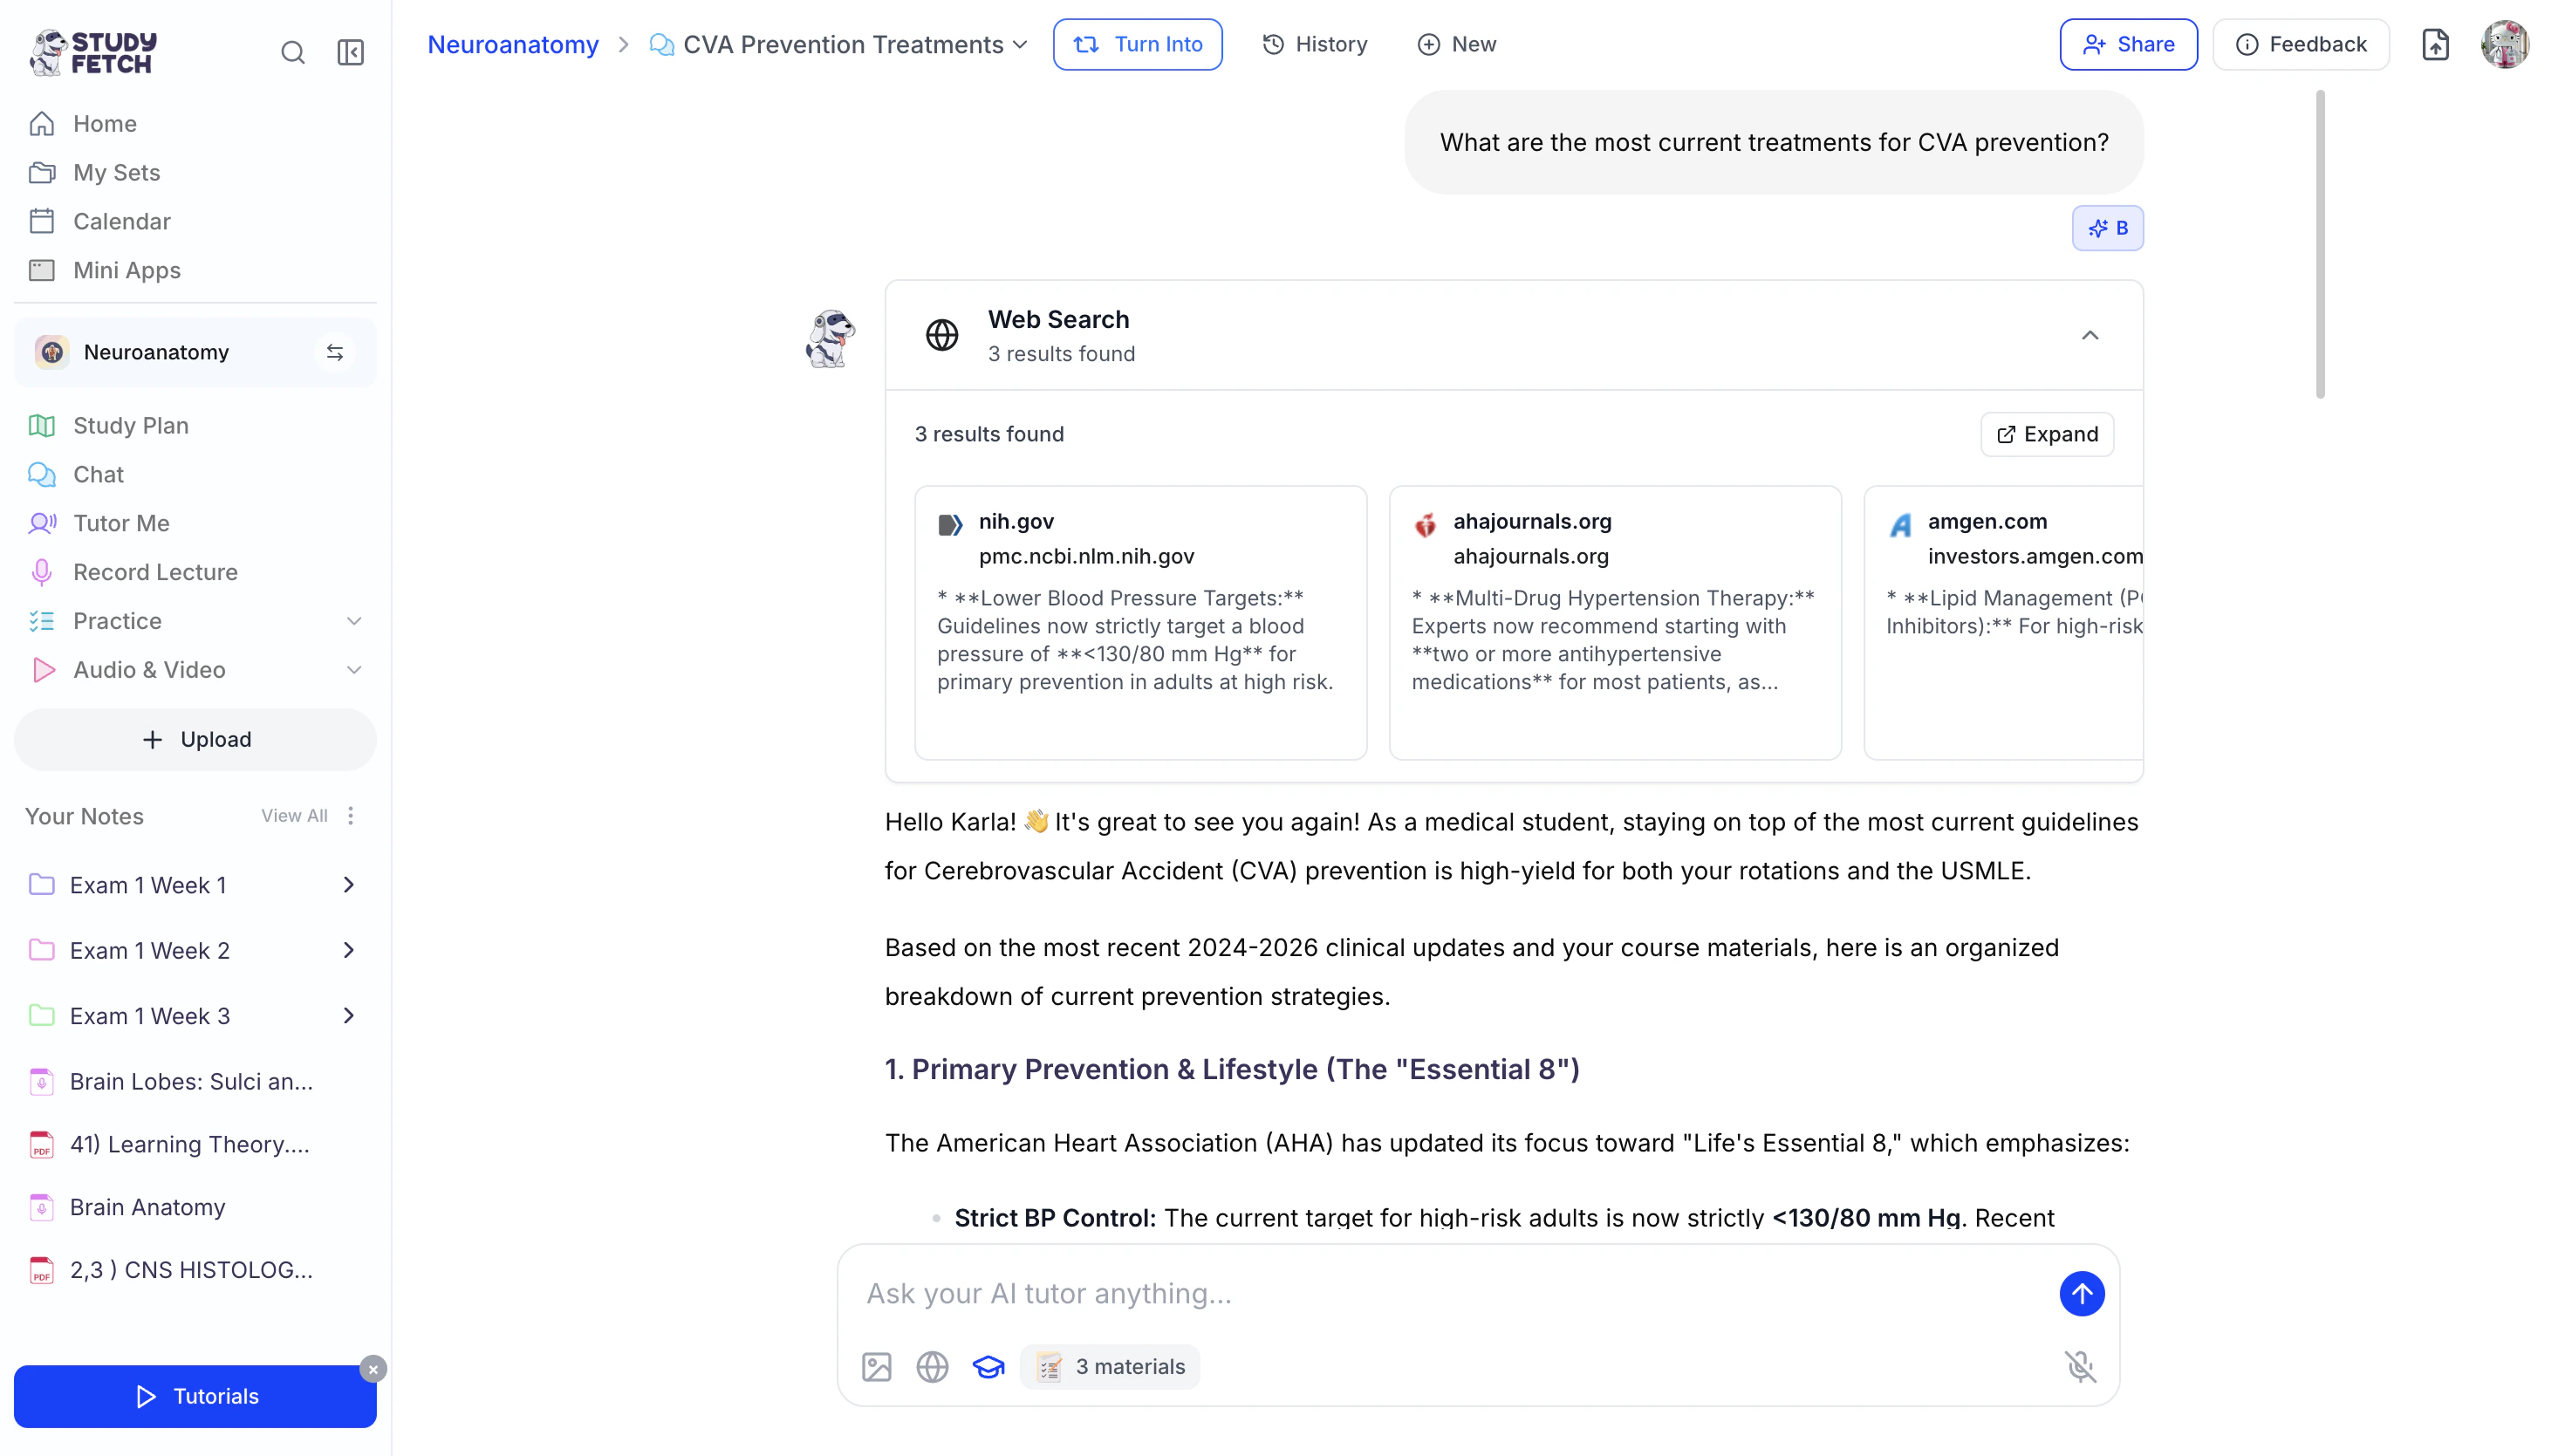
- To explore any of the academic papers in more detail, select a source from the options within the Web Search field, or
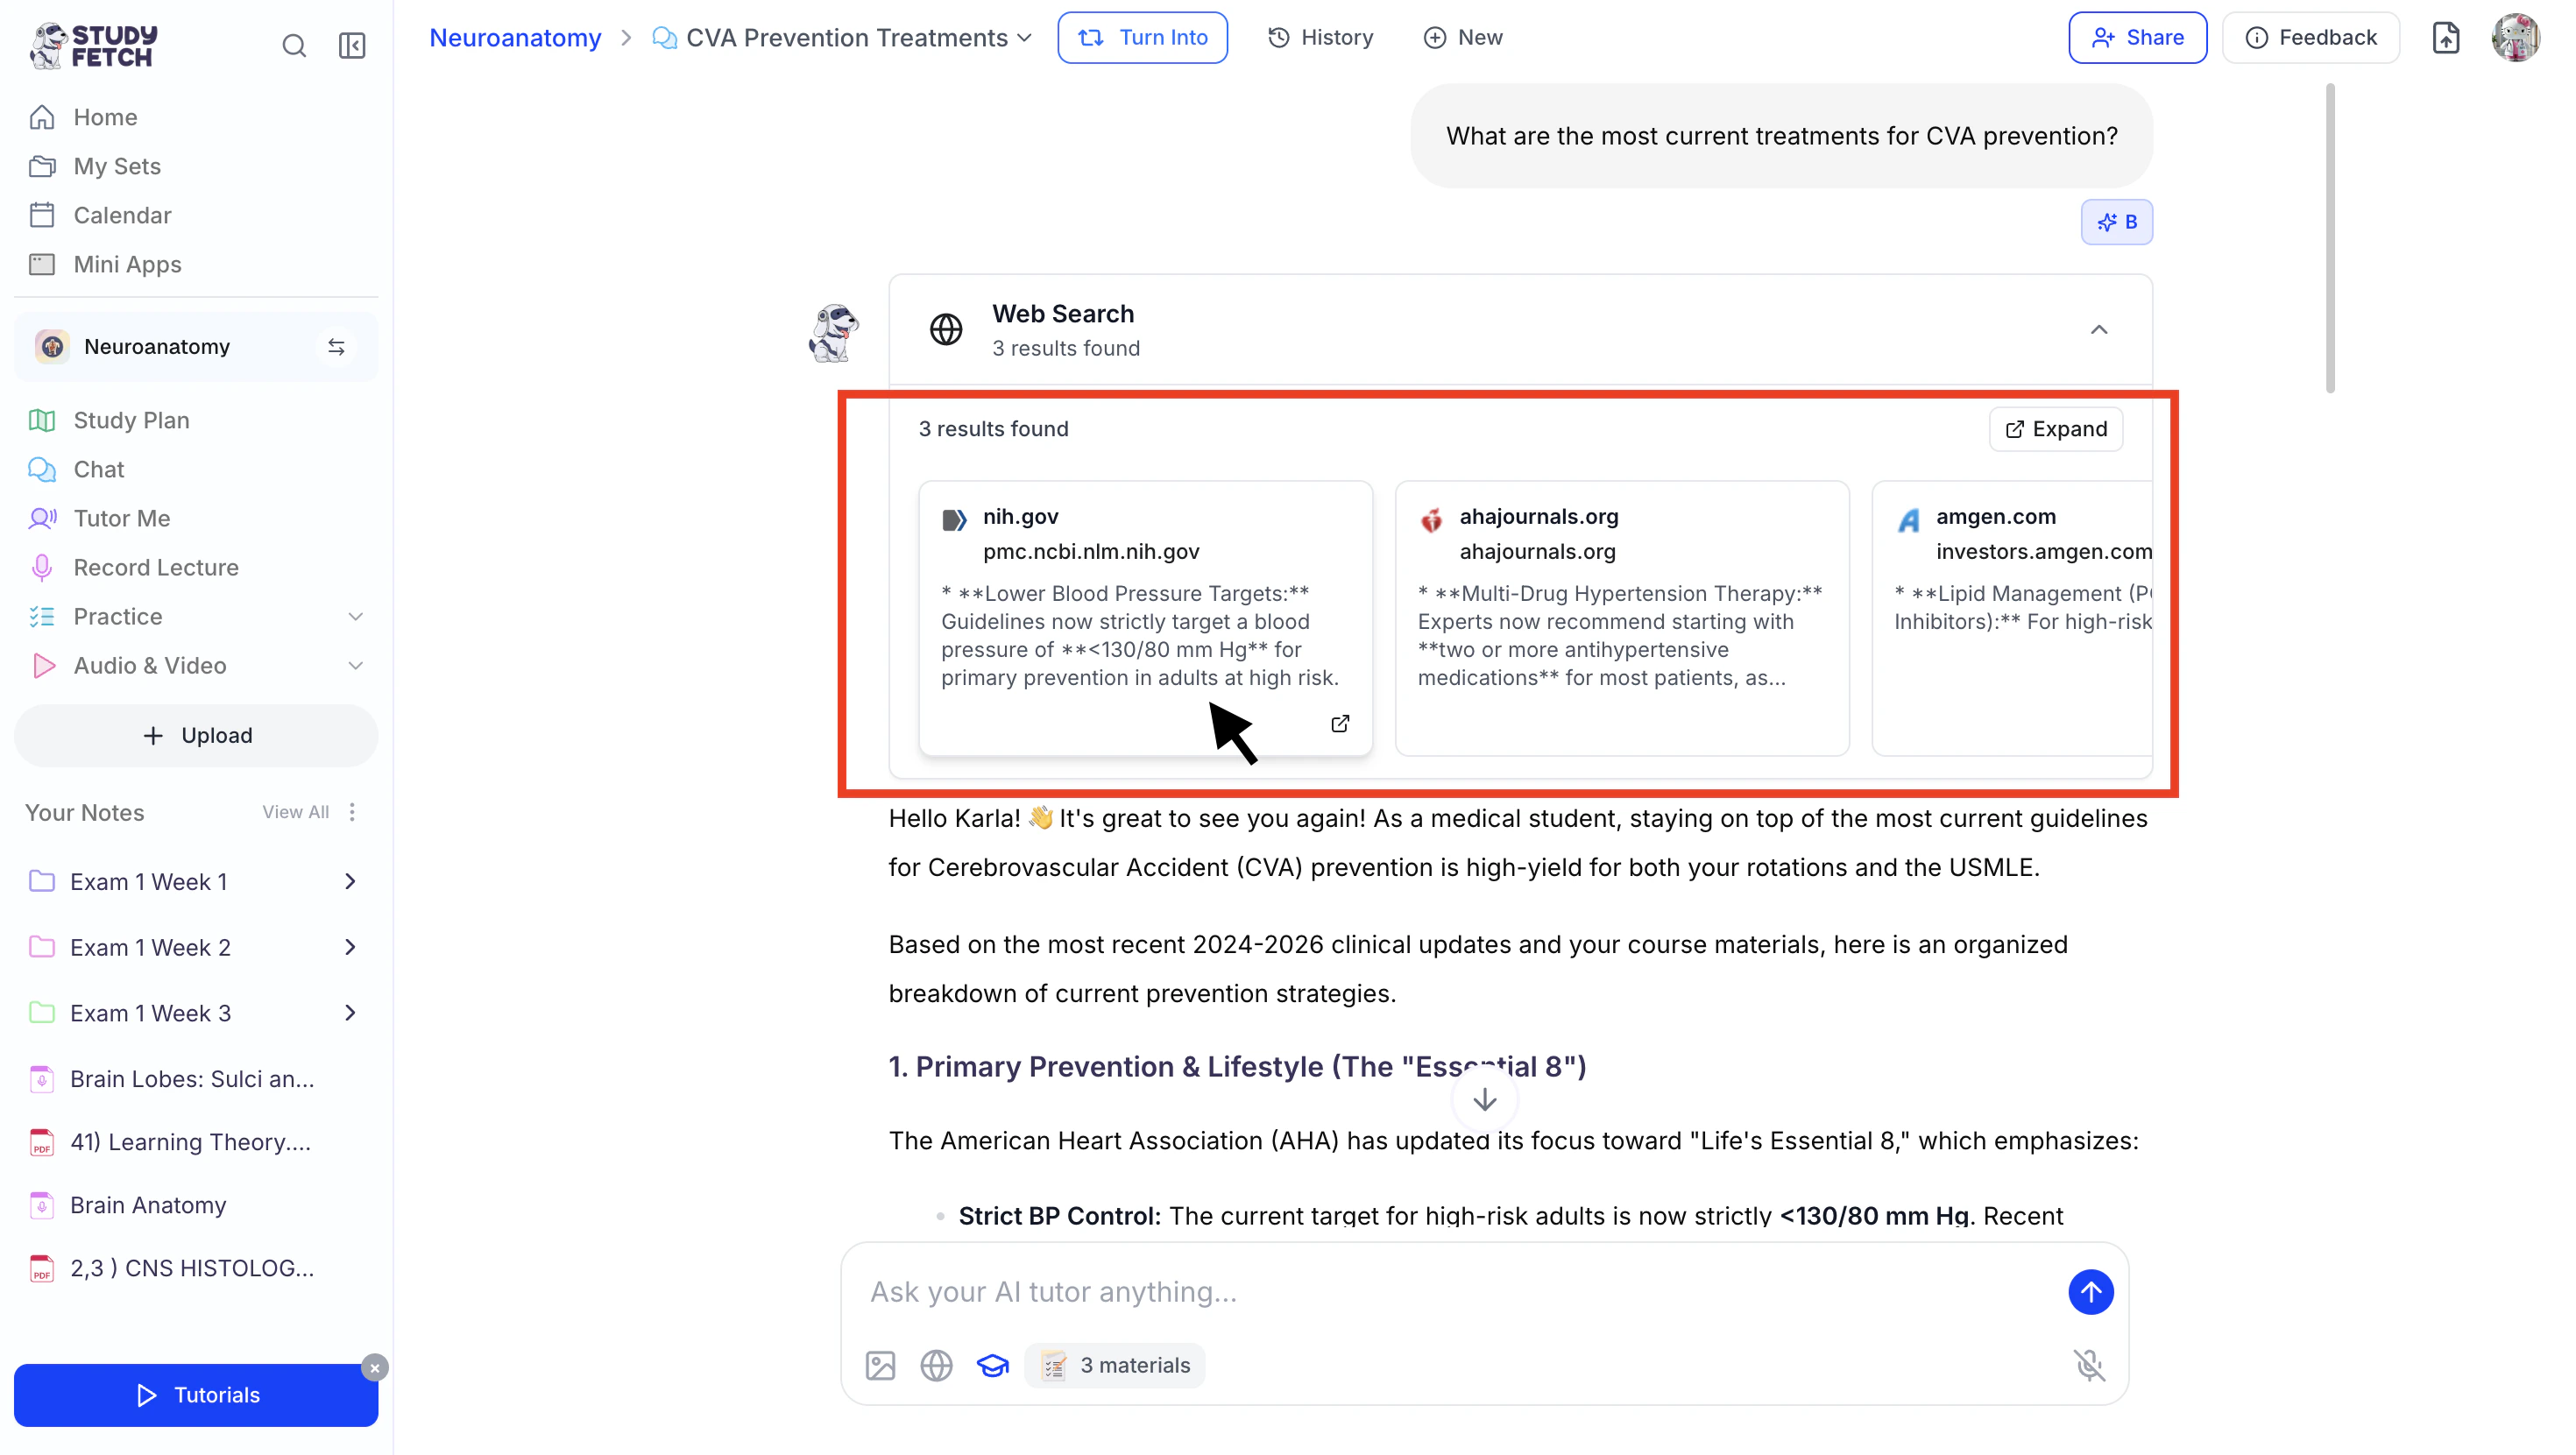
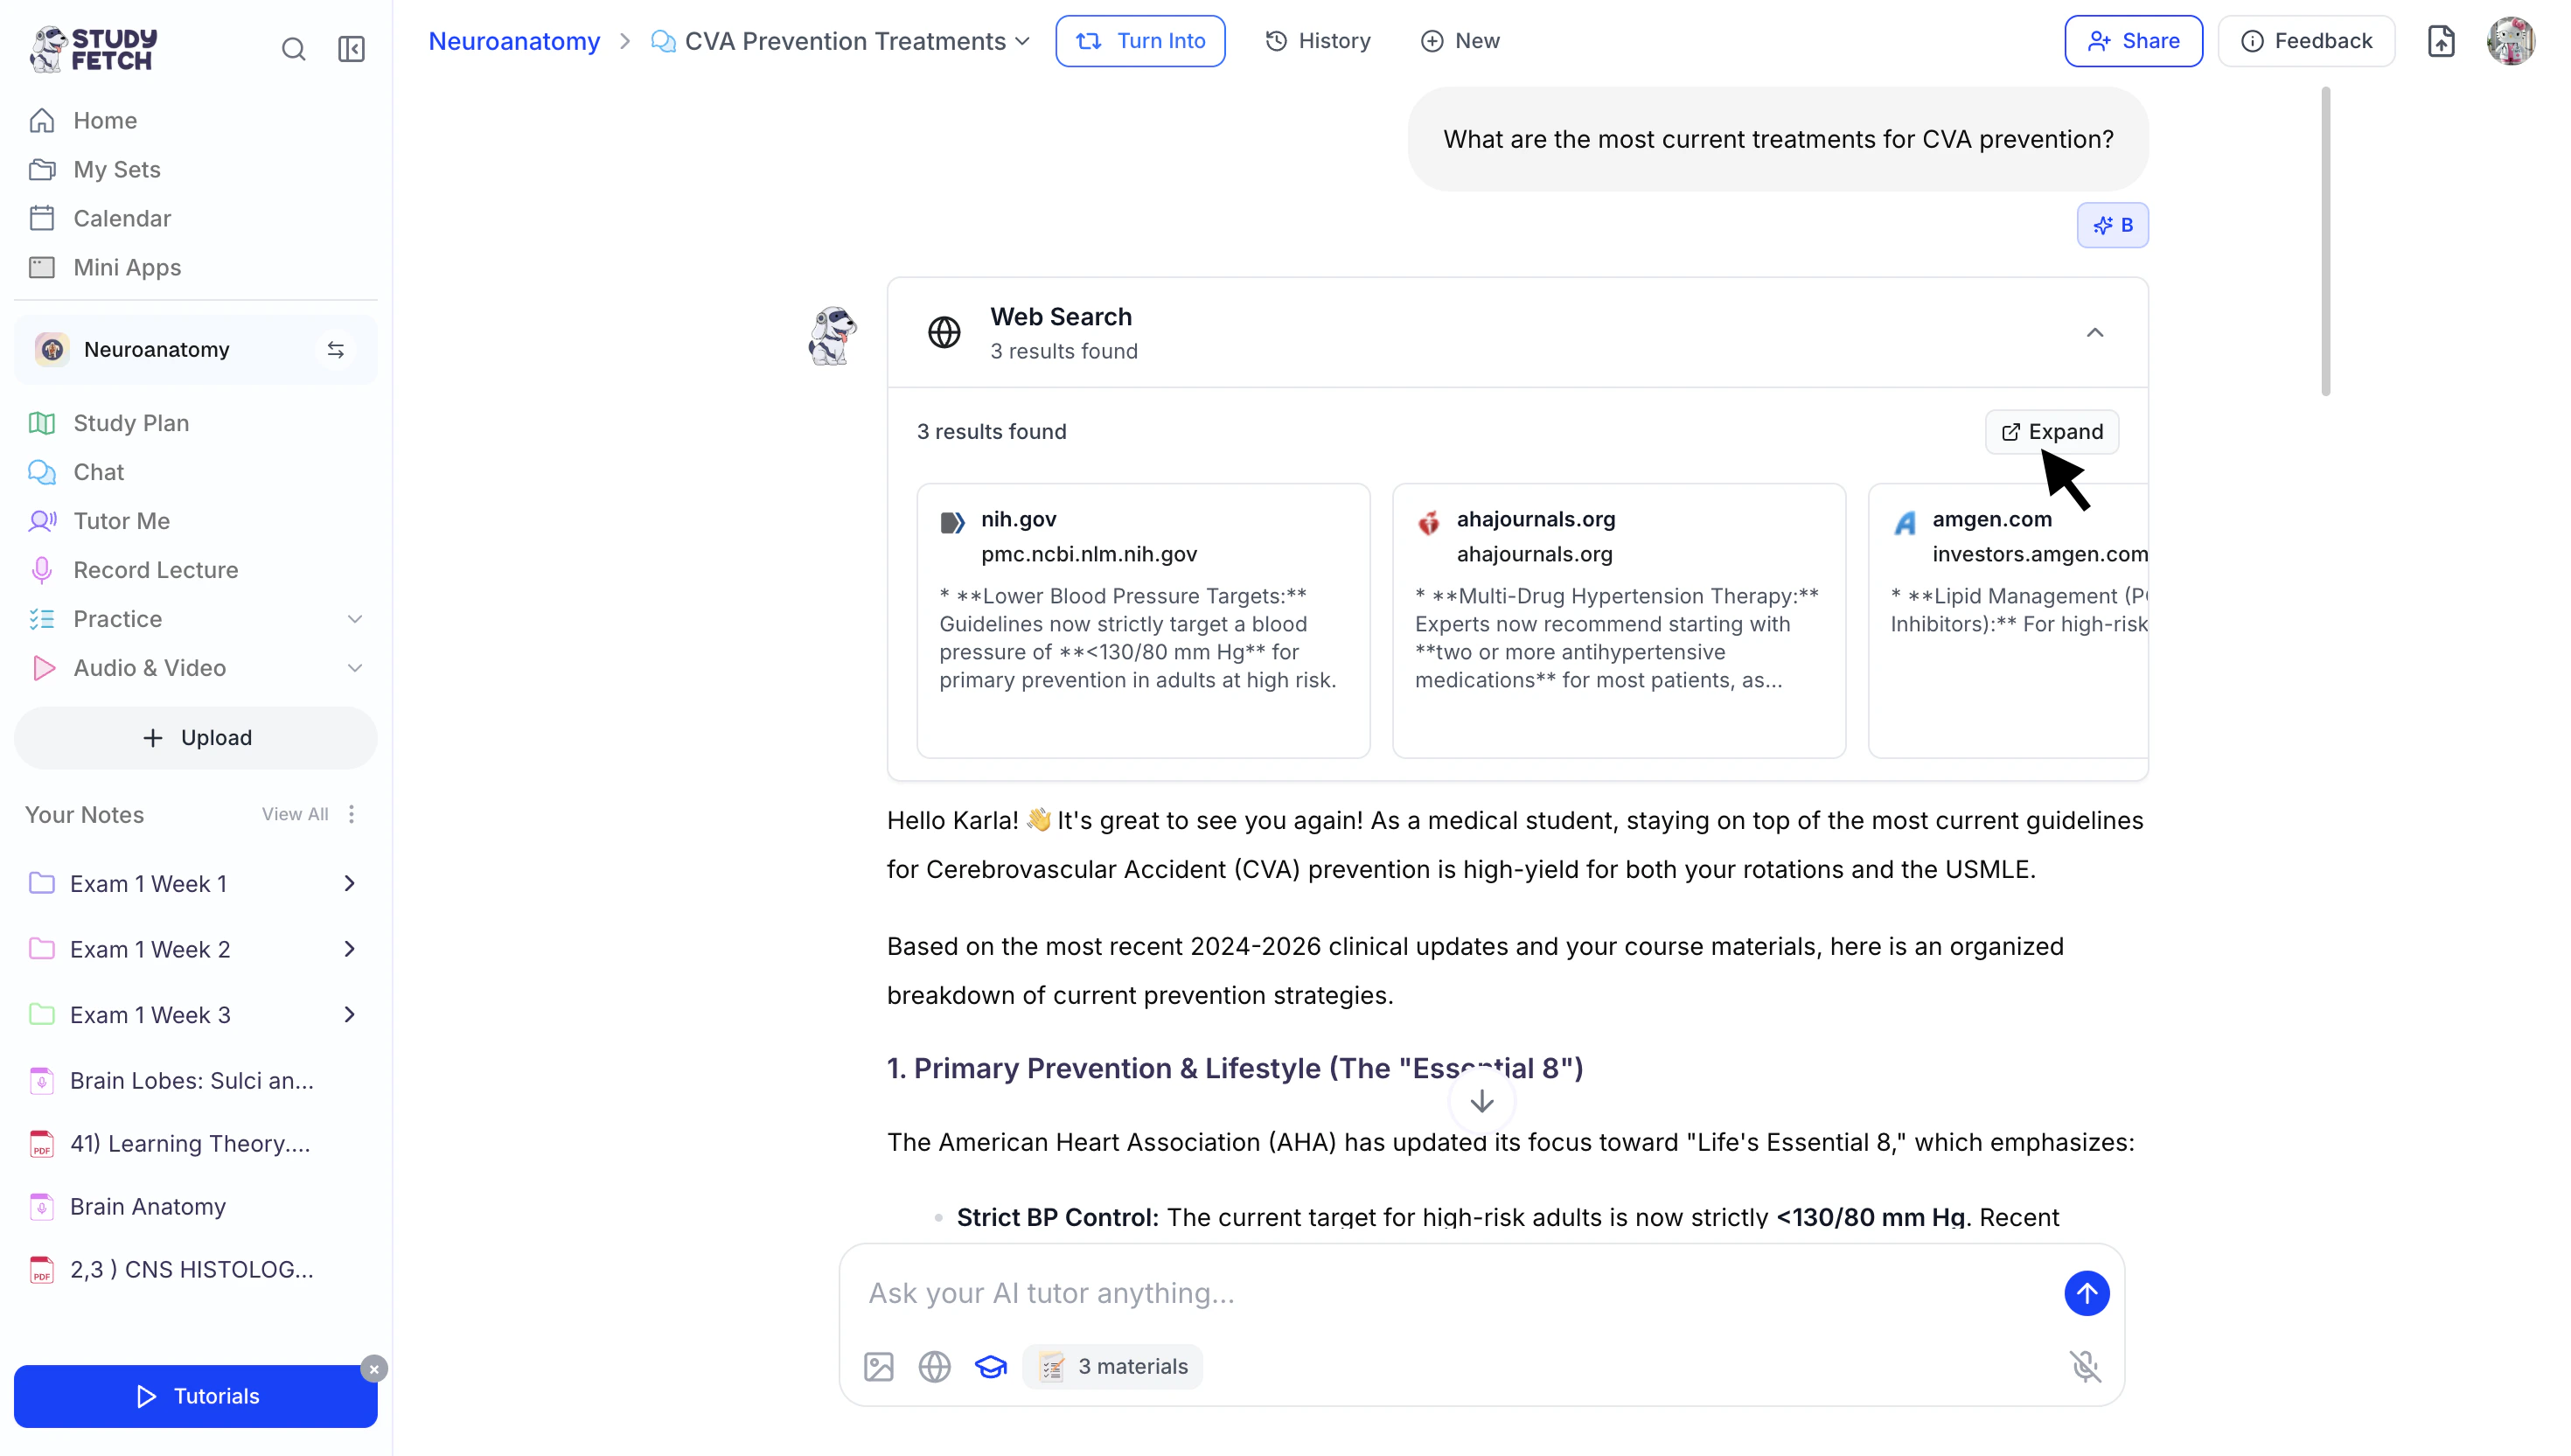
- Click Expand to open the side panel
and choose from the full list of results.
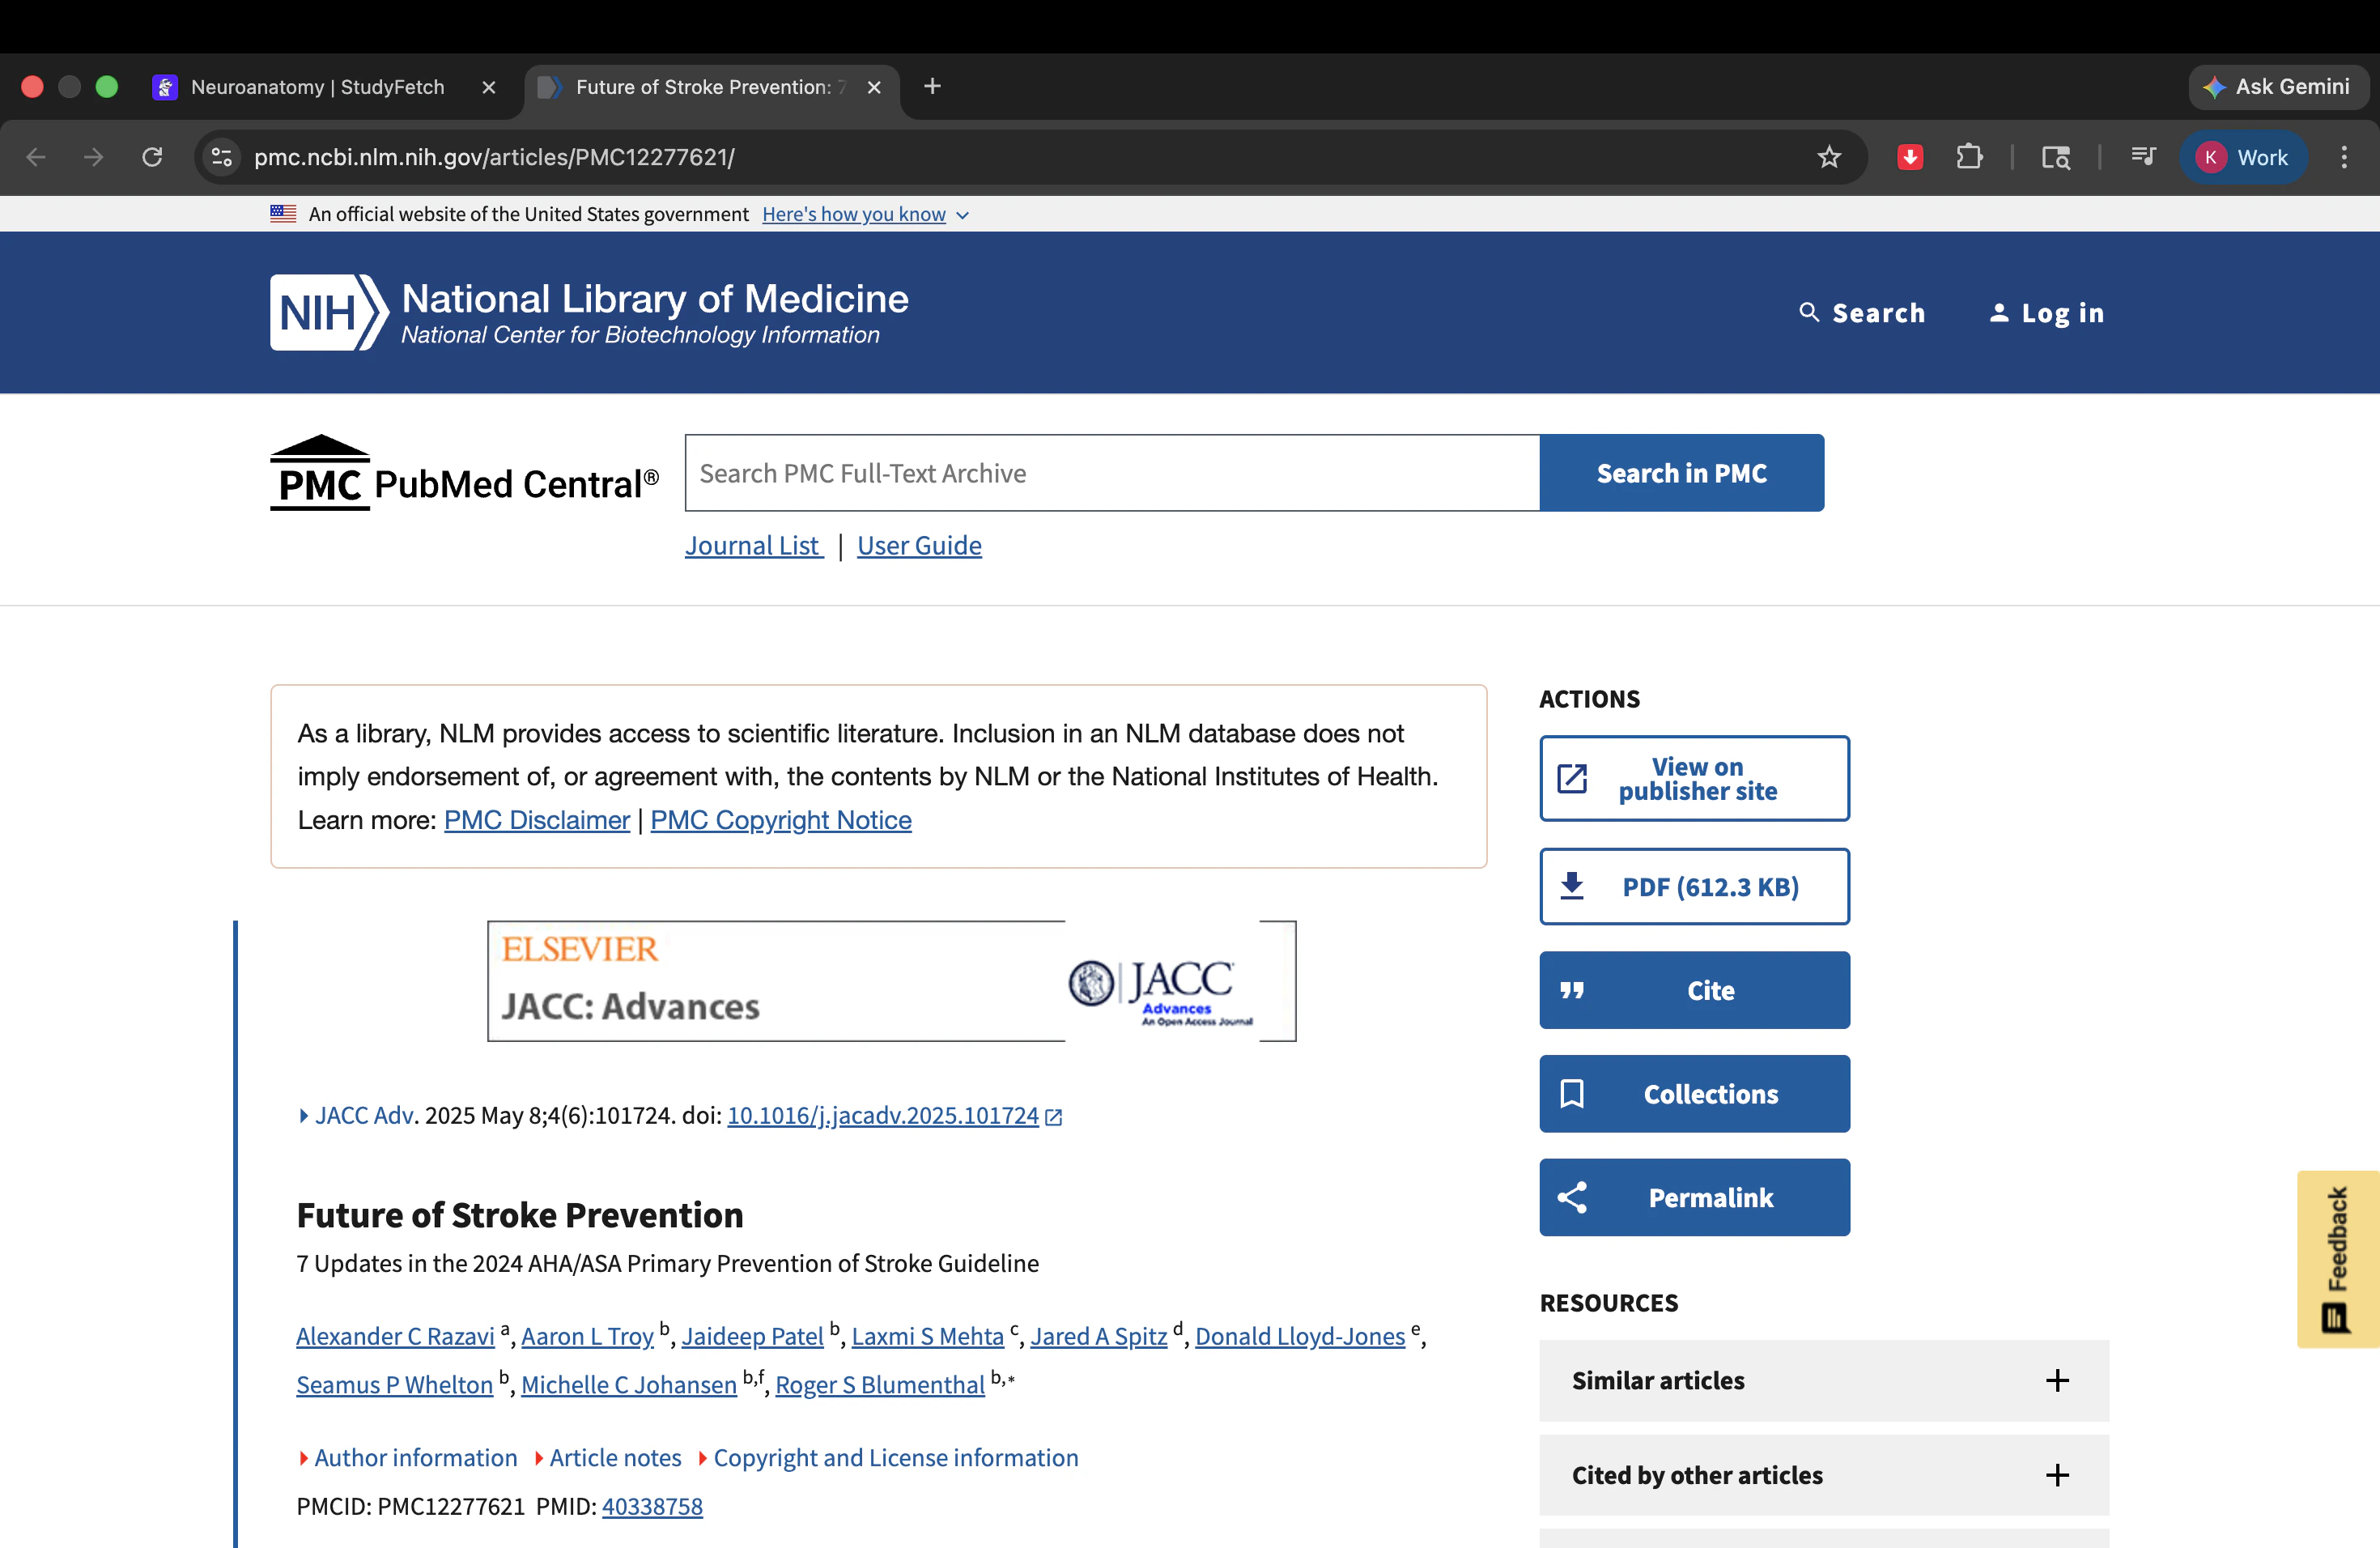
- A new tab will open in your browser, taking you directly to the page where you can view the selected academic paper.
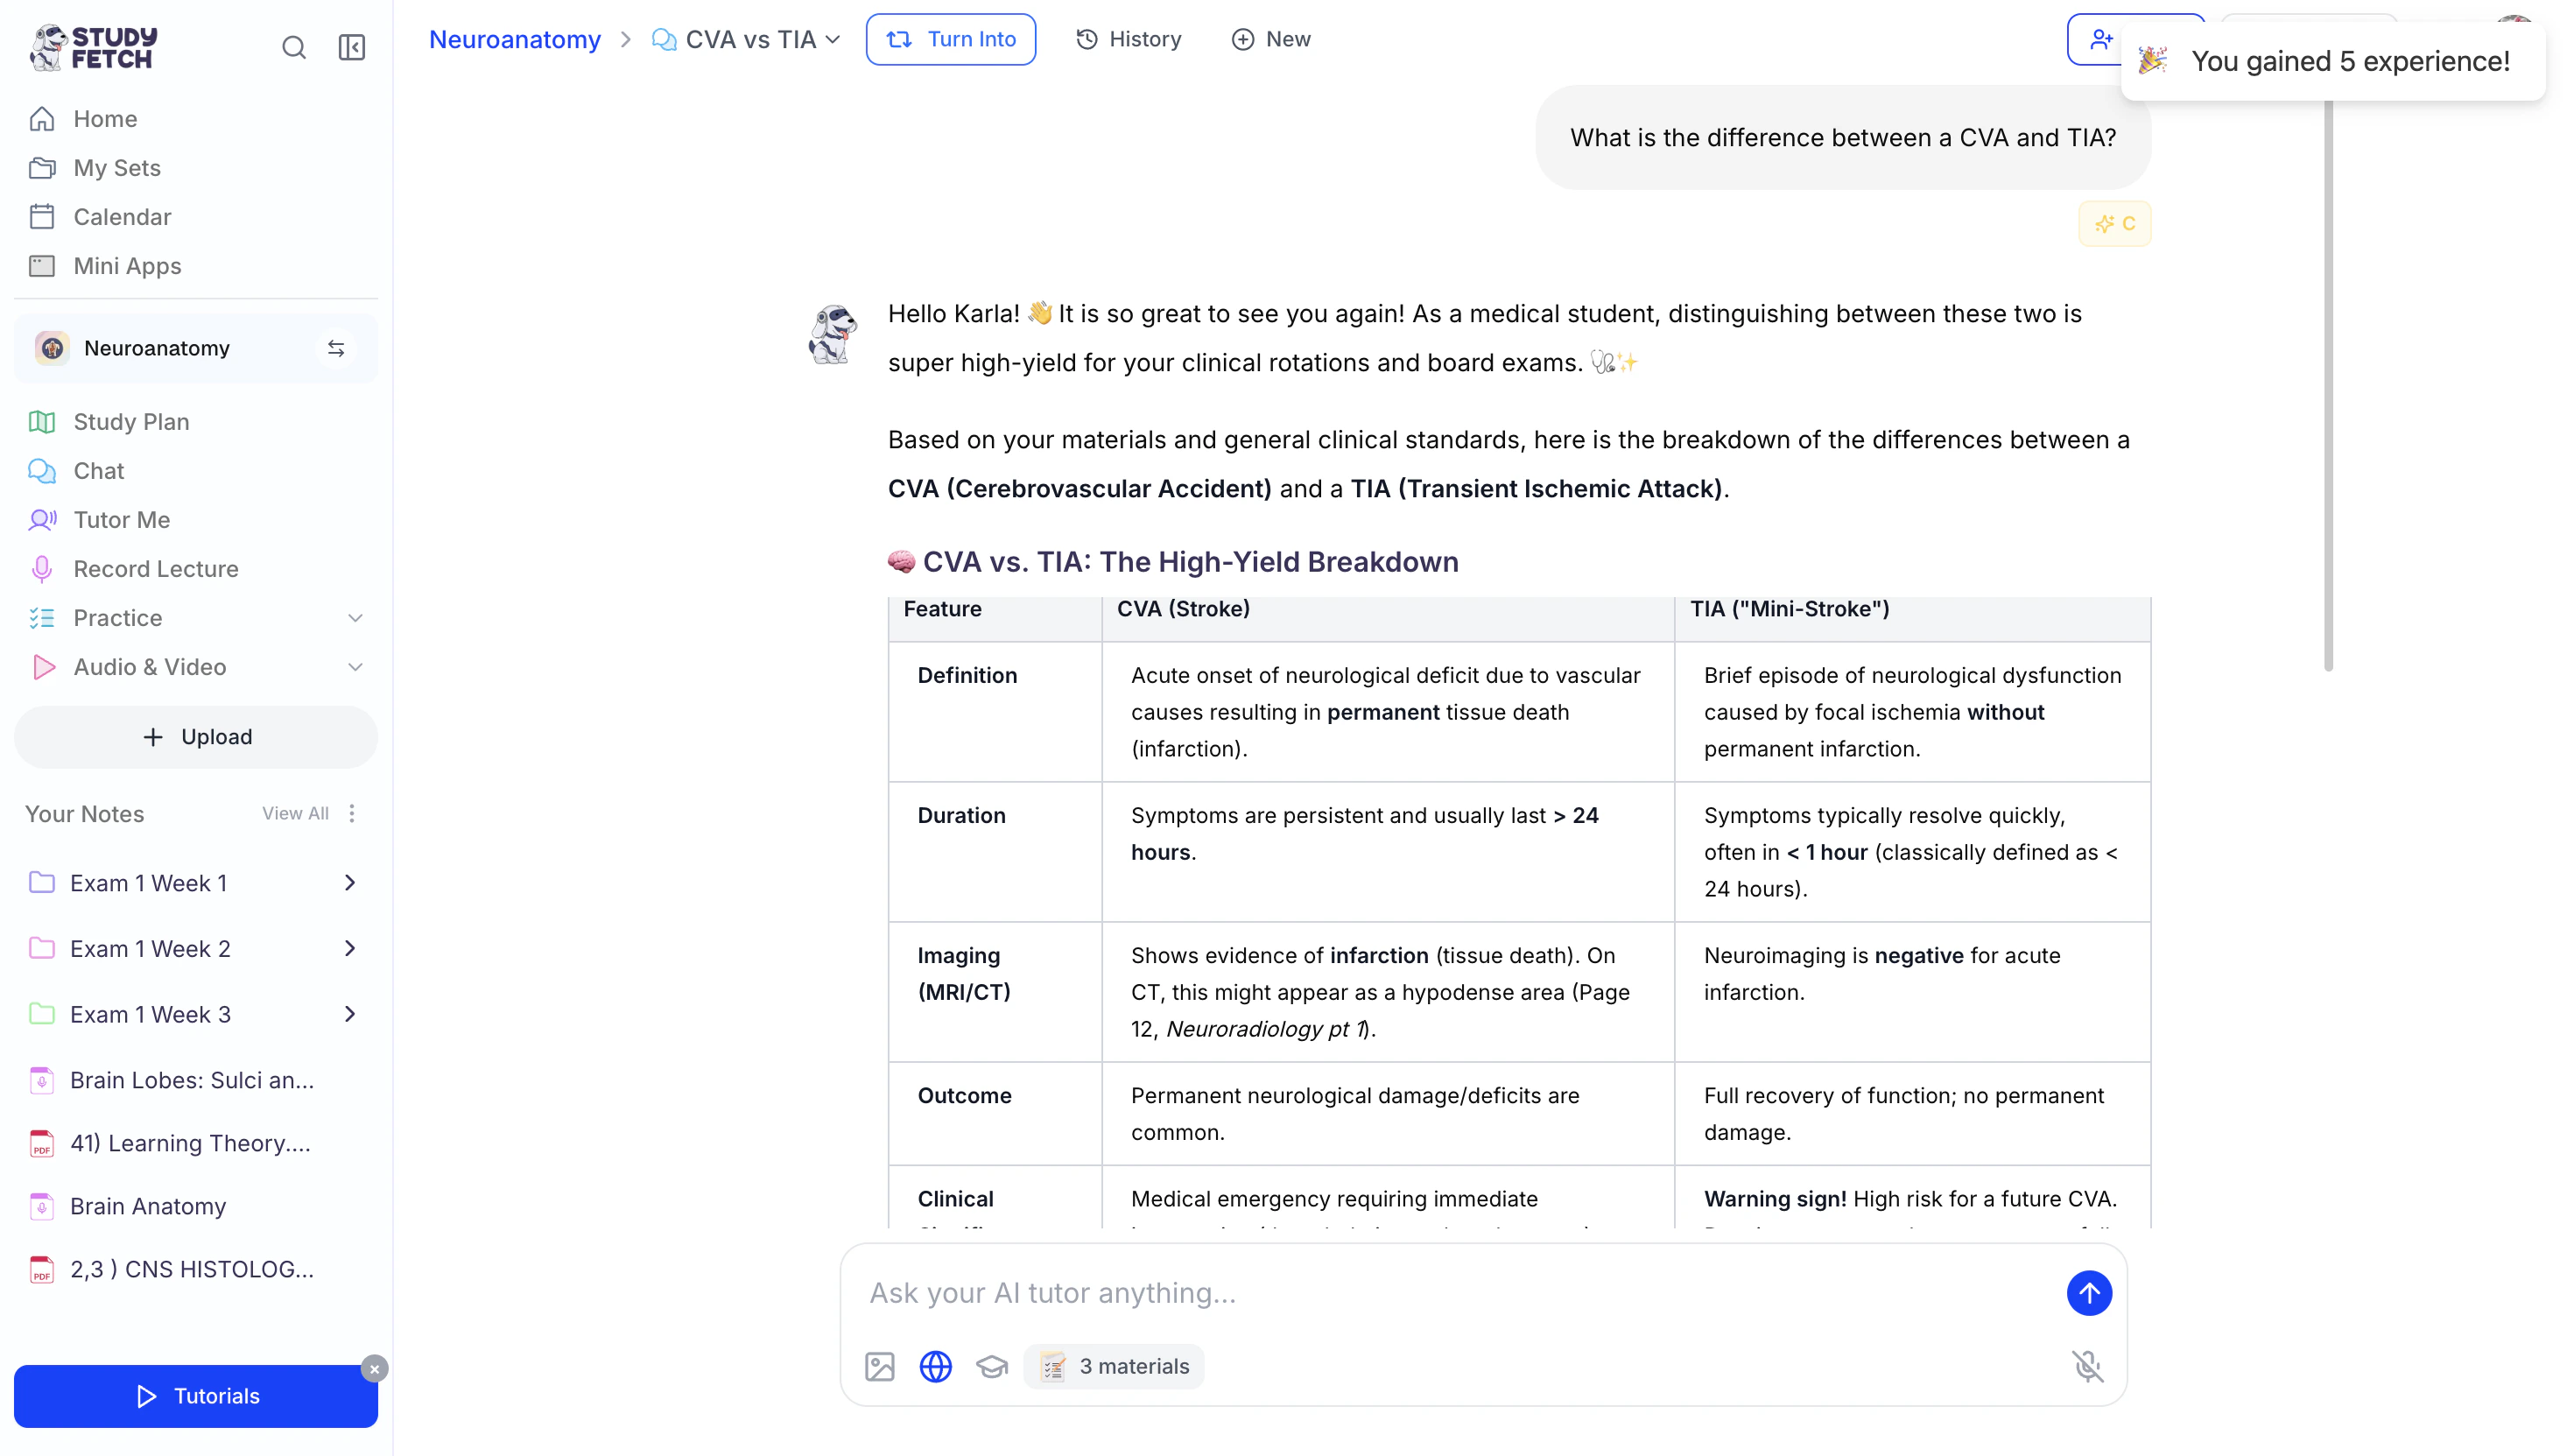
Select Materials to use in the Chat
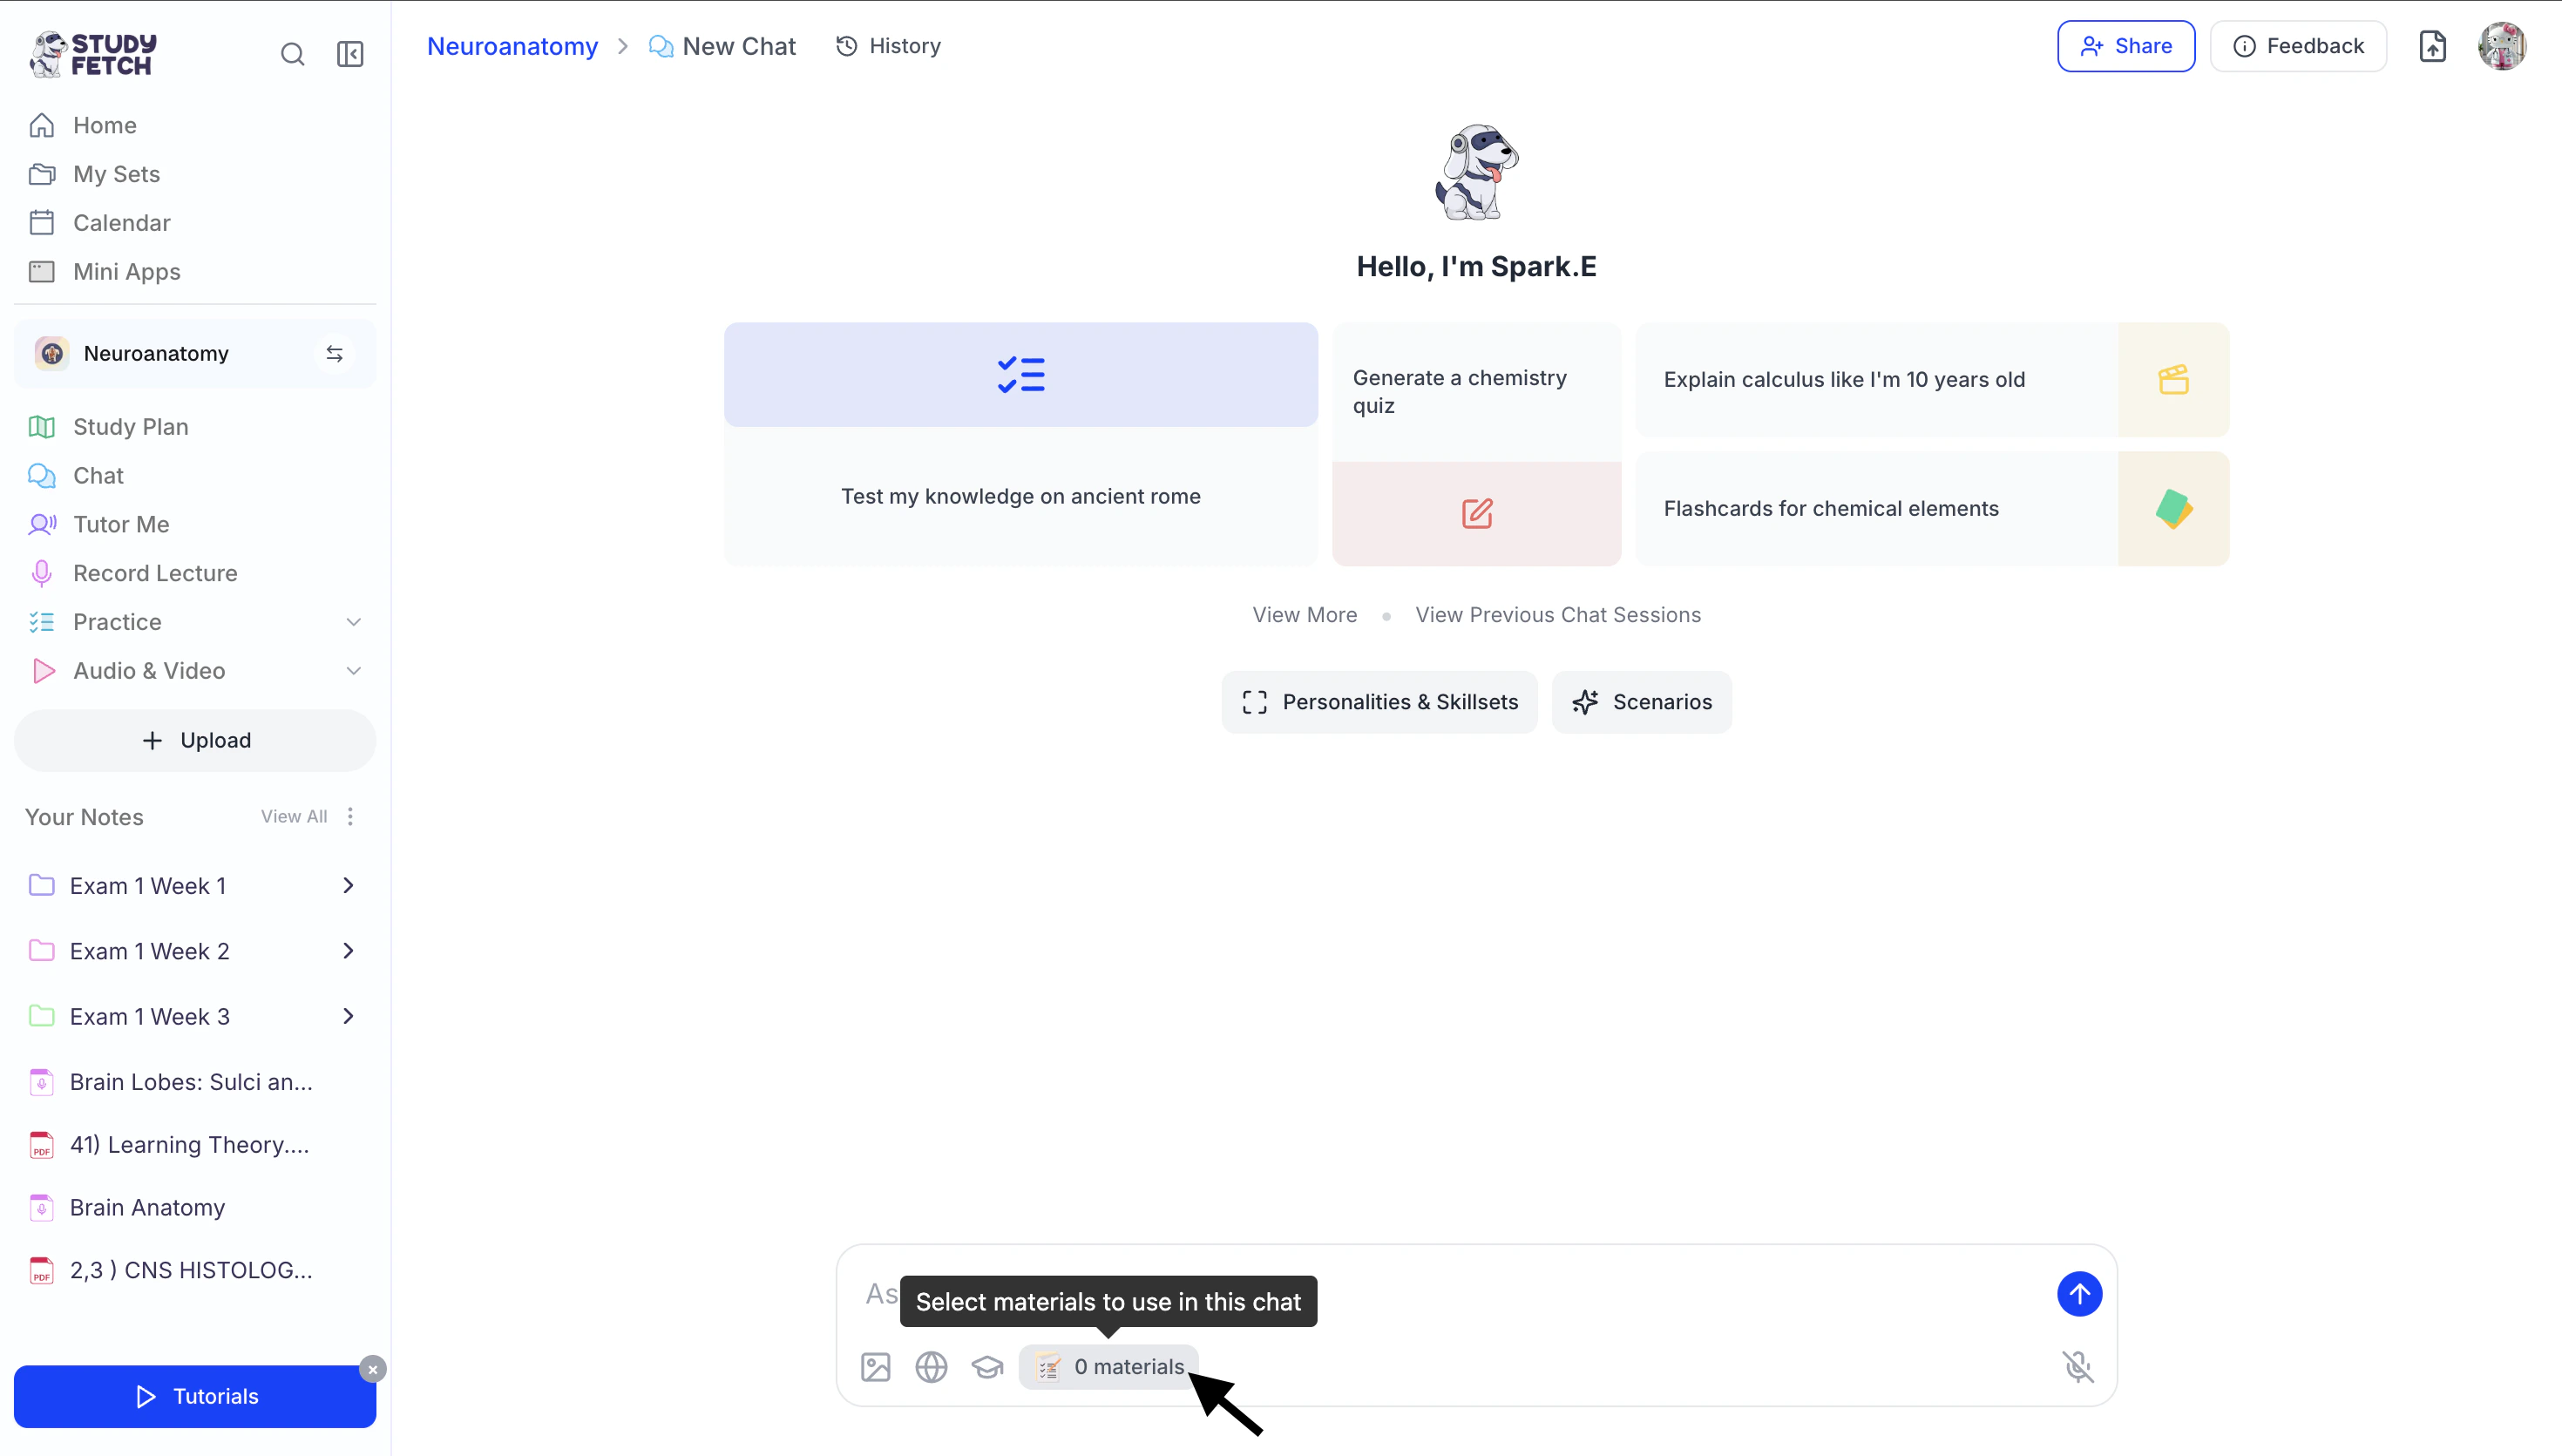
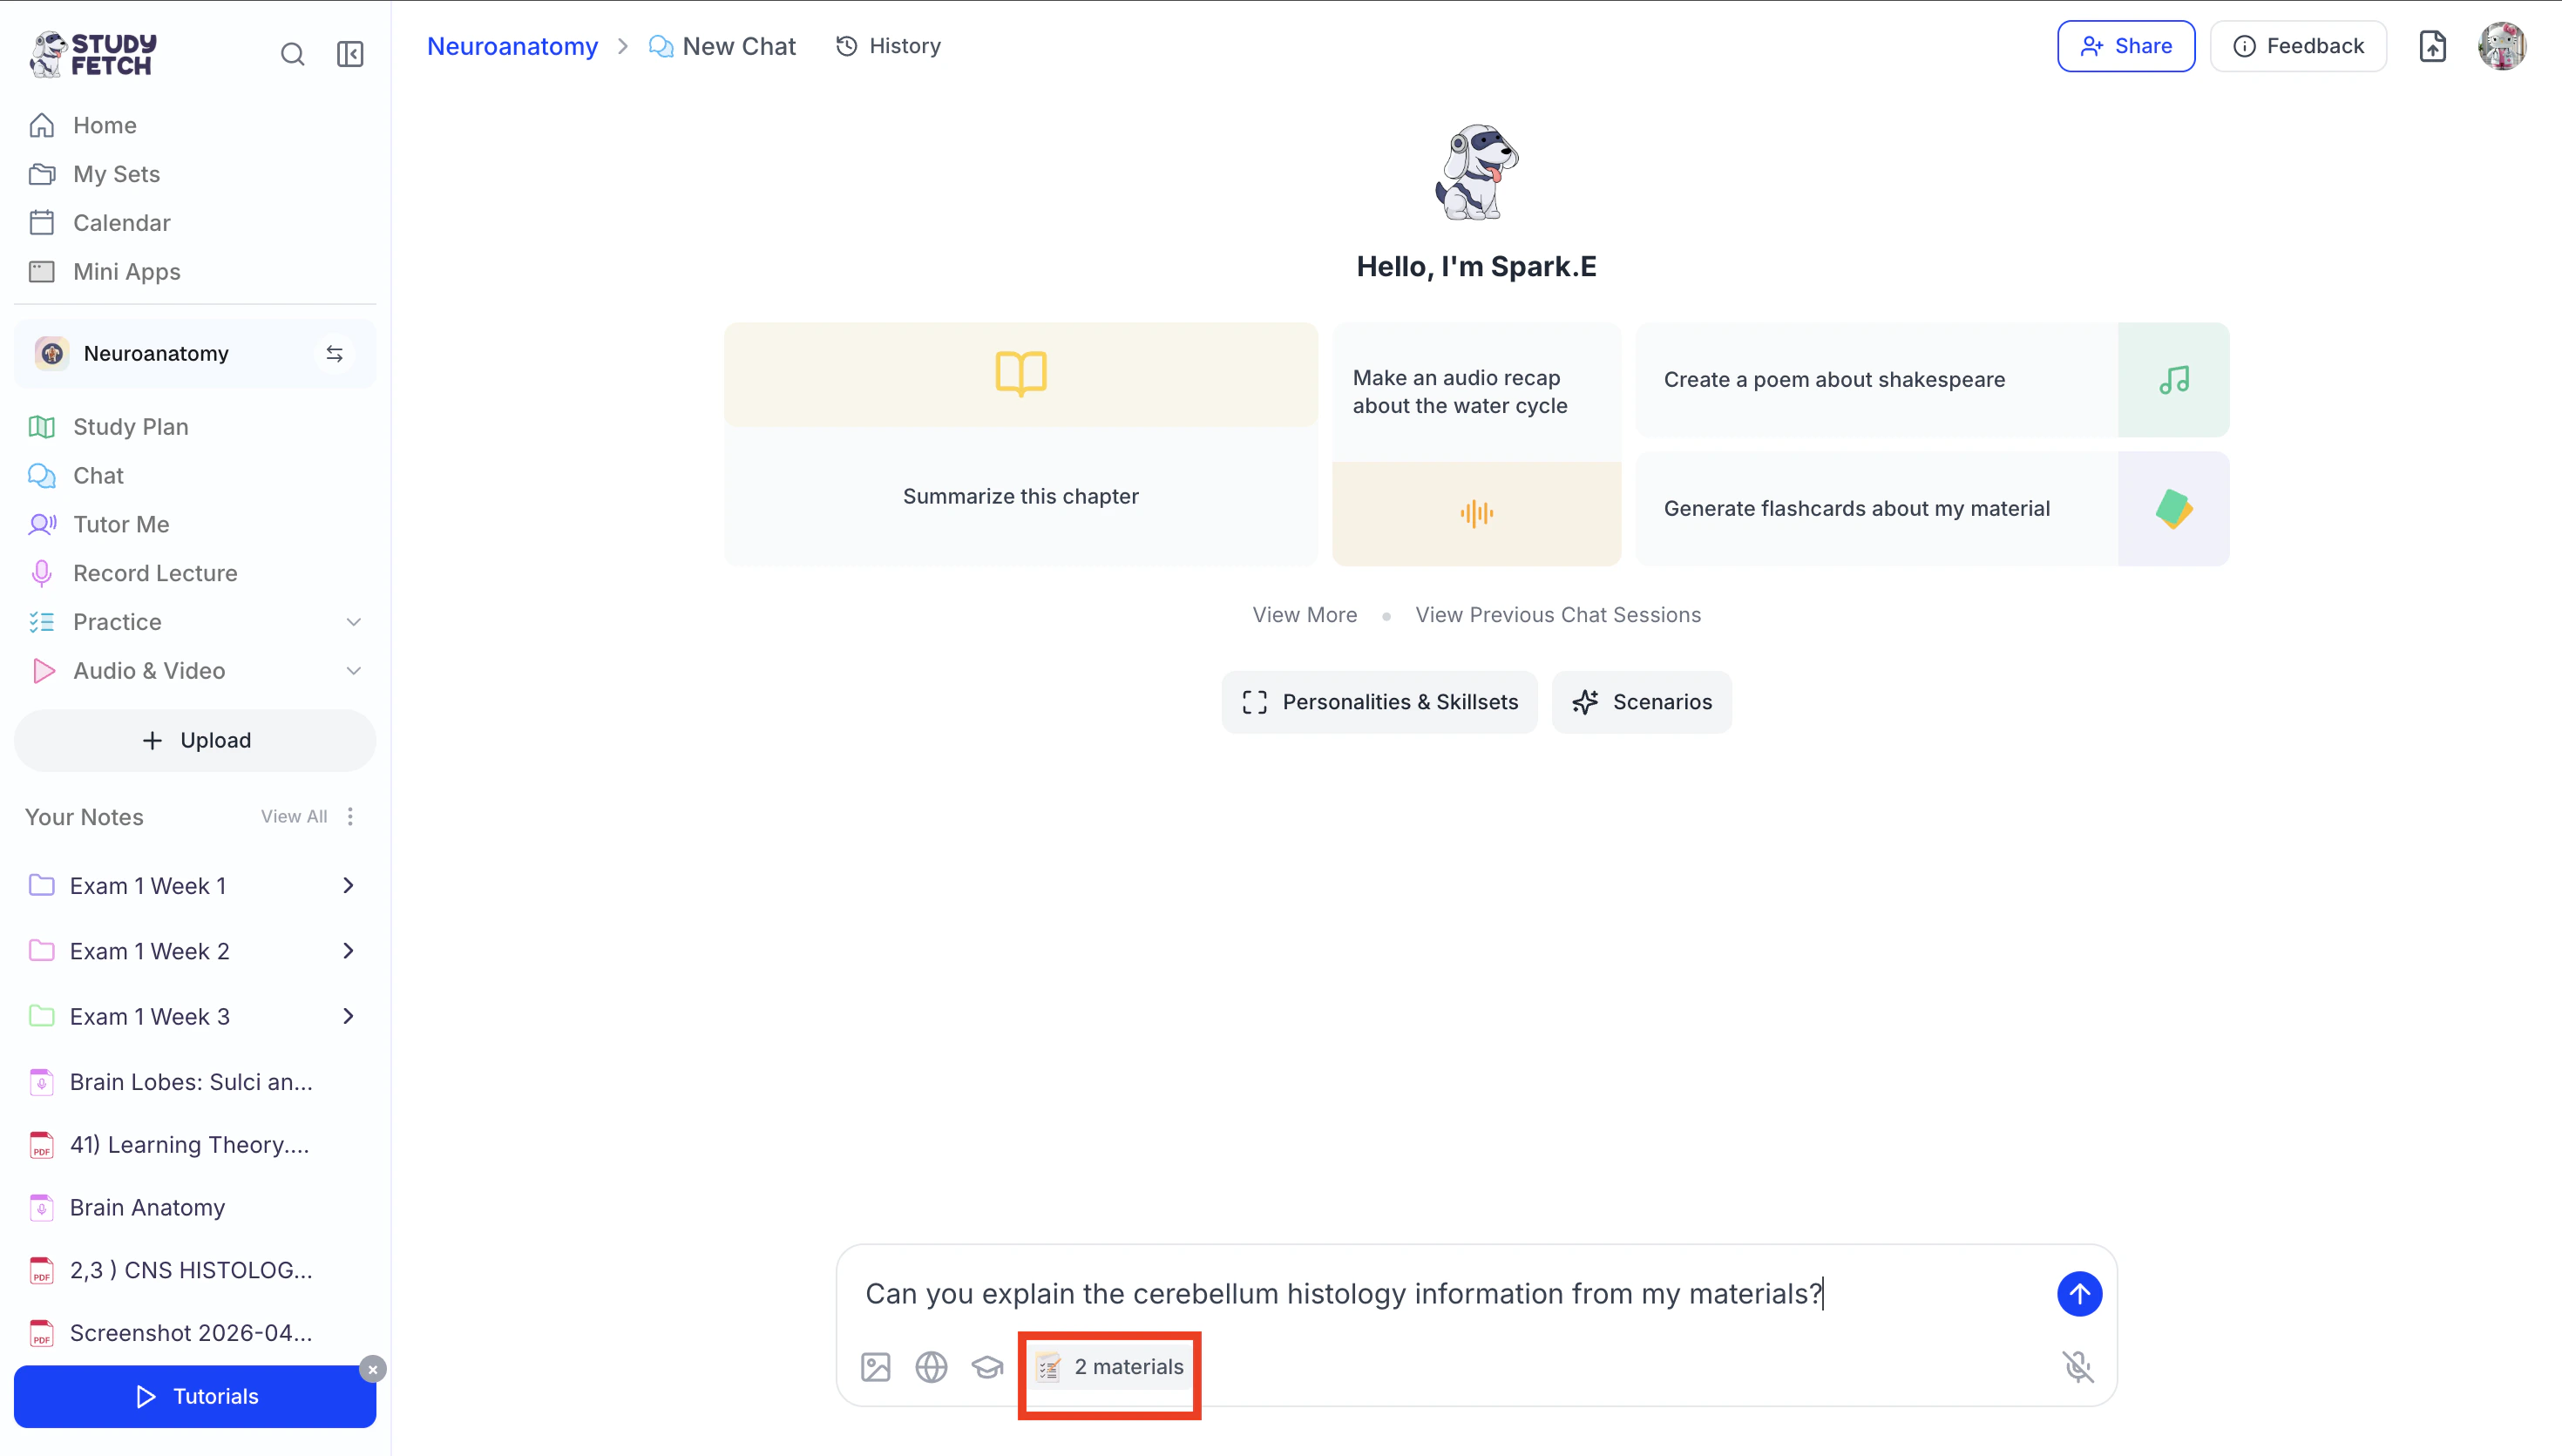
At the bottom of your chat box, you’ll see a few powerful tools to help you study smarter. One of these allows you to select your uploaded materials and use them directly within your chat to guide your learning and conversations with your AI Tutor.Step 1: Open Select Materials
- Select the Materials icon in the bottom chat toolbar.
- Proceed to your preferred material selection method below.
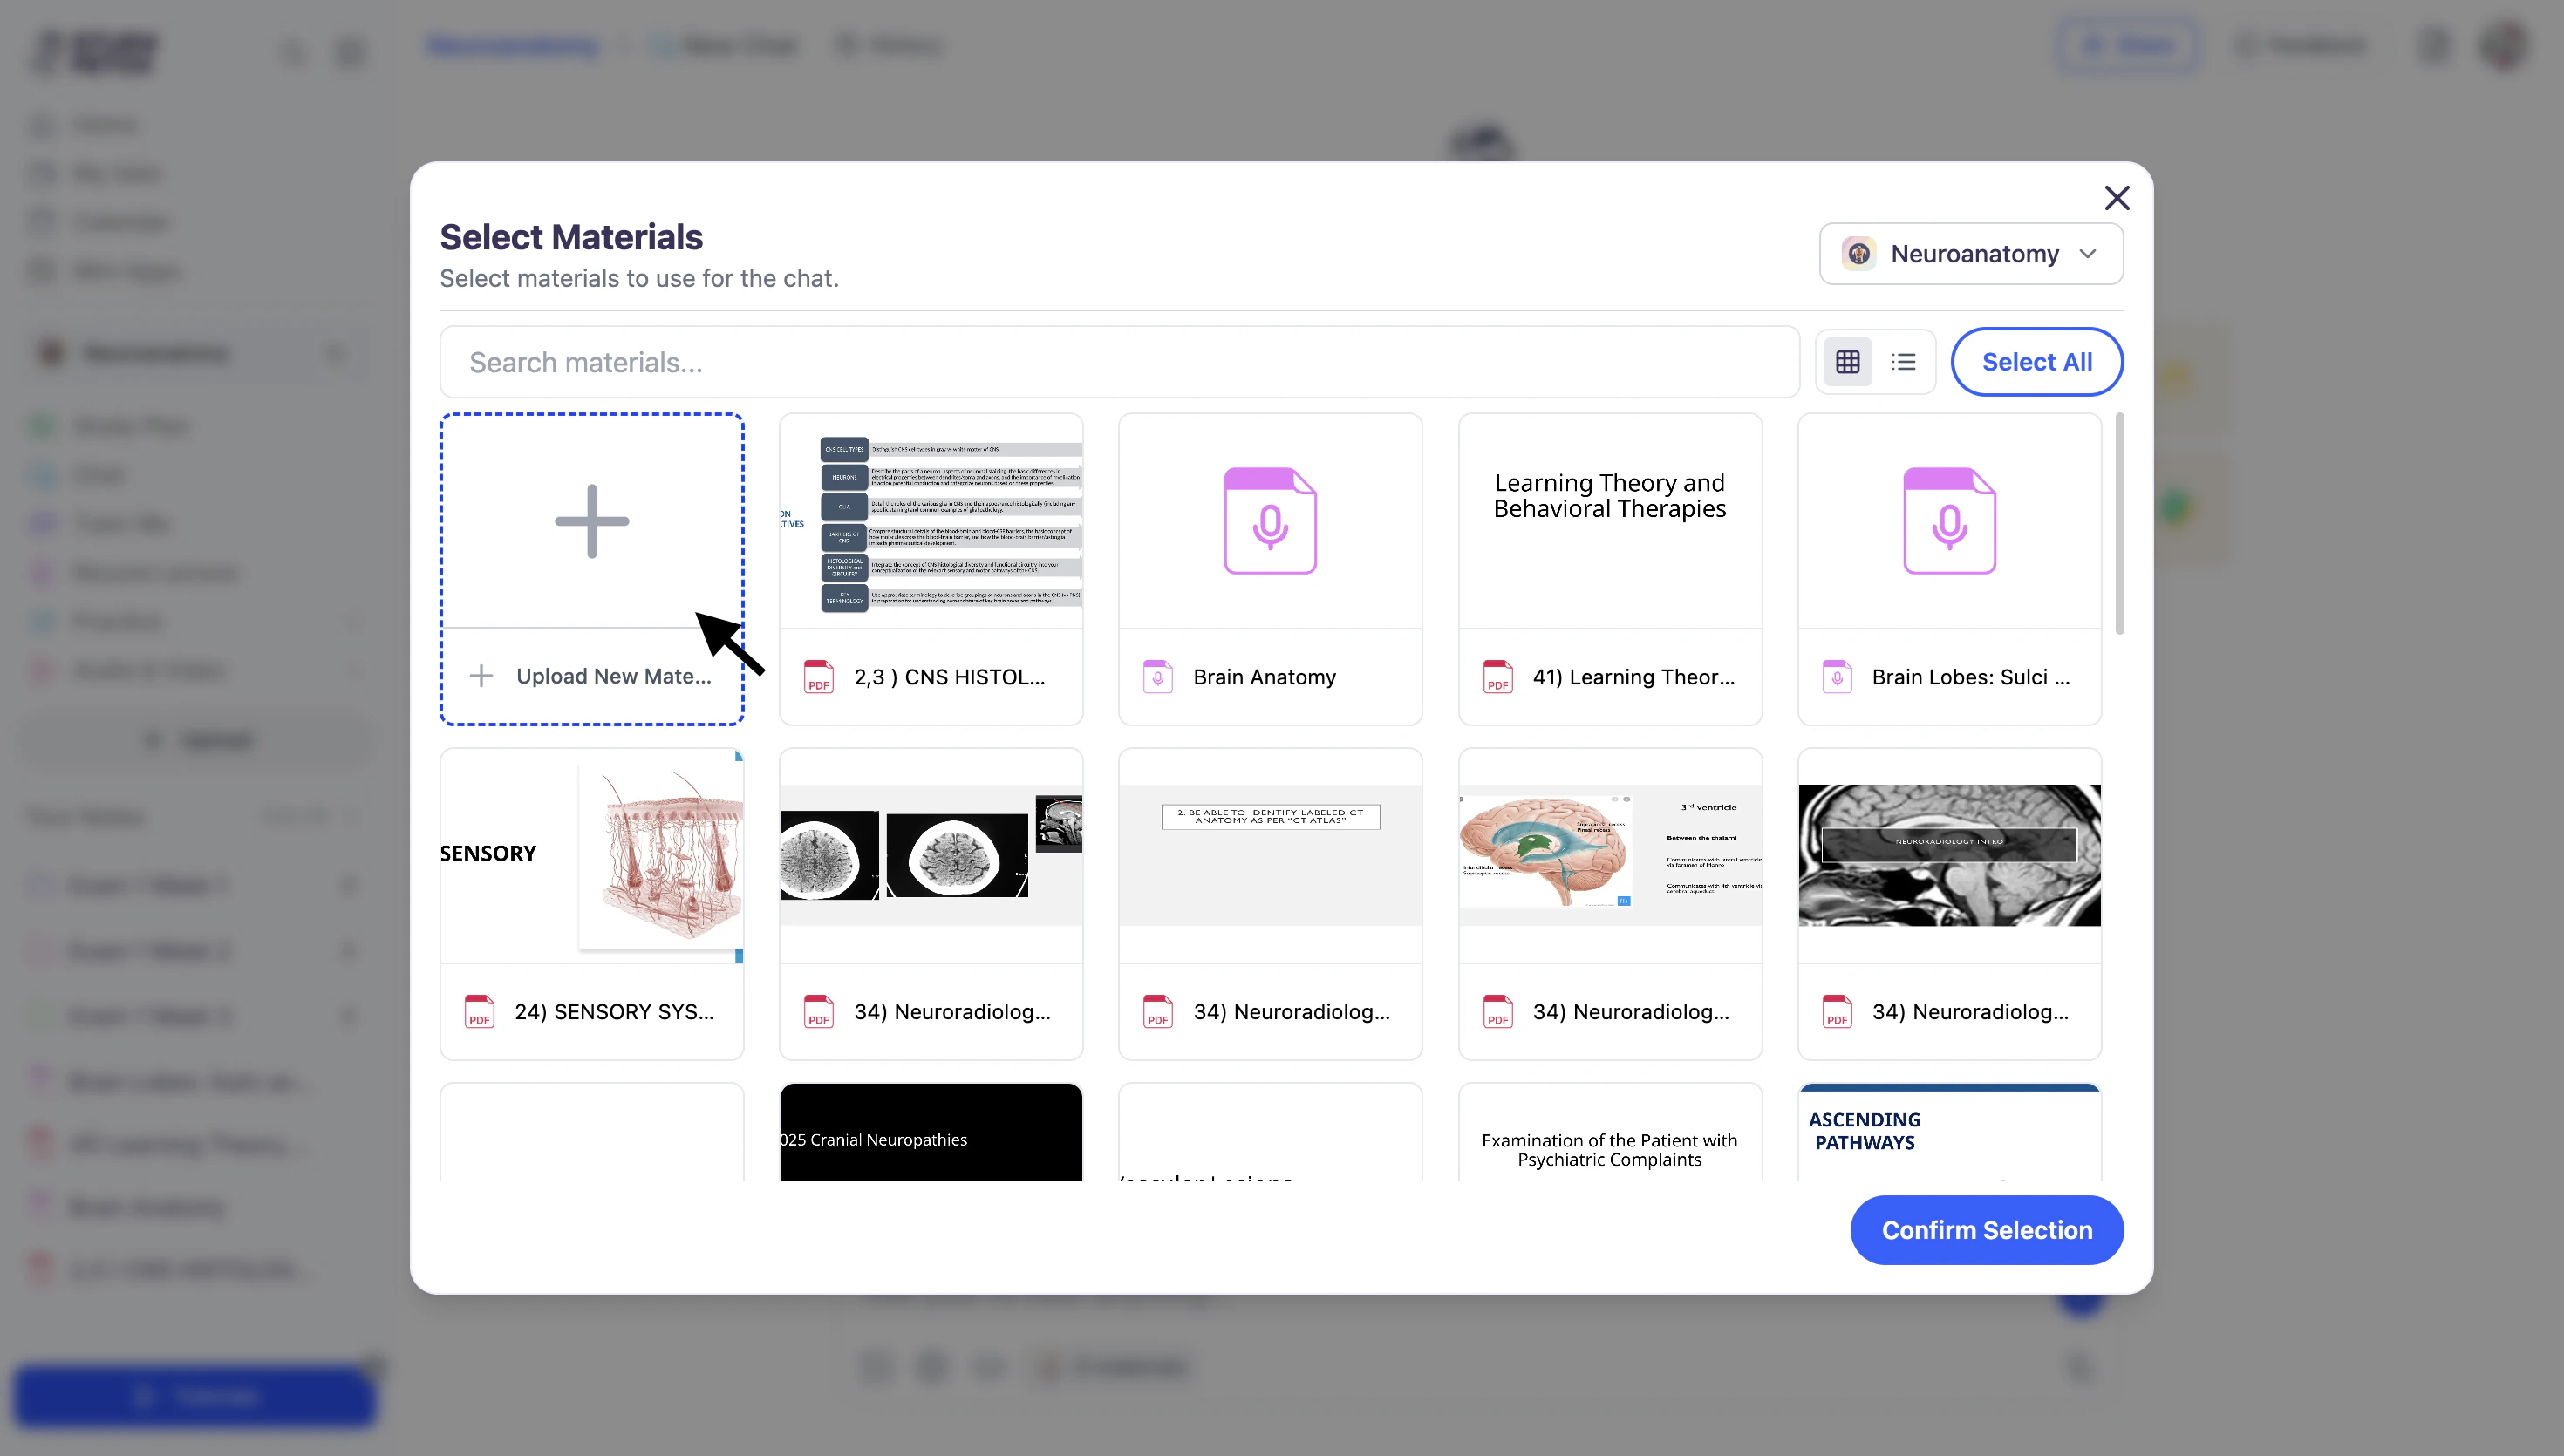
Method 1: Adding Existing Material from your Study Set
- Choose which previously uploaded materials you would like to use in the chat.
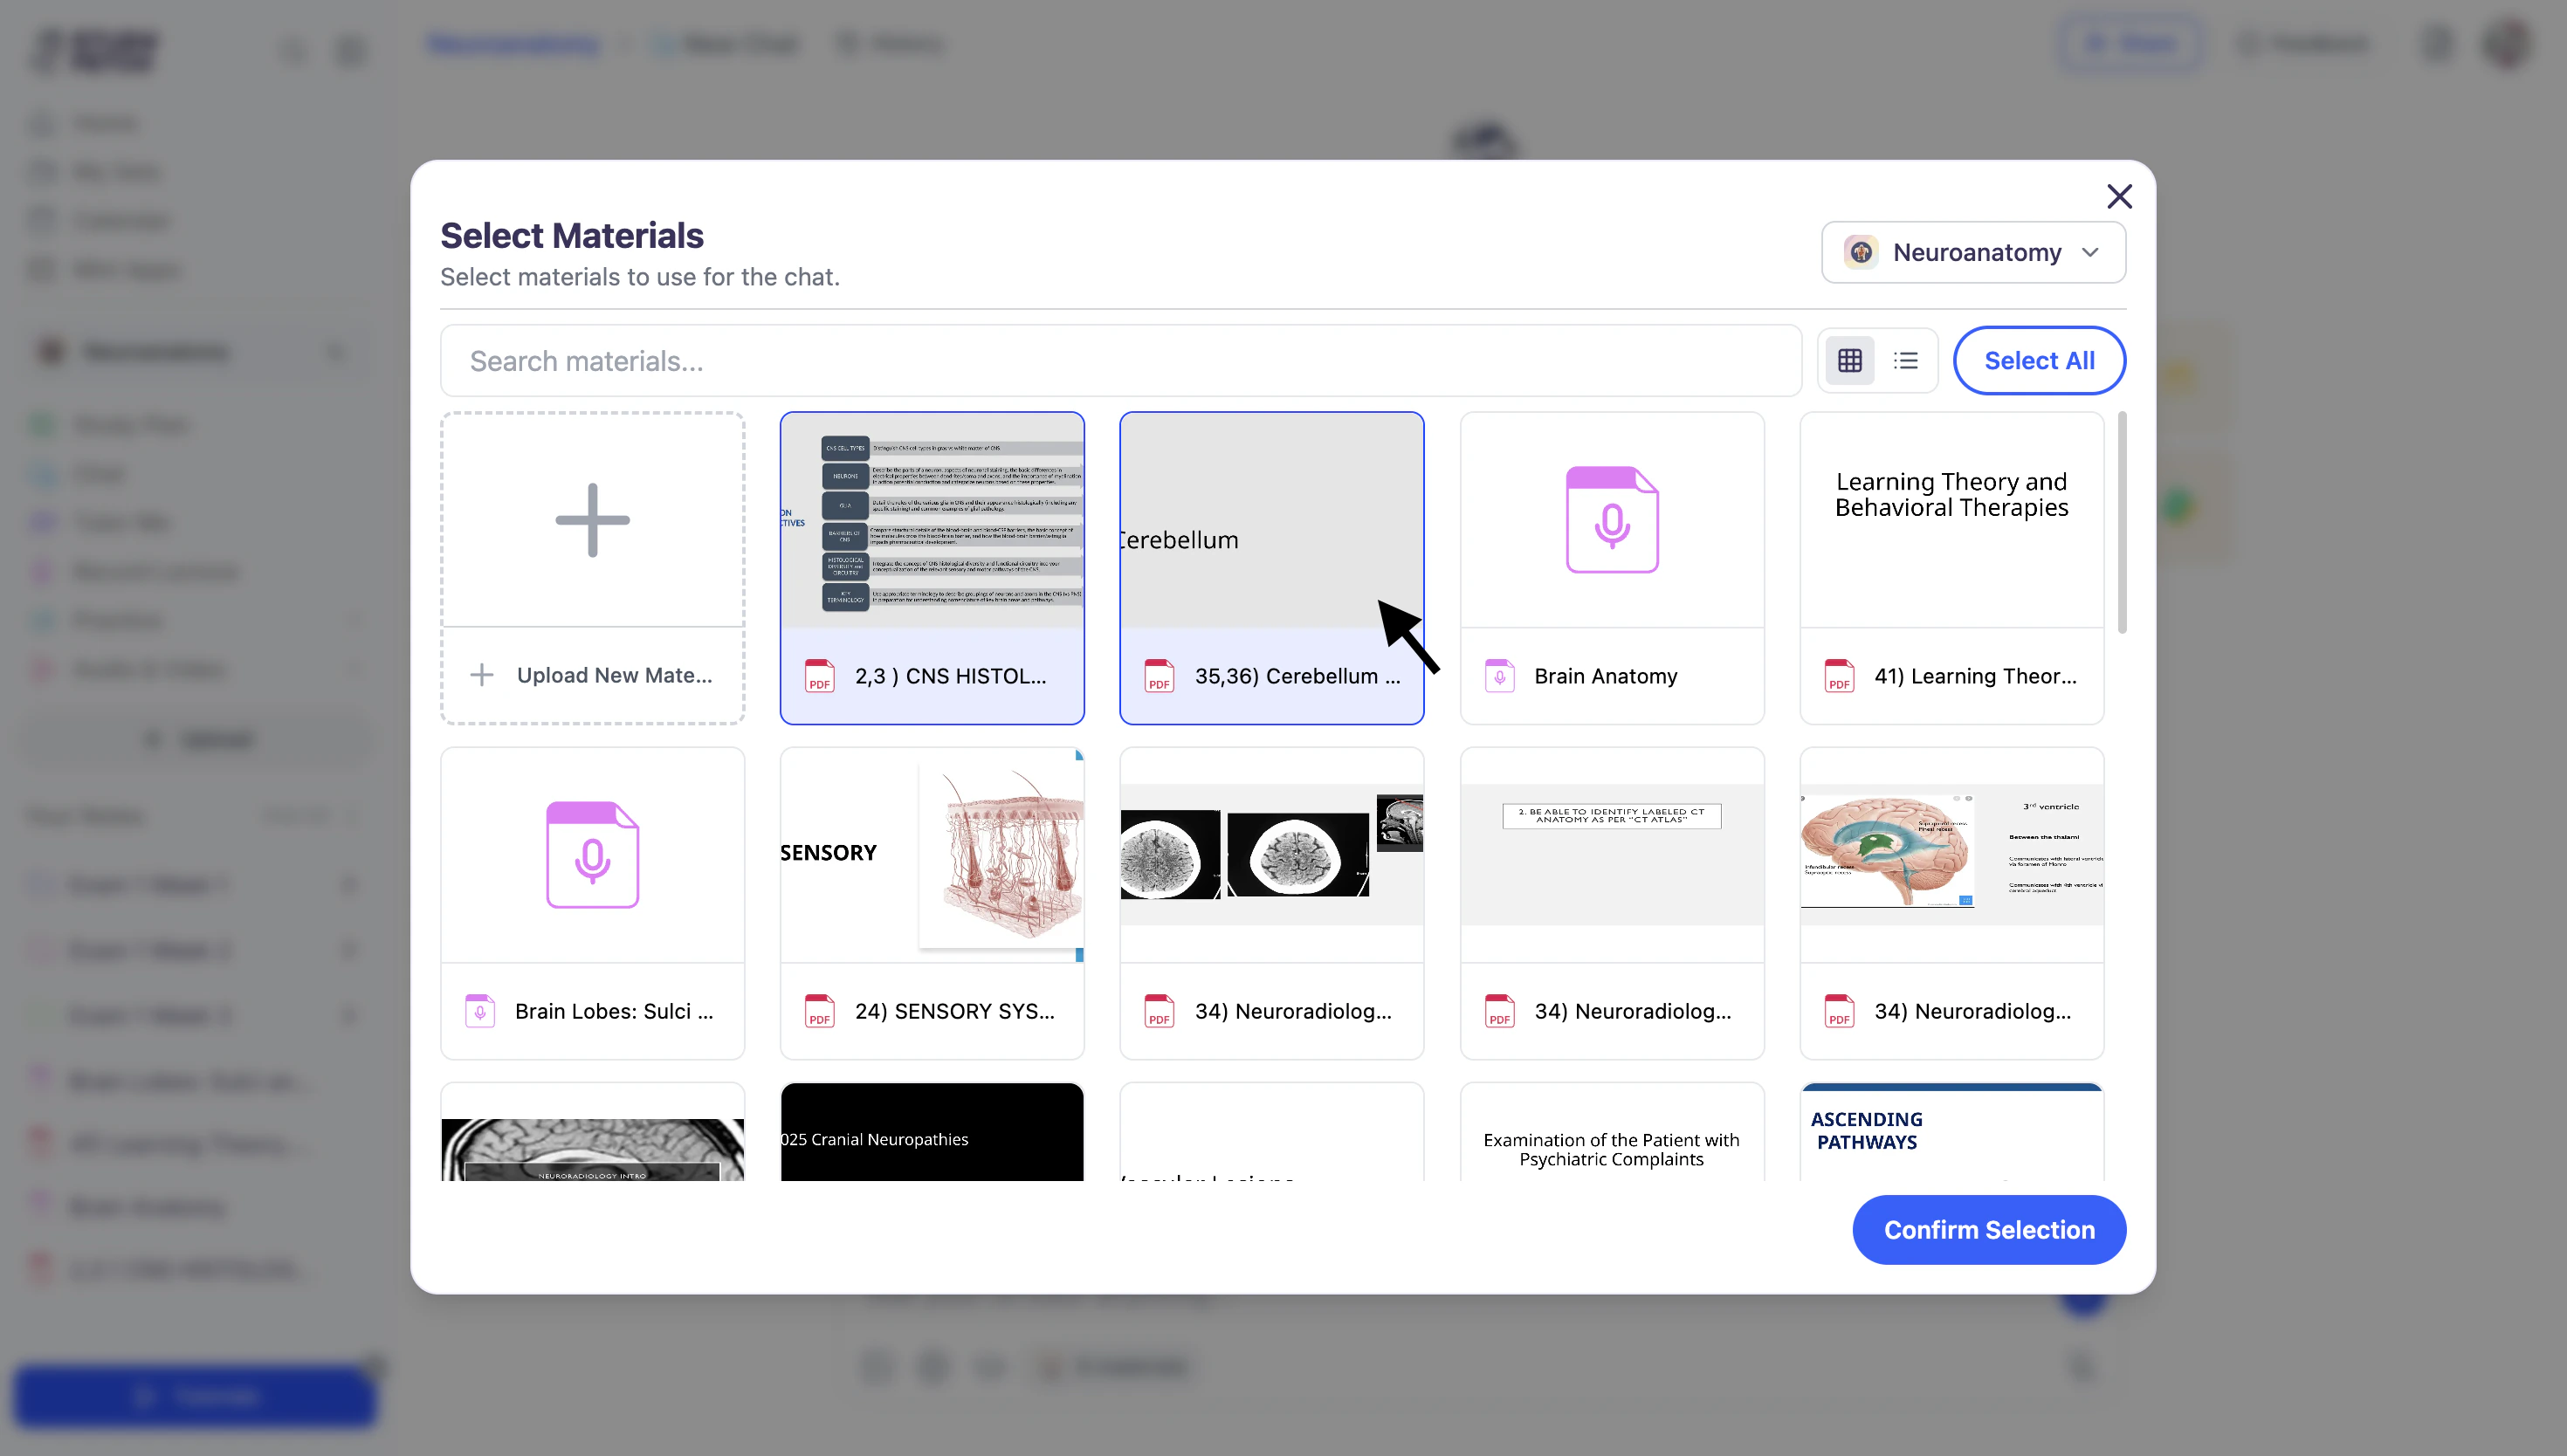
- When done selecting your material(s), click Confirm Selection.
- The number of selected materials will update accordingly,
and Spark.E will now tailor its tutoring based on the materials you’ve chosen.
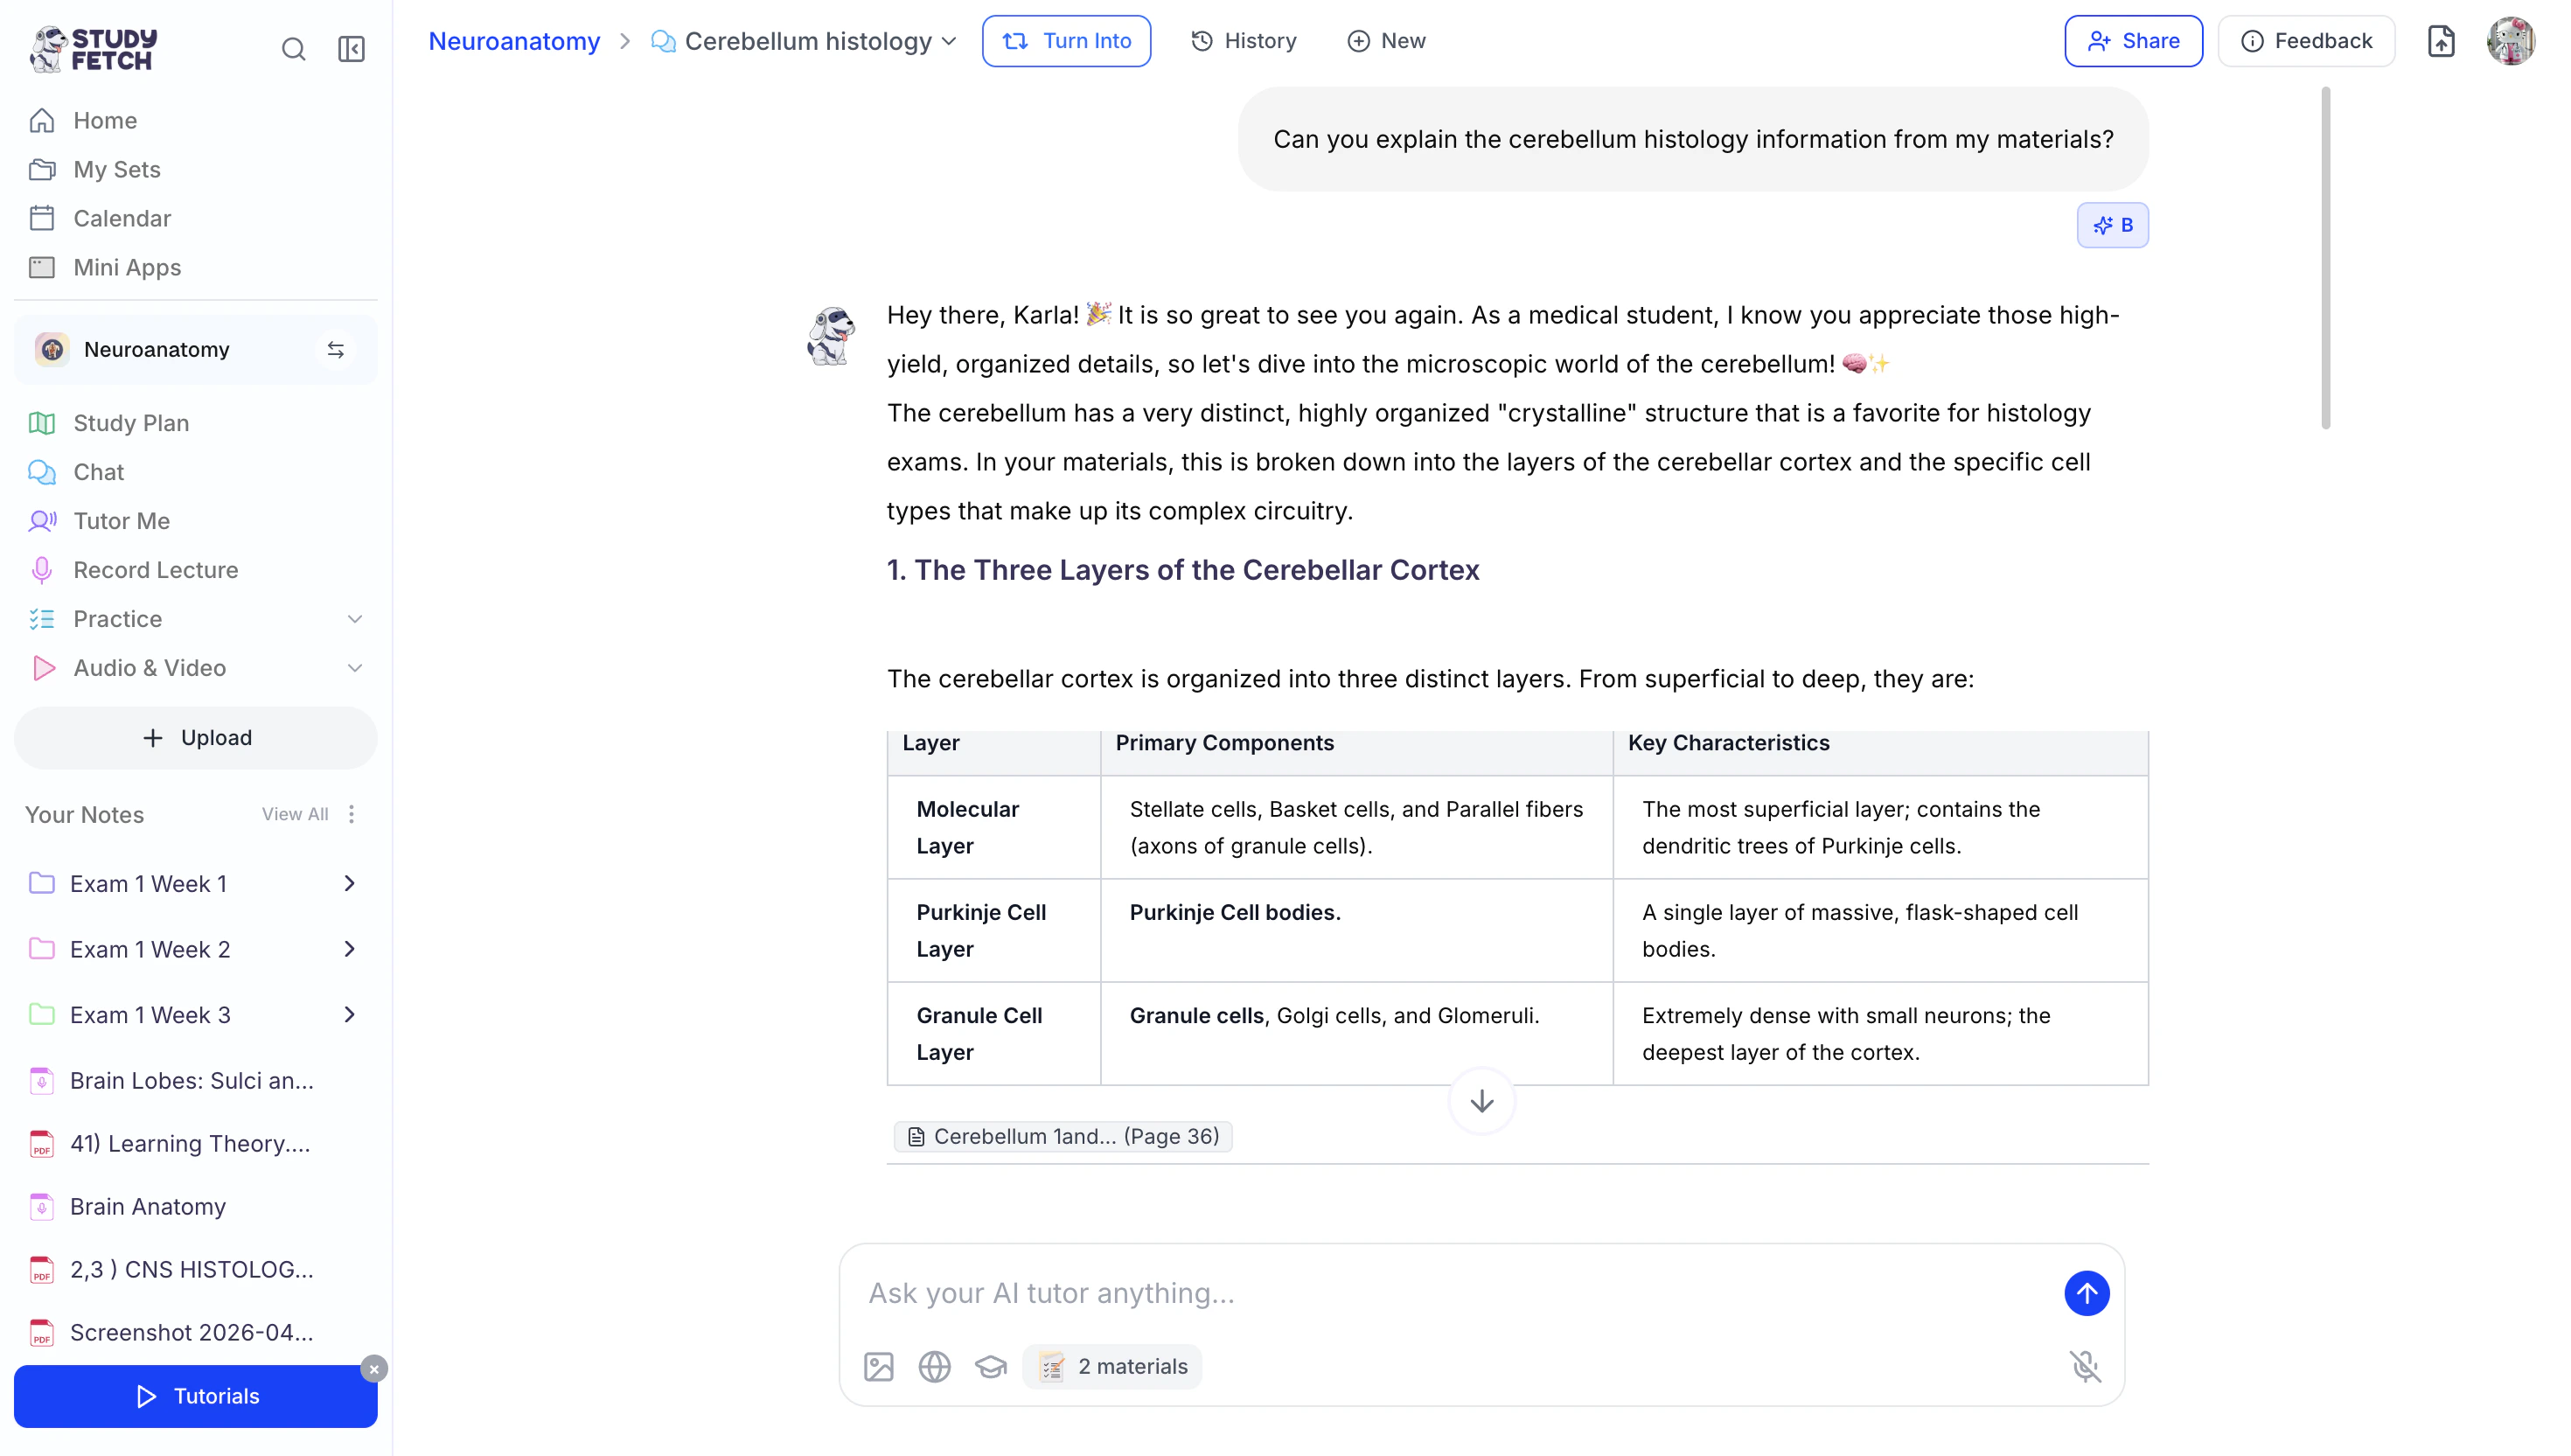
- Throughout your chat, Spark.E will also provide references to the exact location within your materials where the information is sourced.
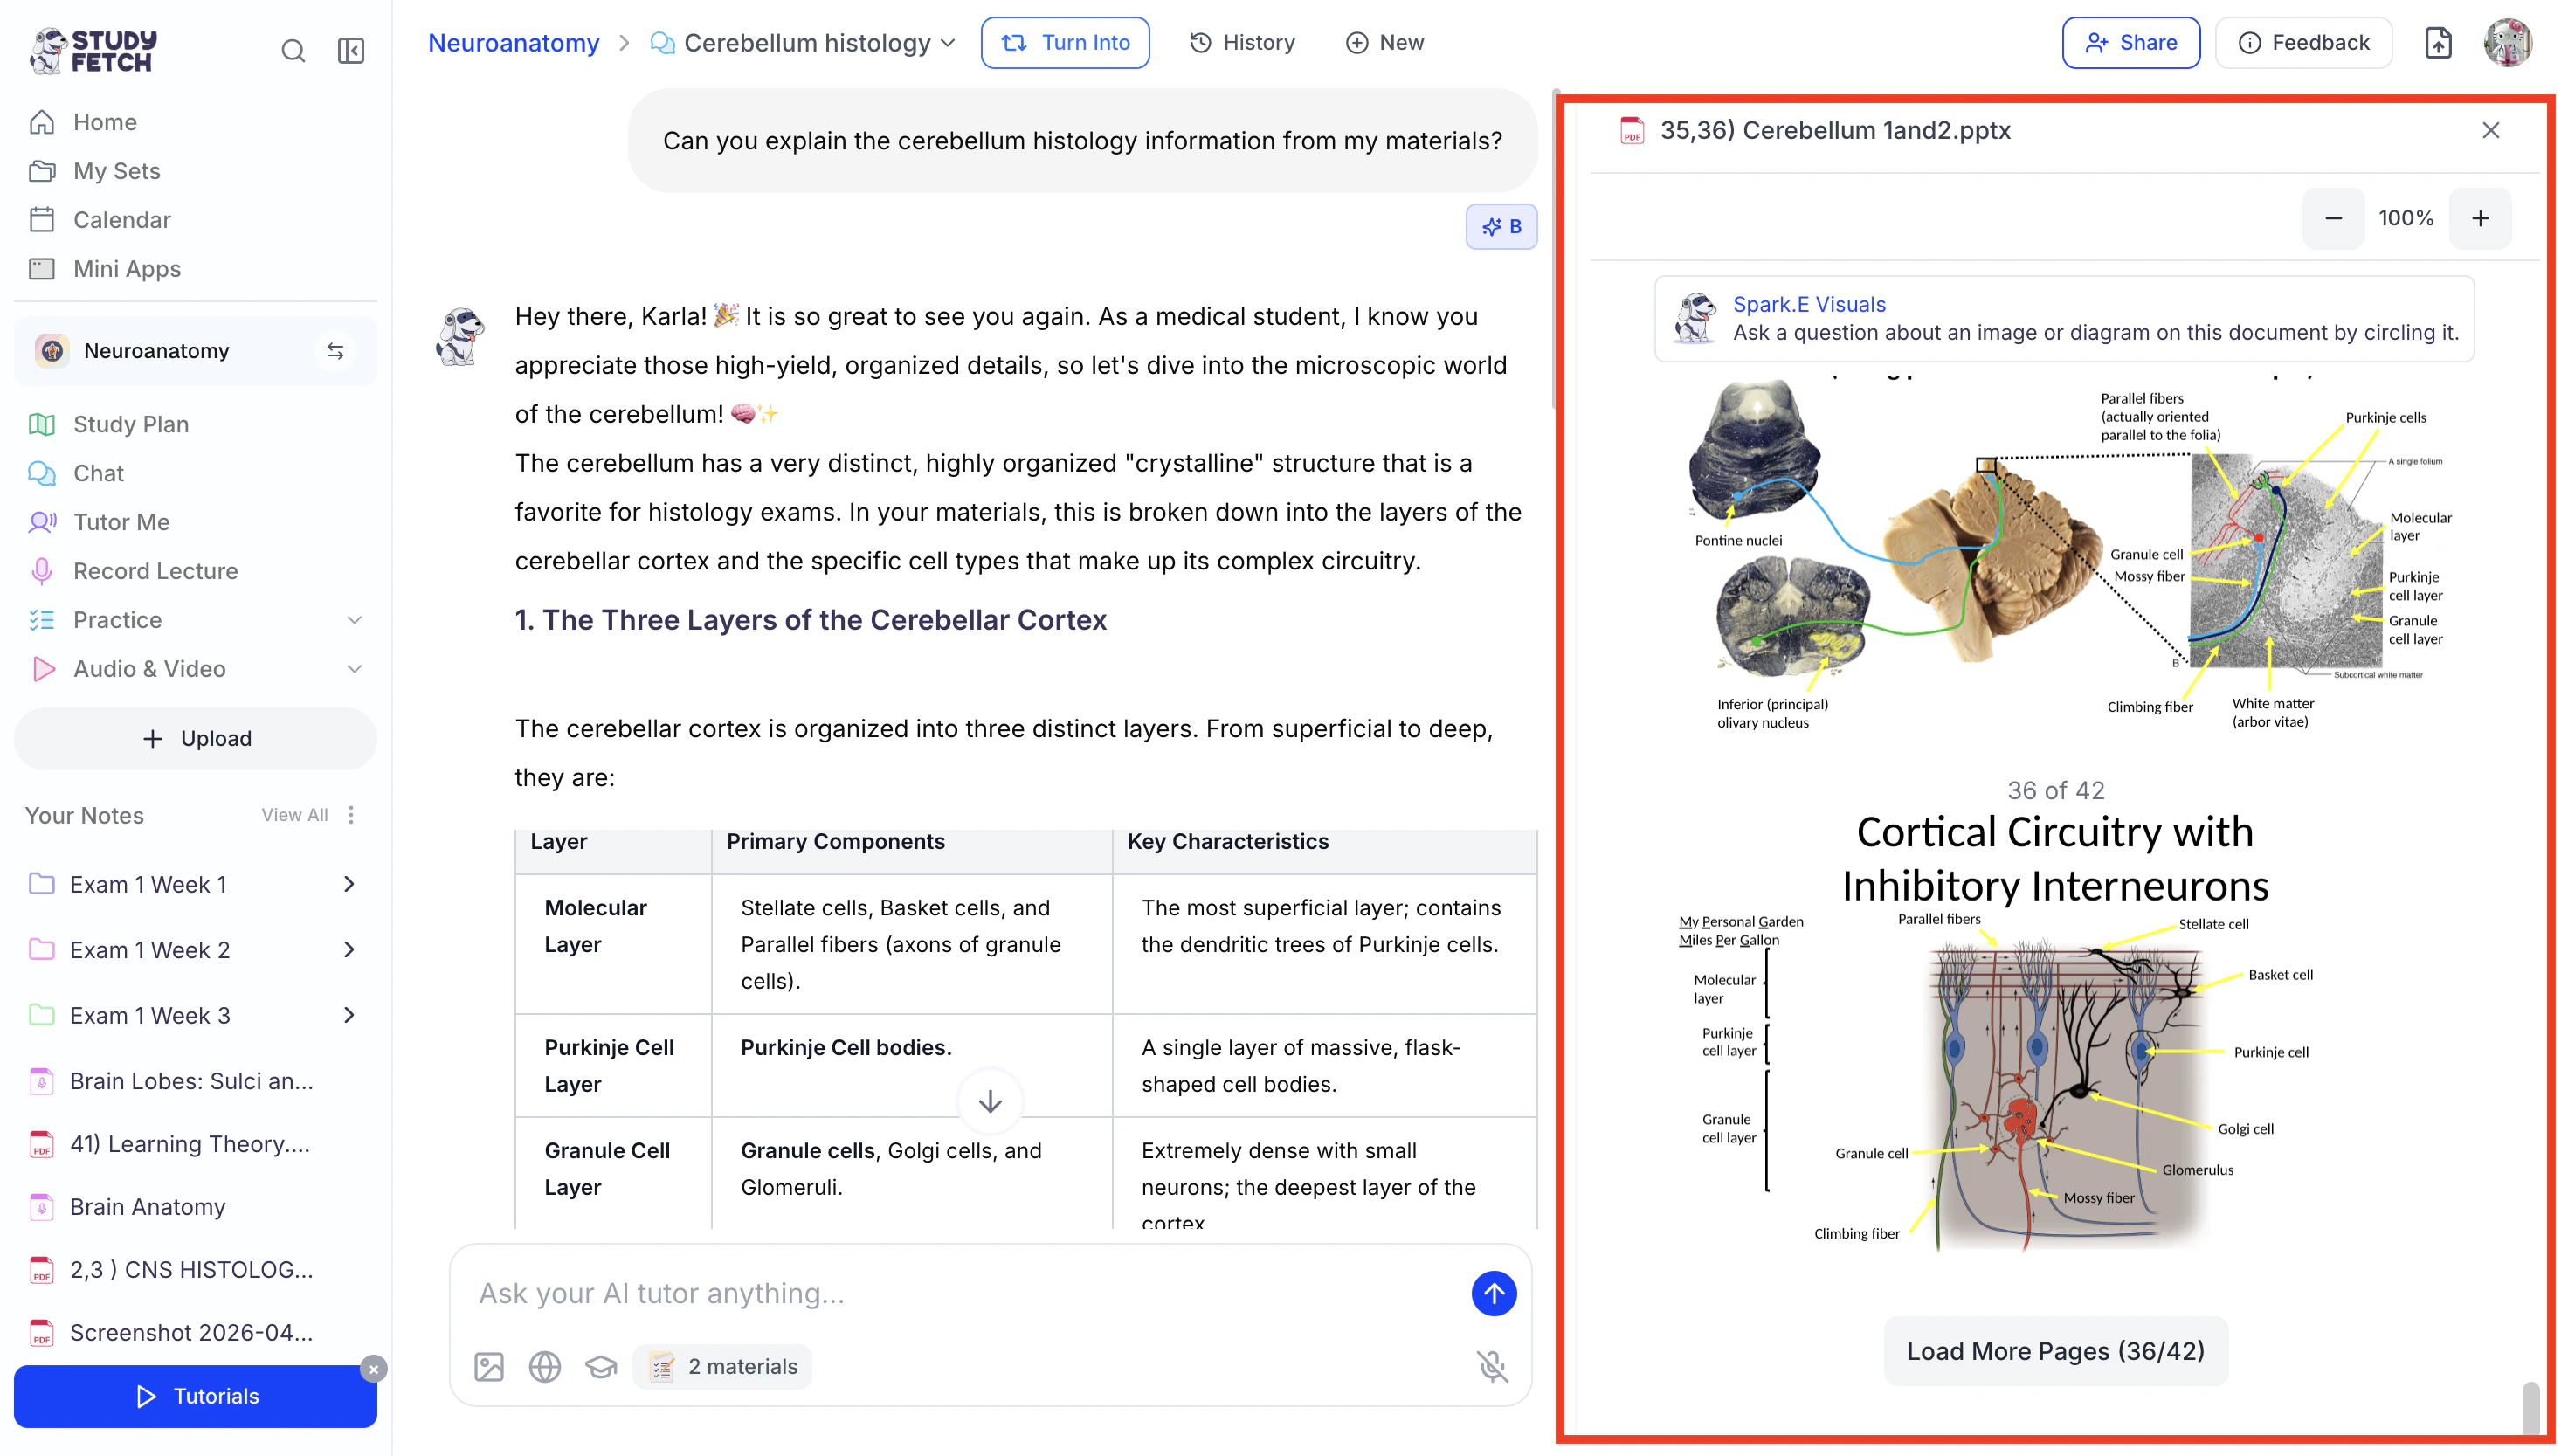
You can click these references to open the side panel and view the exact section being referenced—allowing you to see your AI tutor’s explanations side by side with your own study material.

Method 2: Adding New Material
- Select + Upload New Material to import material you haven’t uploaded to your Study Set.
- A new tab will open in your browser, taking you directly to the Upload Materials page, where you can add your material file(s) to your study set.
- Next, follow the steps found in the Material Upload Options Step-by-Step Guide section.
- When done uploading your materials, return to the tab with the Spark.E Chat and follow the steps listed in Method 1 above.
Viewing Chat History
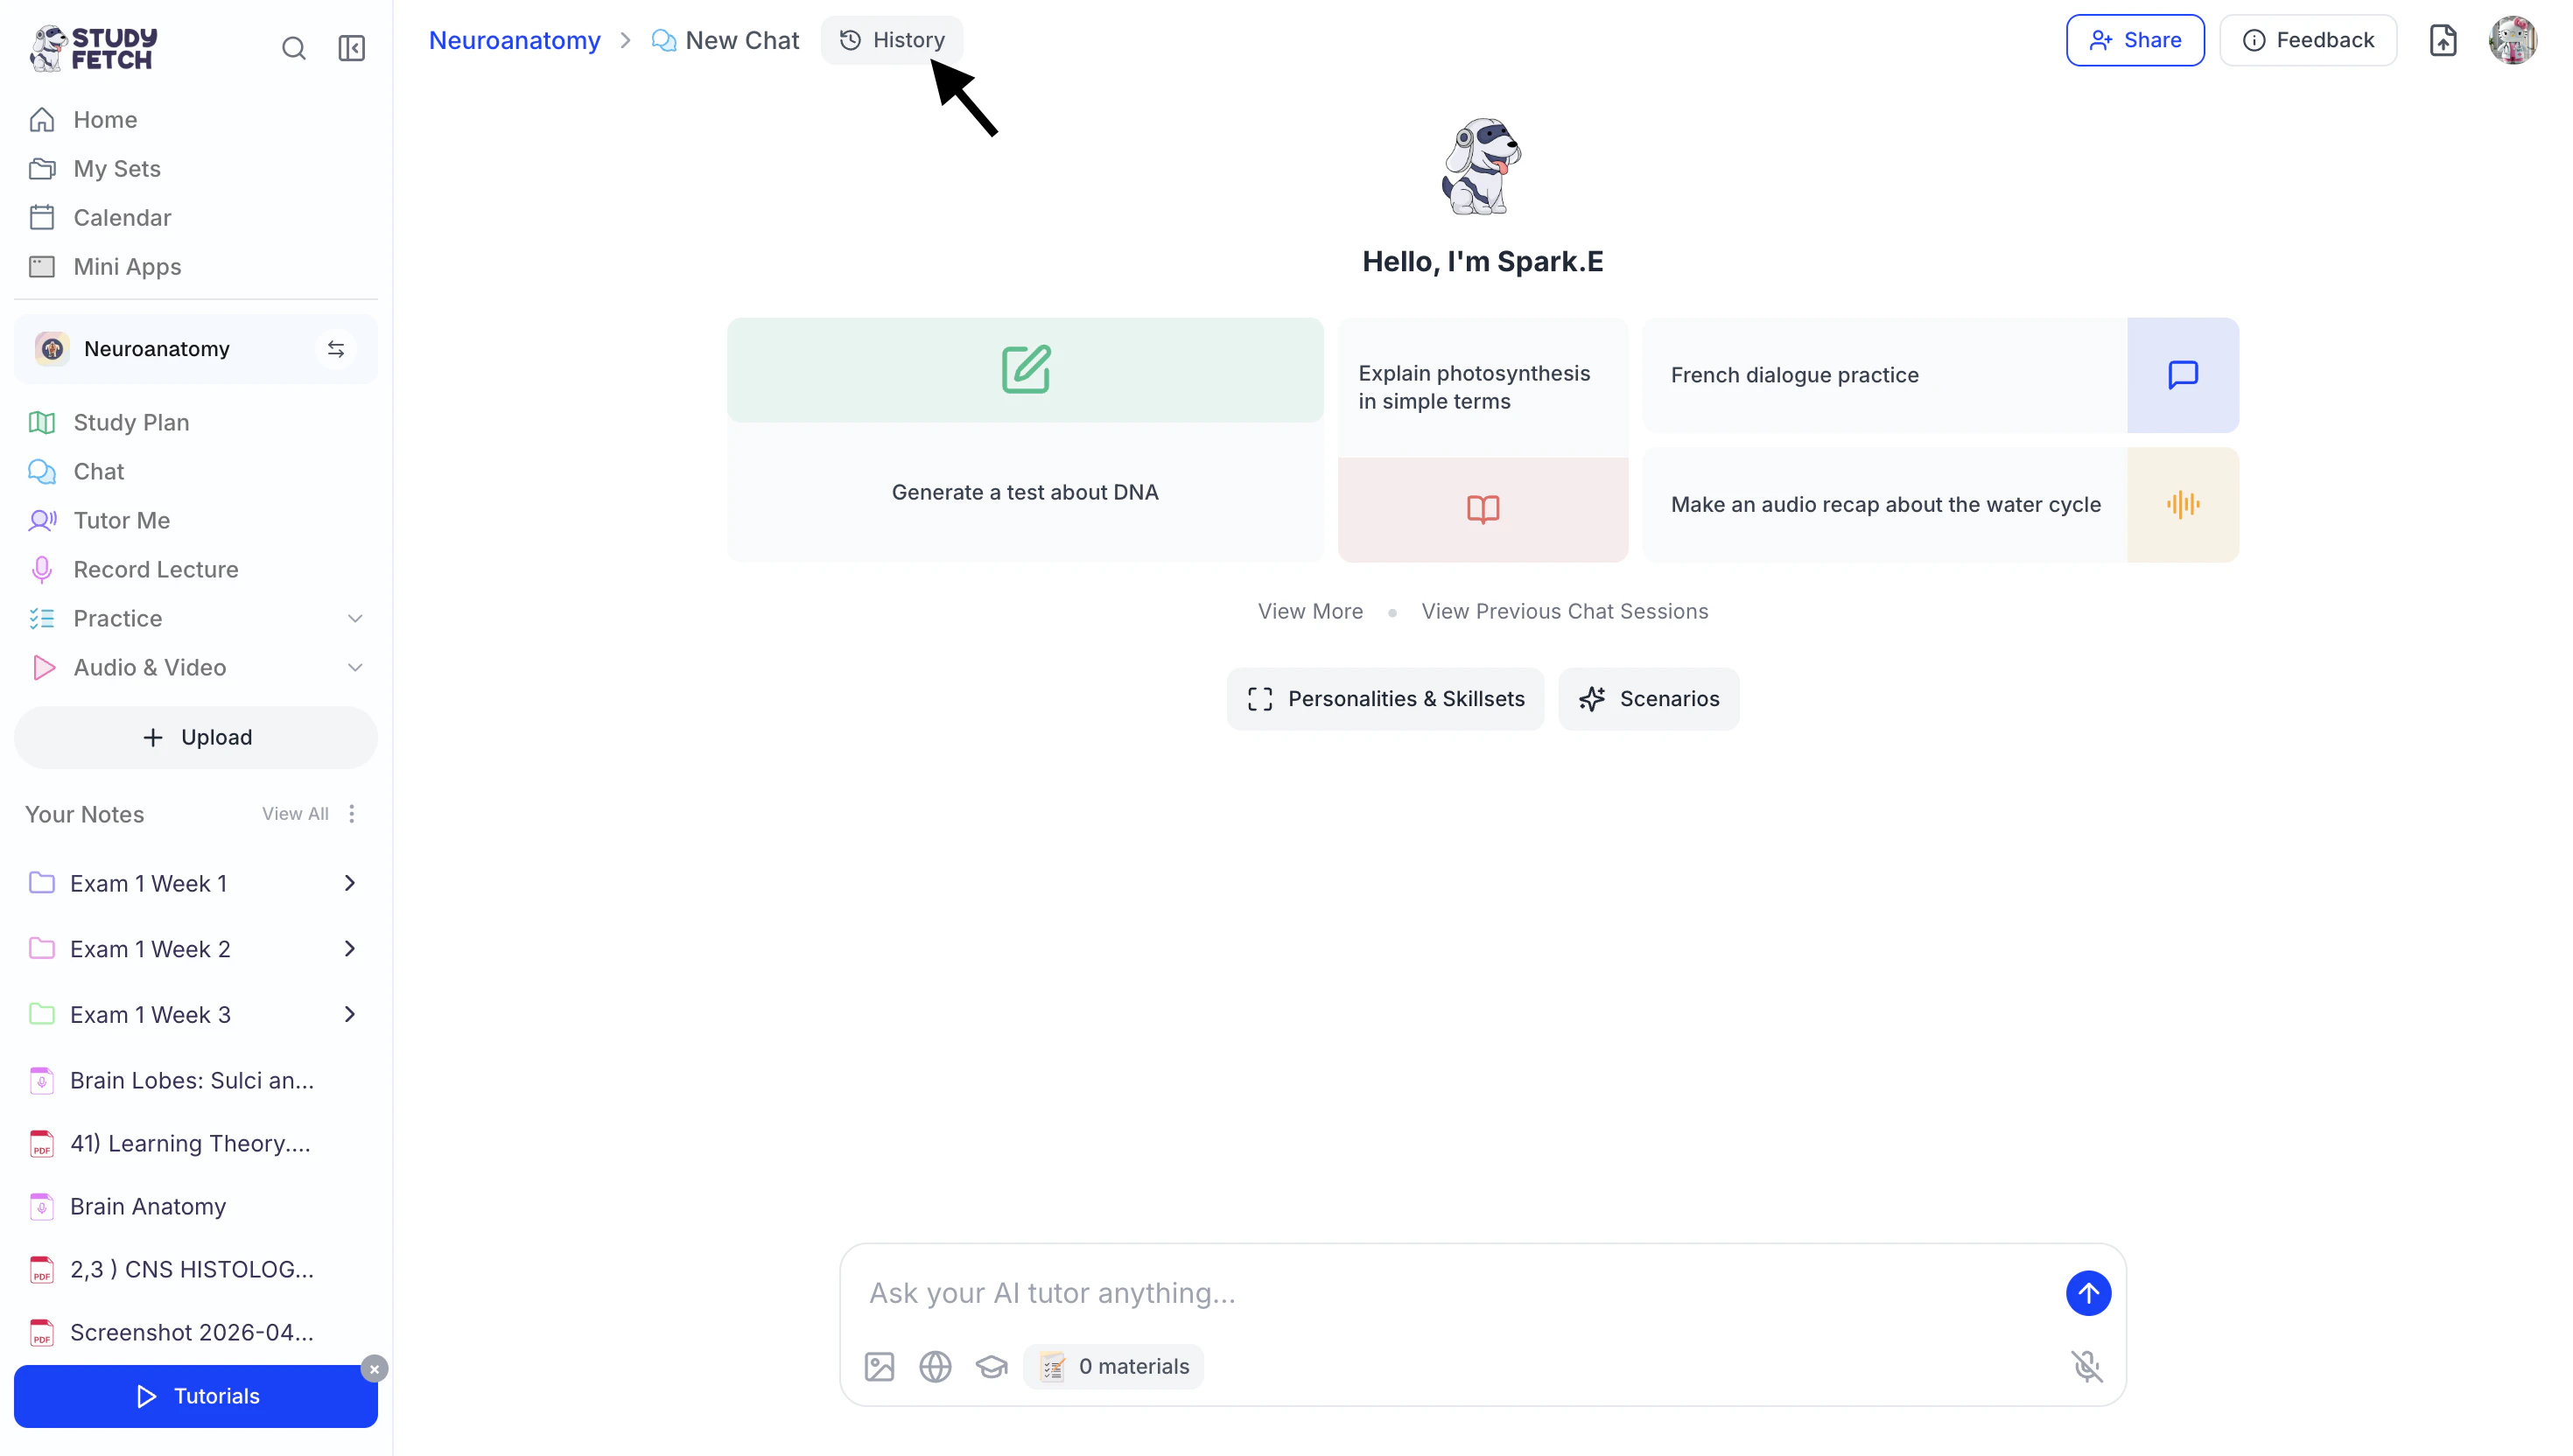
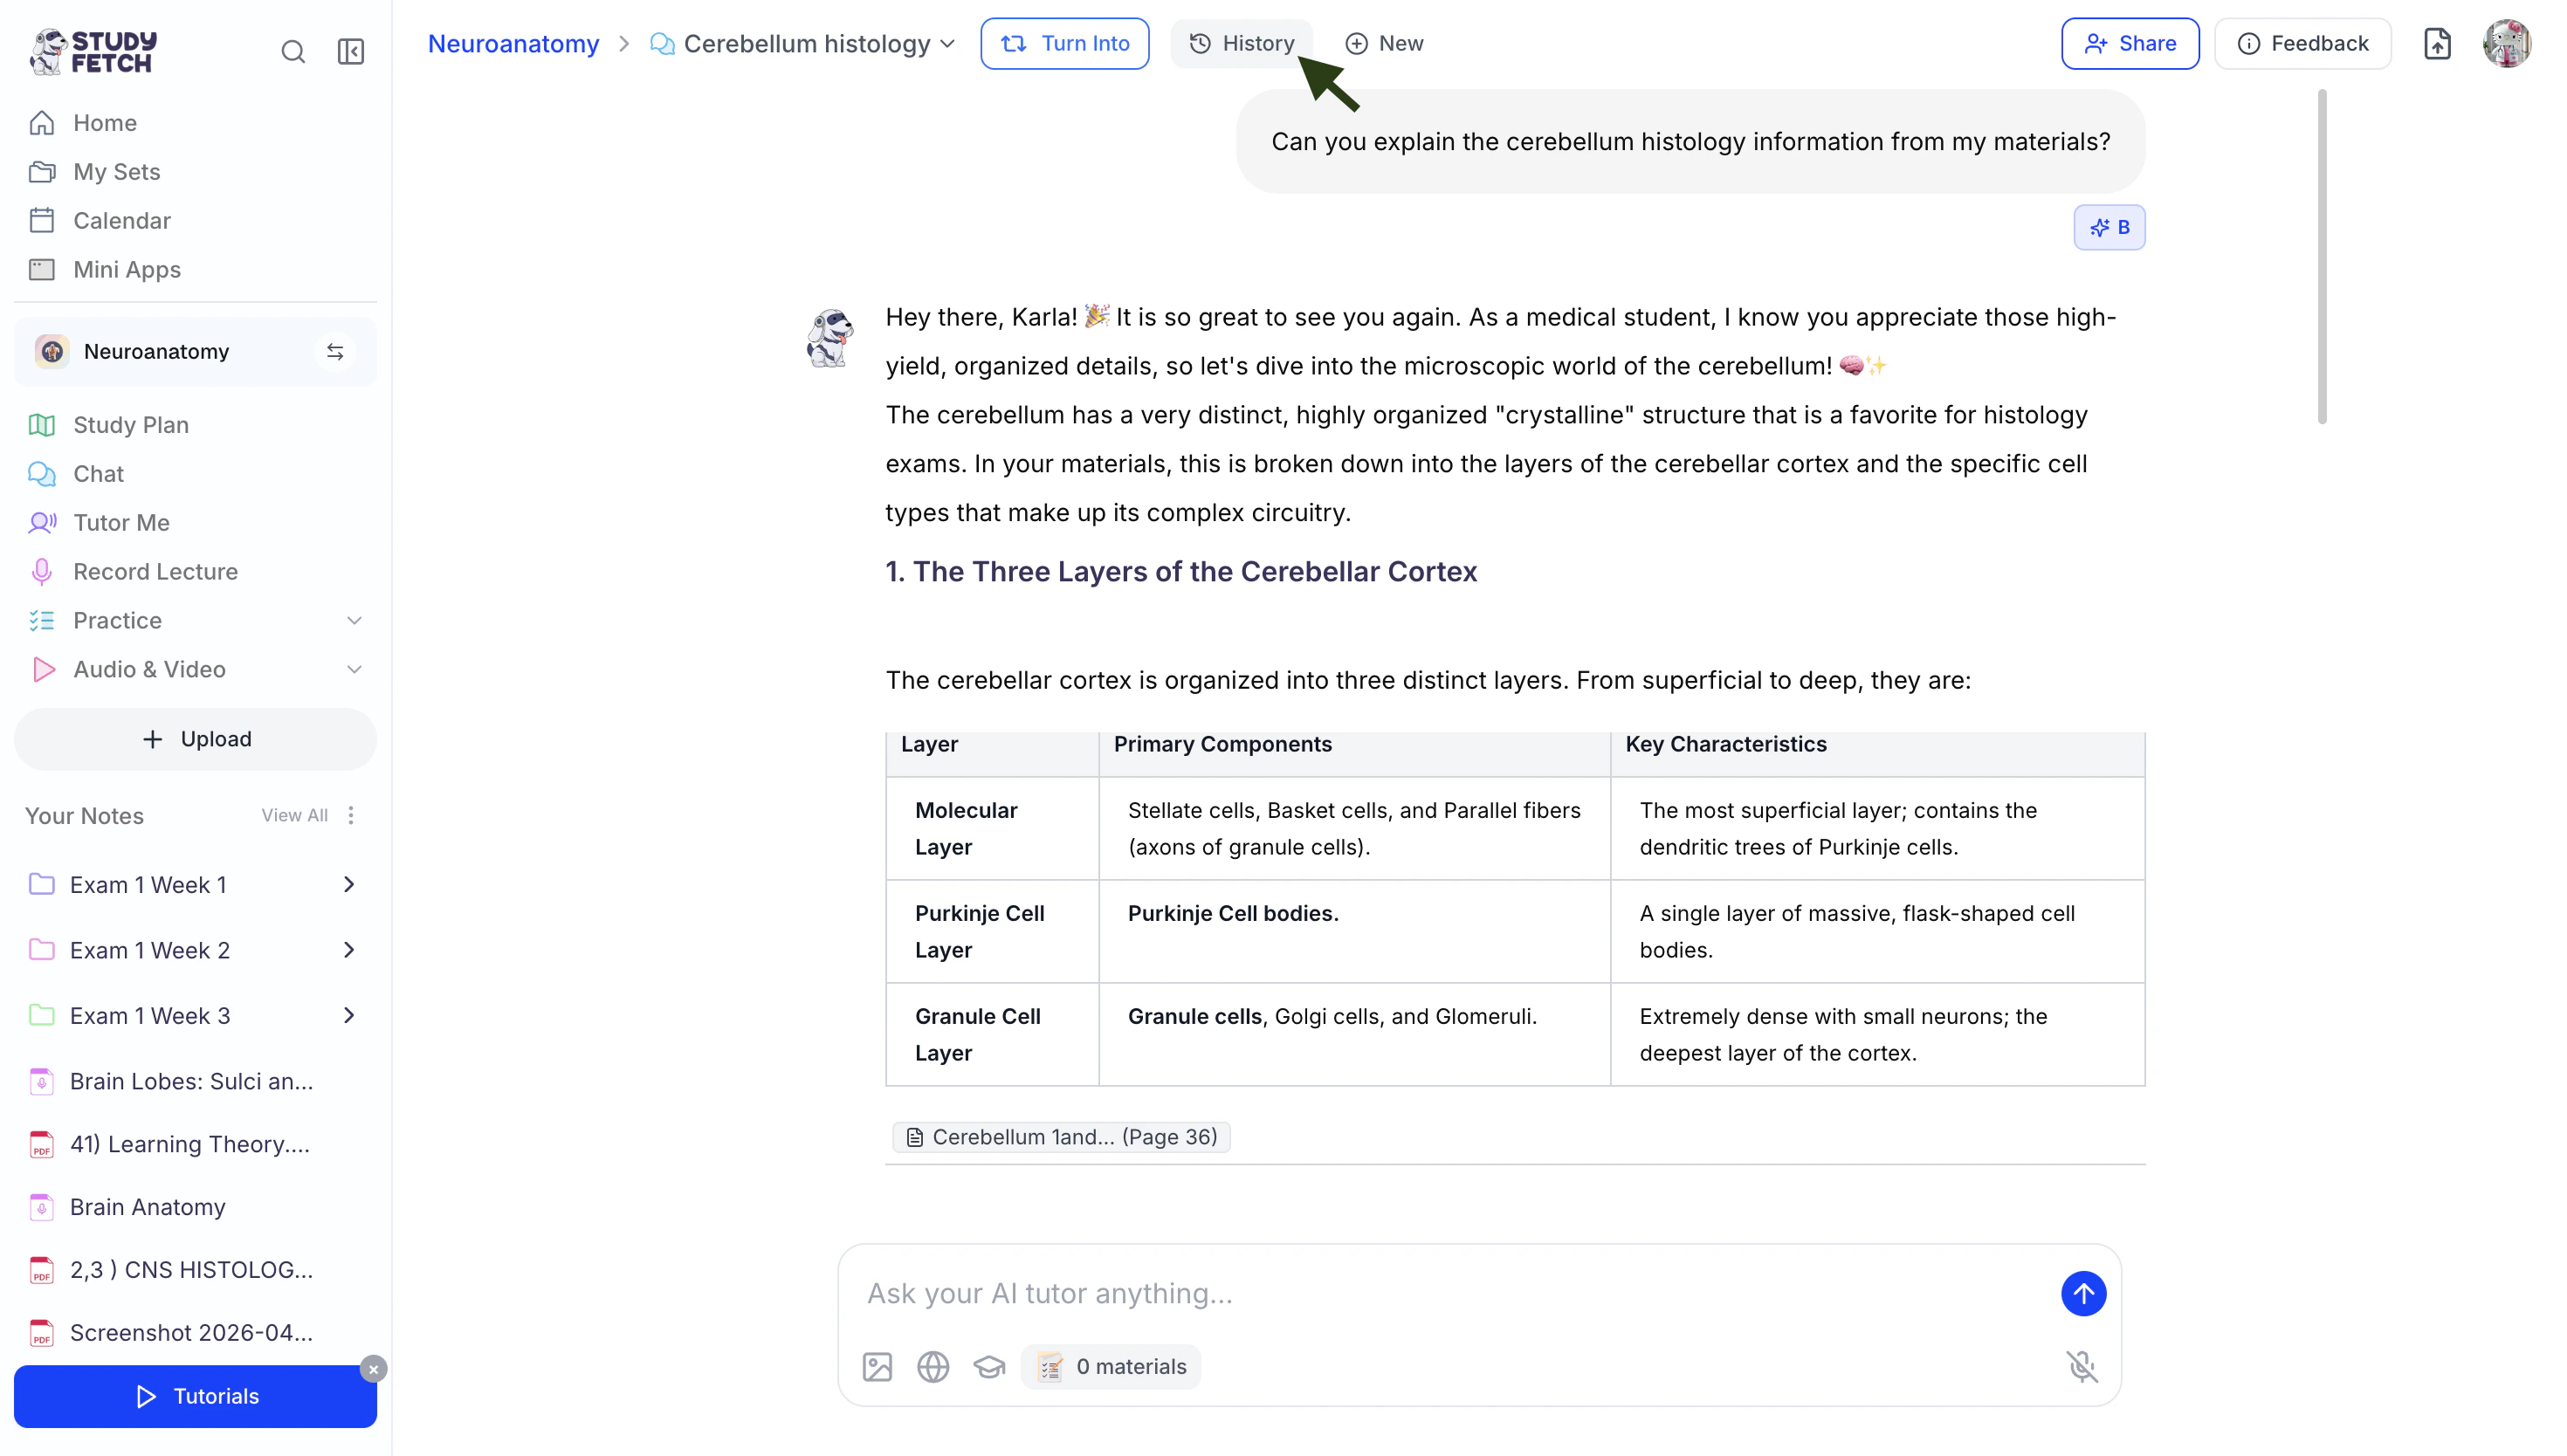
- Select the Chat History button in the upper left corner of your chat to view all of your conversations.
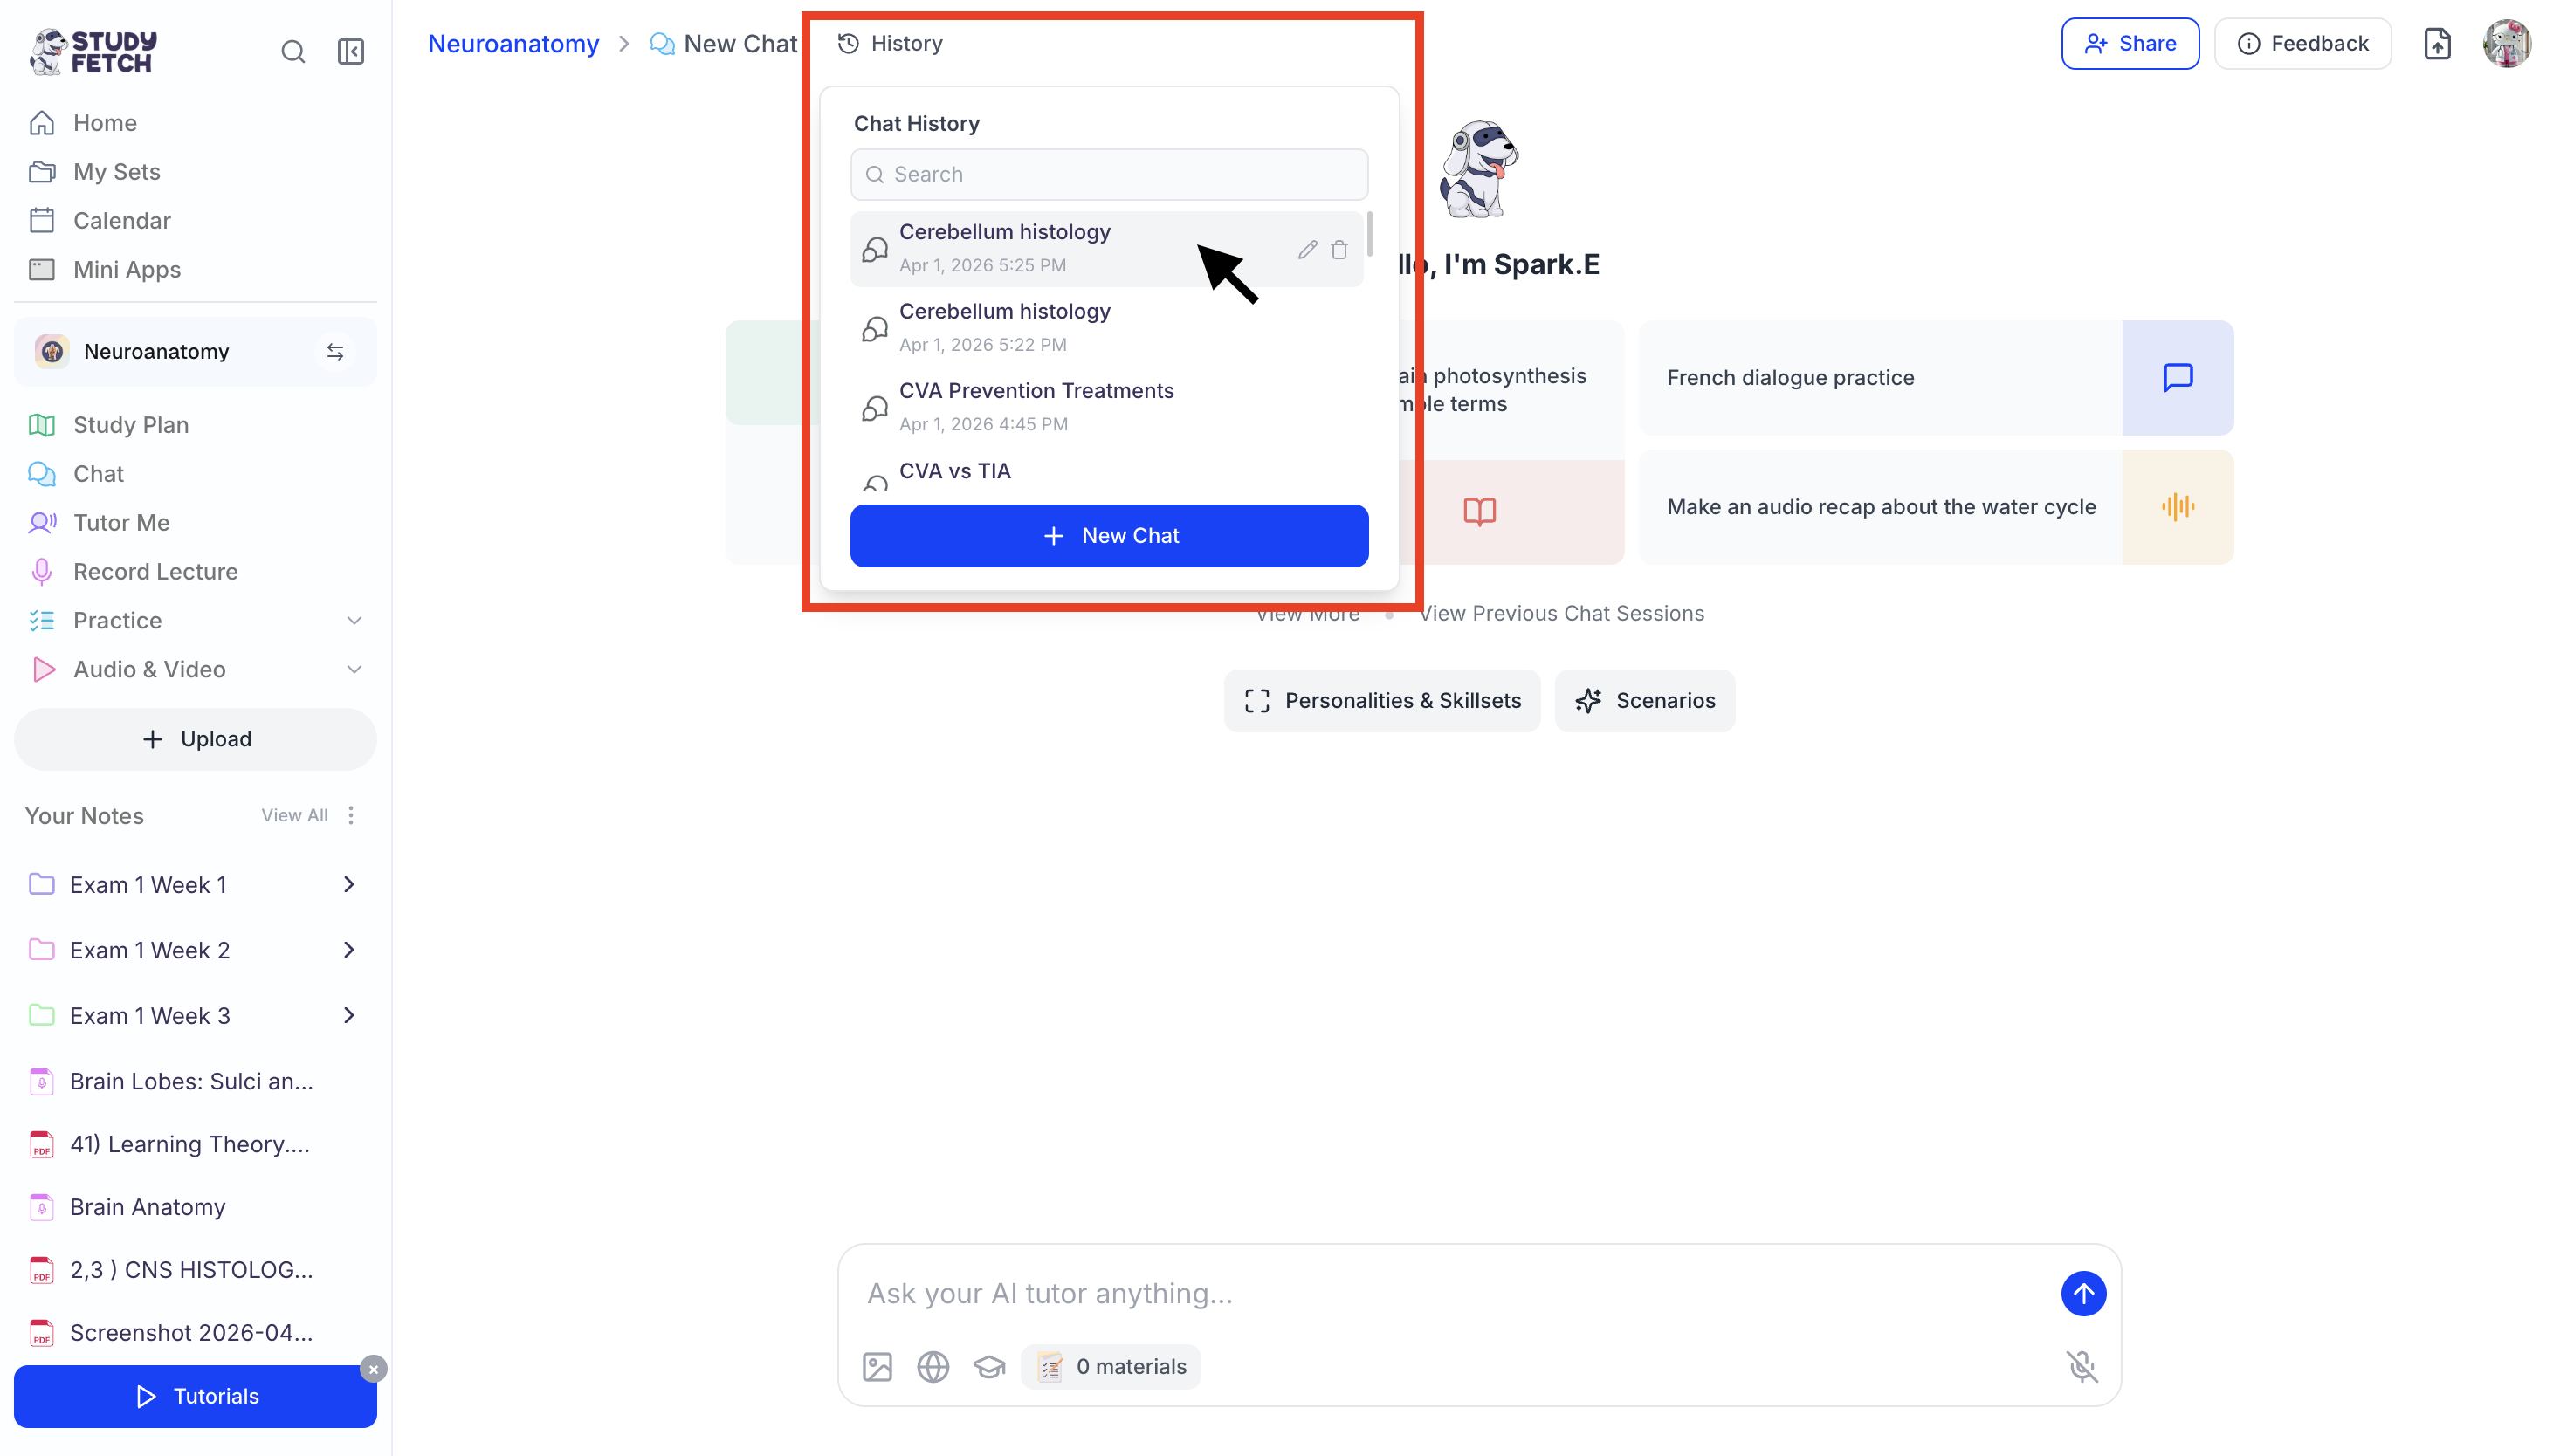
- You can use the search field or scroll to view all previous conversations.
- To switch back to a previous chat, simply click on the conversation you want to revisit.
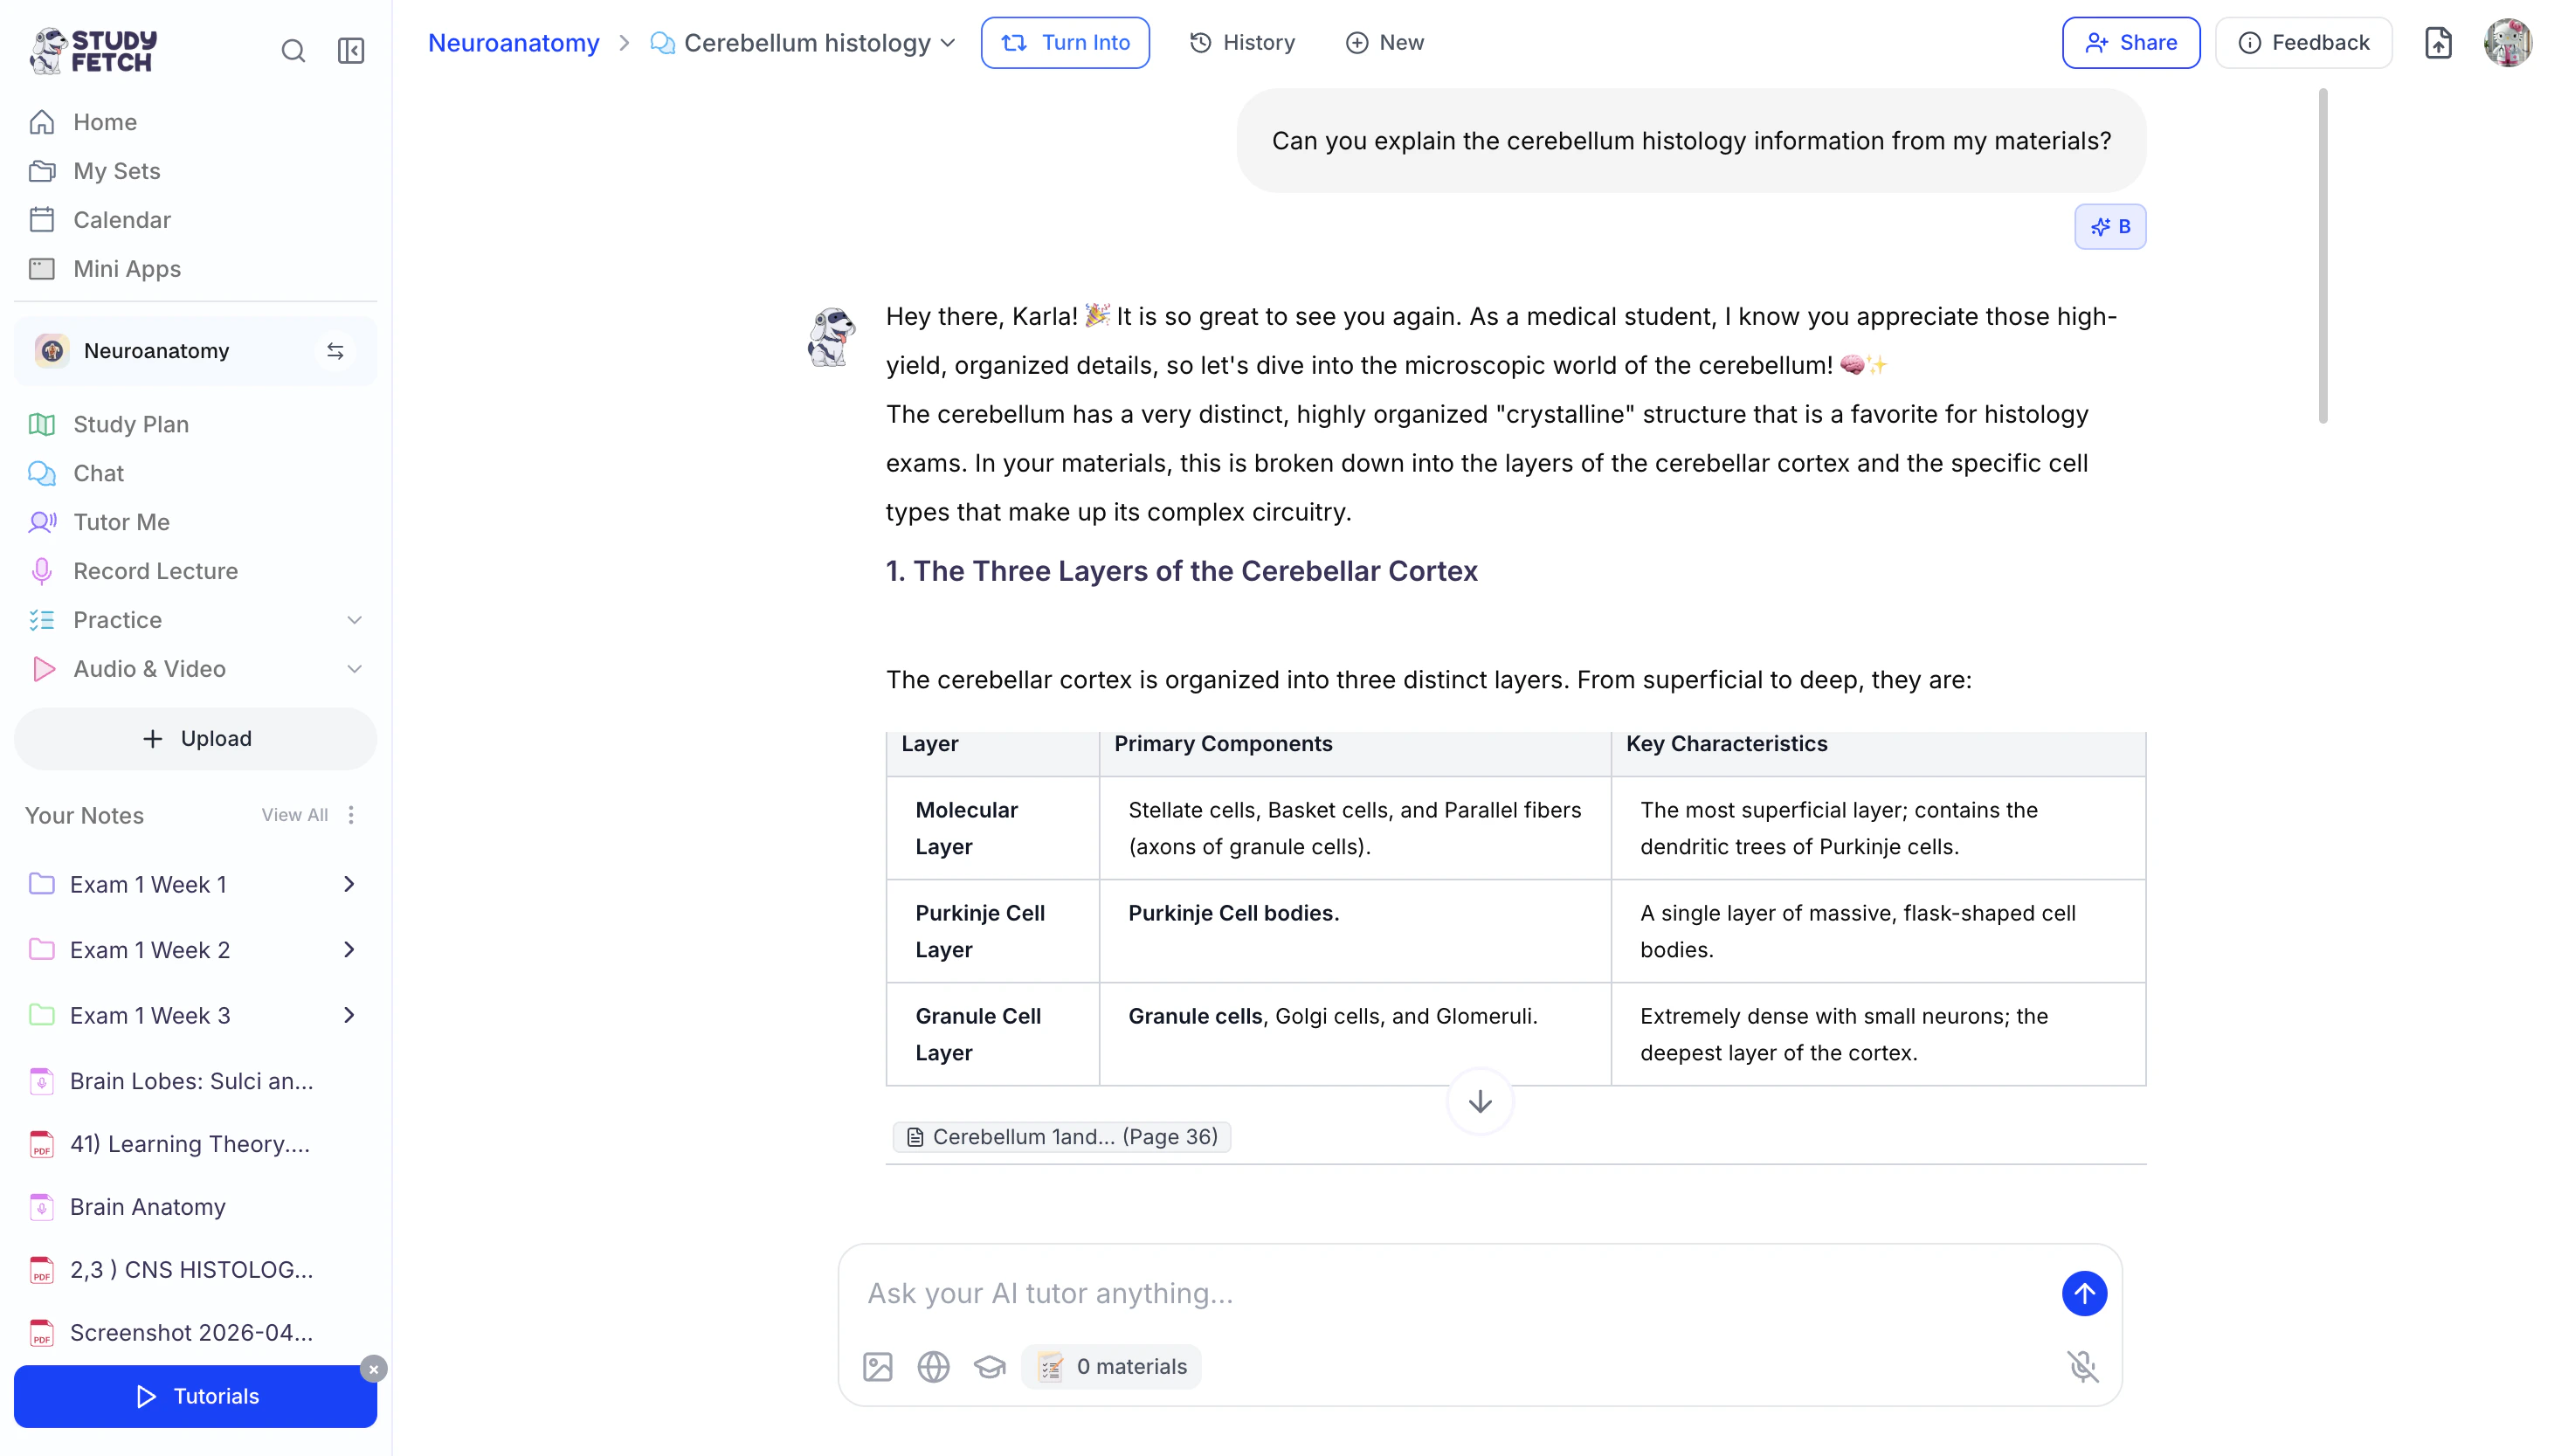
- The conversation will load, allowing you to pick up right where you left off.
Starting a New Chat
- To start a new chat conversation, click the New option from the top of the chat screen.
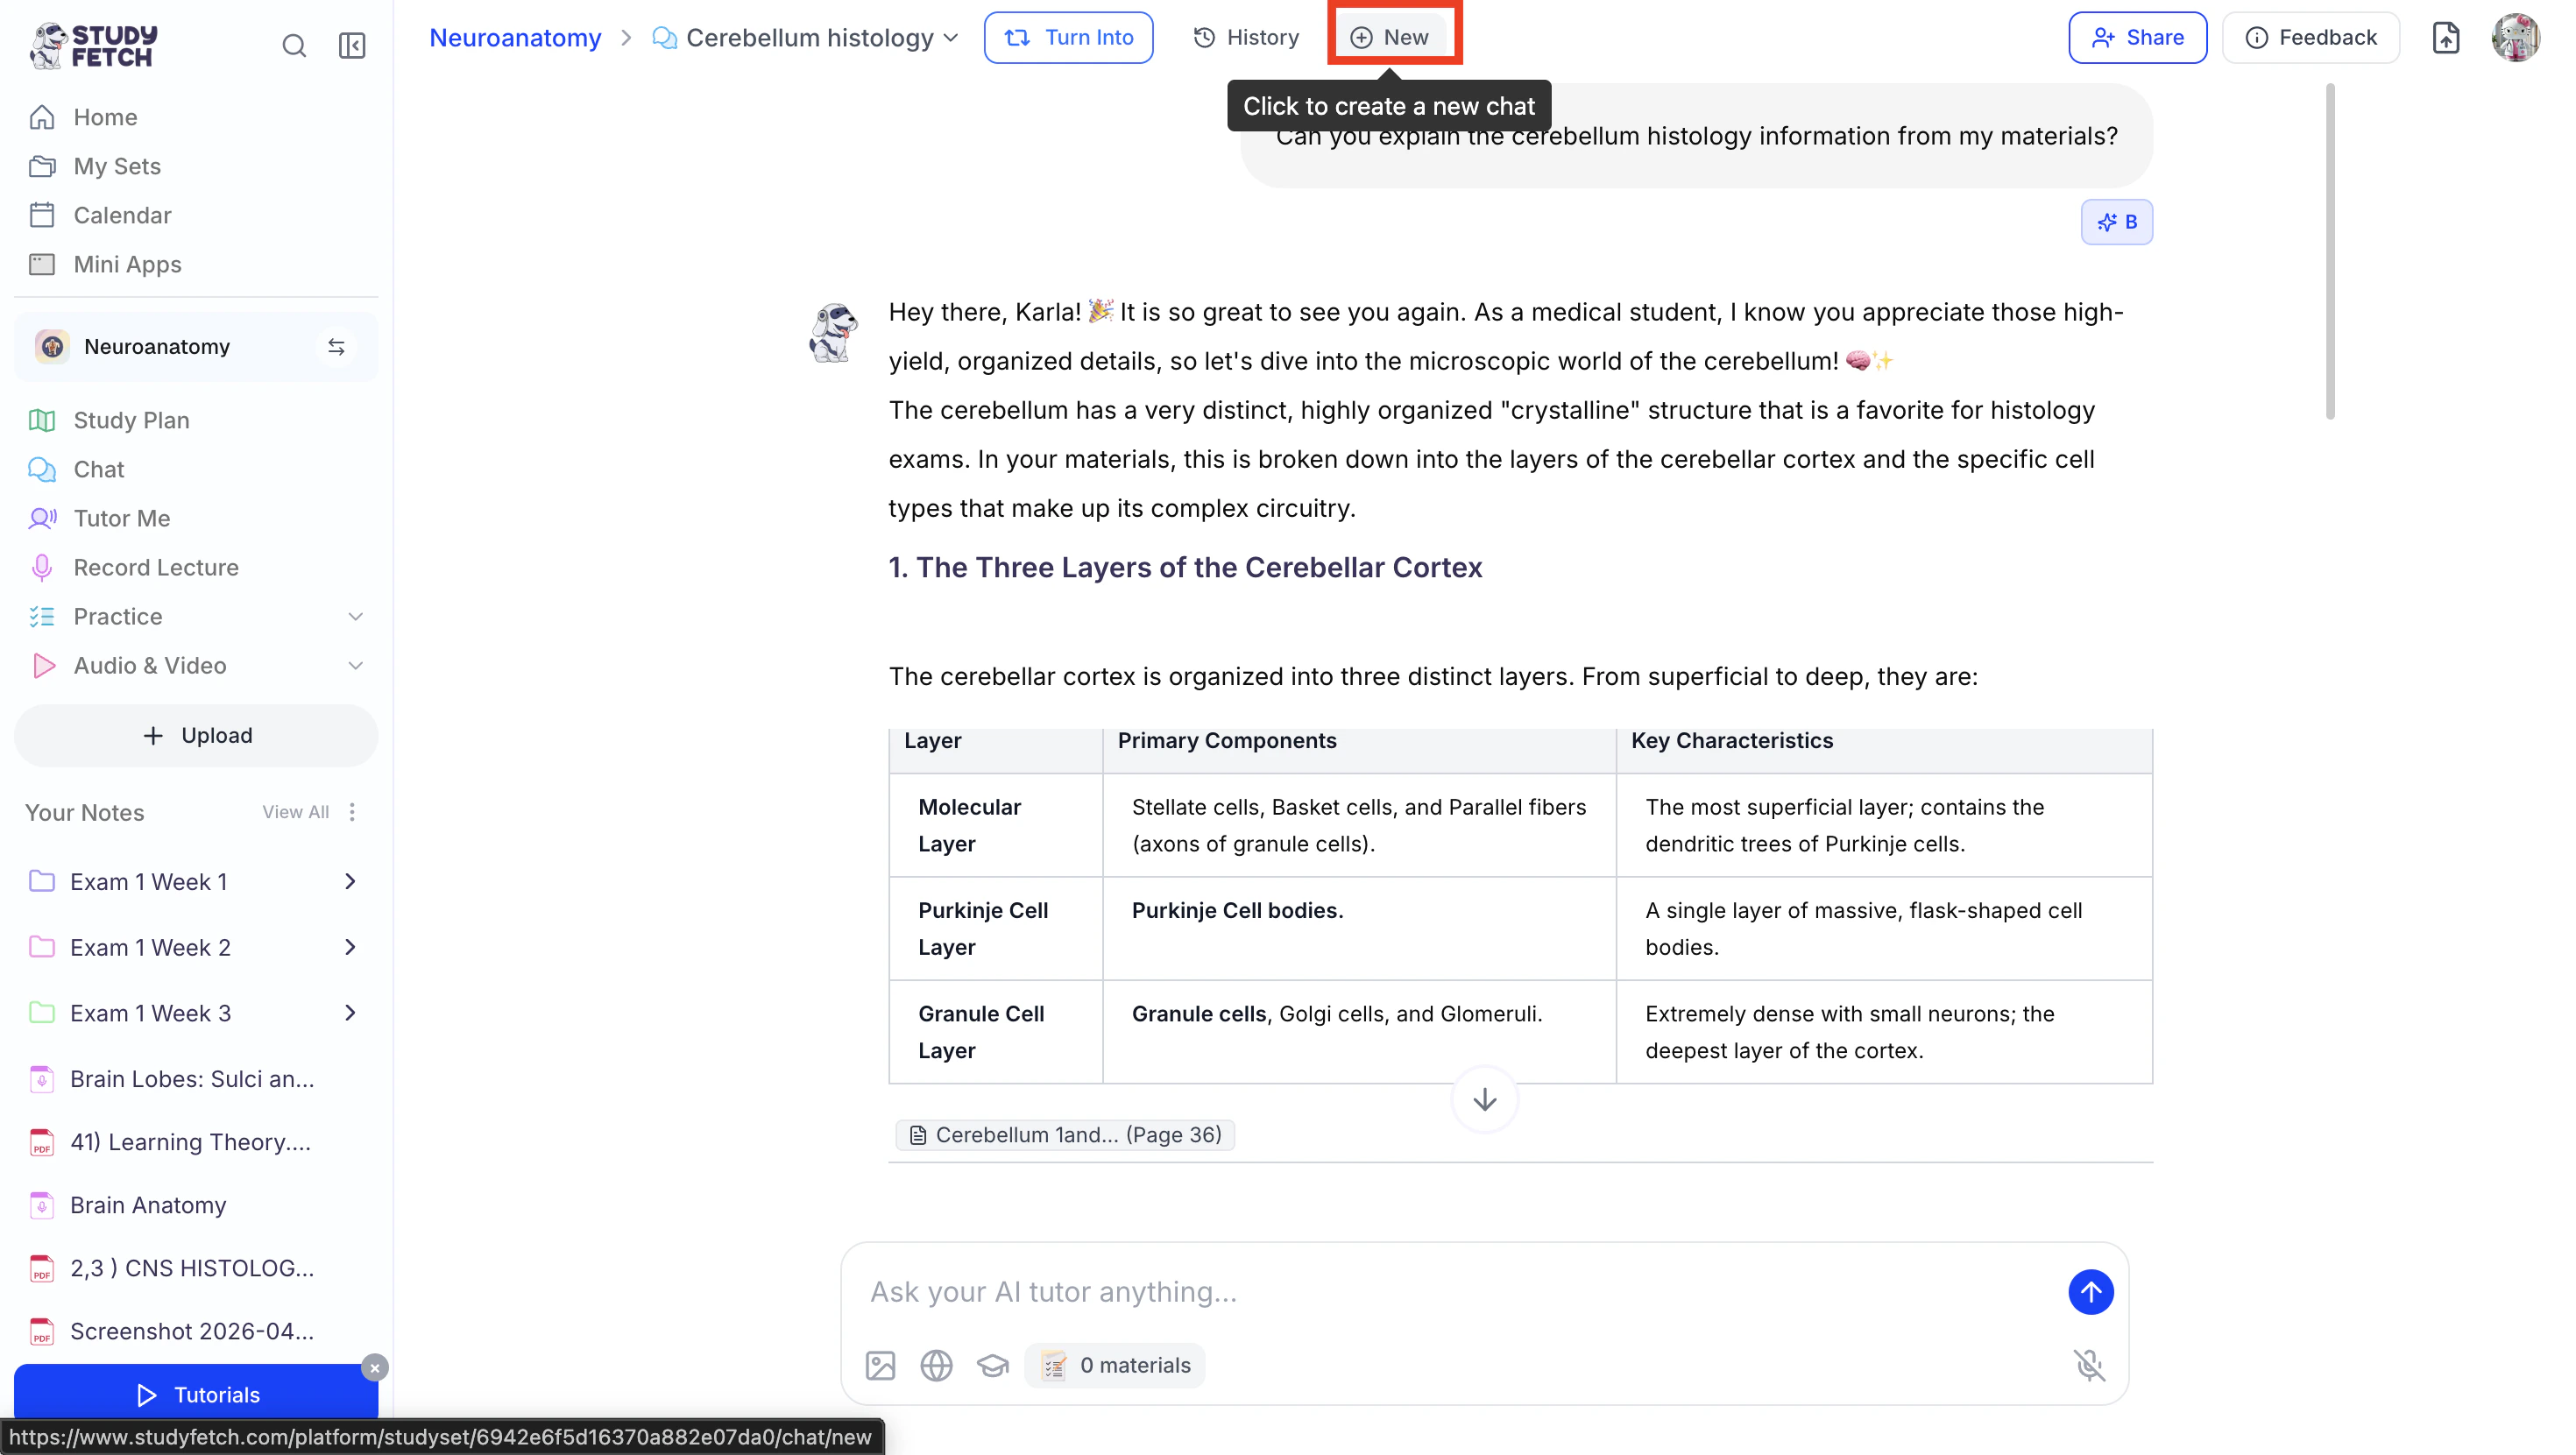
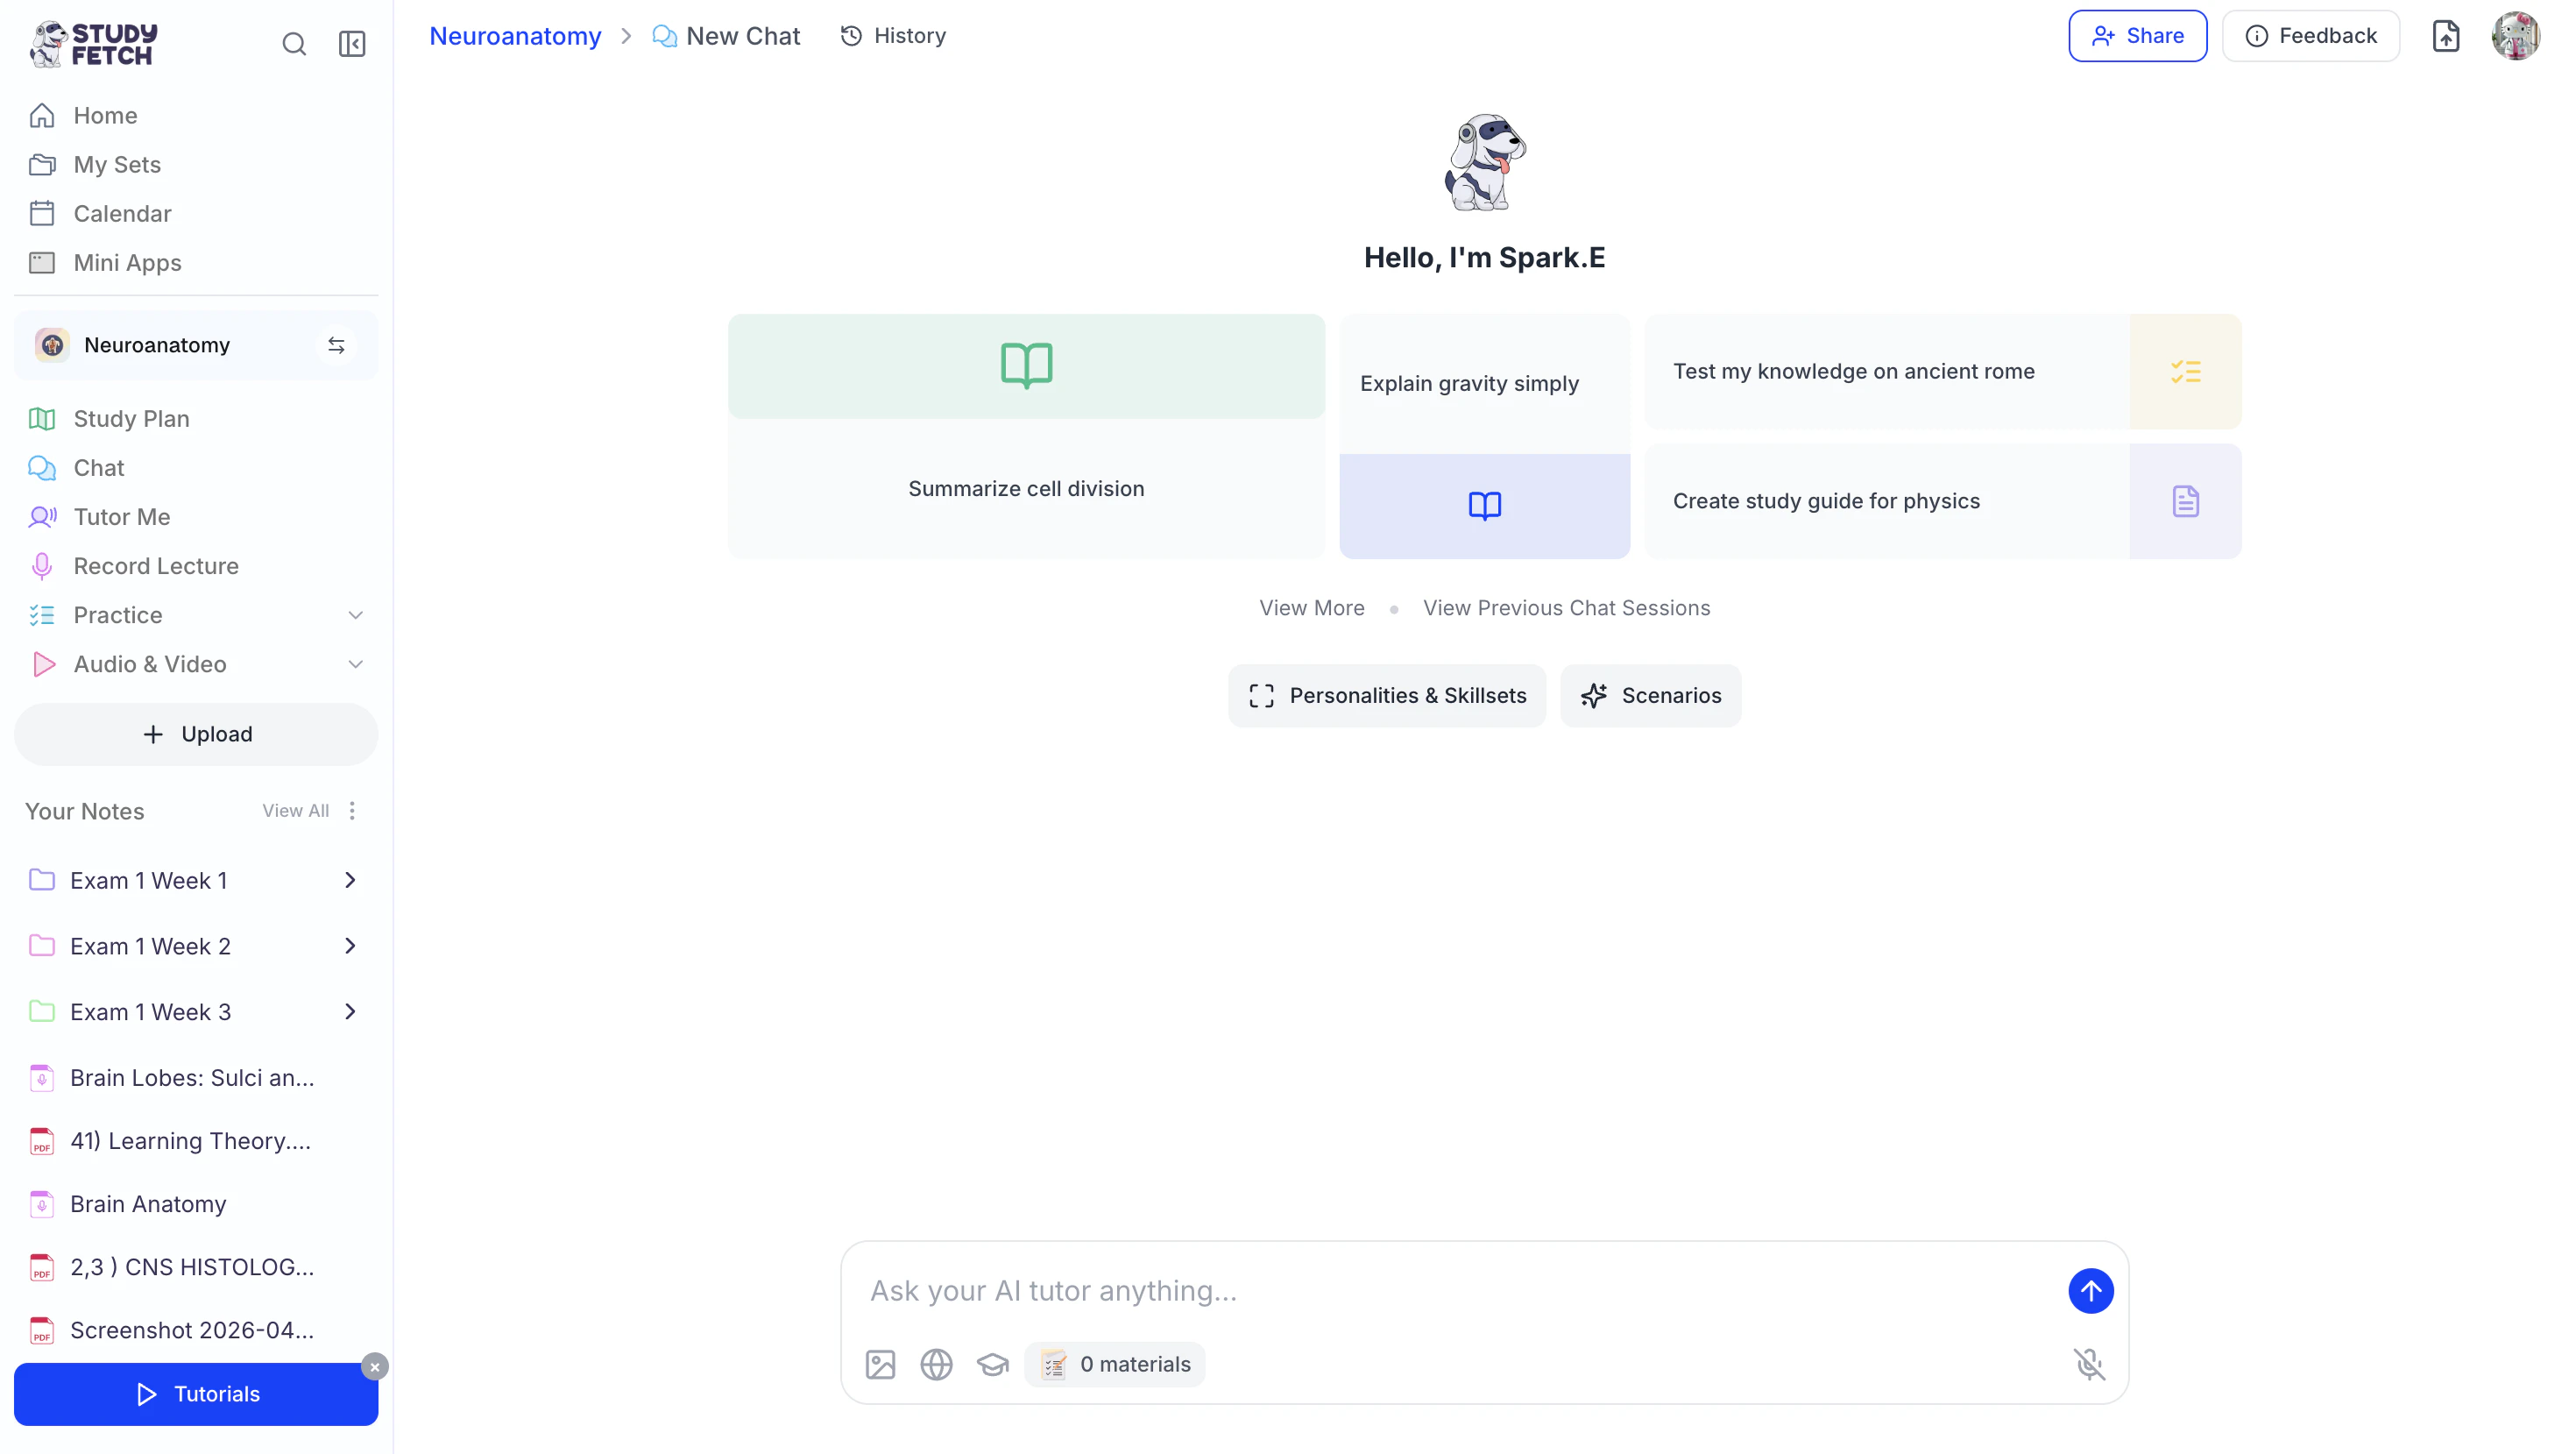
- A New Chat will appear instantly, allowing you to start a new conversation with your AI tutor Spark.E.
Managing your Chat Sessions
Rename Your Chat Session
- Click the downward arrow to the right of your chat session name and then click Rename.

- You can edit the existing name or enter a new name in the Name field.
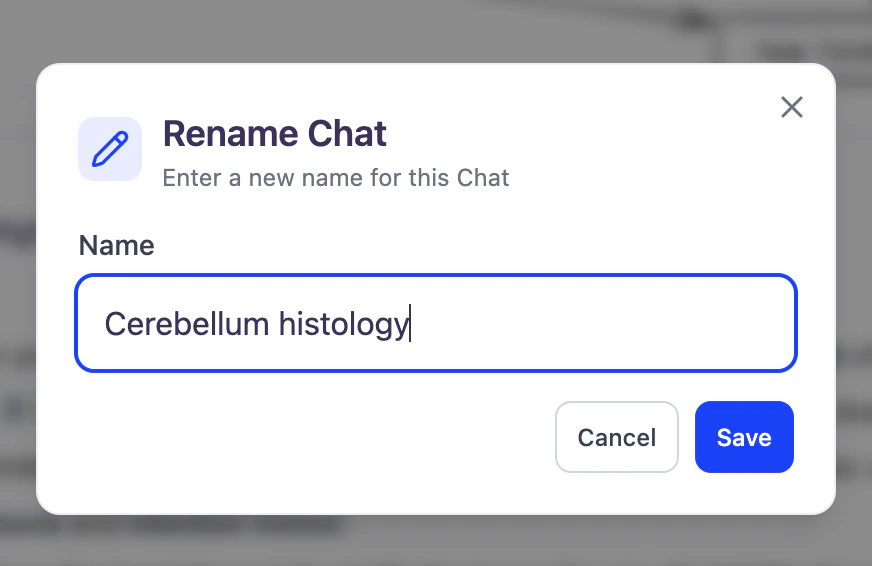
- When done click Save.
Share Your Chat Session
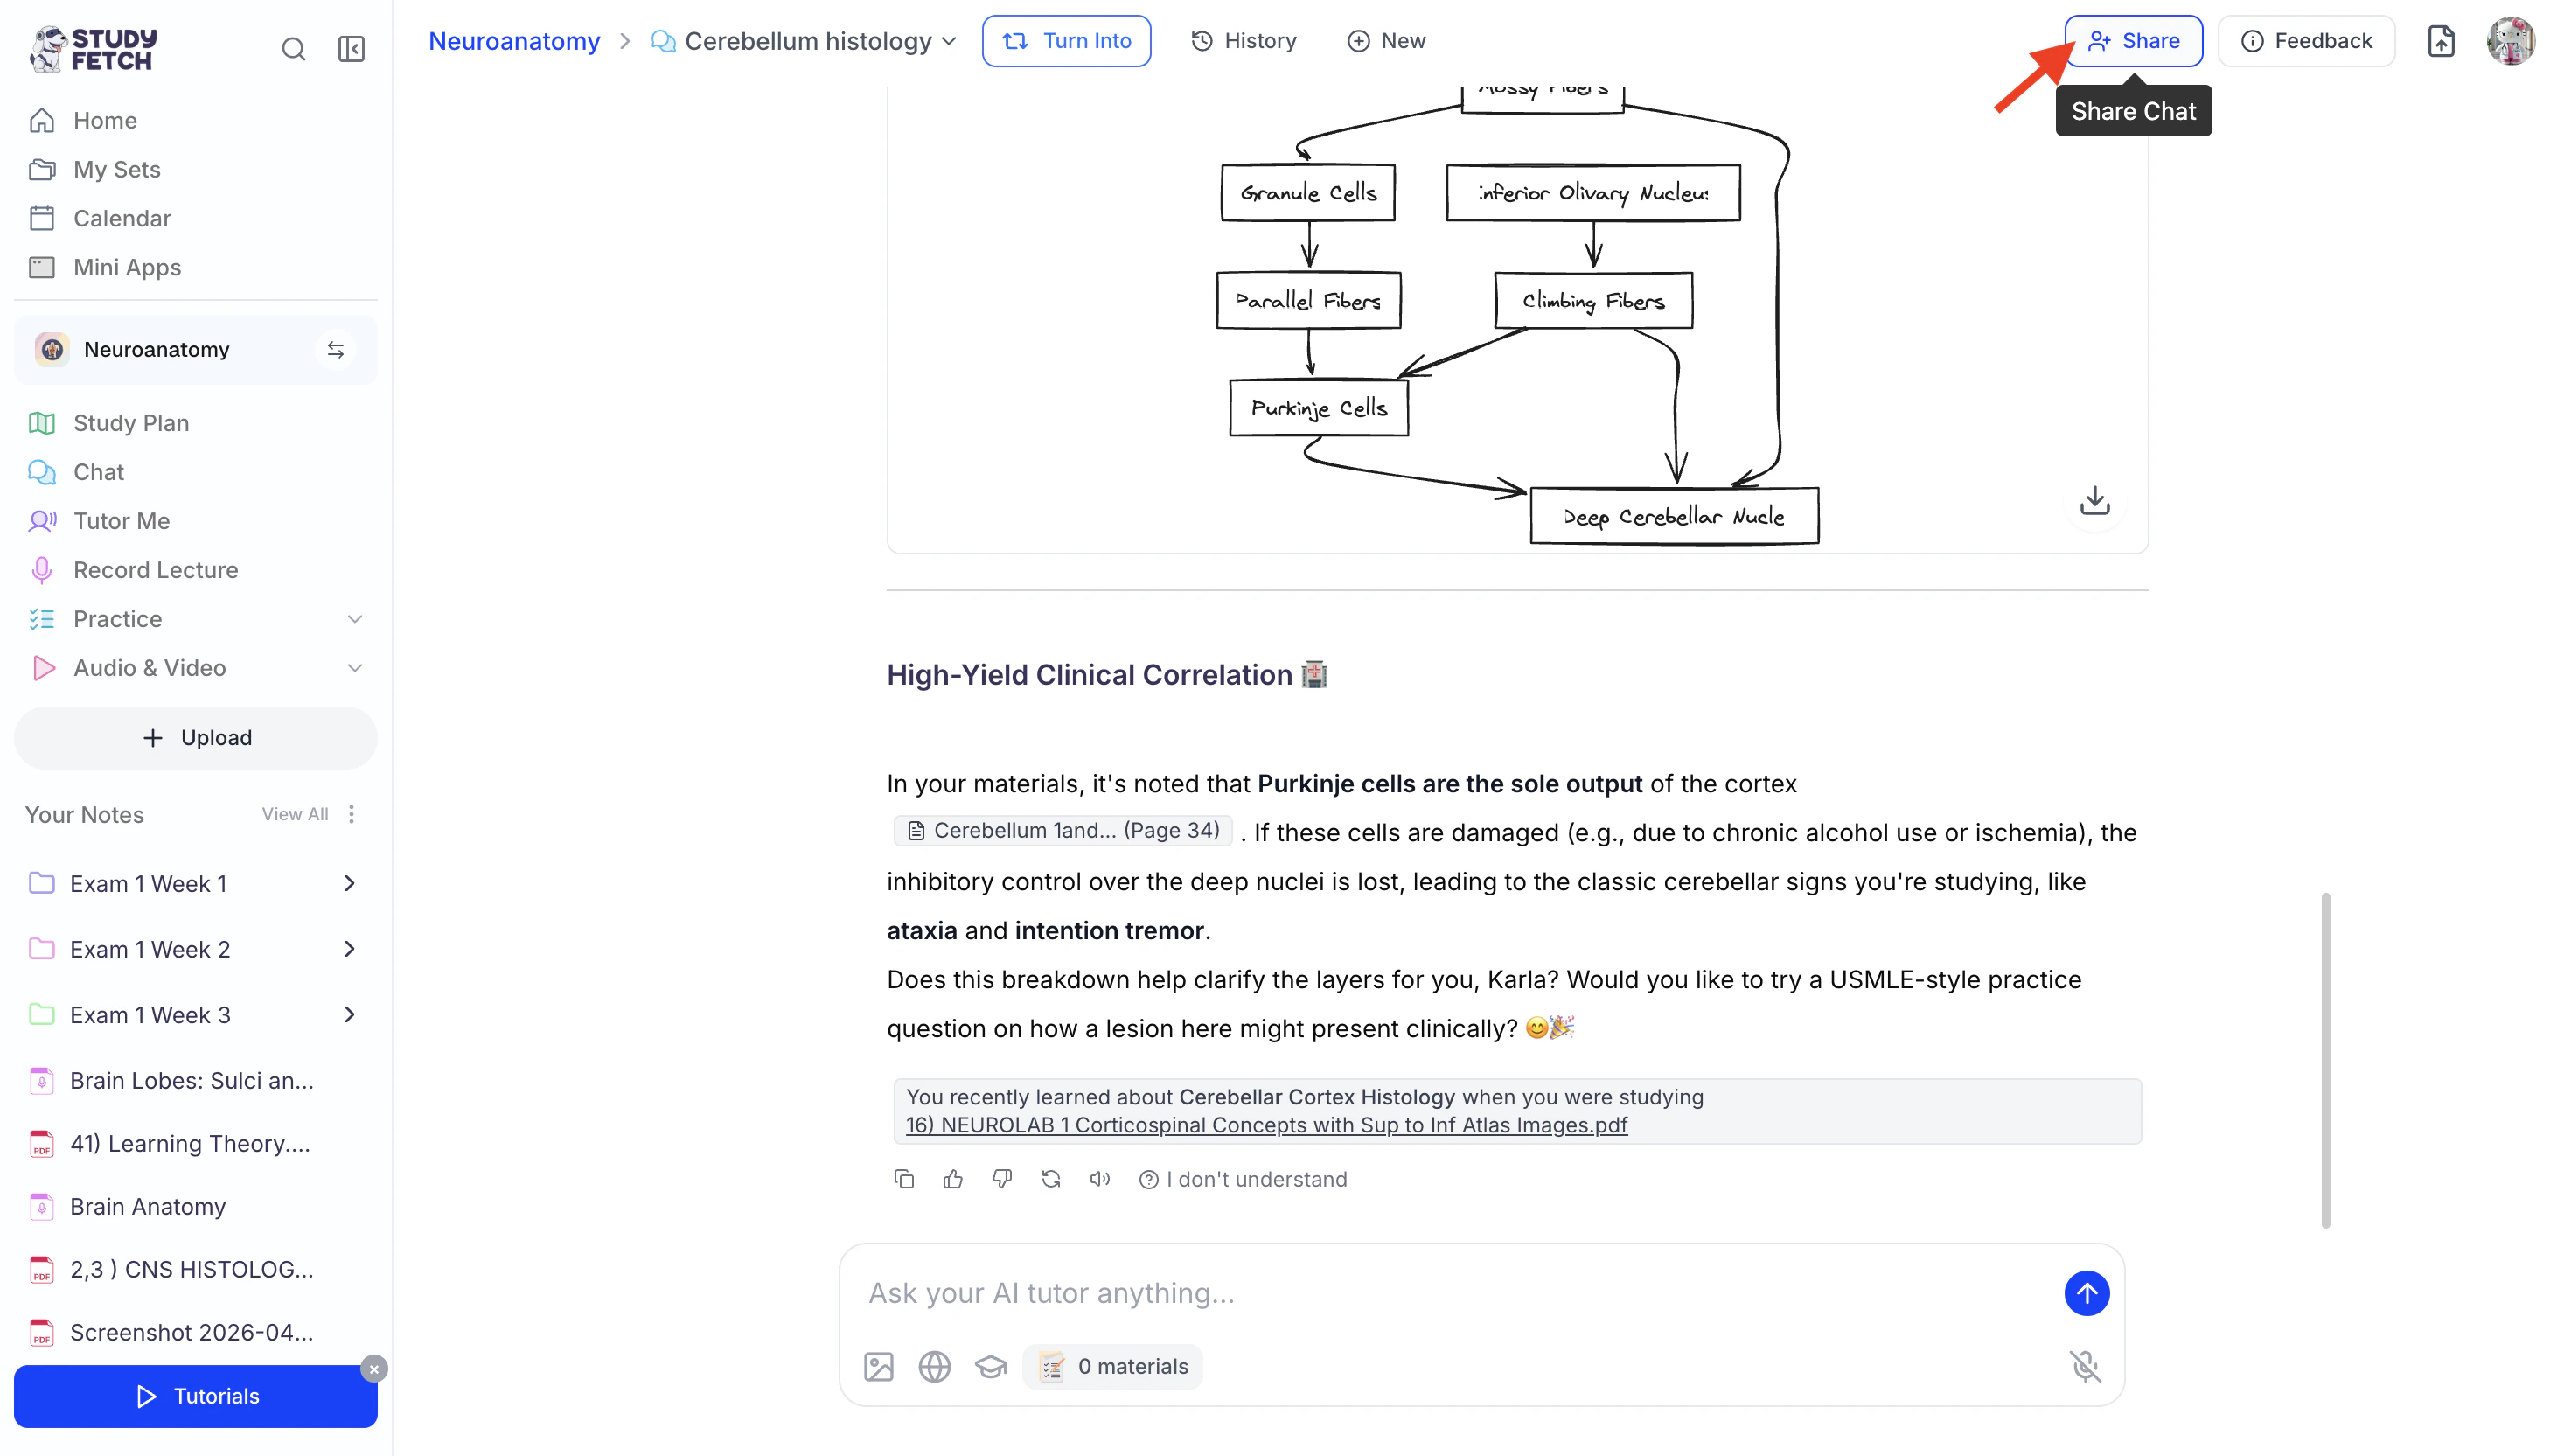
Found your chat conversation helpful? Feel free to share it with friends or classmates who may benefit from it as well.- Select Share from the top right or…
- Click the downward arrow to the right of your chat session name and then click Share.

- Copy the link by clicking the Copy Link button from the bottom left corner.
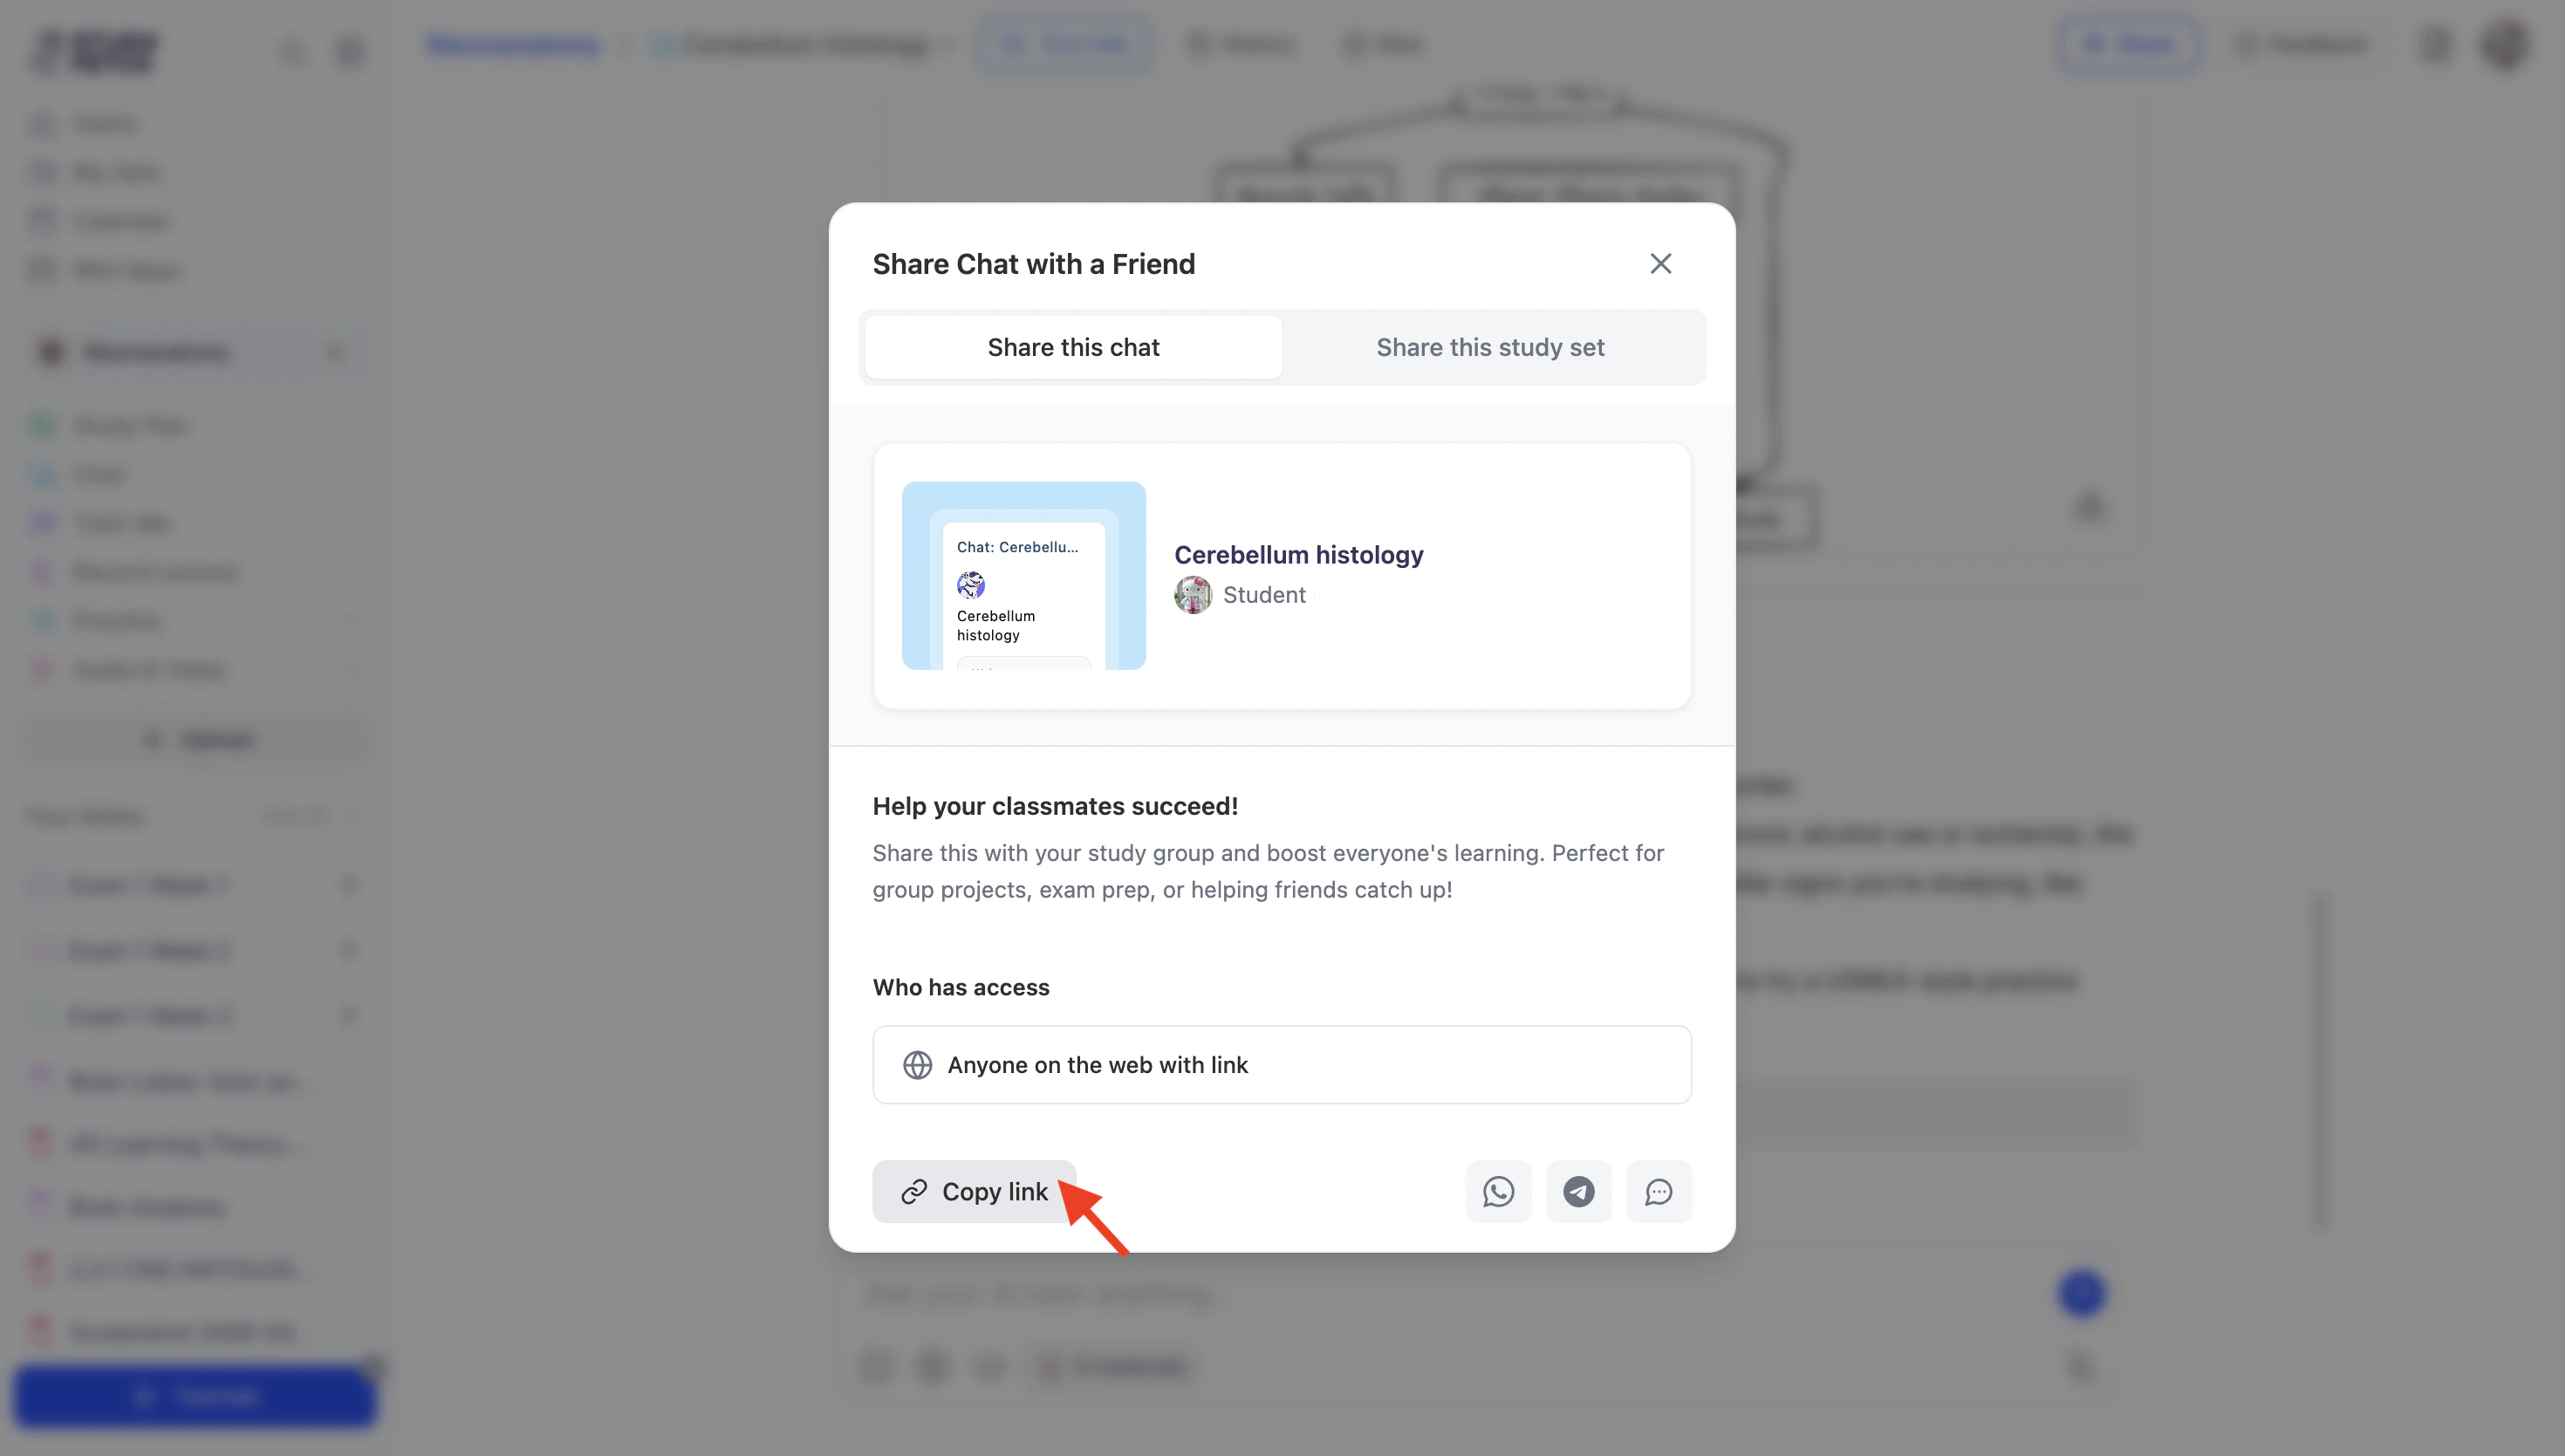
- To share directly through supported apps:
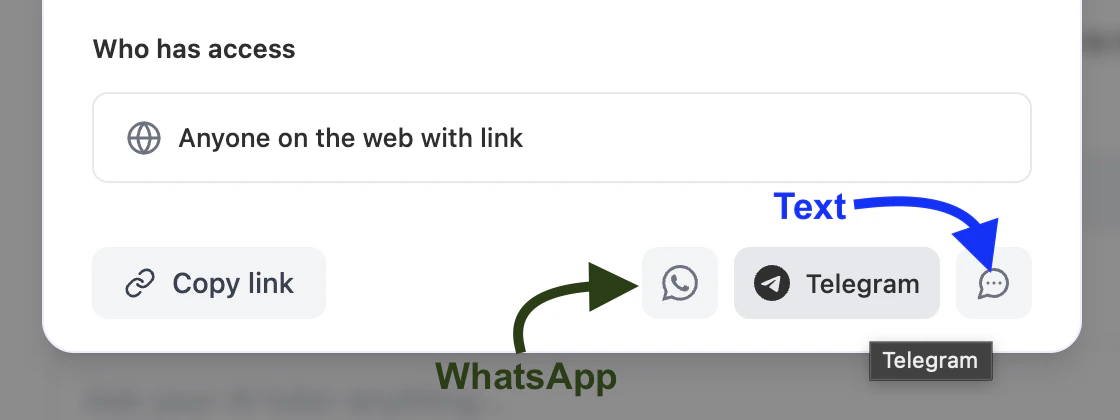
- Select the WhatsApp icon to share via WhatsApp.
- Select the Telegram icon to share via Telegram.
- Select the Text icon to share through your preferred messaging app.
Delete a Chat Session
- First select the History button from the top of the screen.
- Hover over the chat session you wish to delete, then select the trash can icon.
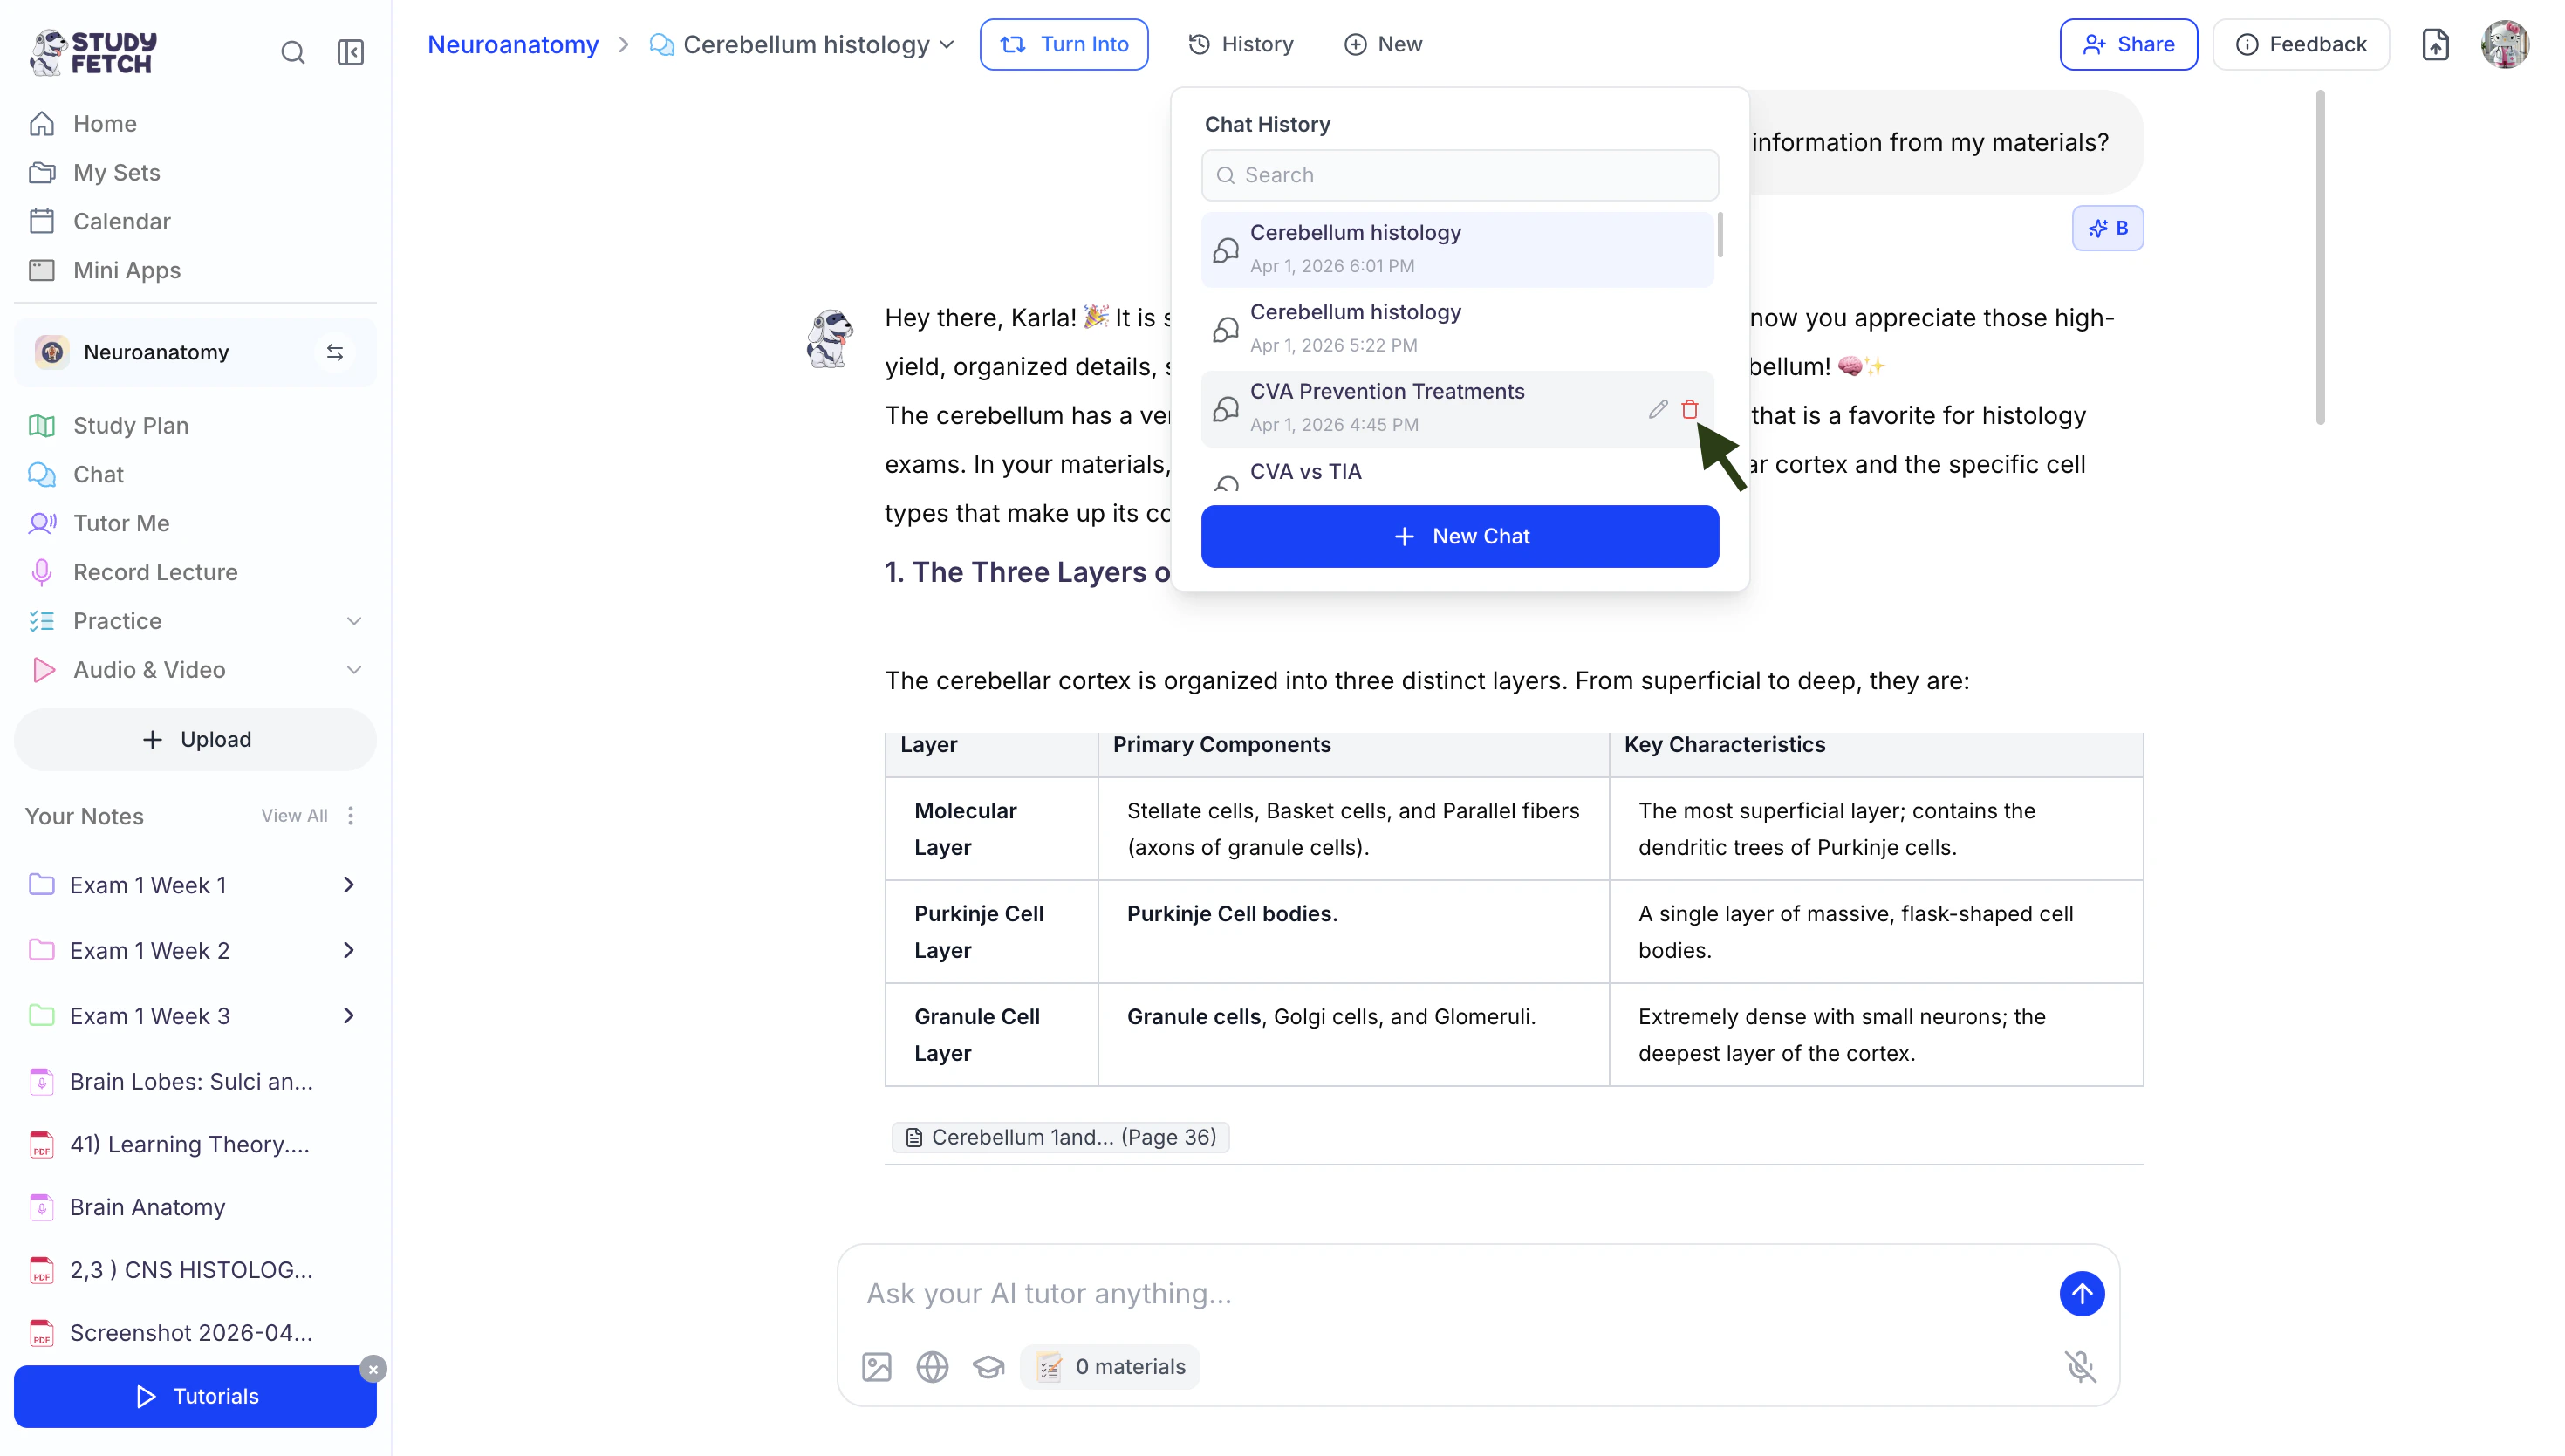
- If you are sure you want to delete this audio recap, select OK.

Benefits of Spark.E Chat
The chat feature helps you learn, review, and apply concepts in a highly interactive and personalized way:- Real-Time AI Tutoring: Spark.E responds instantly to your questions, helping you clarify concepts as you study.
- Personalized Explanations: Get responses tailored to your selected plugin, learning style, and study goals.
- Step-by-Step Learning: Break down complex topics into clear, easy-to-understand explanations.
- Multimodal Support: Ask questions using text, images, or your own uploaded materials for a more complete learning experience.
- Source-Based Learning: When enabled, Spark.E can pull from academic papers or the web to provide accurate, up-to-date information with references.
- Side-by-Side Learning: View referenced sections of your uploaded materials alongside Spark.E’s explanations for deeper understanding.
- Flexible Learning Anytime: Use chat whenever you need—whether you’re reviewing, practicing, or learning something new.
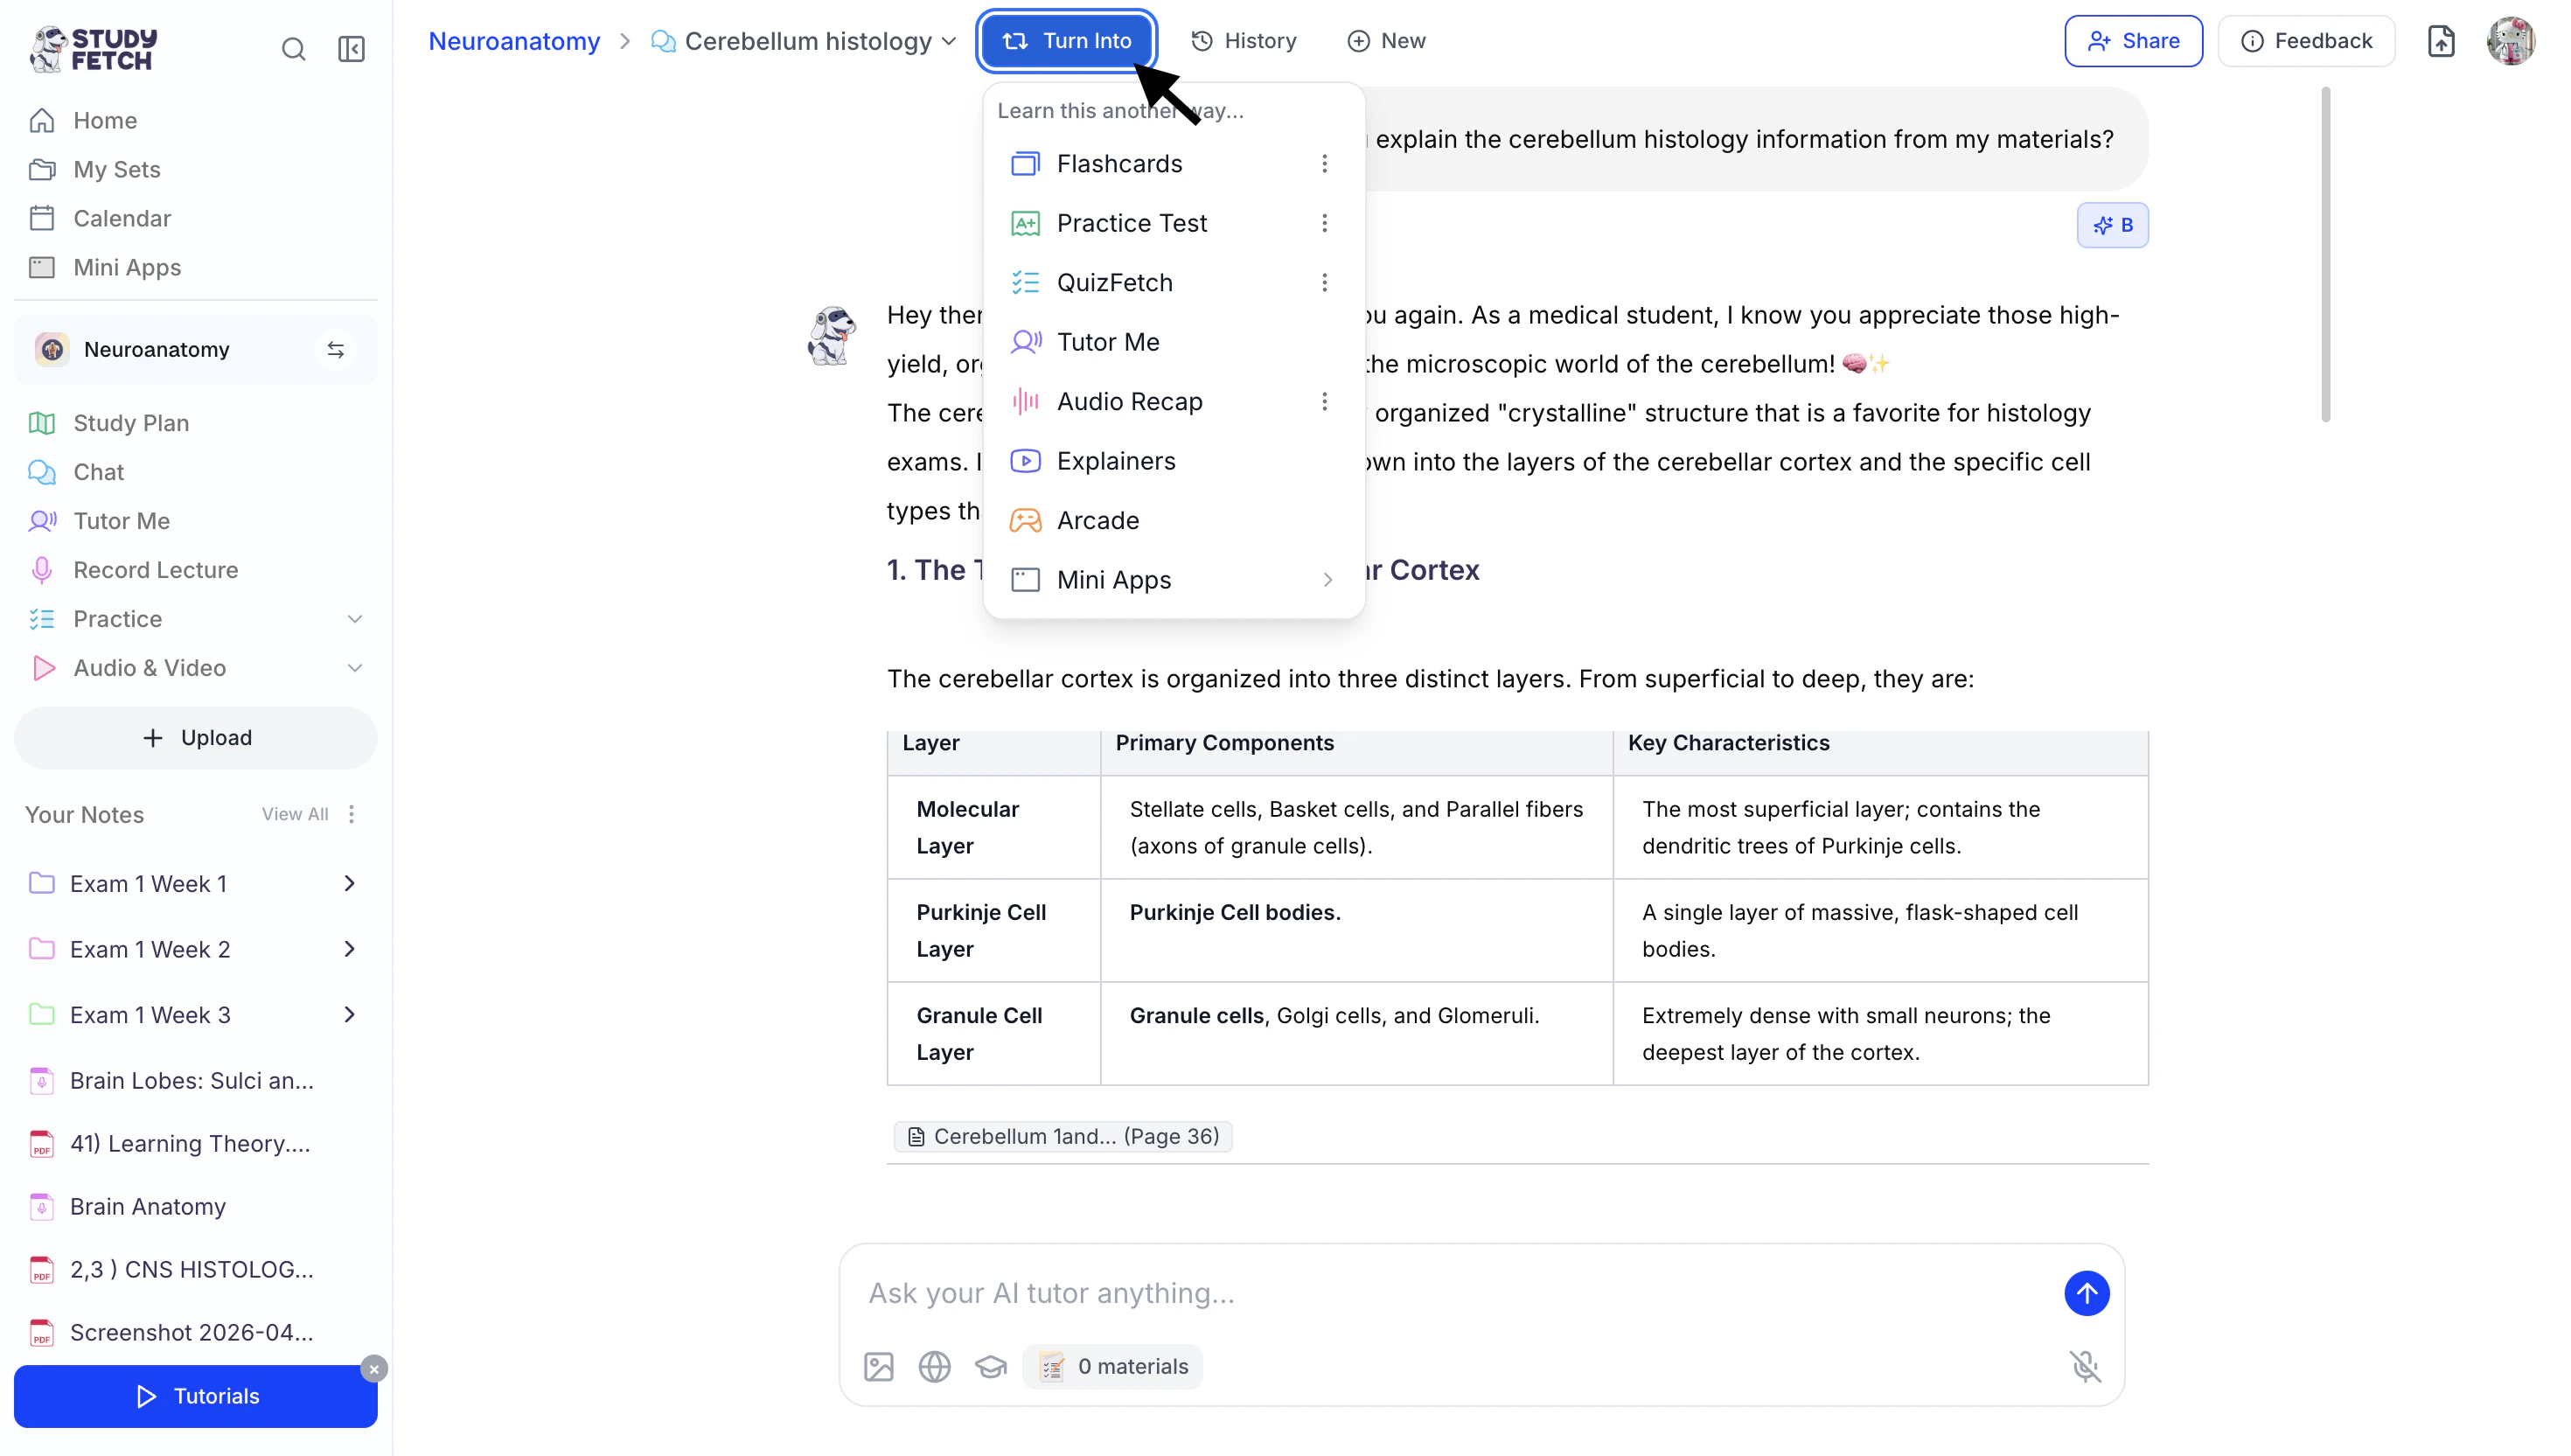
- Integration with Other Tools: Your Spark.E Chat Sessions can be used to generate flashcards, tests, and other study materials. You can create new study resources directly from your Spark.E Chat session by selecting Turn Into at the top of the chat page and choosing your desired study tool.
Related Features
Once you’ve finished a Chat Session, you might want to:- Generate Flashcards to memorize key concepts
- Create Practice Tests to assess your knowledge
- Use Audio Recap to review material on the go